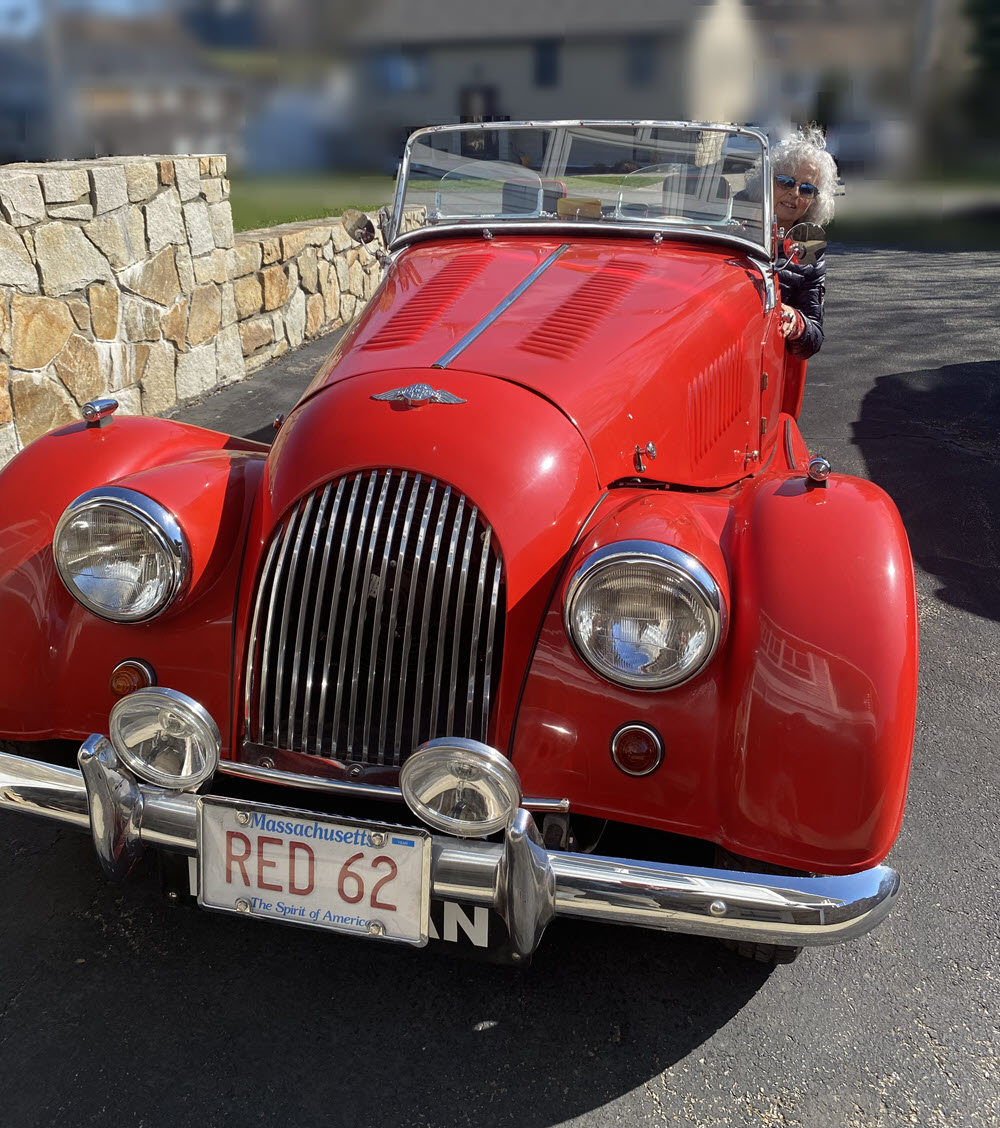
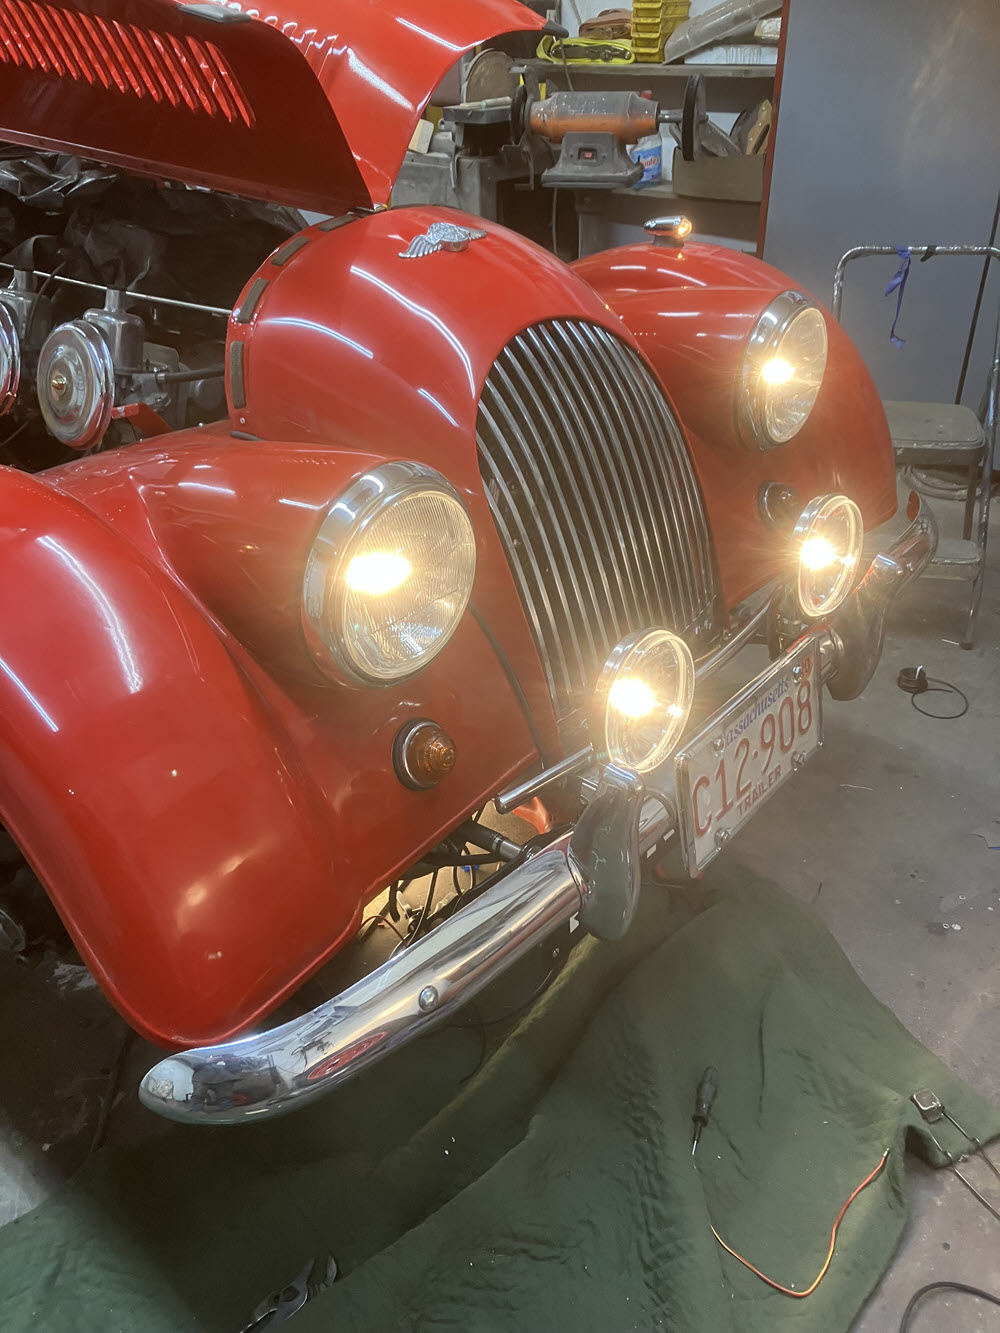
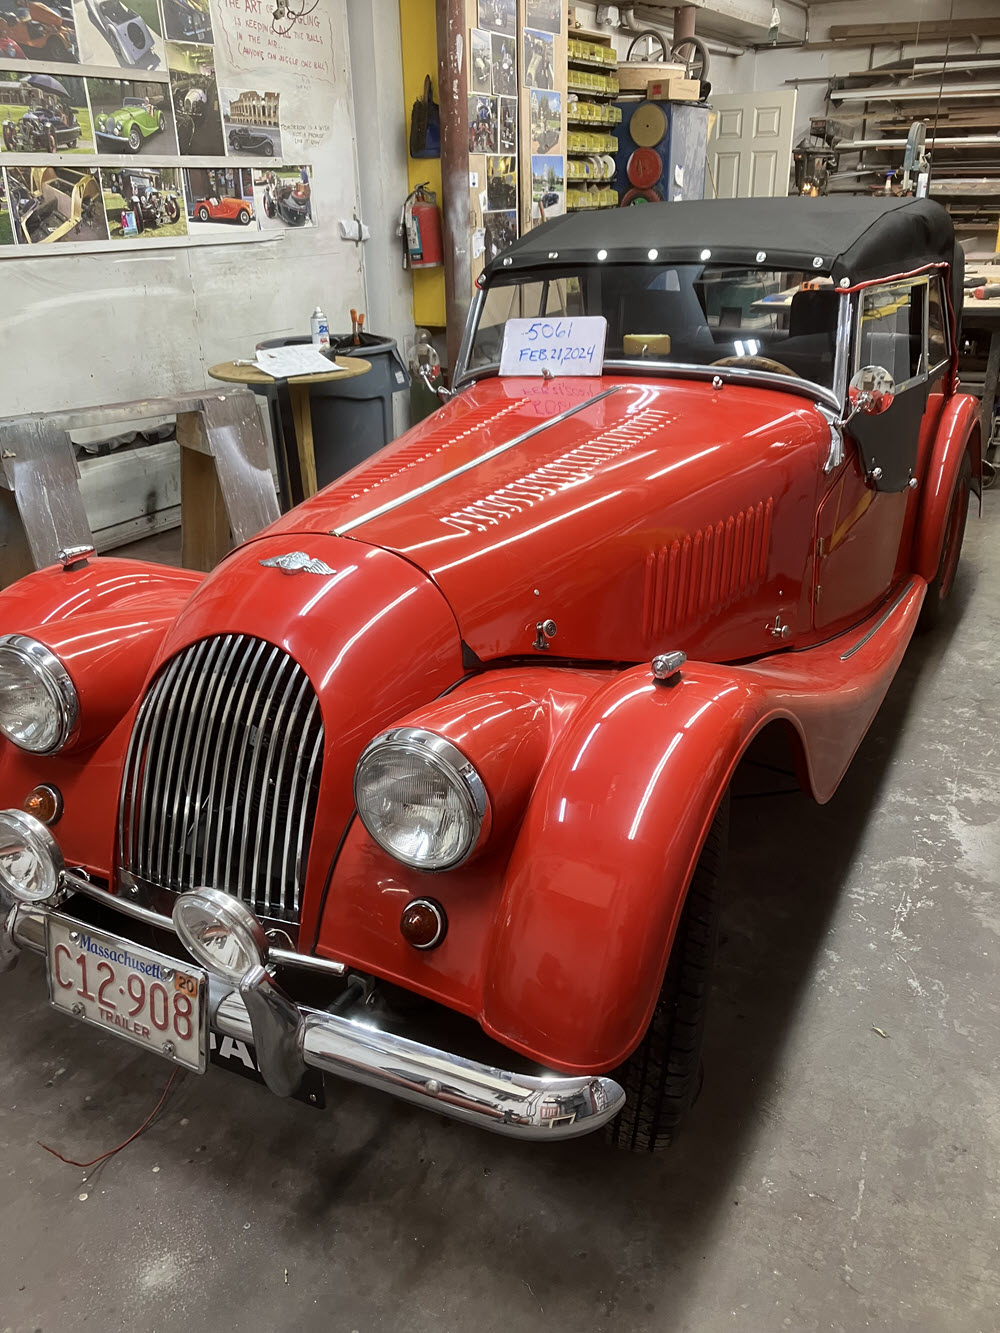
Front end aligned and first road tests.Passed state inspection
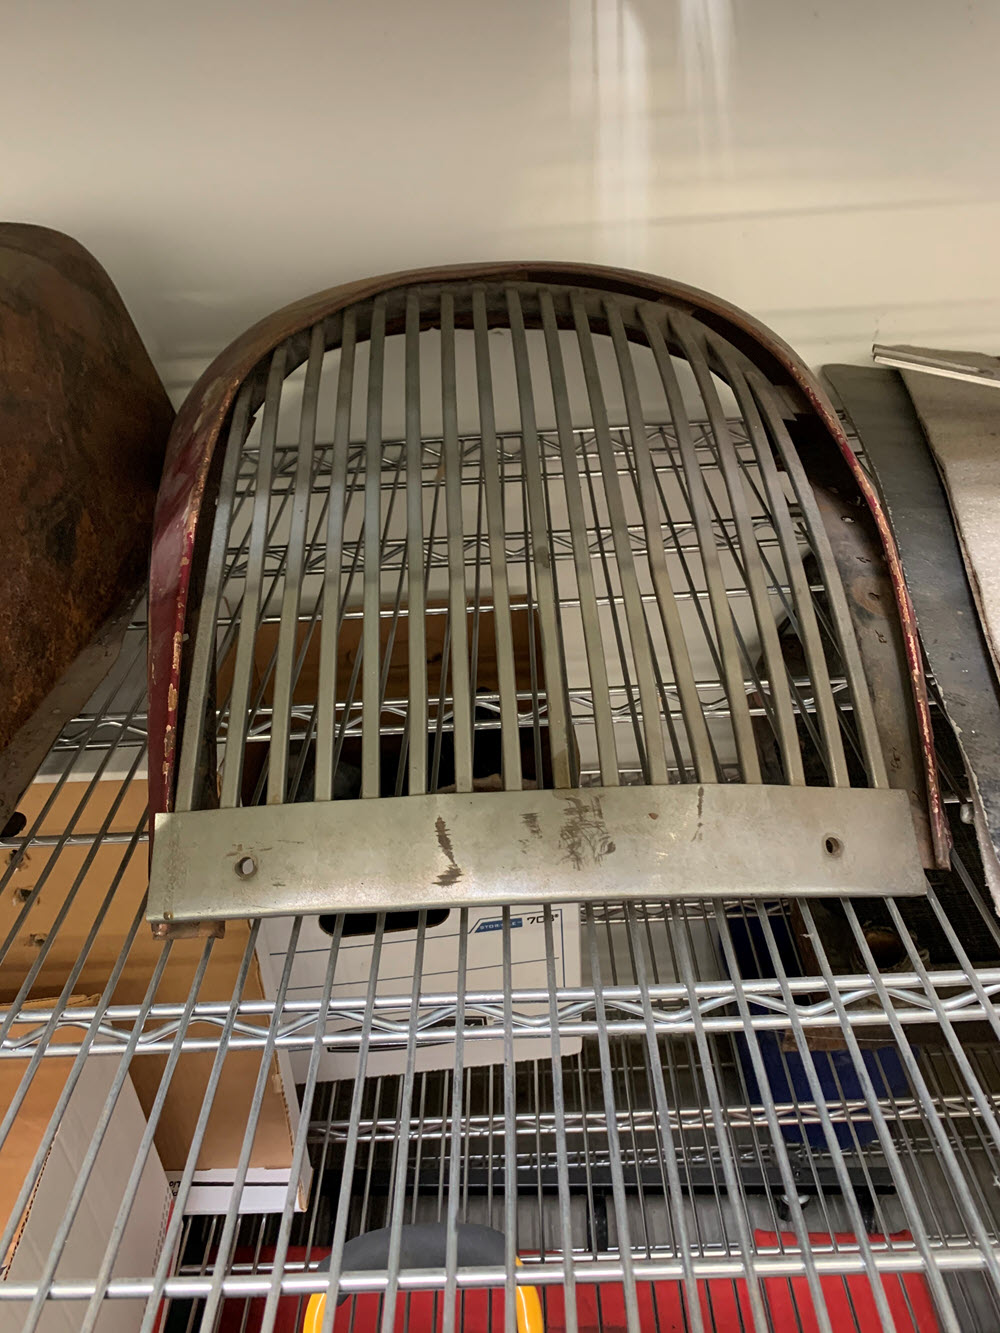
In The Begining: What it looked like when I started
oh dear….new front wing from factory. Unfortunantly they sat for a long time before owner gave up on restoration.Remember Bill?
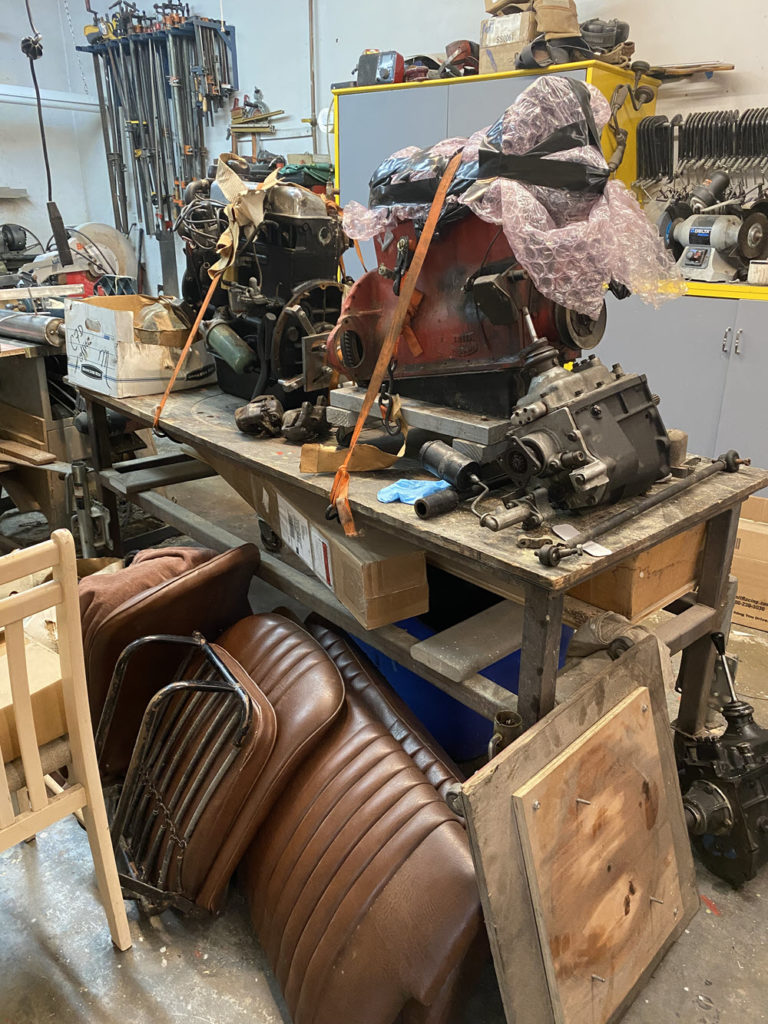
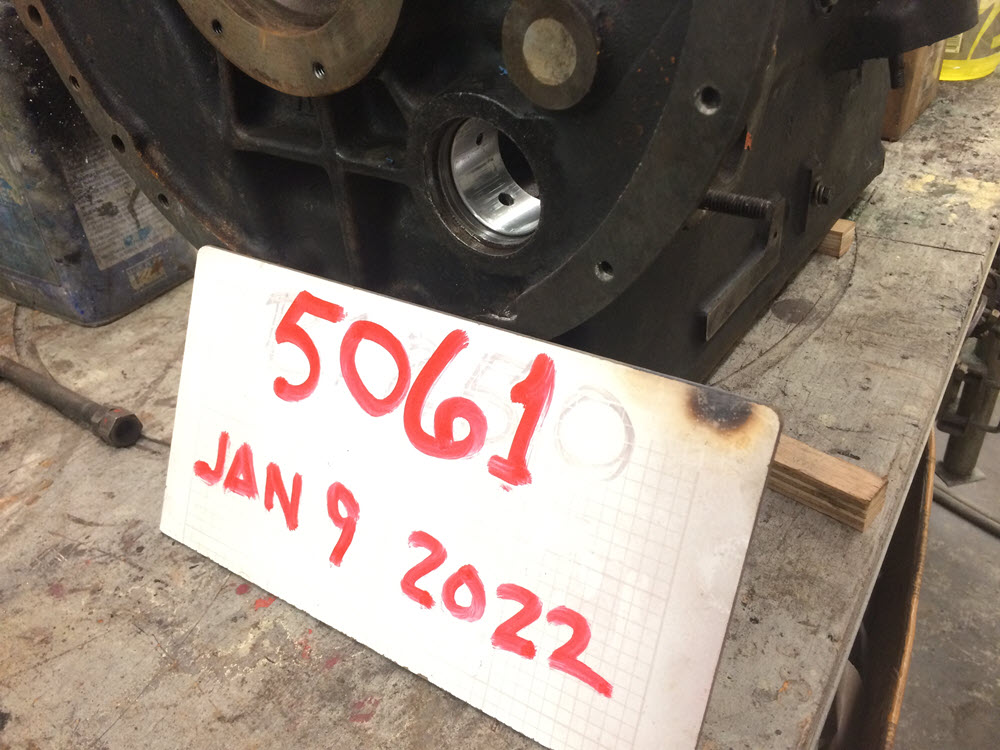
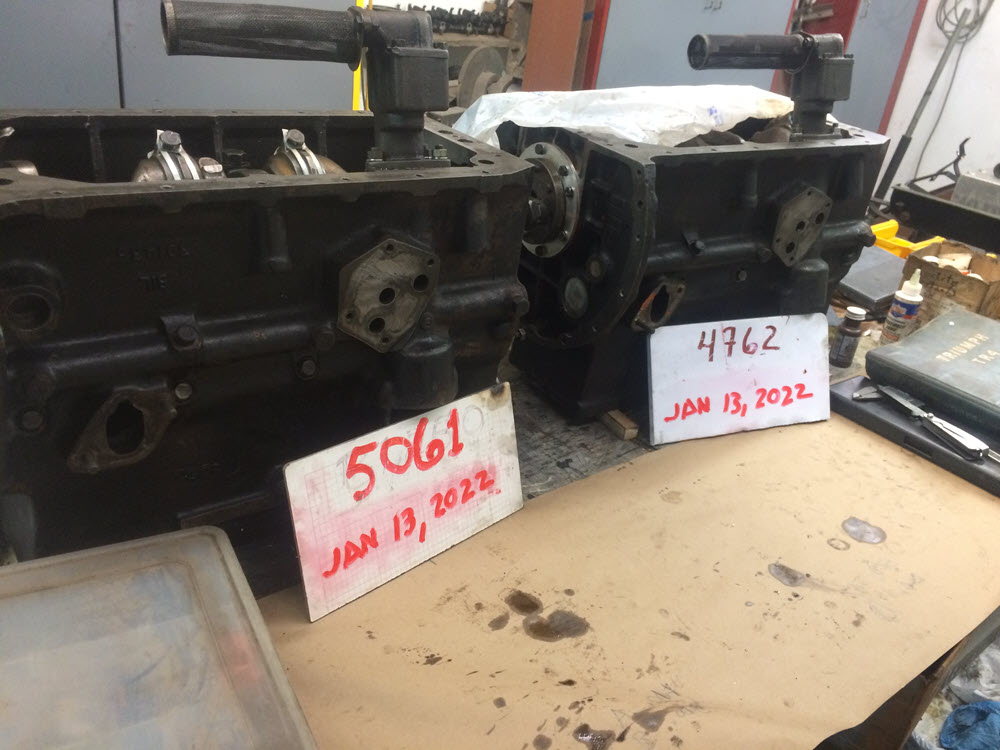
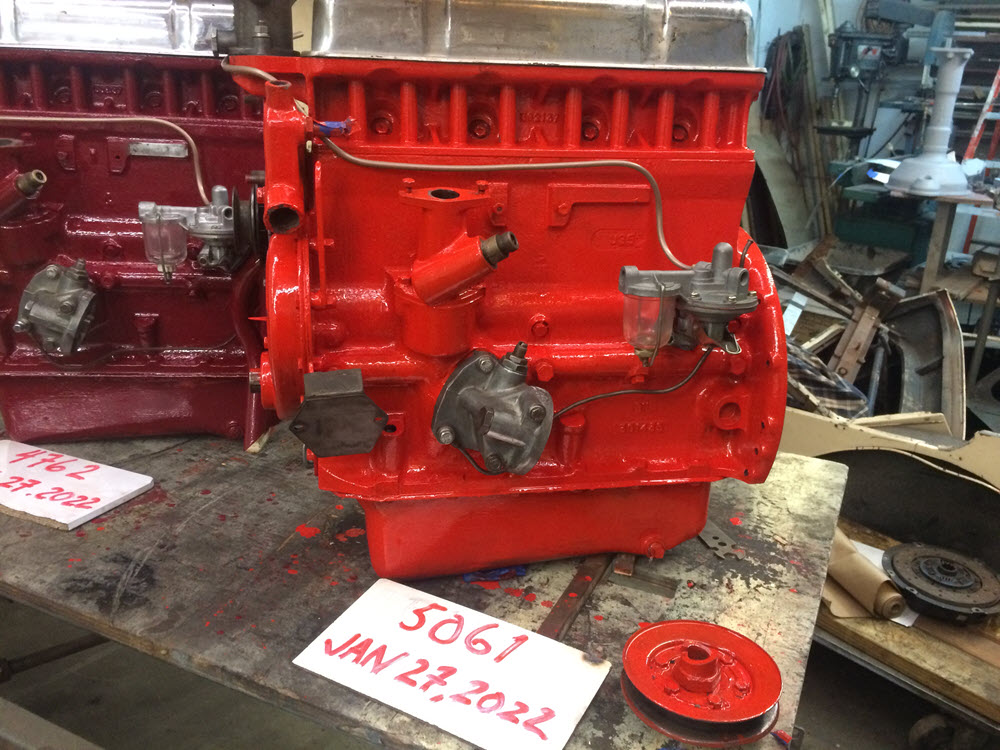
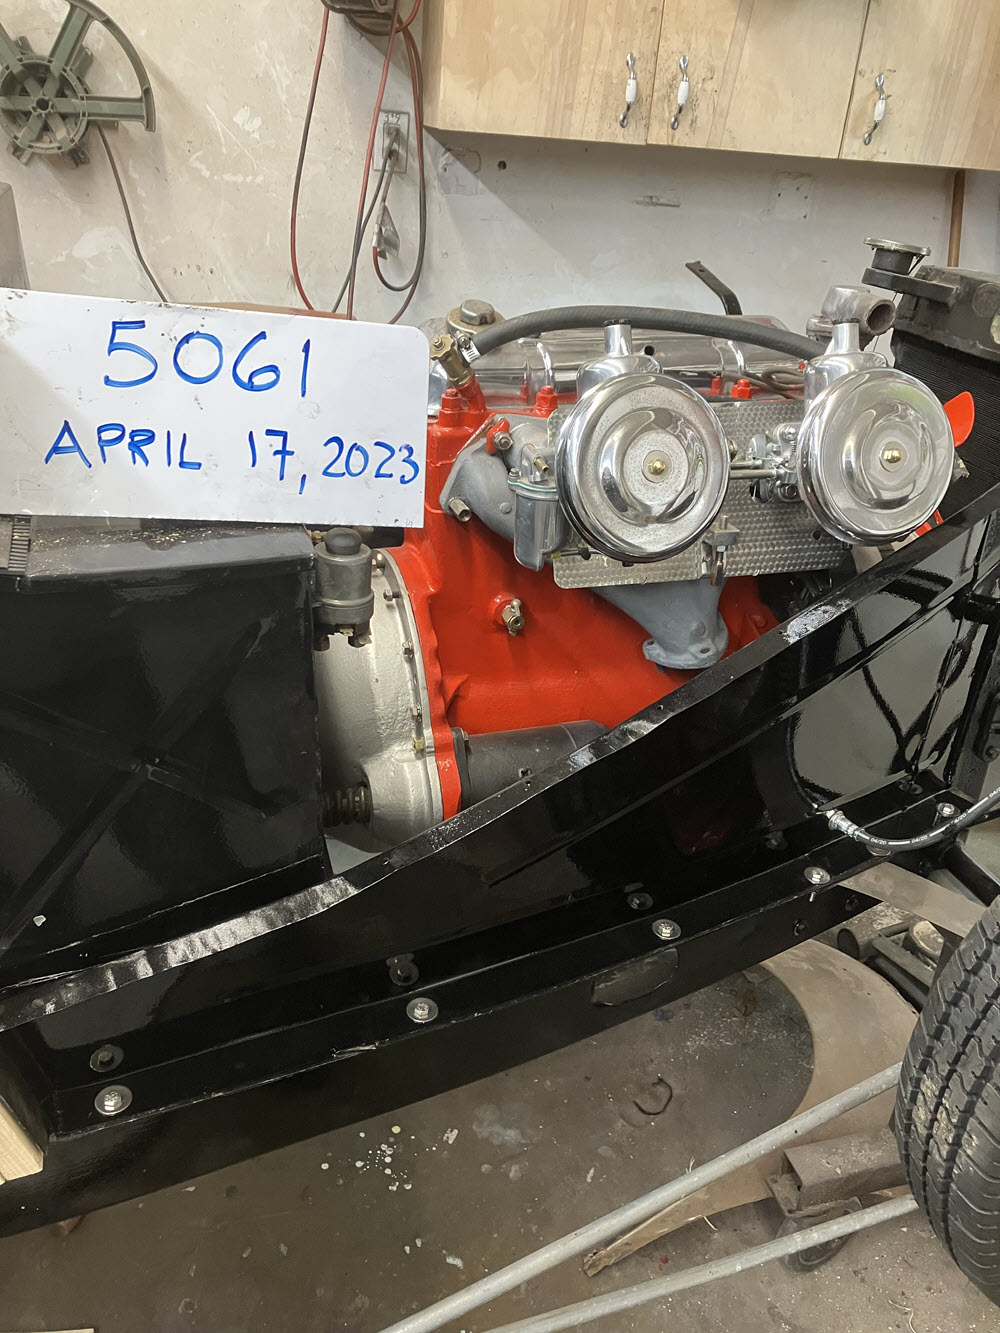
Start with the engine:
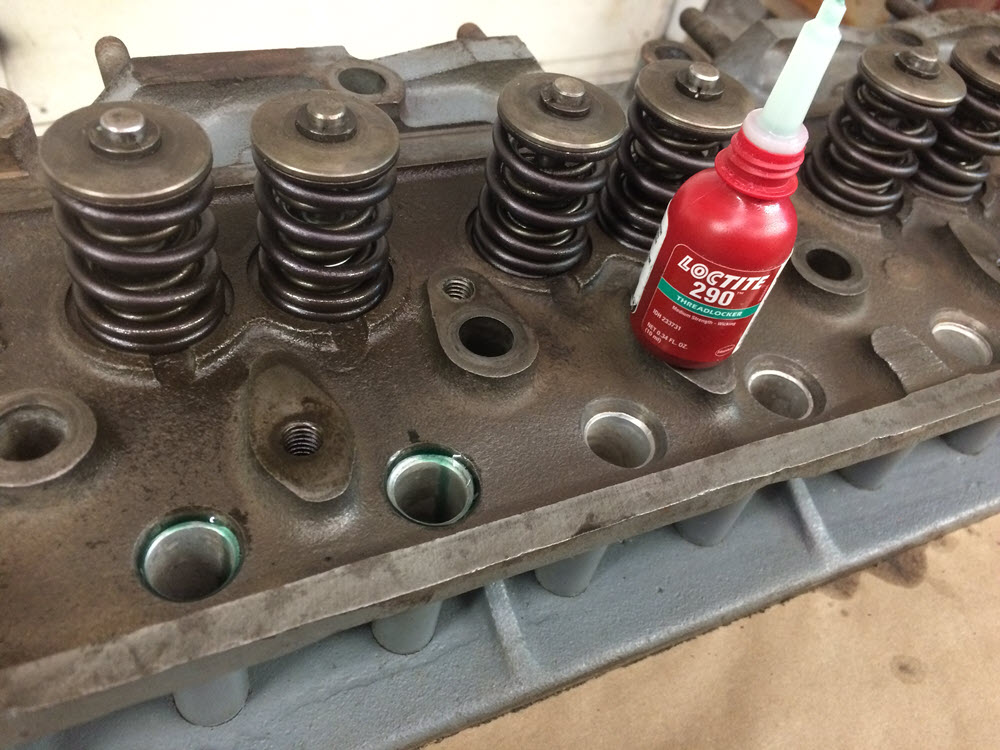
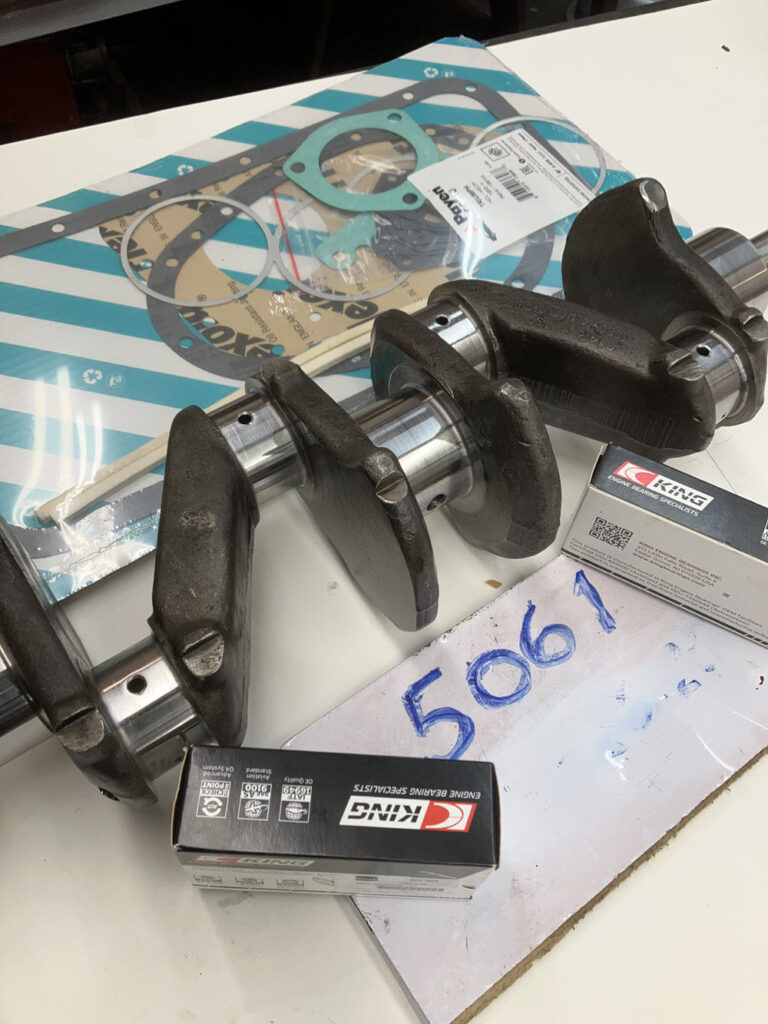
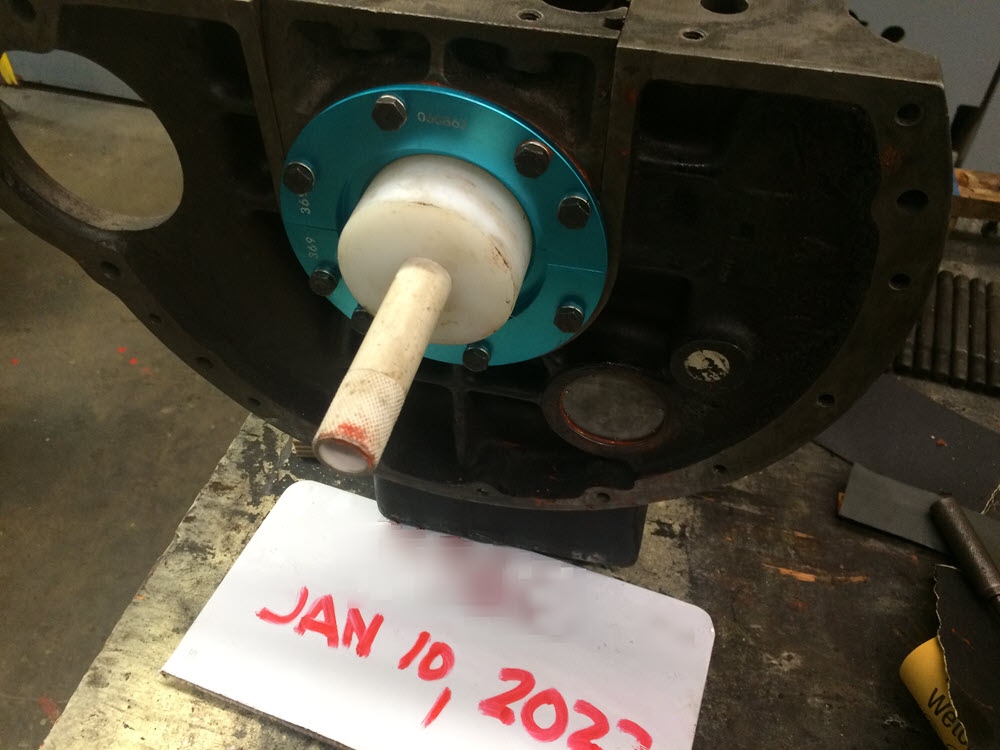
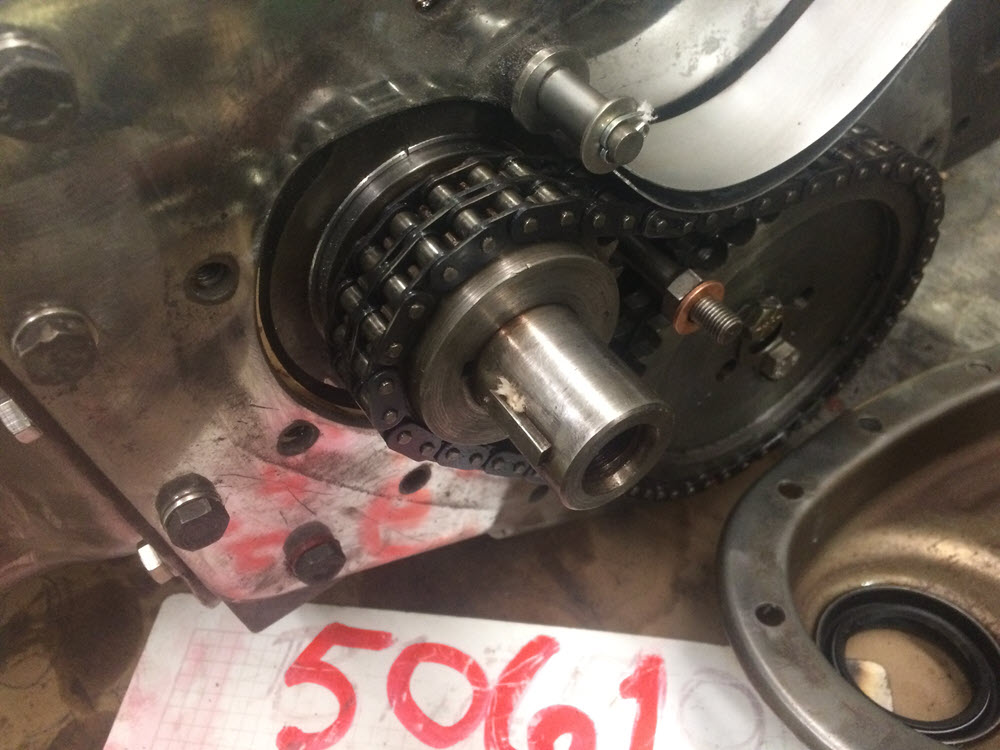
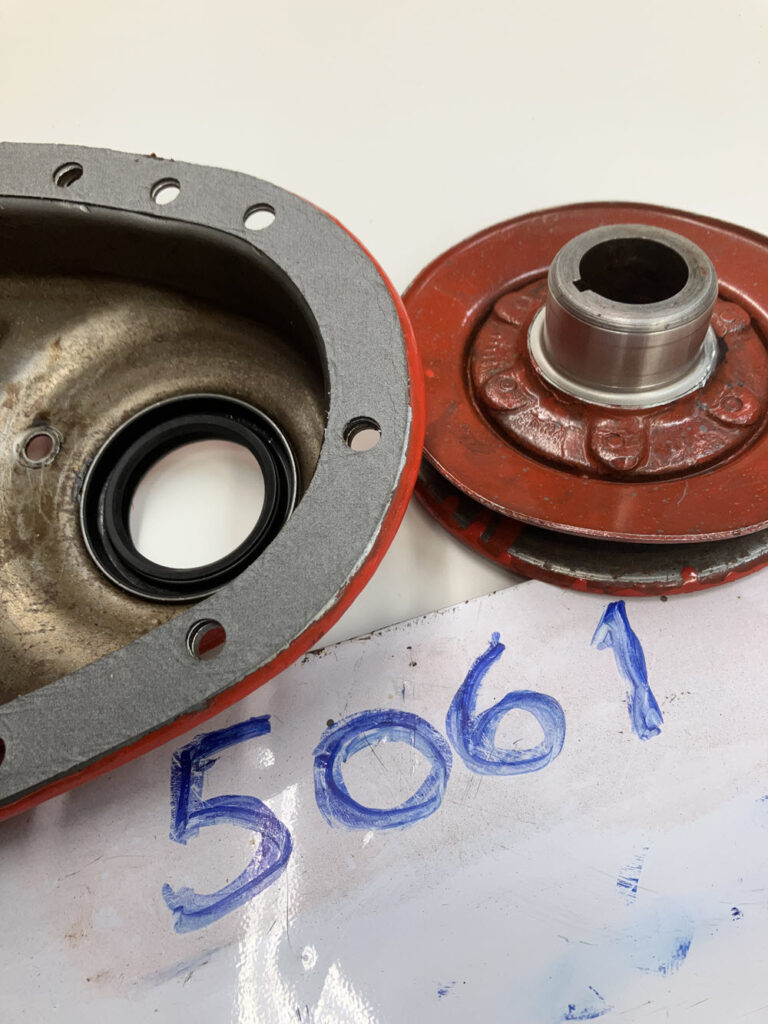
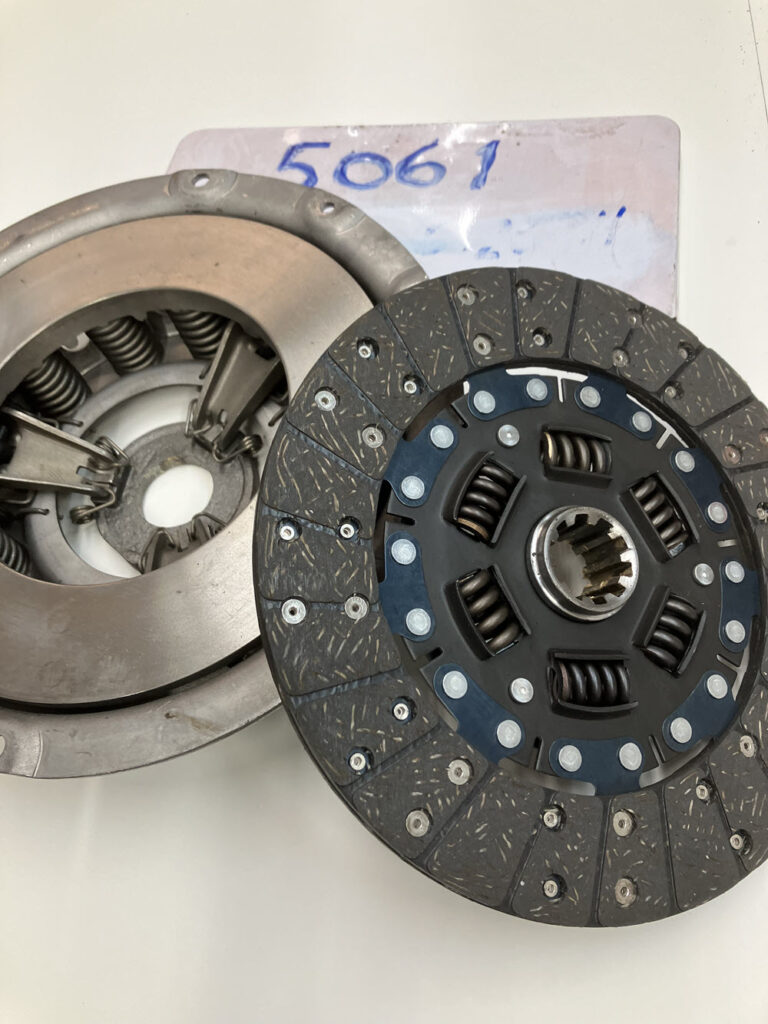
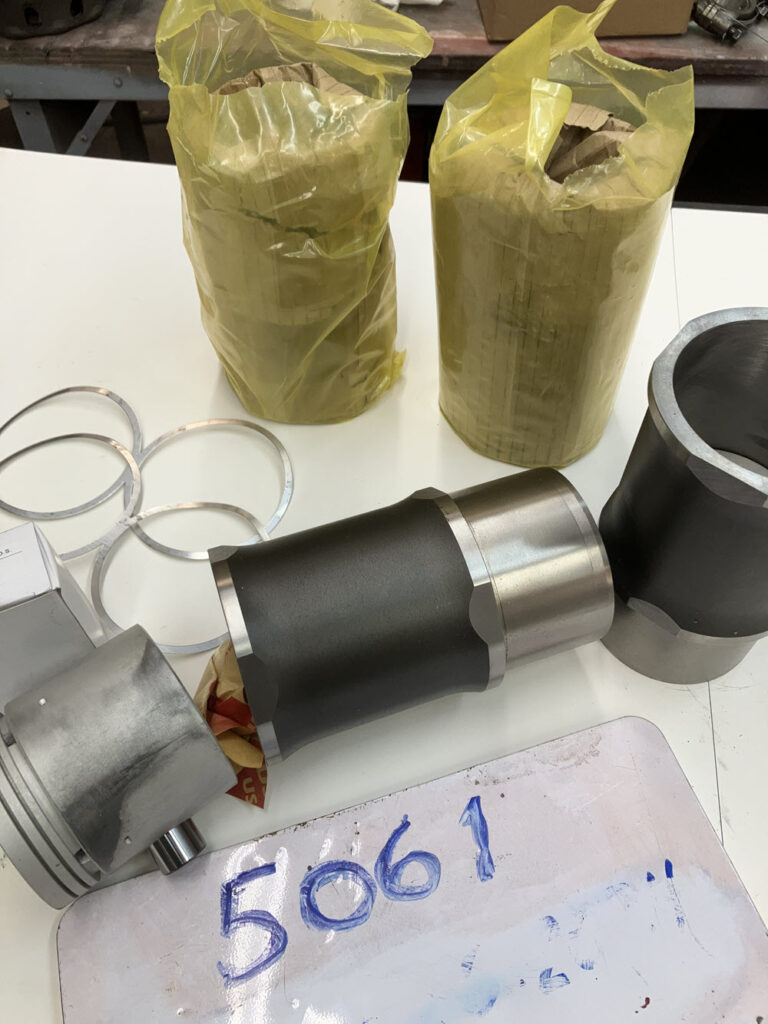
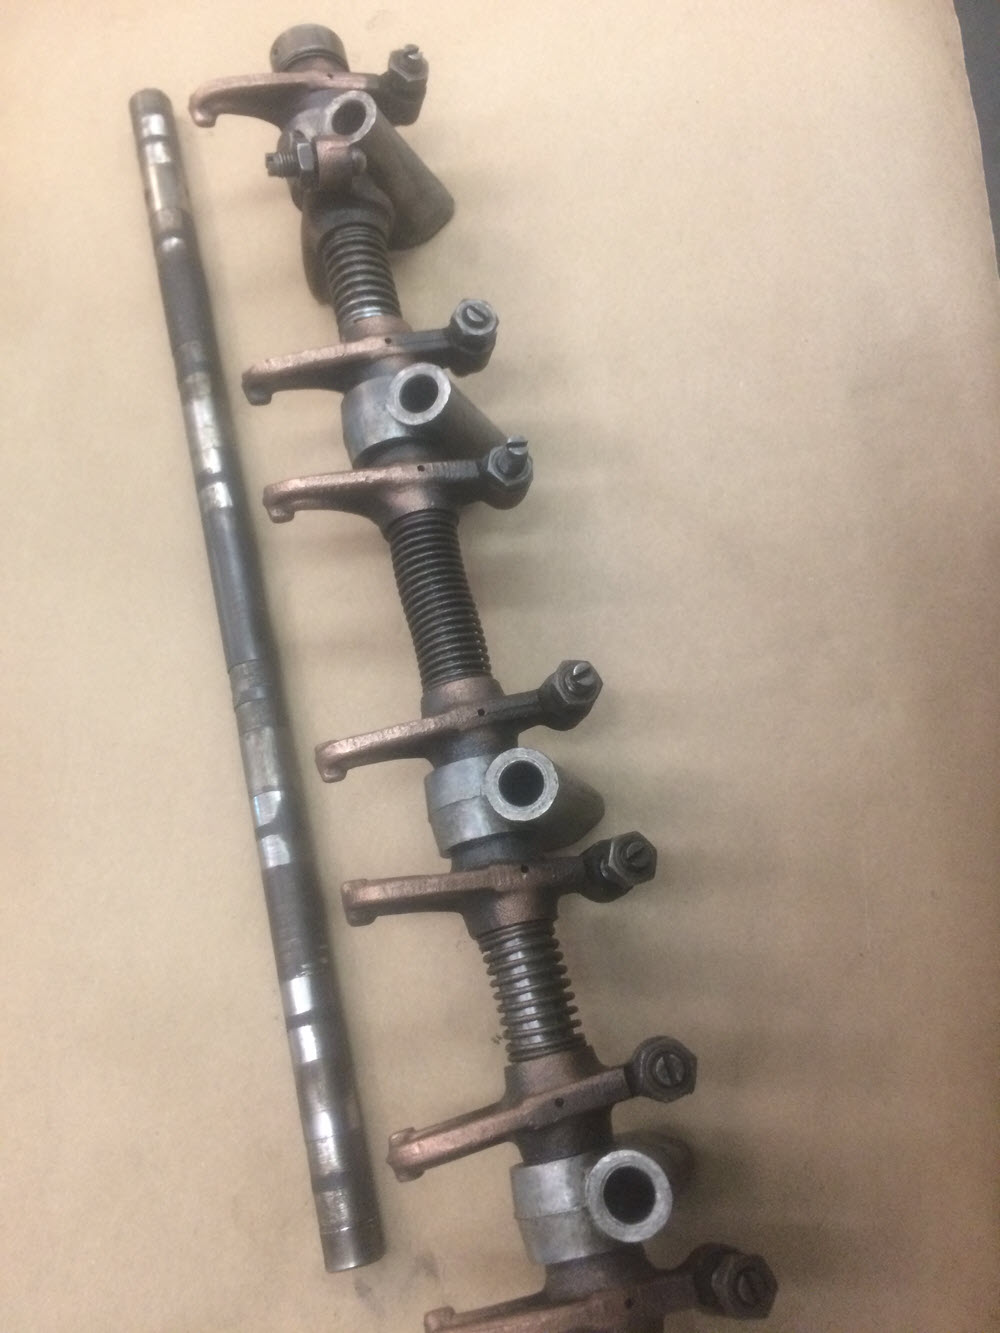
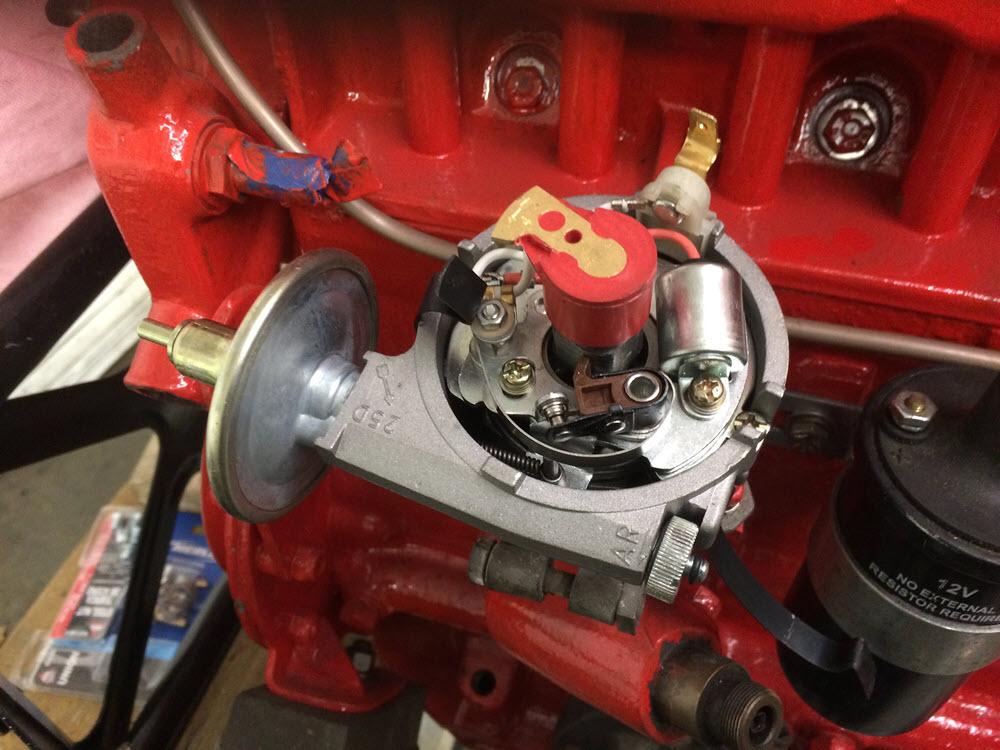
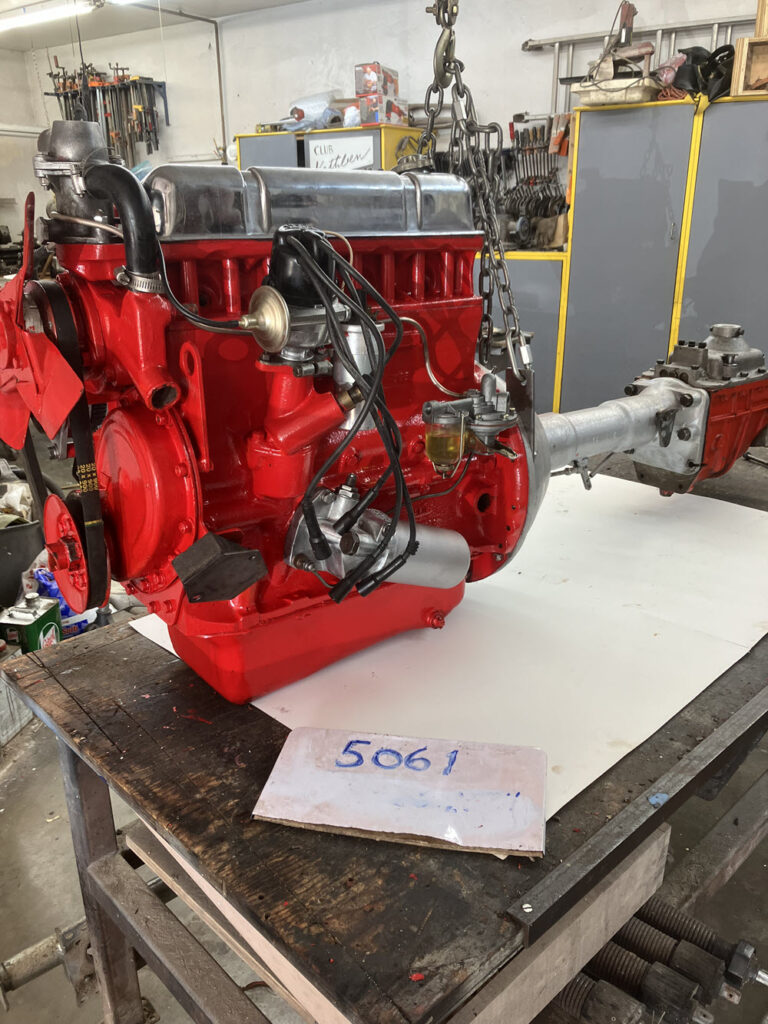
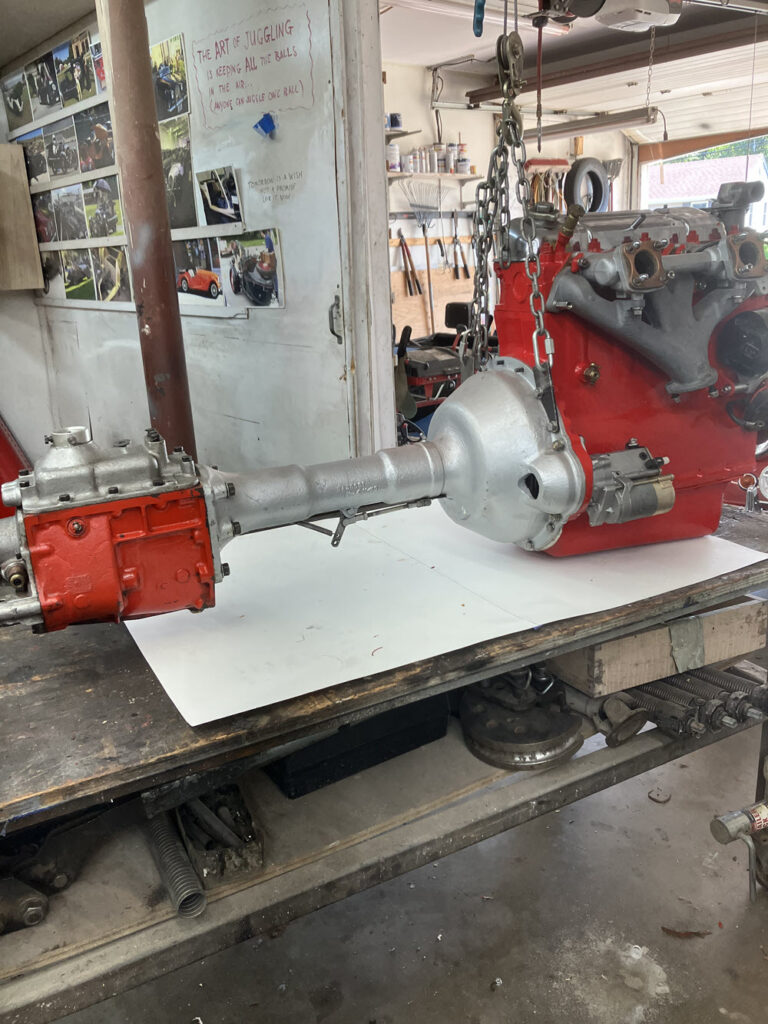
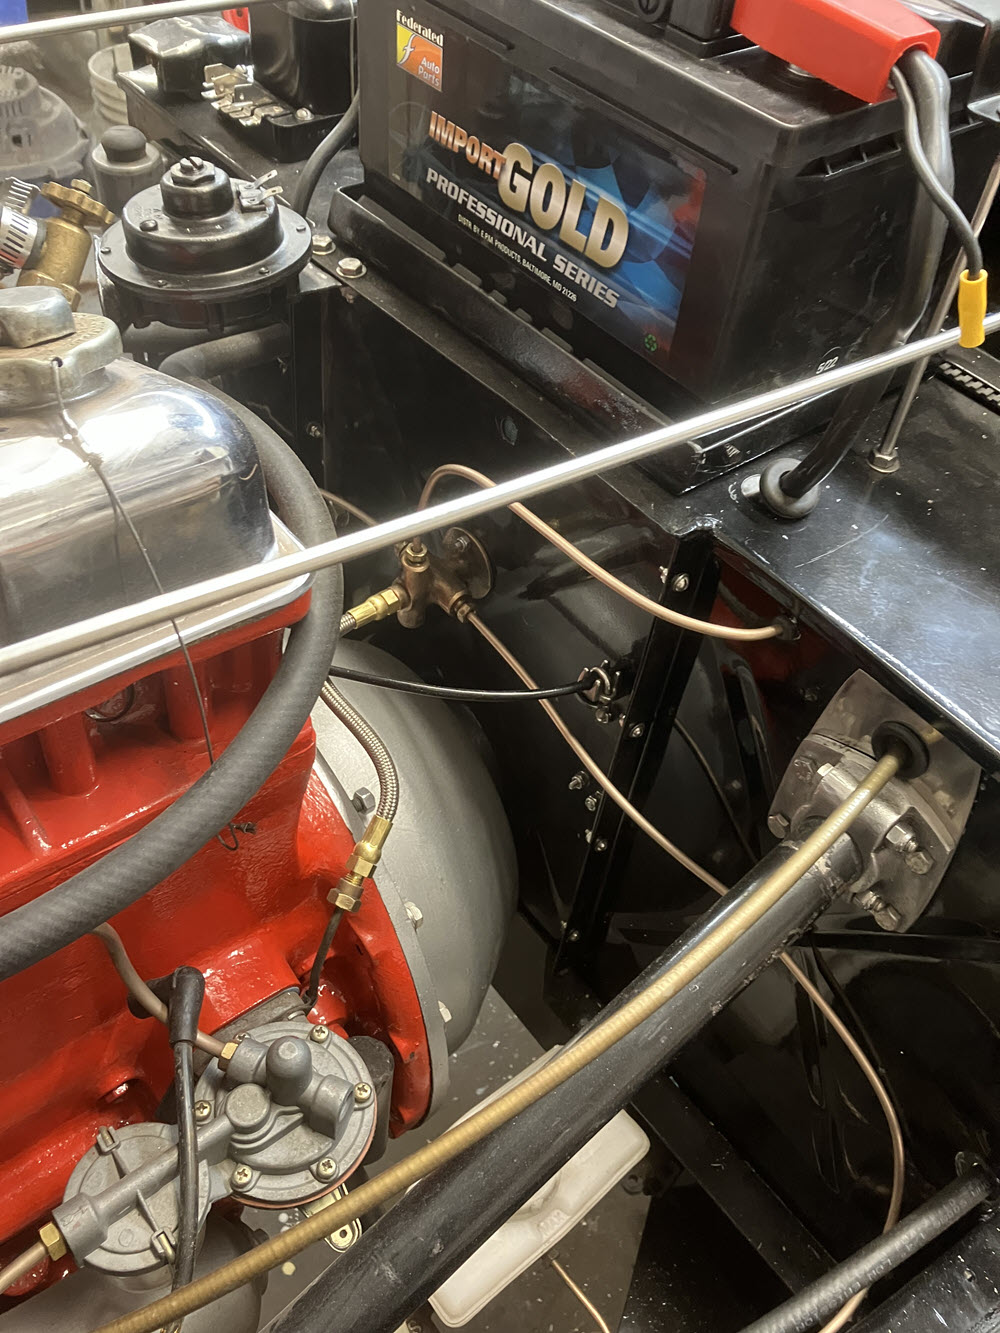
clean all tapped holesnew cam bearingsSealing pushrod tubesAssemble headbalanced crankshaft -.010 mains and journalsNew type rear main sealFitting new rear main seal using mandrelNew timing belt tension springinspect and recondition oil pumpsnew rocker shaft and bushingsnew front seal and sleeved pulleynew pressure plate and clutch discnew 87mm piston and linersoil pump installedBottom ends finishedalmost donealmost doneNew high volume water pumpmodify throw out linkage, See: Modify +4 Clutch Linkage” elsewhere in this websitebellhousing fittedrockers on new shaft; old shaft shownnew rocker shaft installednew distributornew distributor installednew Lucas alternatorinstall Alternator conversionready to installready to installNew electric fuel pump installed by Jim EganNew fuel regulator, inertia switch, and fuel filter
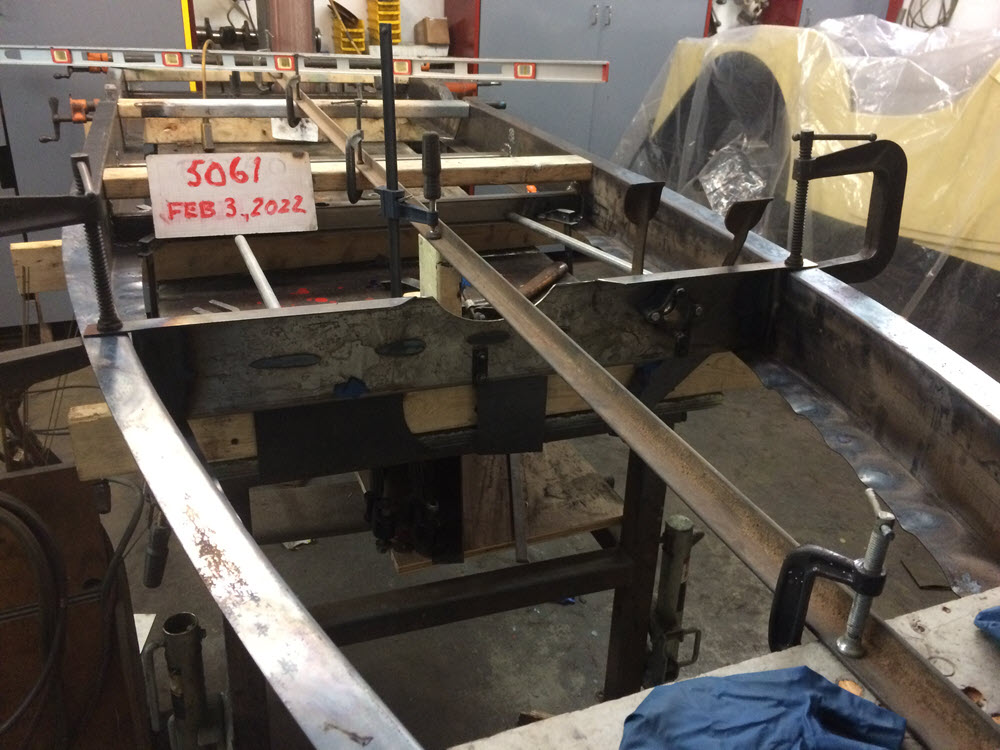
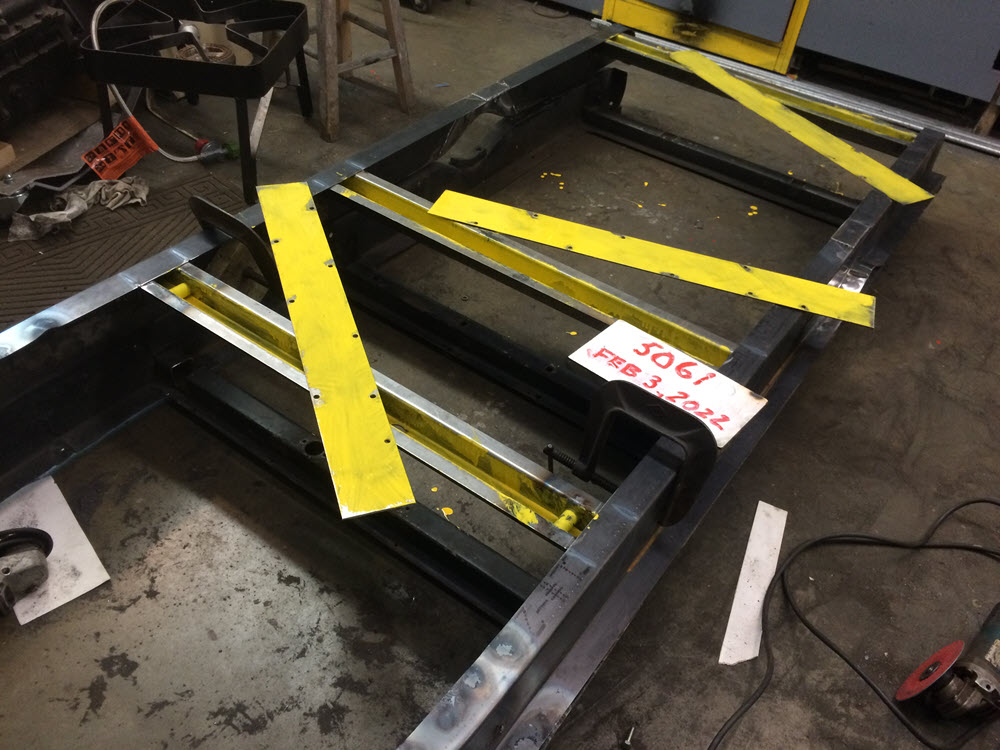
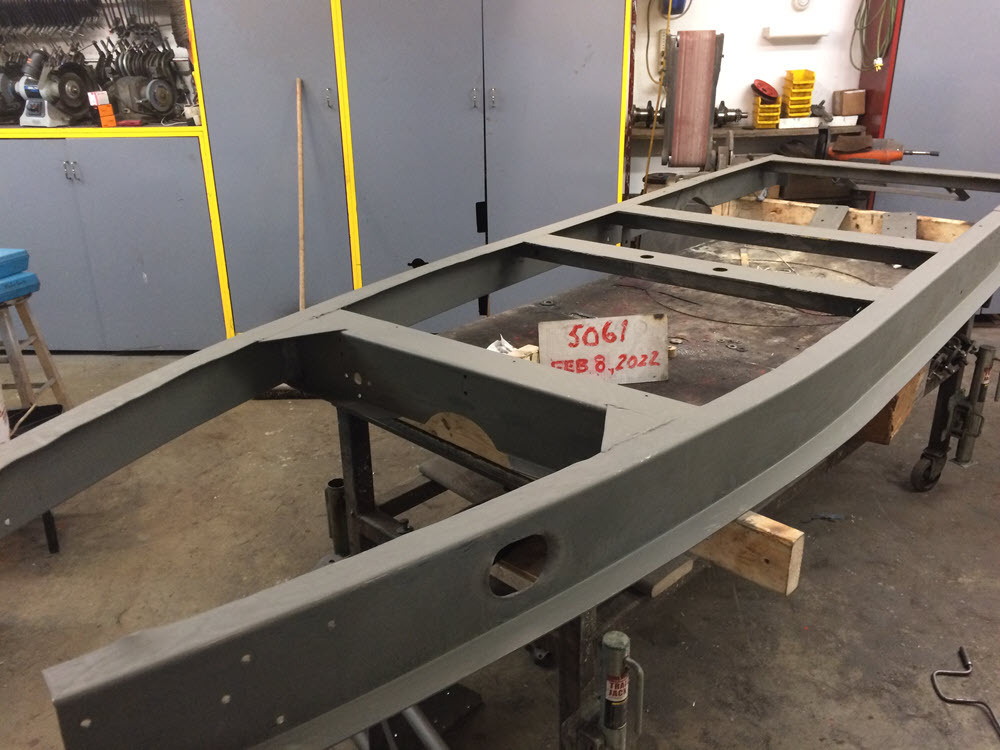
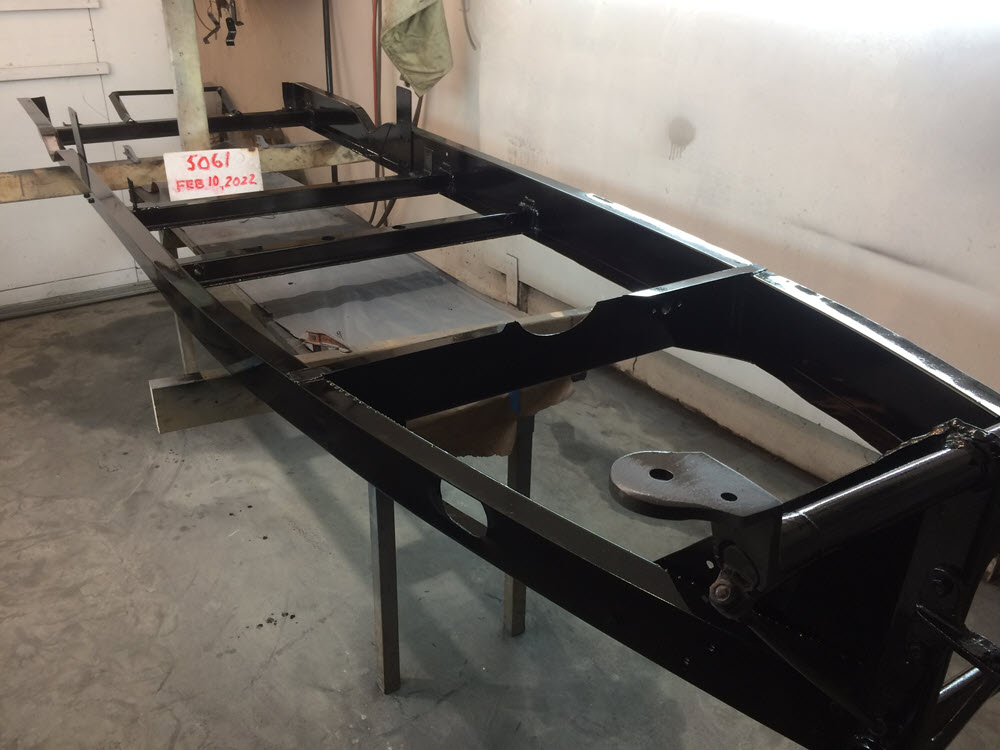
And then make the new chassis:
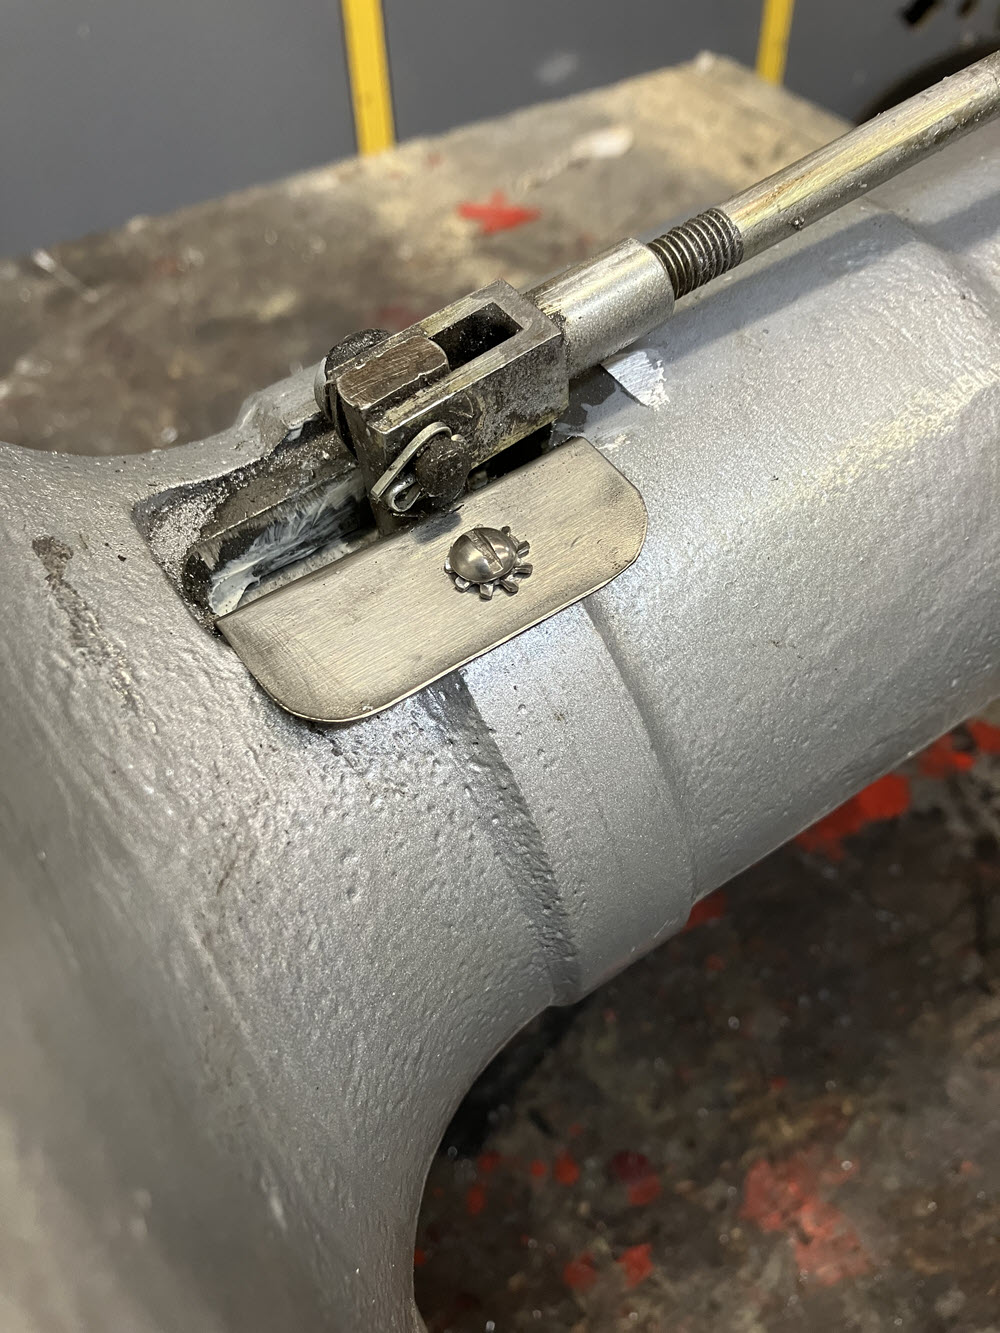
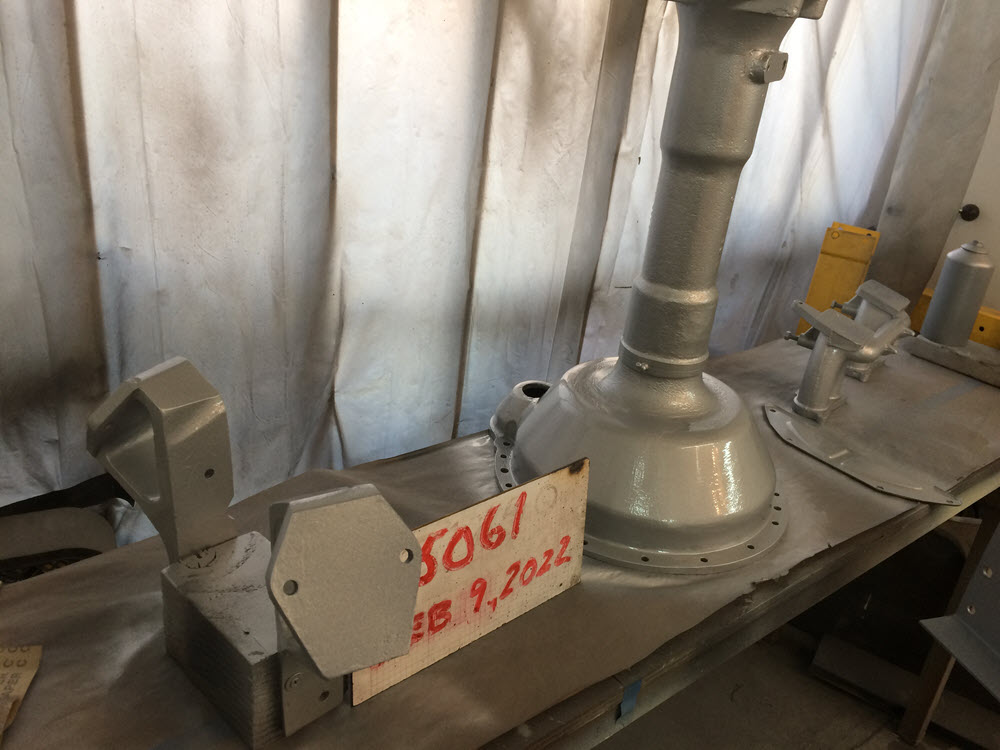
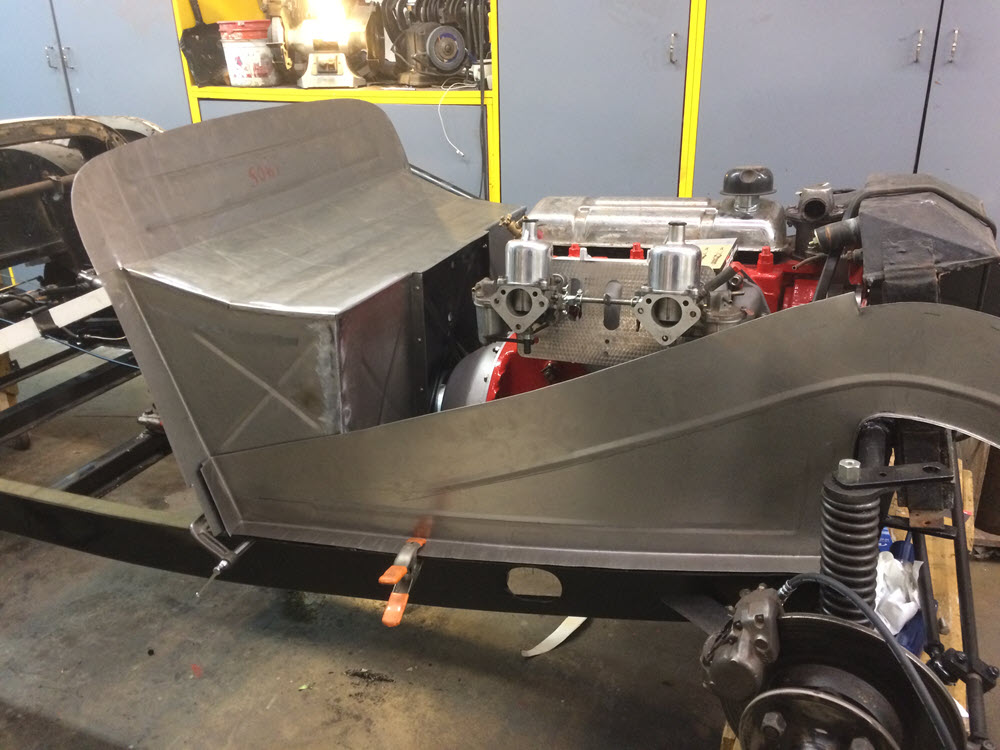
new chassis rails with reinforcementsthree crossmembers addedrails bent, front crossmember fabricated, pedal set fitReality Check; new chassis stacked on old. Rust paint on inside crossmembersbottom plates welded on crossmembersCheck fit front subframeweld spring brackets and check fitadd spare tire frame and bumper brackets fit damper bracketsform exhaust cutoutCheck fit engineCheck fit enginefinished chassis in etch primersilver ImronChassis in primer surfacerChassis in primer surfacerBlack ImronBlack Imron
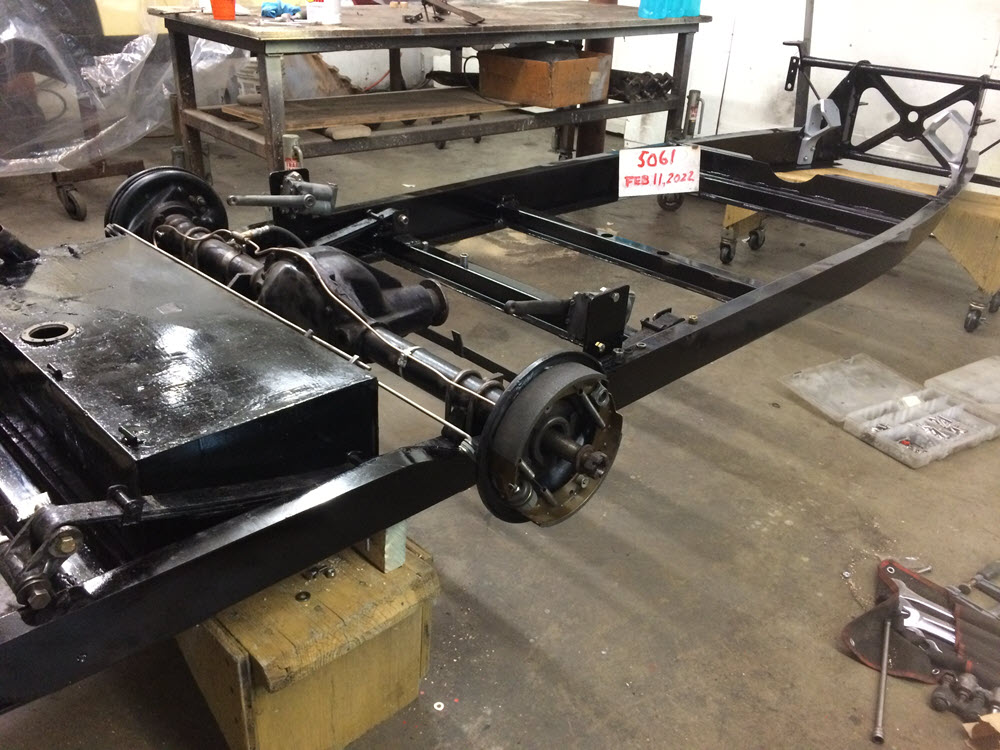
Start Assembling
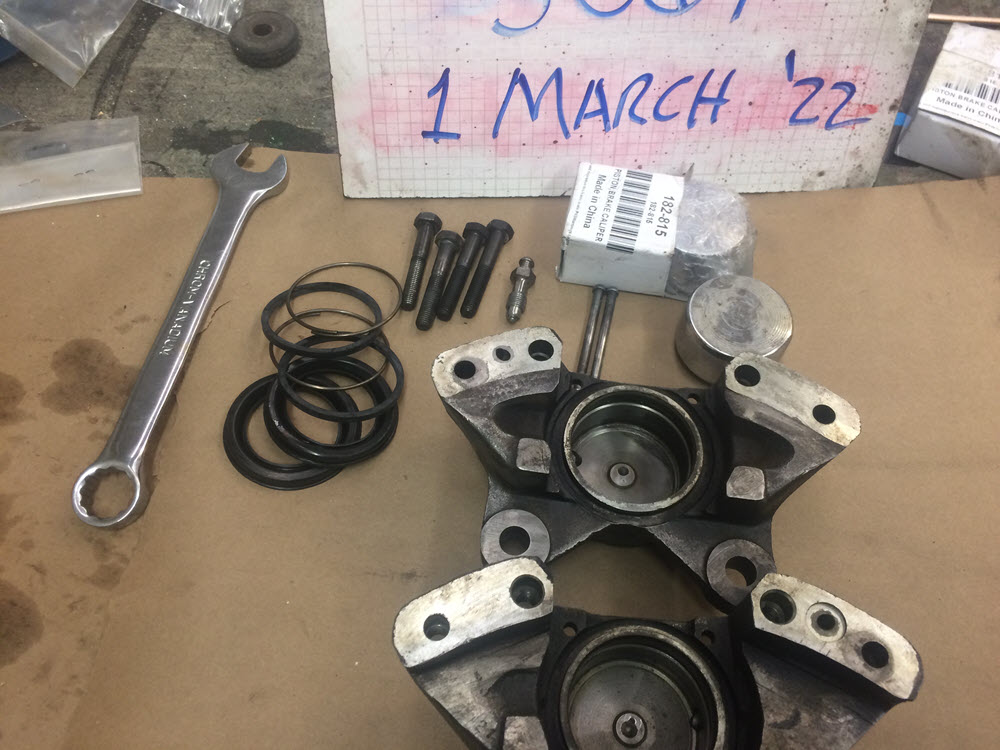
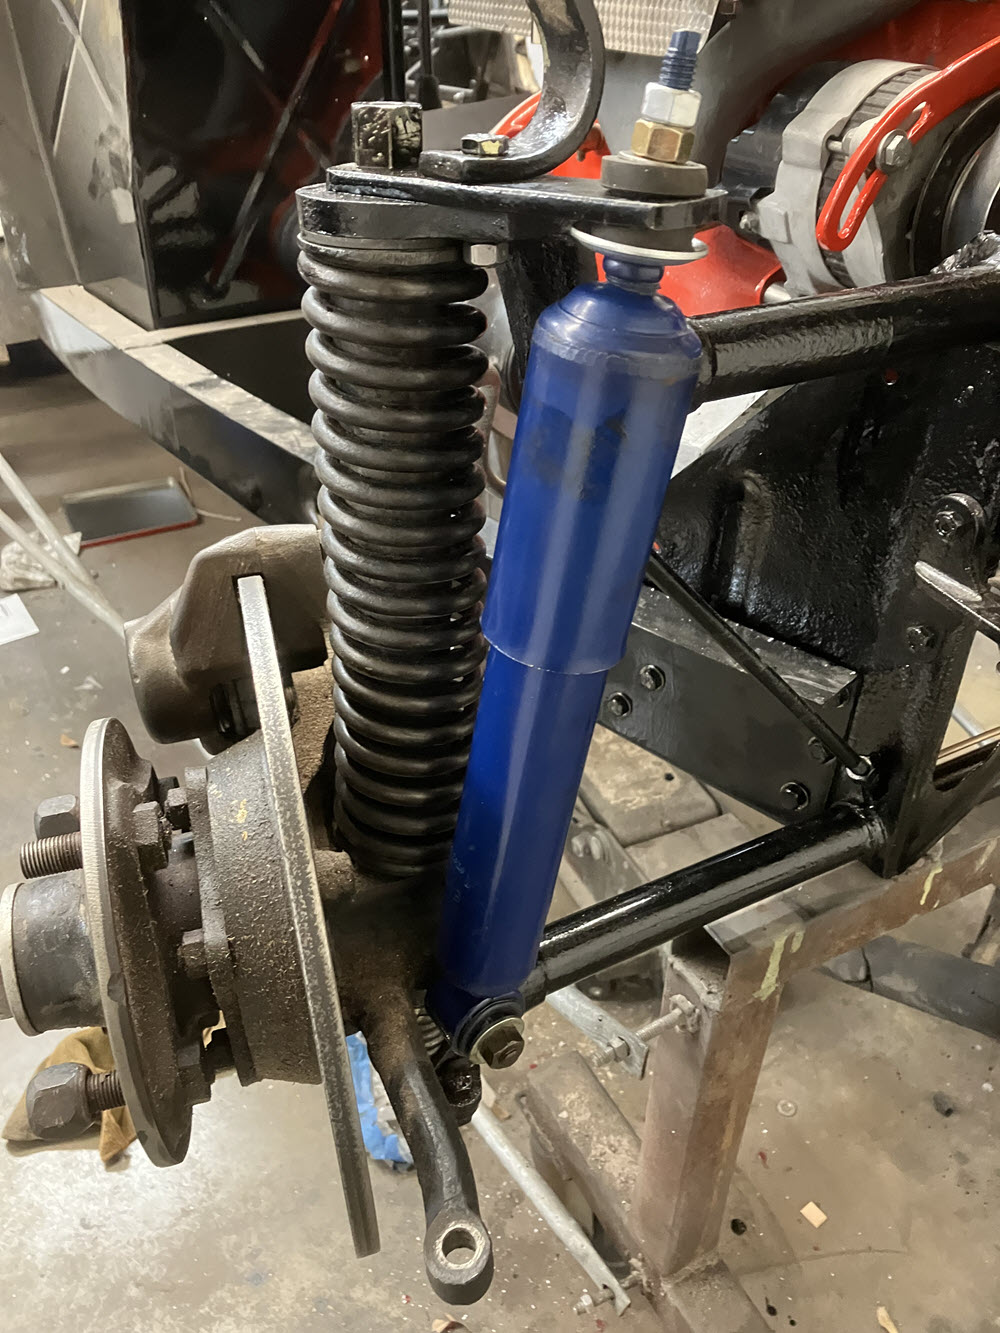
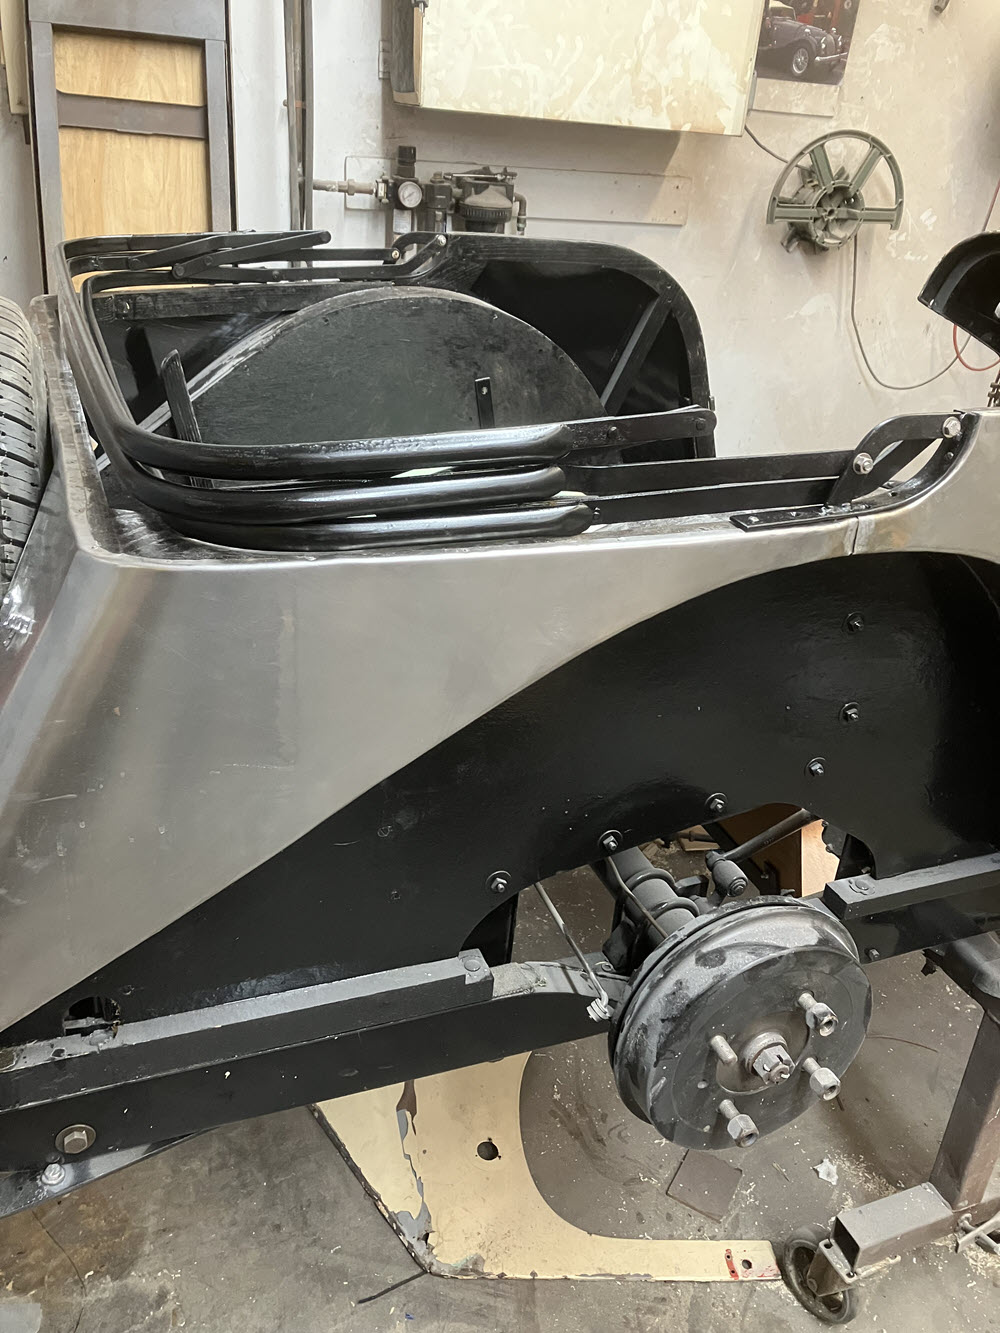
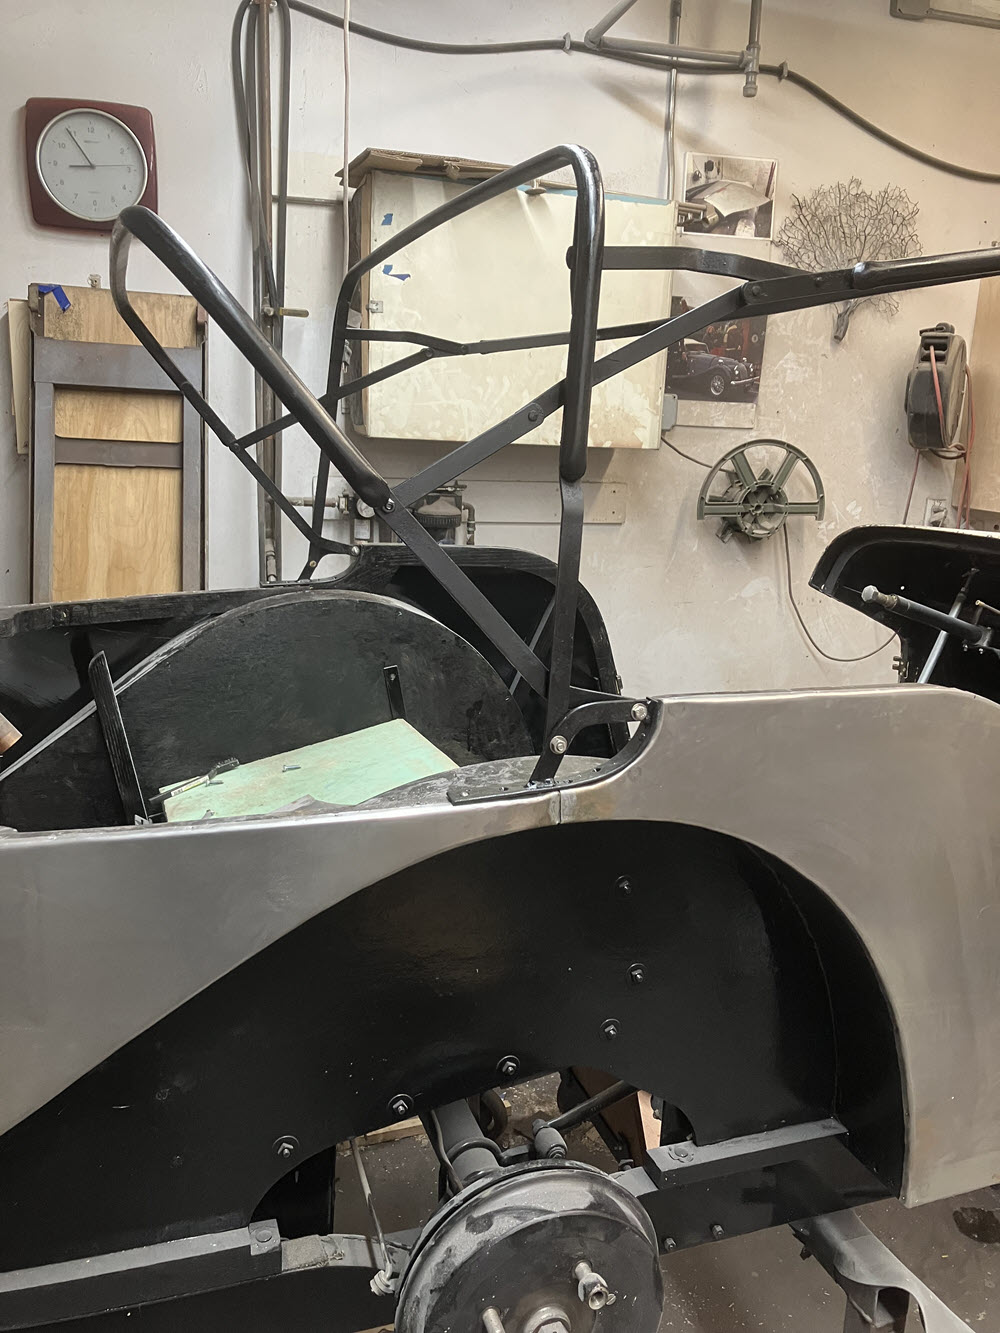
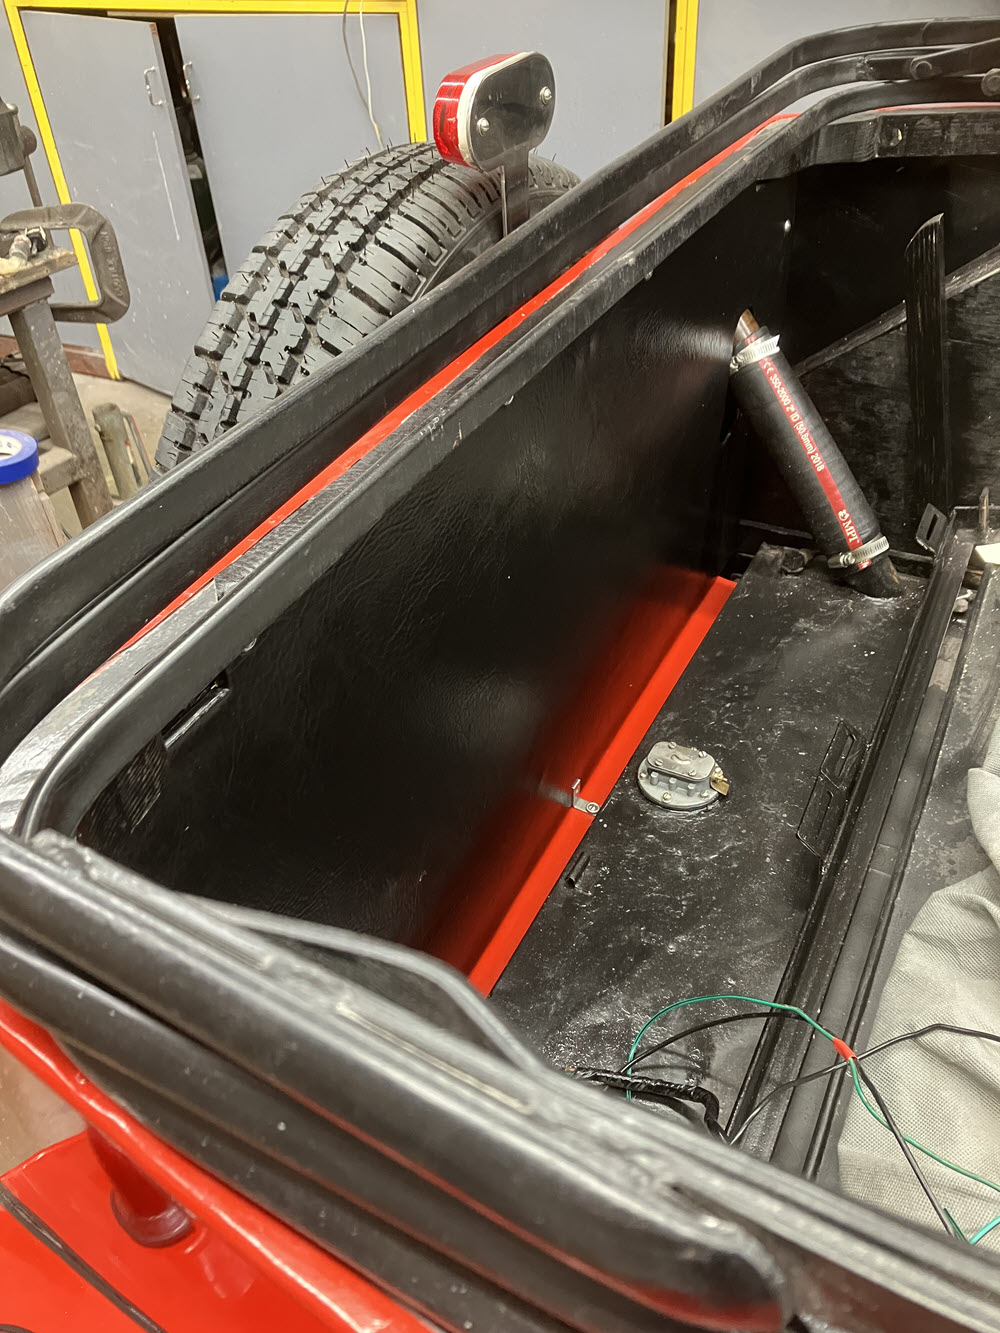
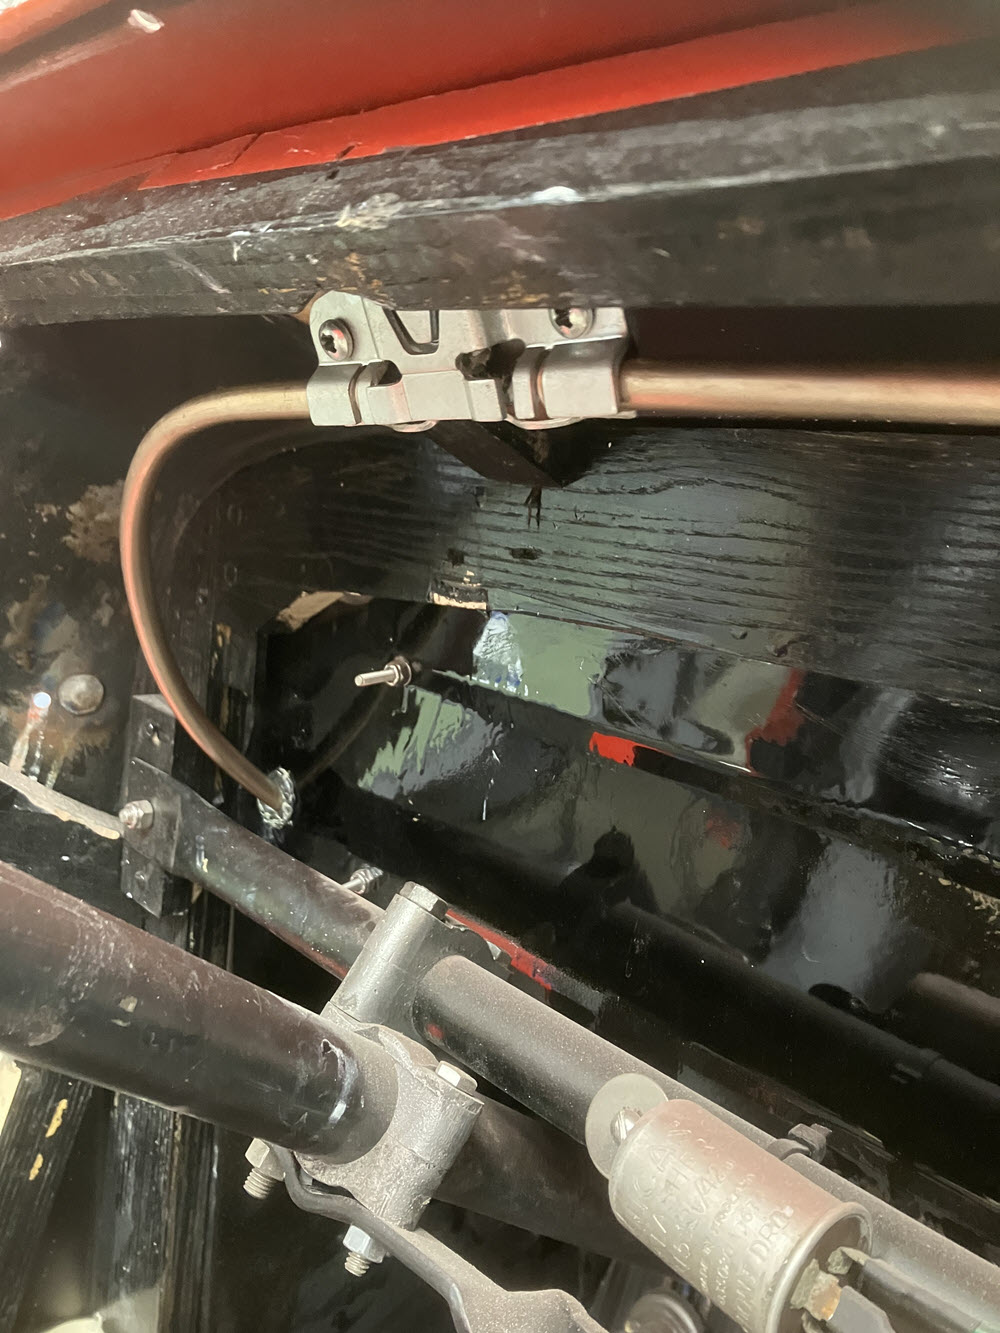
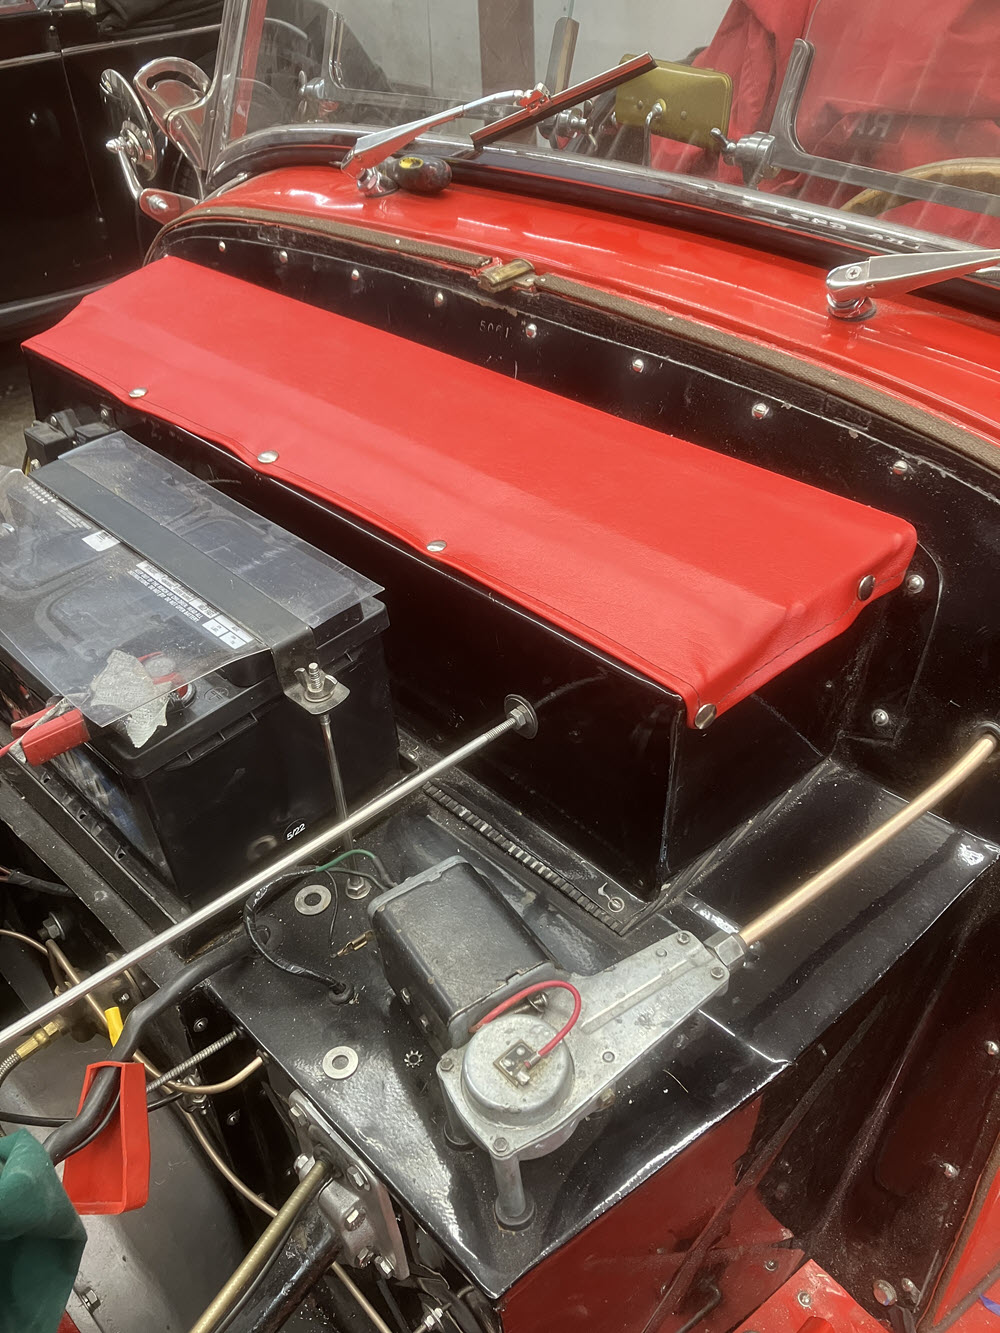
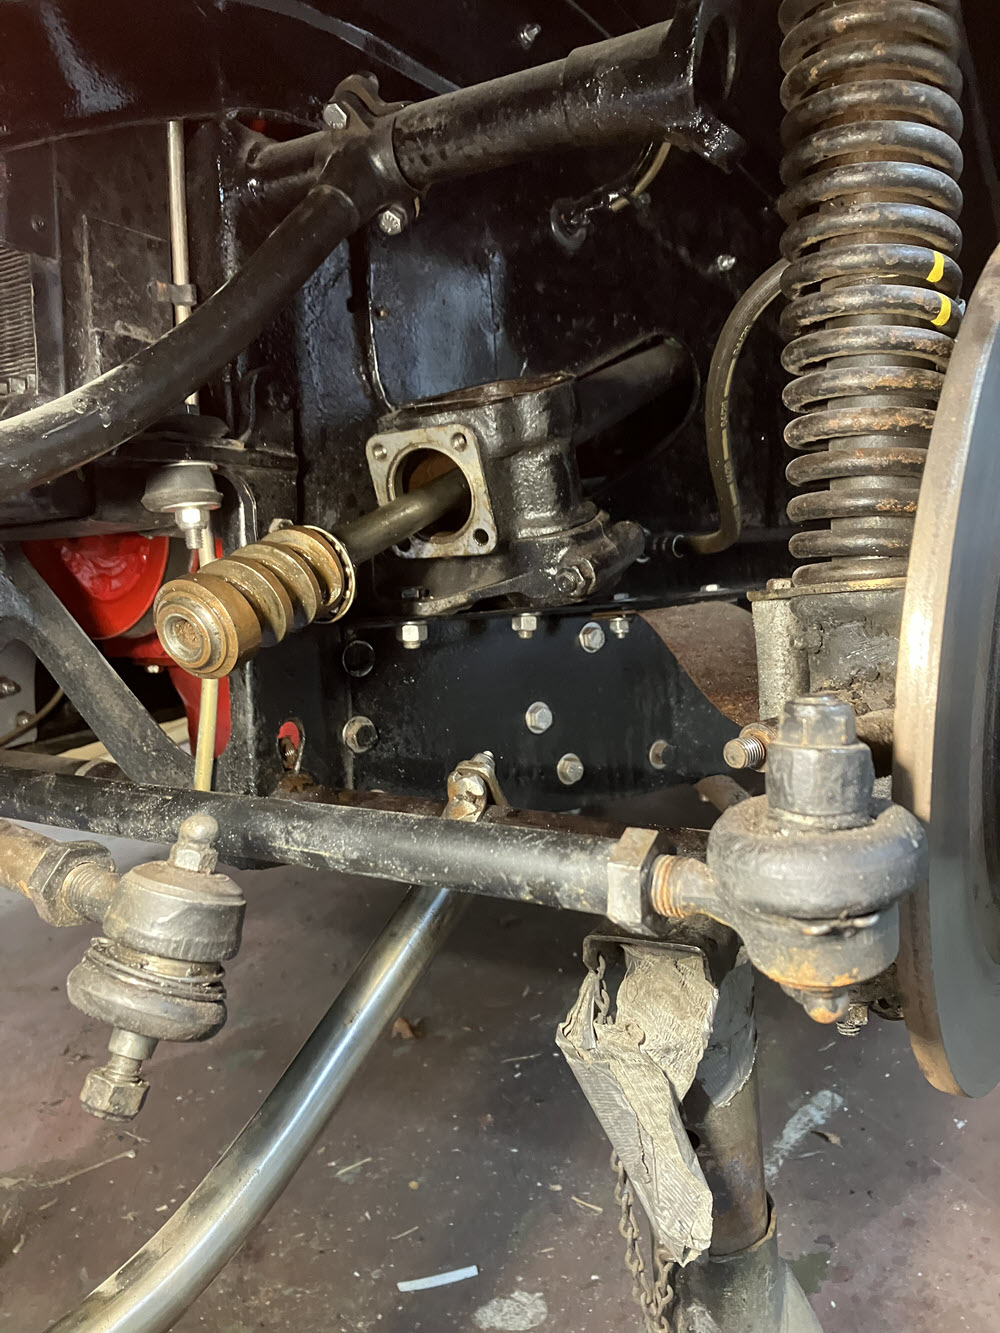
gas tank, springs/differentialmotor mounts, bumper brackets, dampersDampers & links, damp coursenew kingpins and bushingsnew dual master cyl and completed NiCu brake linesnew pistons and sealsturn discsrebuilt caliper, new hose and damper blade installednew front dampersOften Overlooked: driveshaft ends have alignment arrows driveshaft installednew valences painted and installednew “dummy” regulator, fuse box and additional fuse box for new stuffRubber matt and Plus 8 heater installednew battery; one-shot plumbing, horn
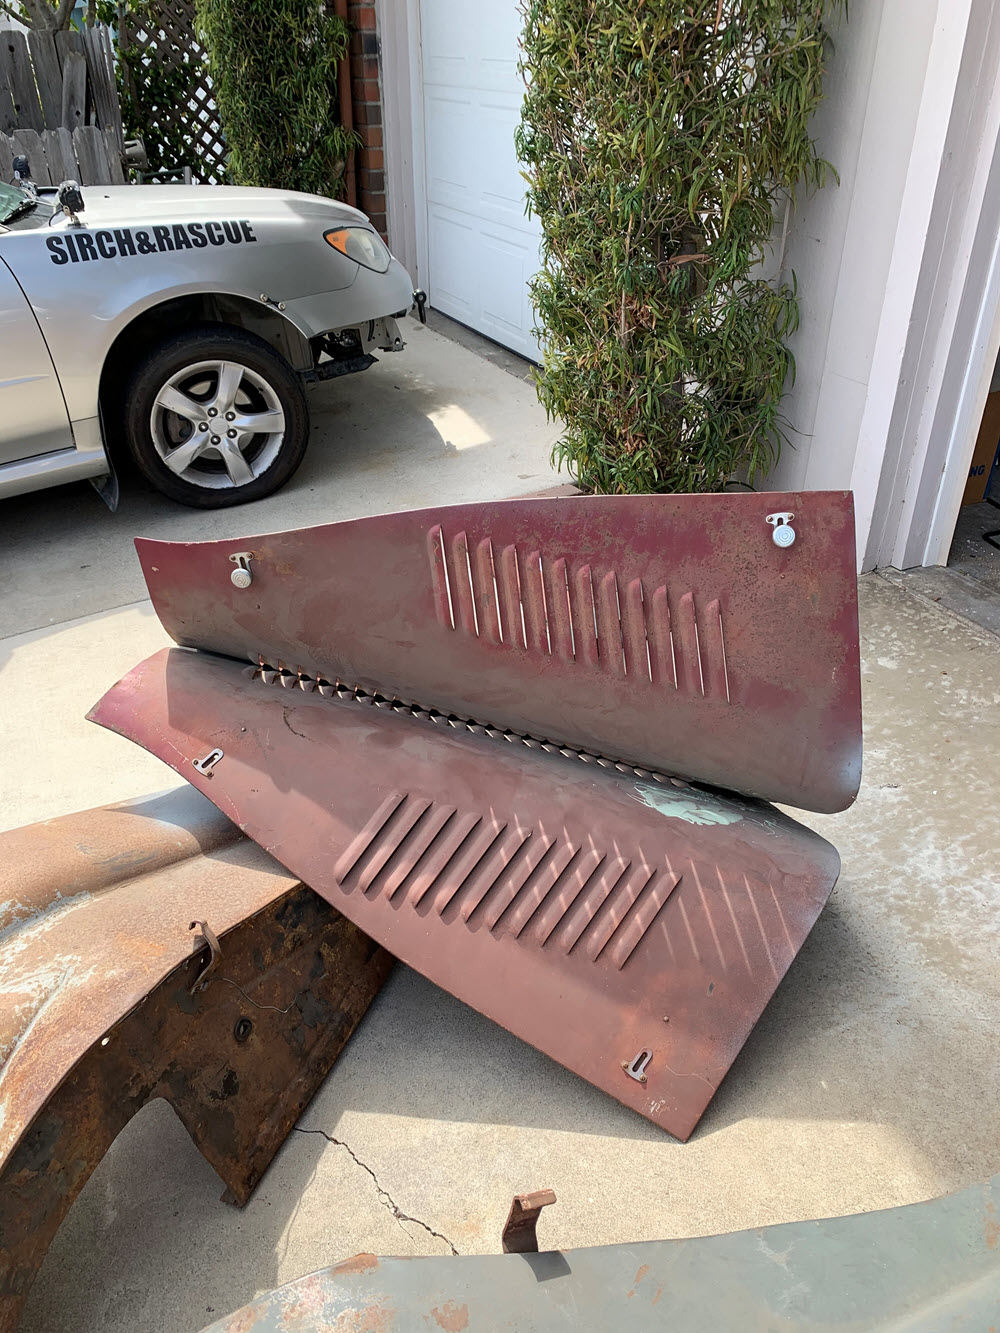
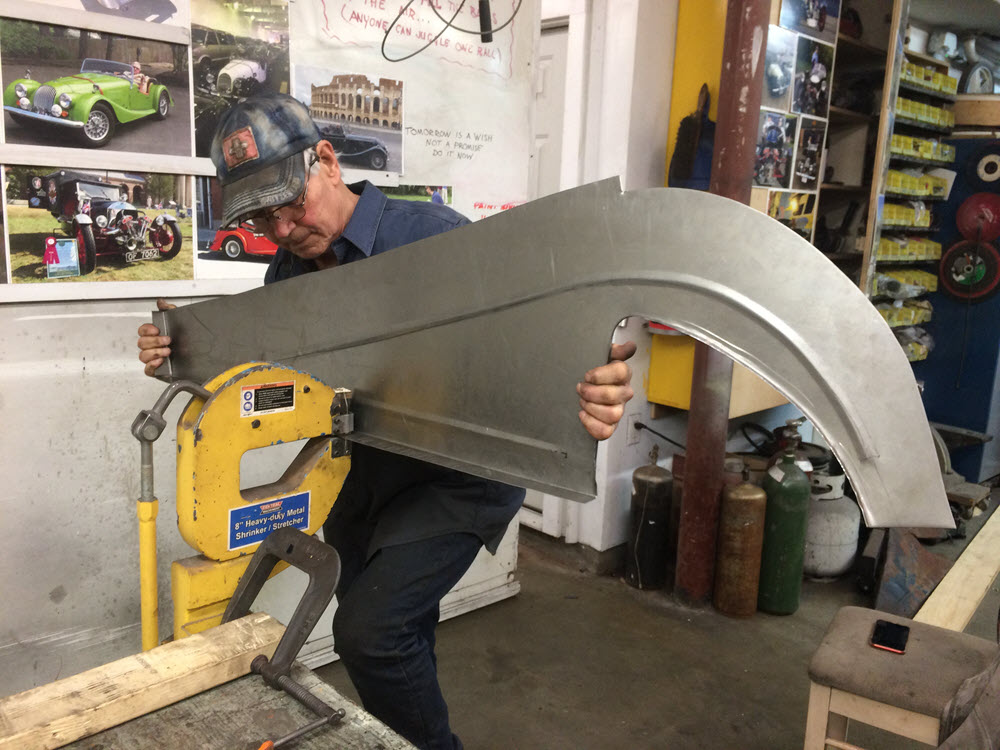
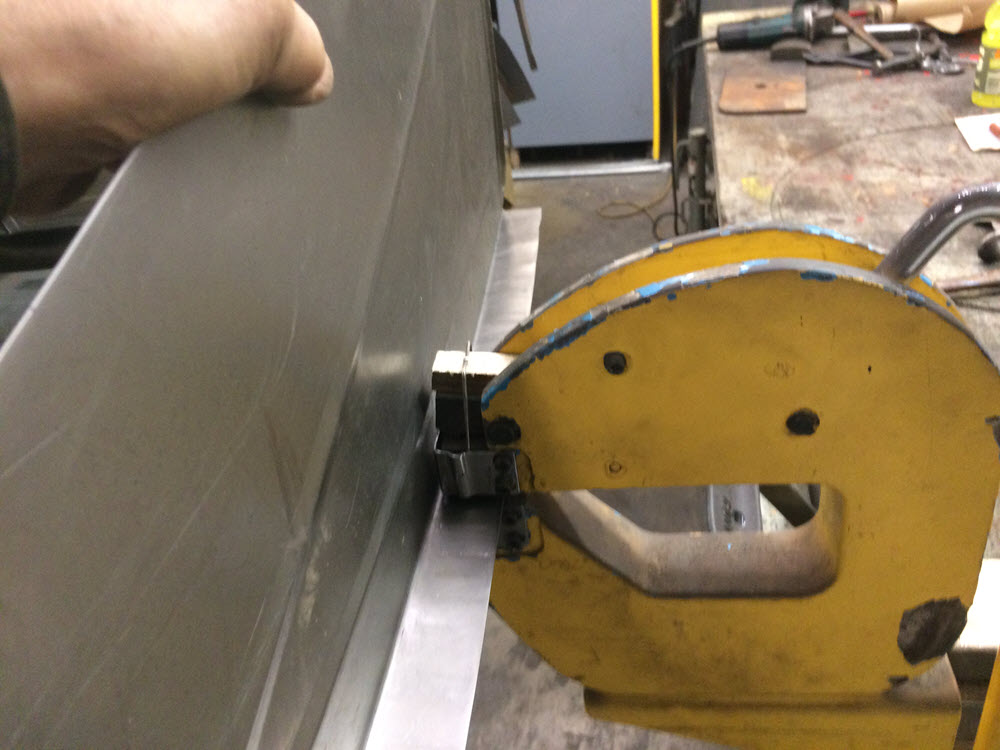
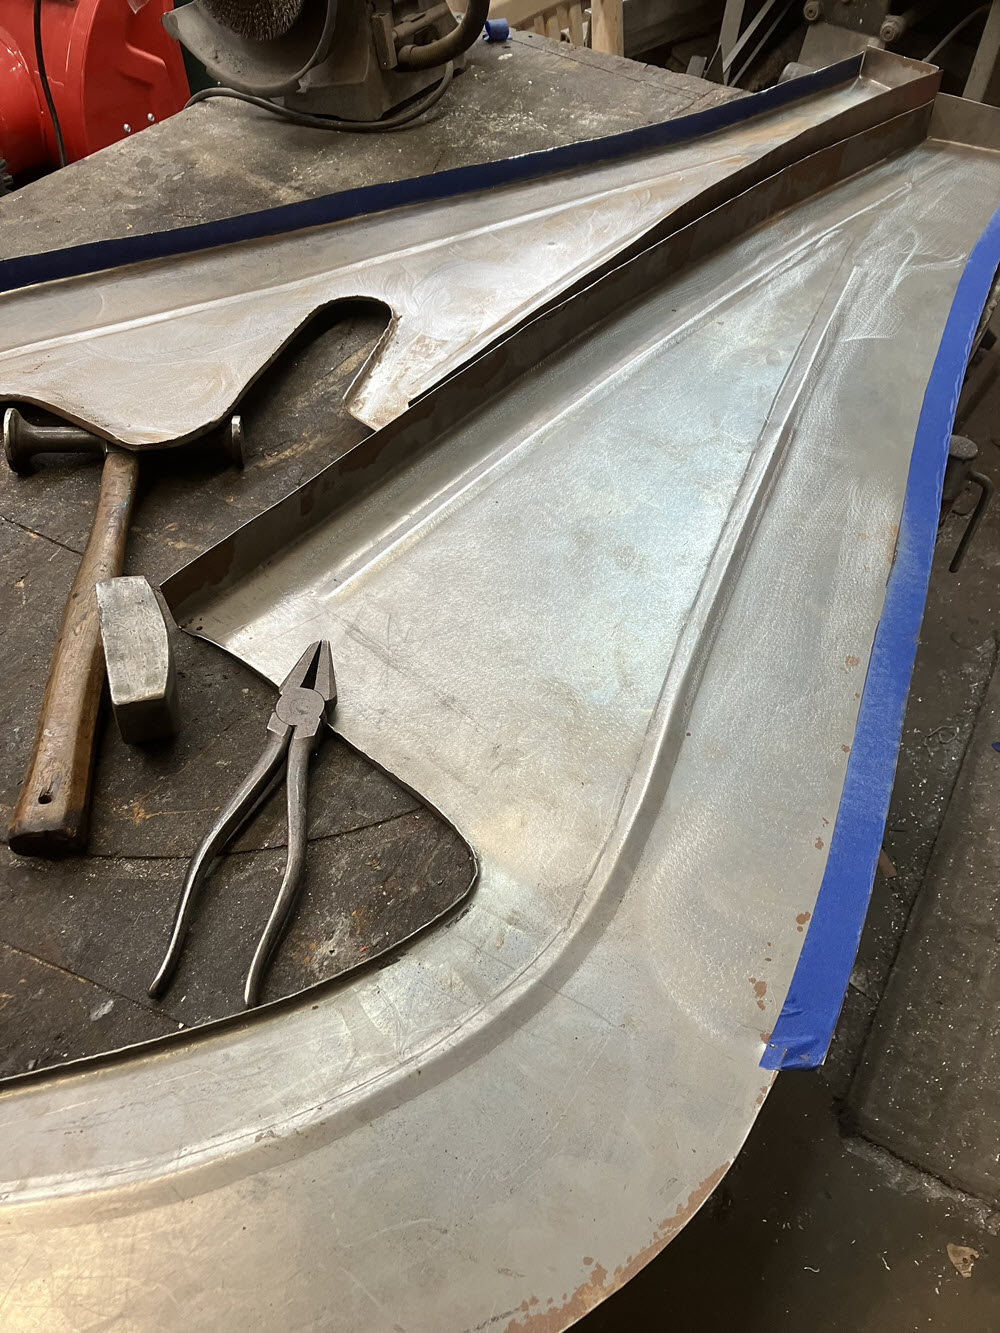
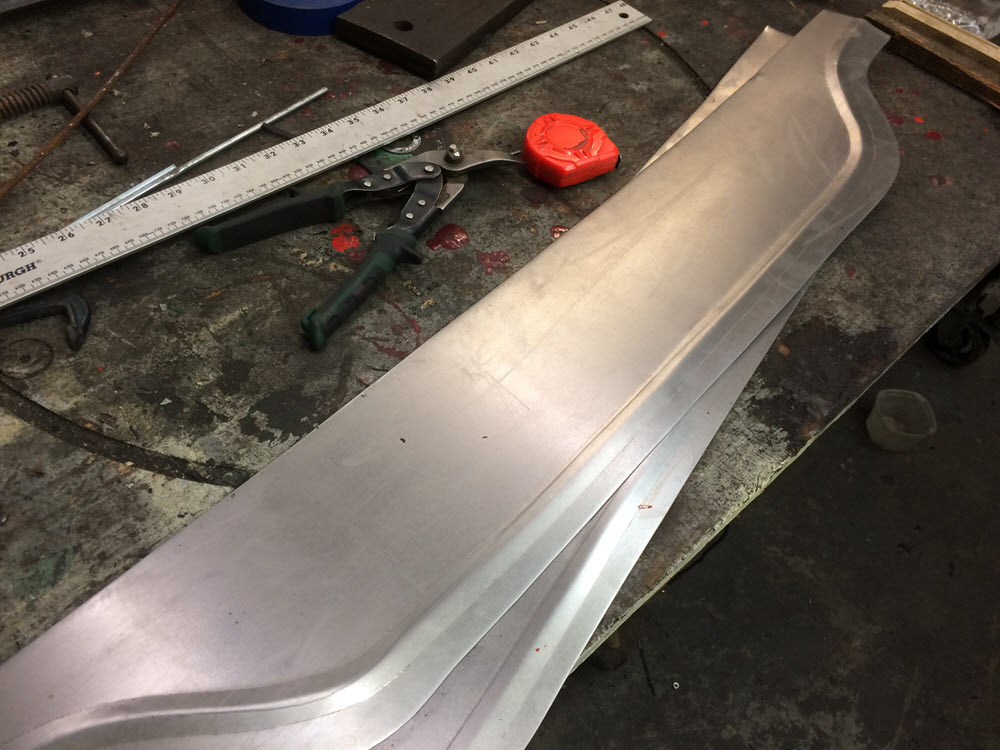
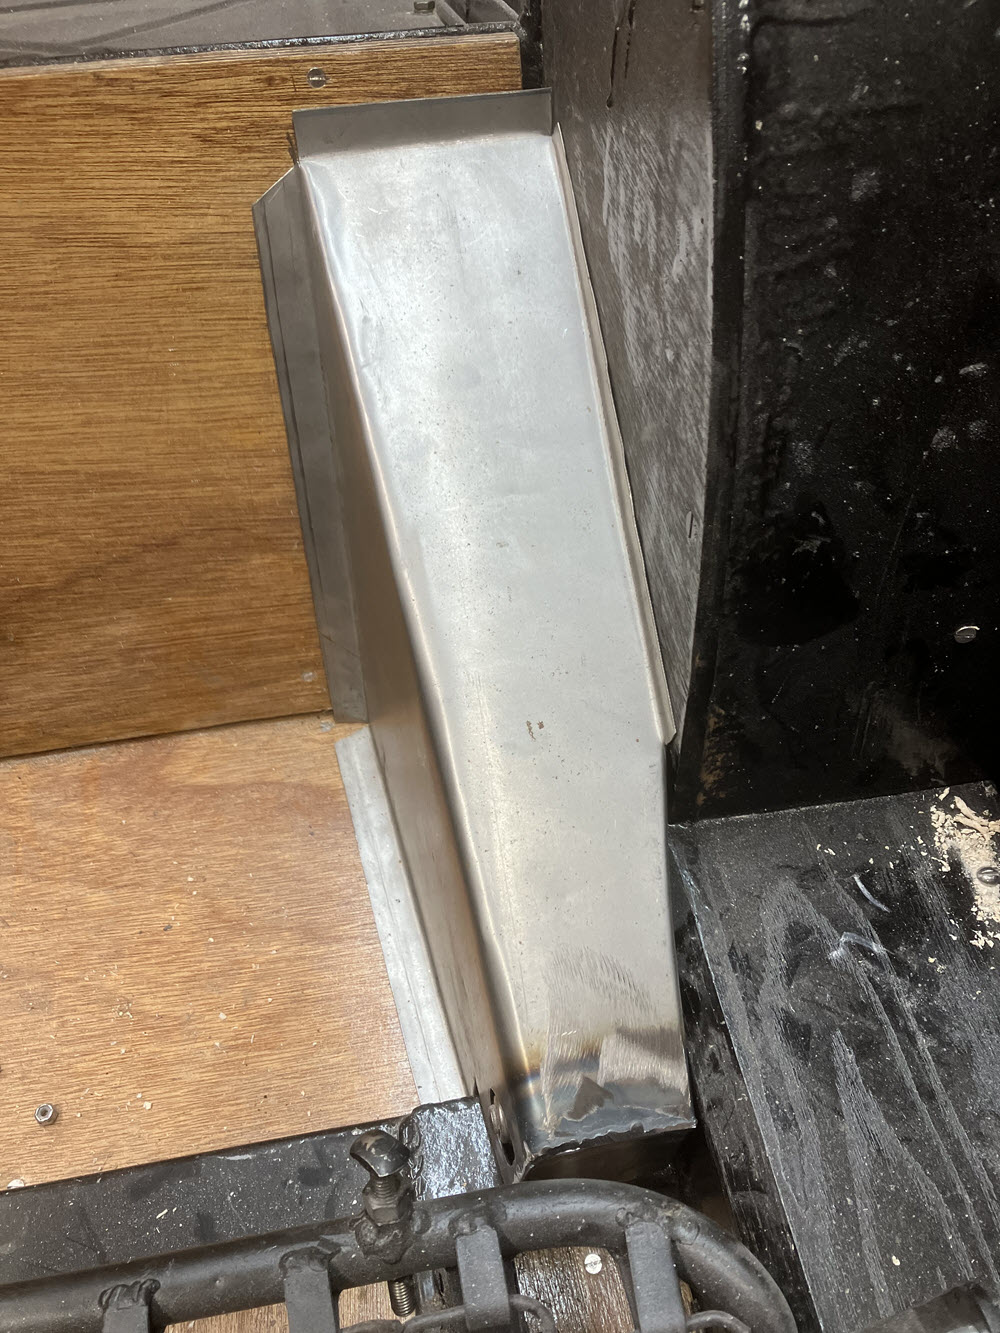
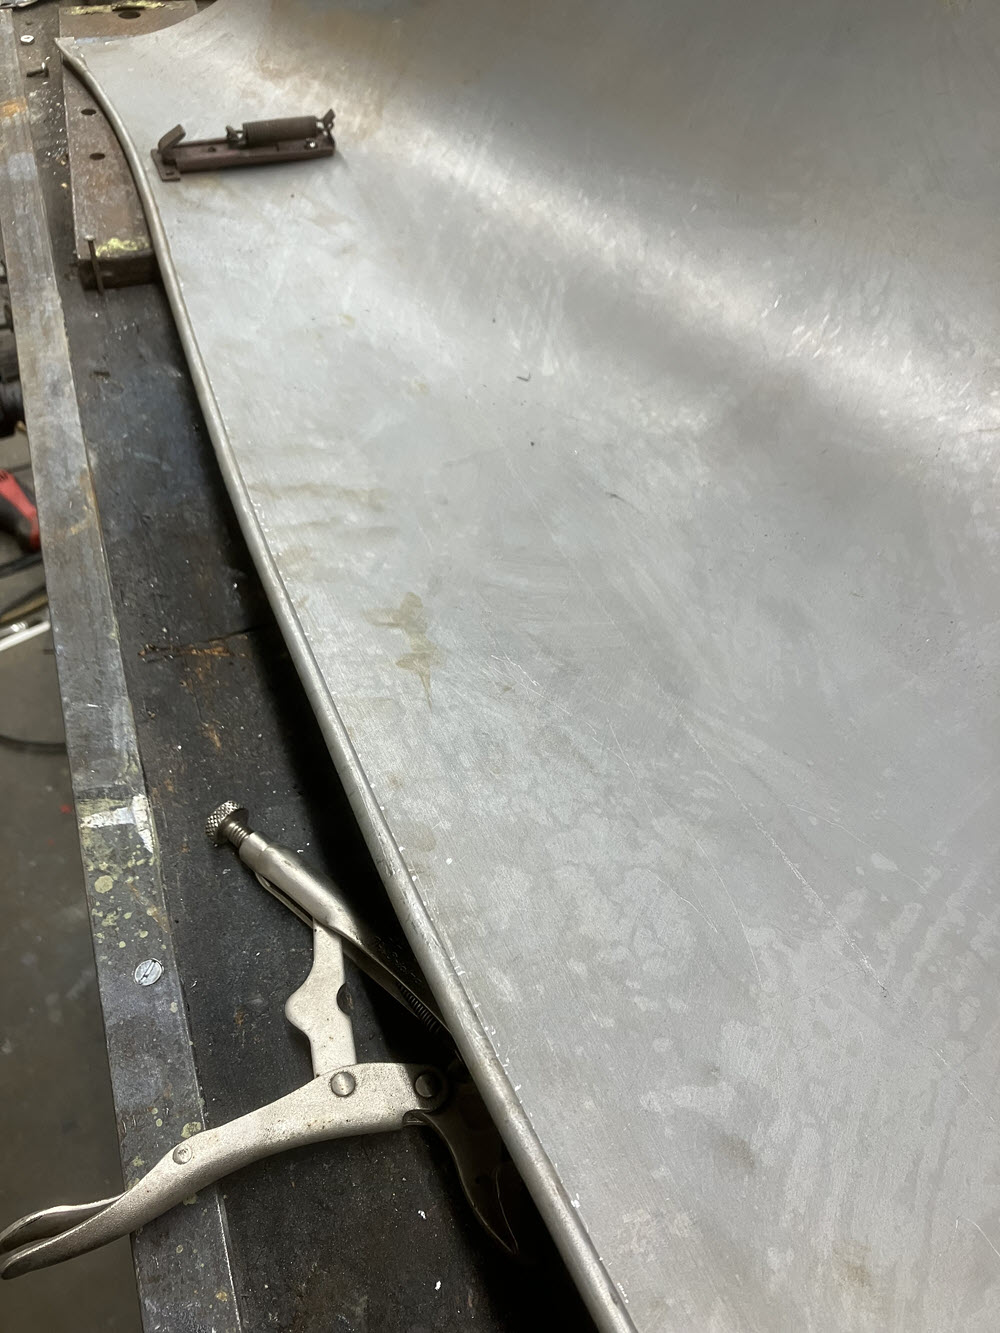
Some New Sheet Metal bits…
layout valencesmaterial cutoutroll beadsbend bottom flangestretch bottom flange to match chassisstretch bottom flange to match chassisbasic valence check fit to chassisstart turning top flangefit to wingfirewall in workcheck fit firewallcheck fit firewalladd toolbox parts to fixturecheck fit toolboxroll beads on new valencesadd flangefinished rear valence for 2 carsnew toolbox and battery traynew parts in Imronnew toolbox in Imronfillers under thresholds ompleteLeft Spring cover remade to maximize seat travelNew Right Spring Cover
Wheels…
wheels in primeGuess what color this car will be…5 New tires
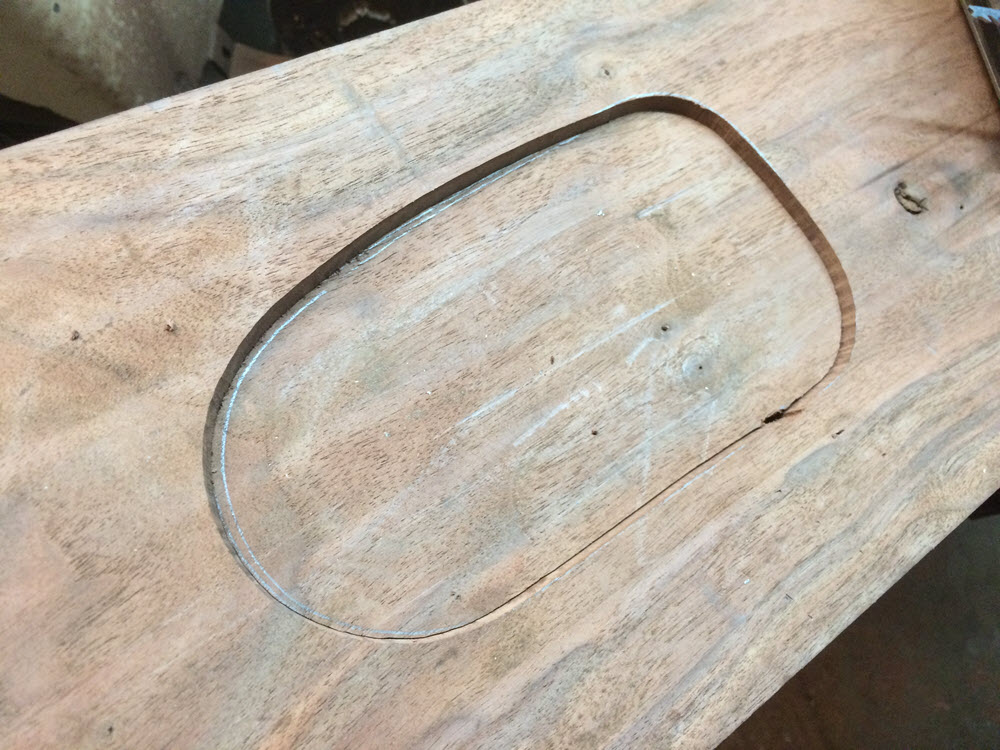
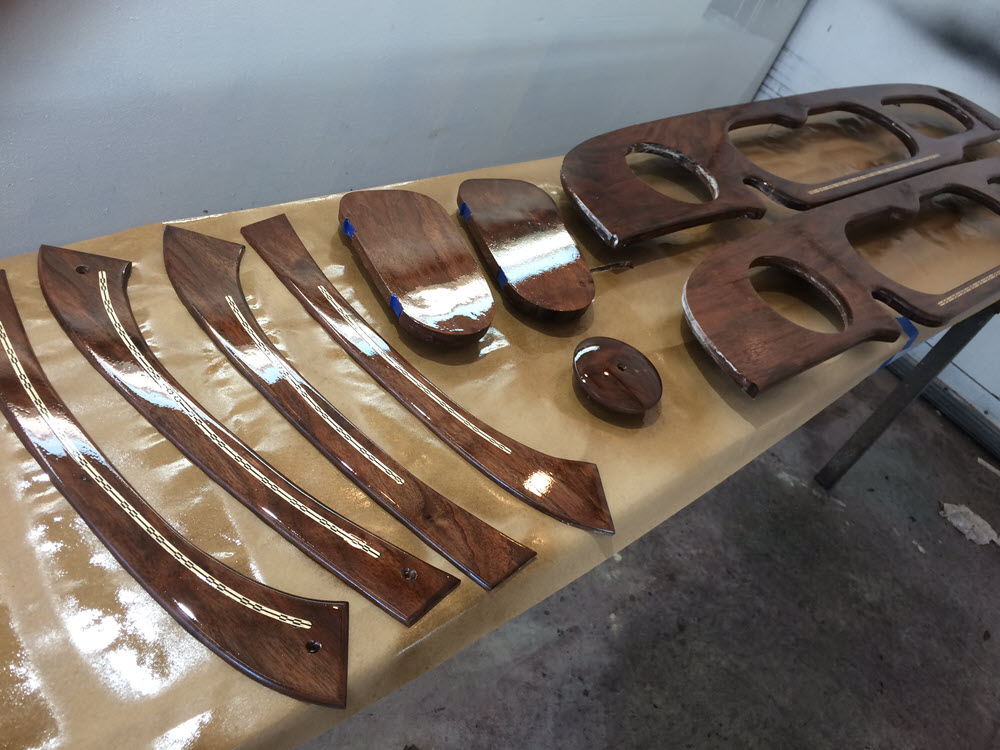
Interior Woodwork
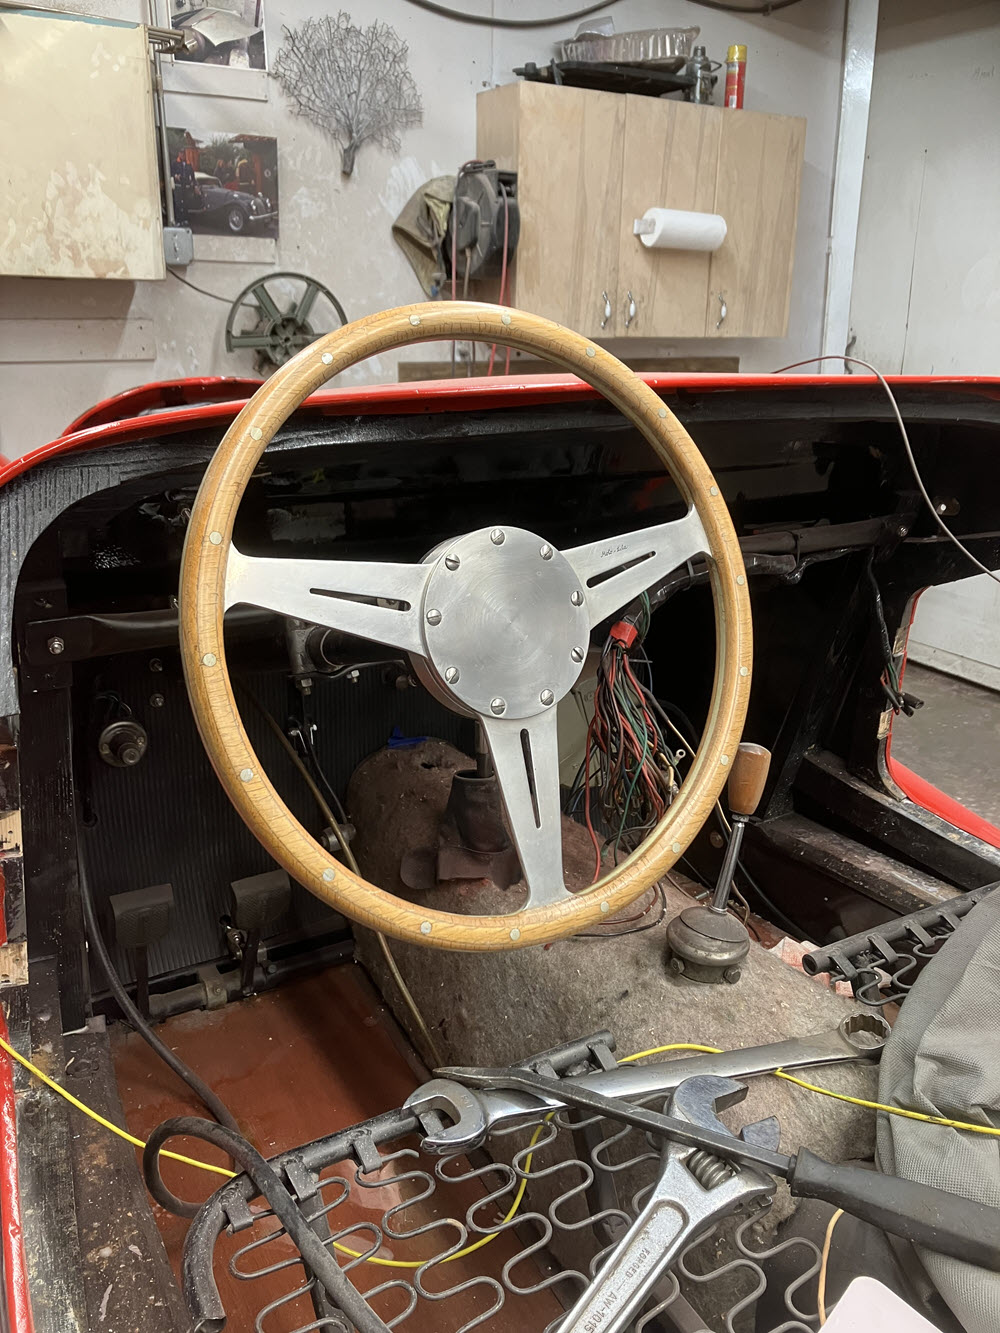
2 1/2″x 9′ Slab of Caro Walnutold dash and walnut blank (to be resawn for three dashboards) Jig saw at angle to cut glove box door at a taper finished door does not drop through (0 kerf)instruments fitted, ready for finish second application of clearcoat.fit Moto=Lita wheel Finished walnut dash with contrasting wood inlay (musicians note: Inlay is the center stripe on Martin guitar backs)
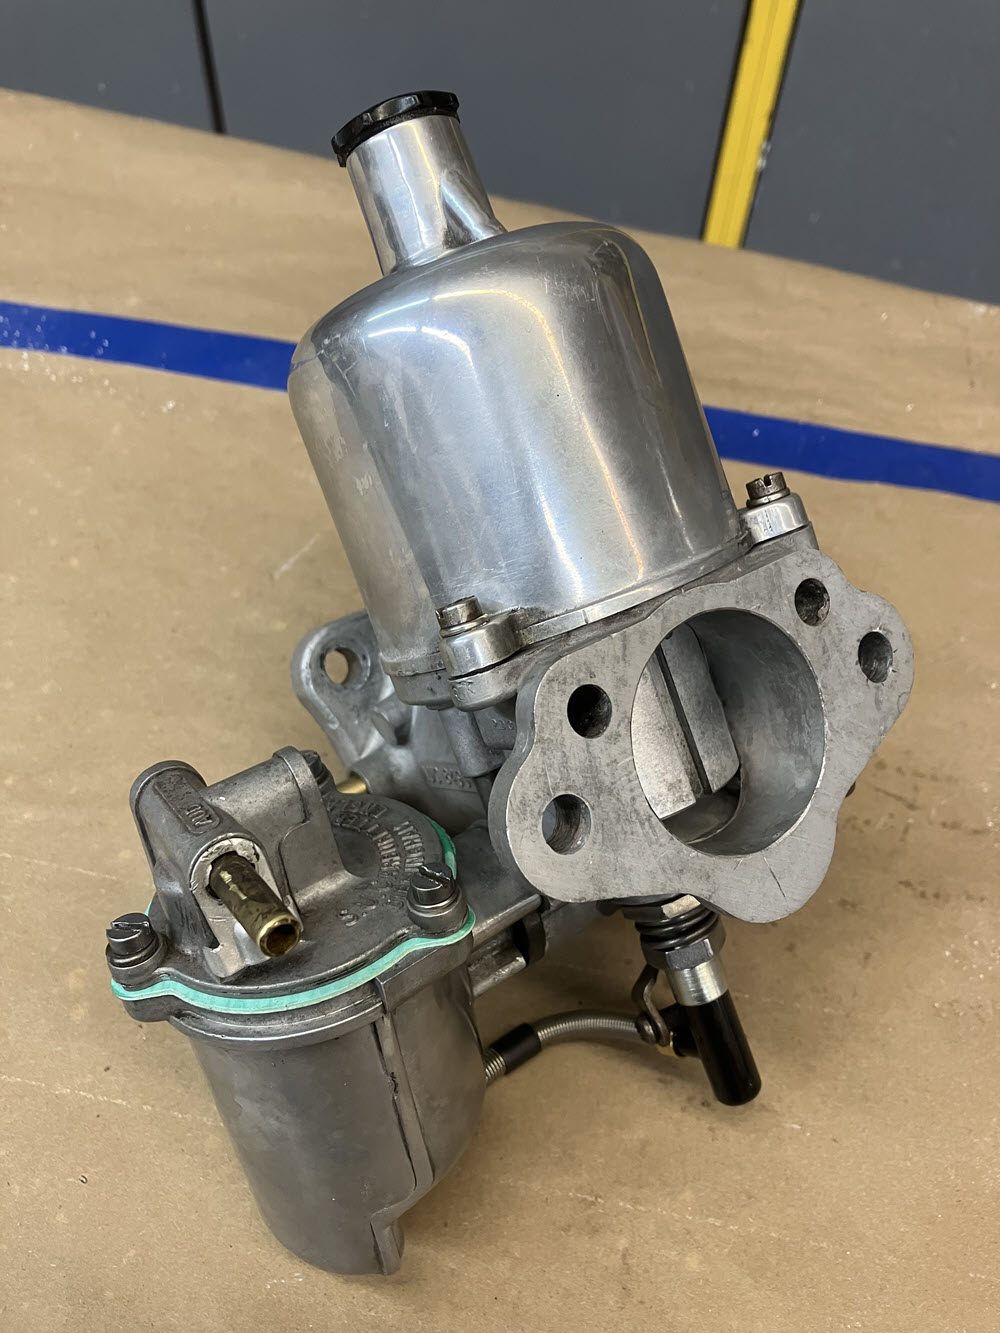
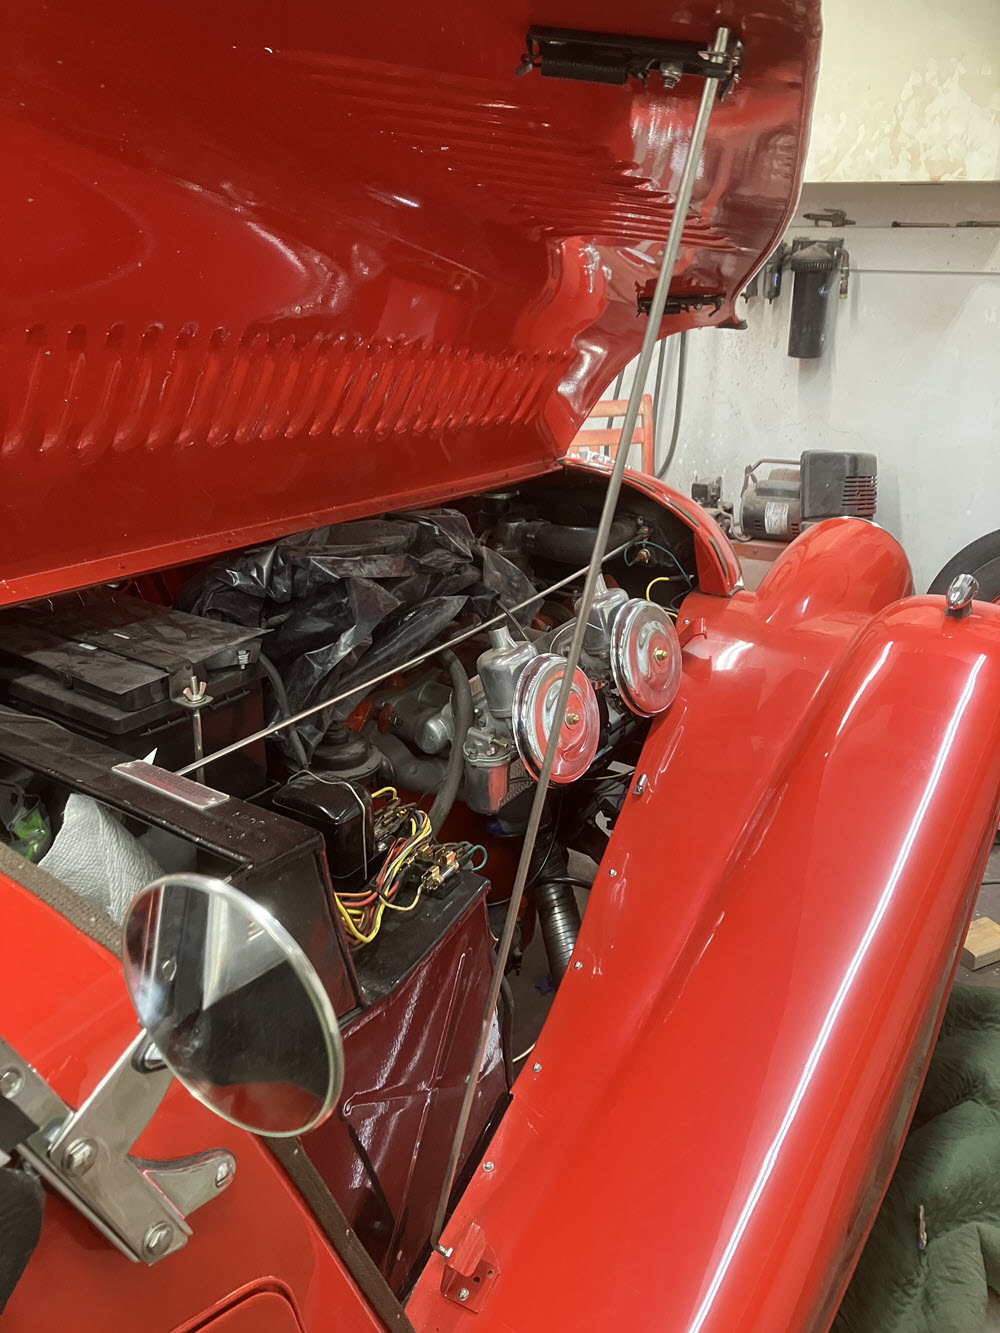
Rebuild SU HS-6 Carburetors.
HS-6 carbs with original short manifold and rebuild kitsNew bushings, shaft and butterfly installedRear carb fully rebuiltnew SS shafts and new levers on turned SS heat shieldinstalled on engine
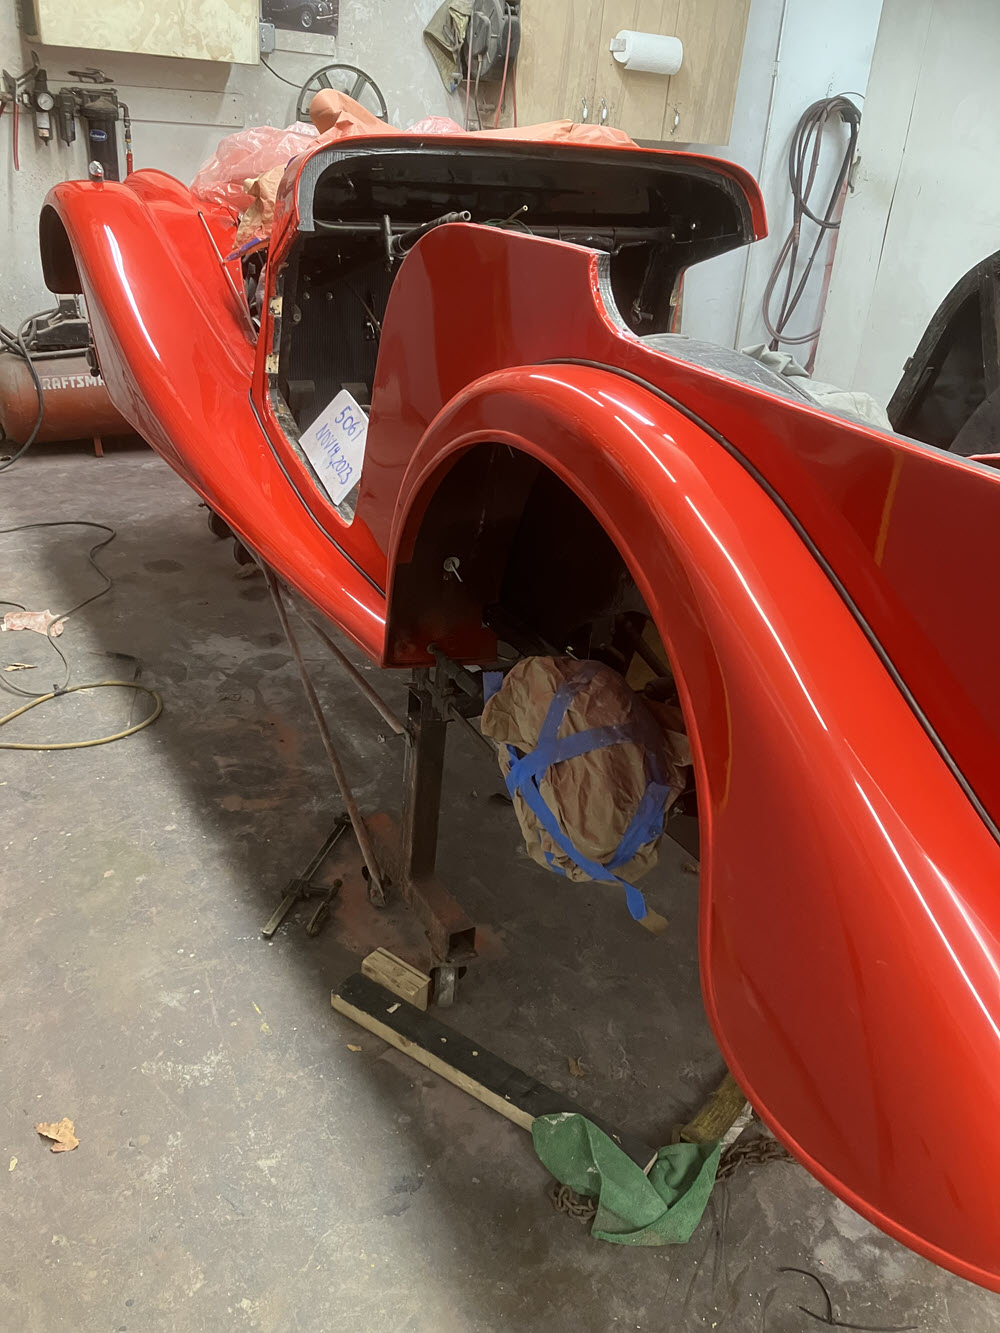
And the Body…
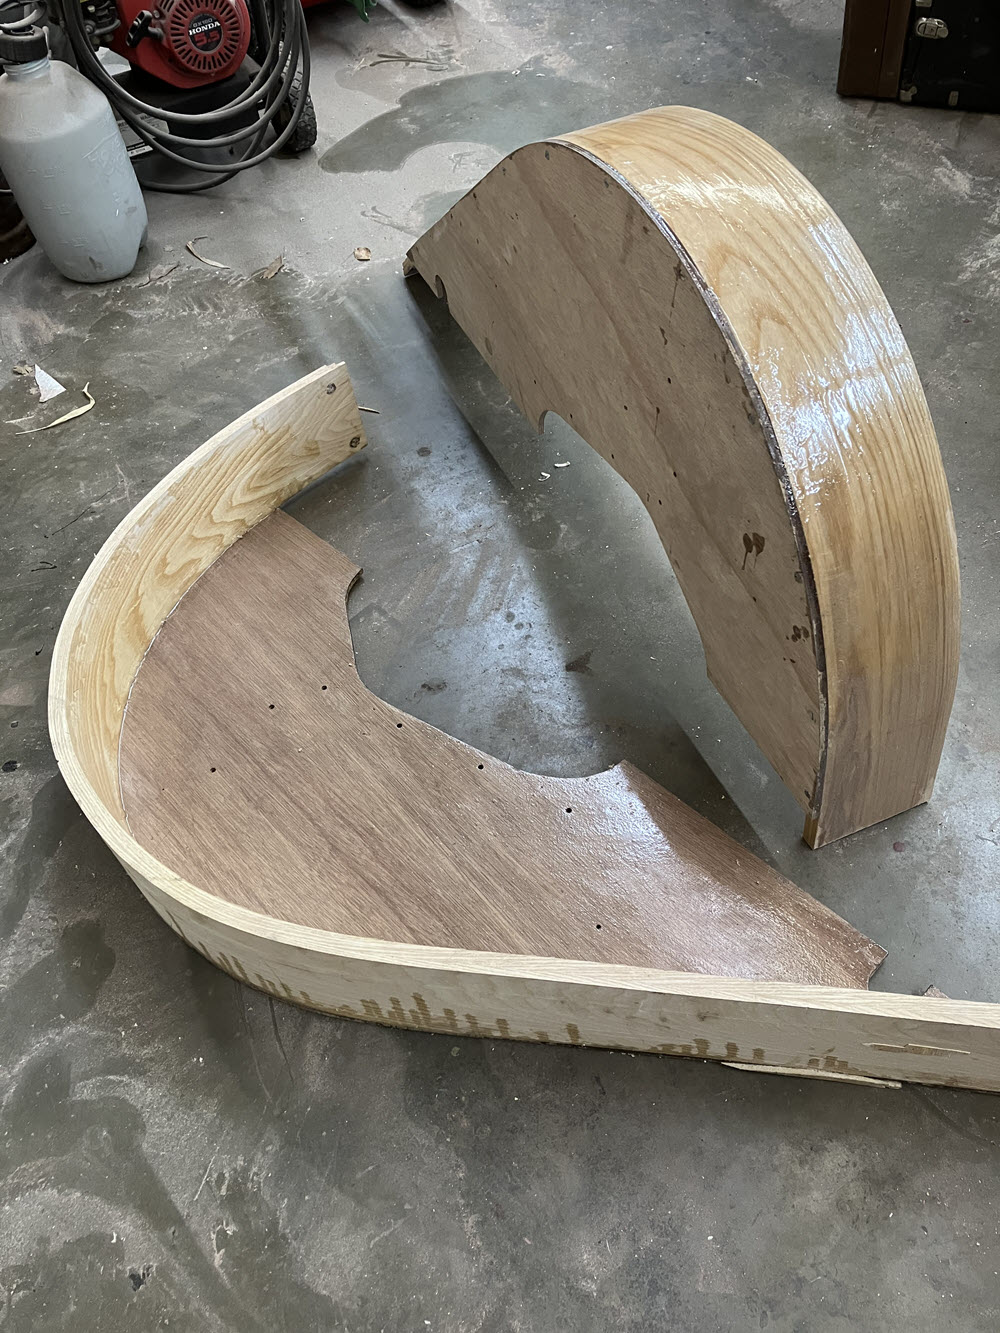
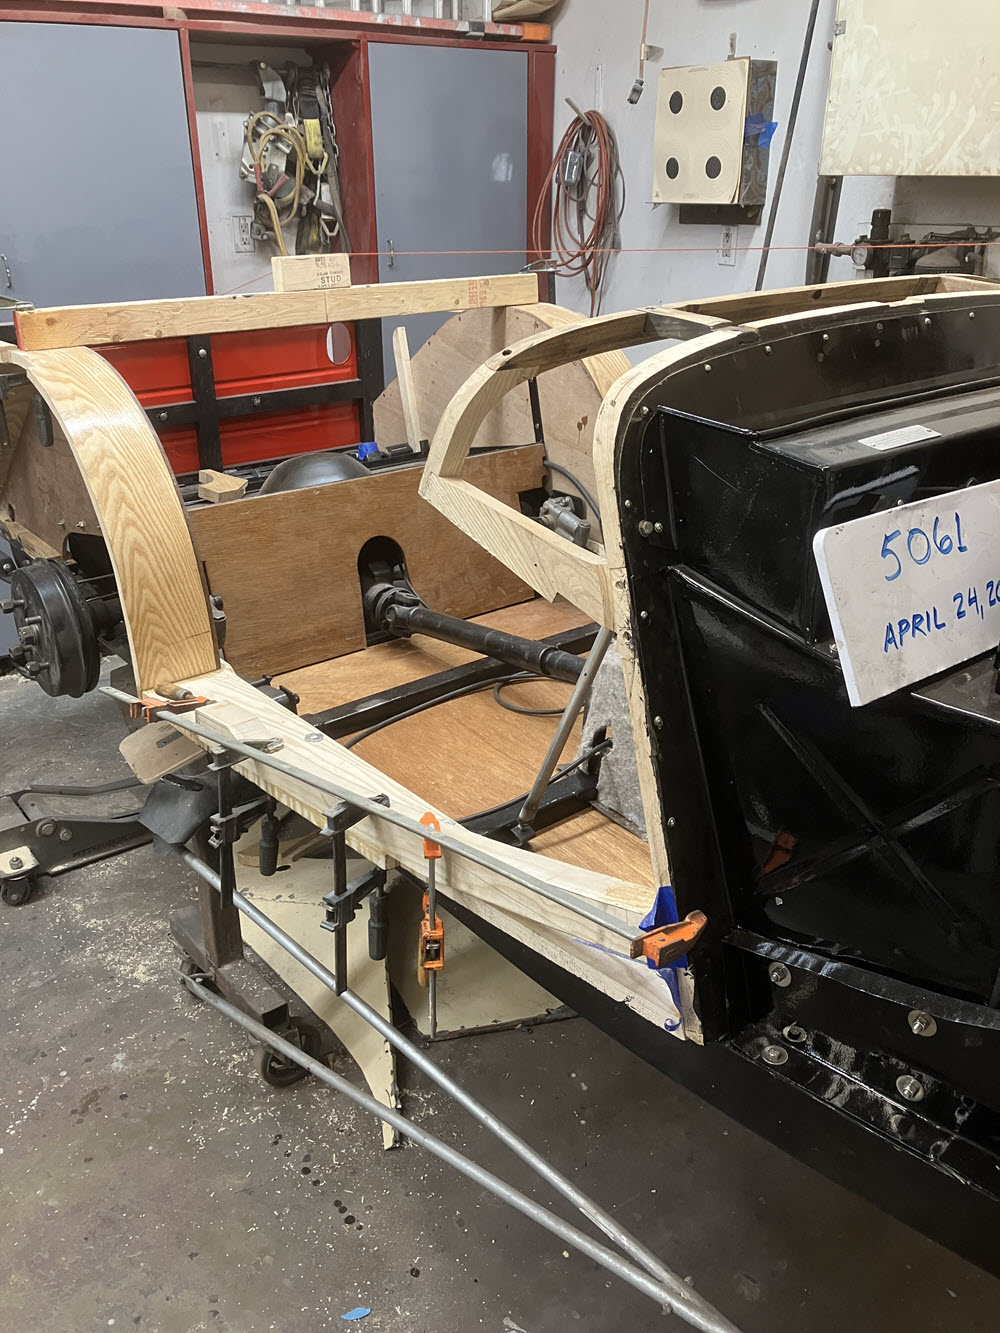
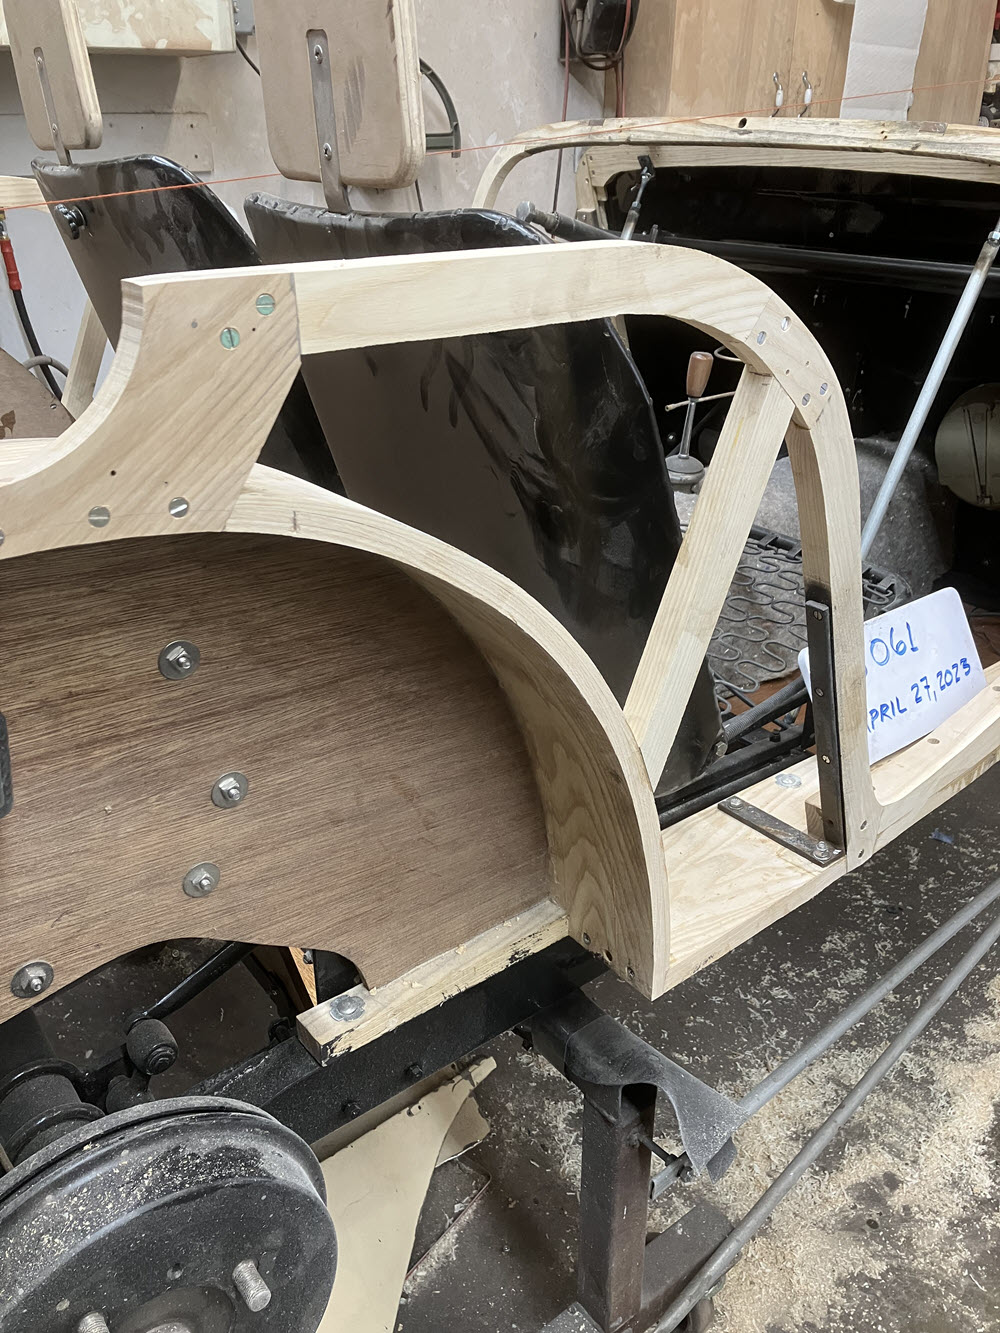
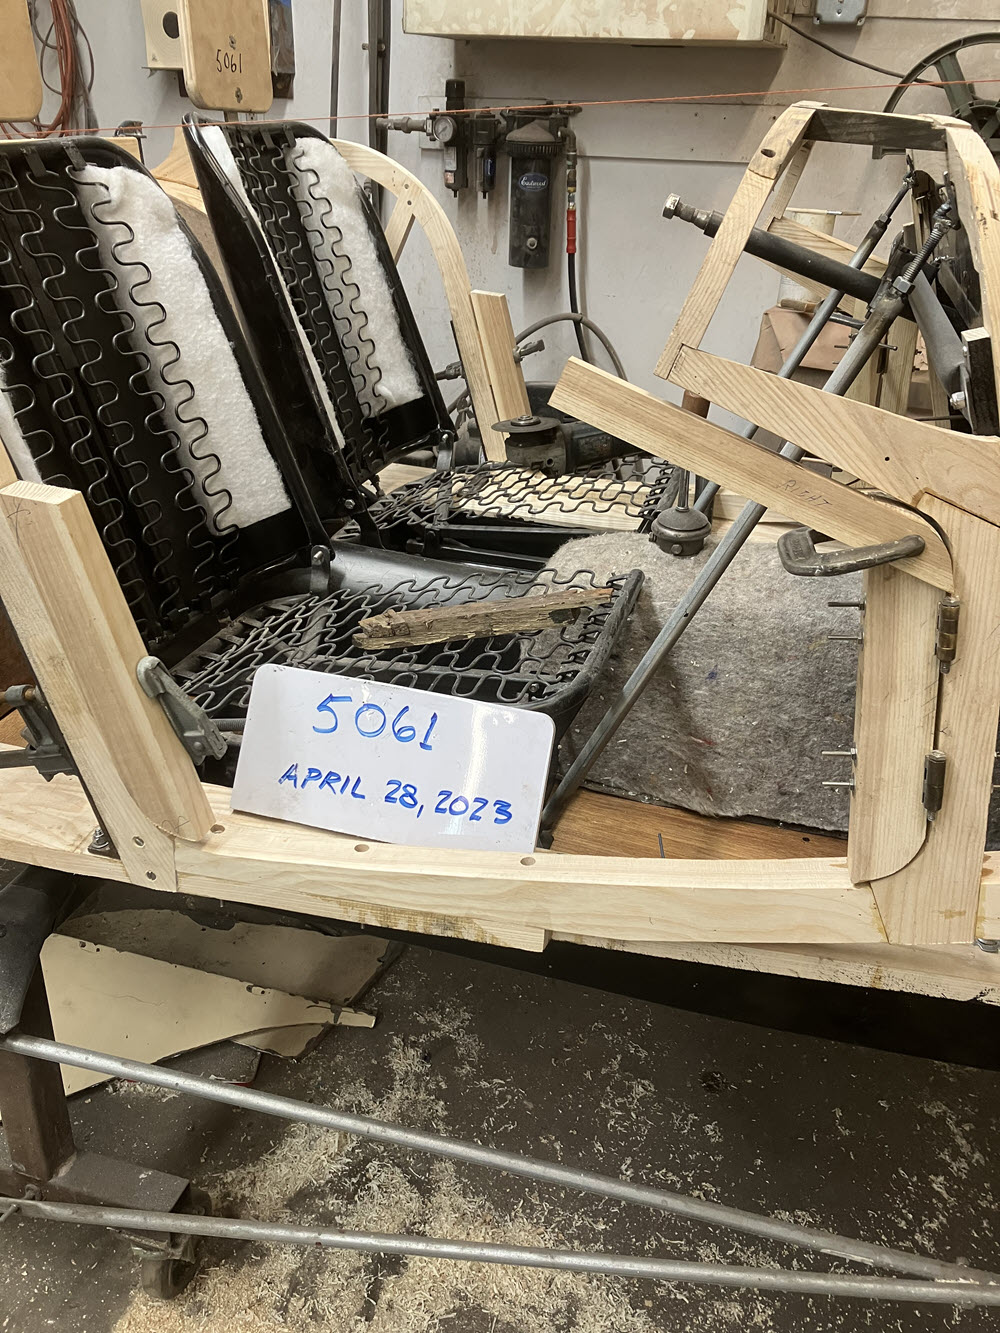
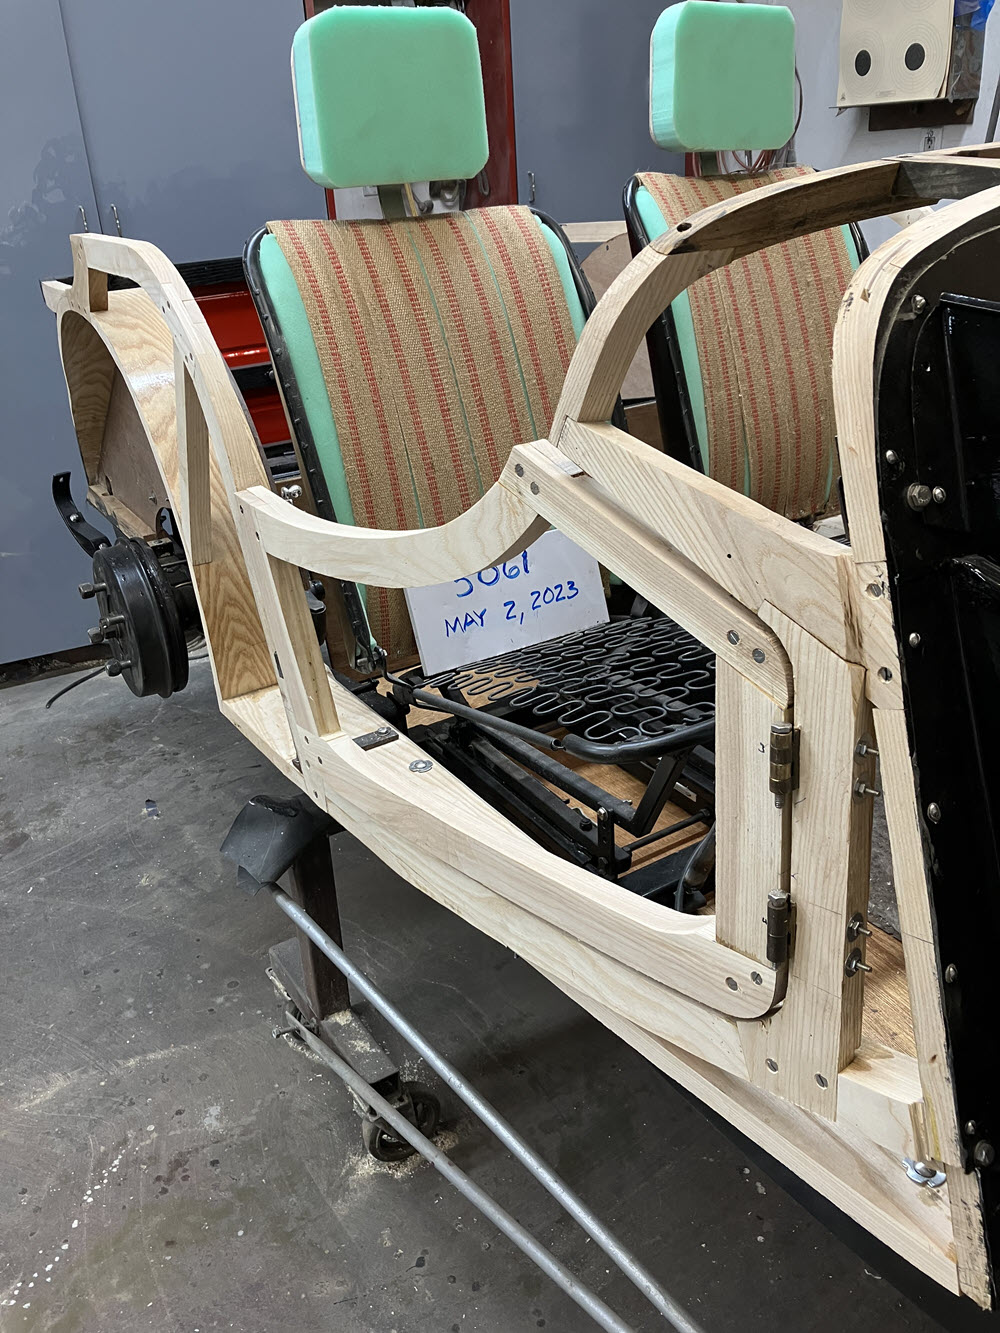
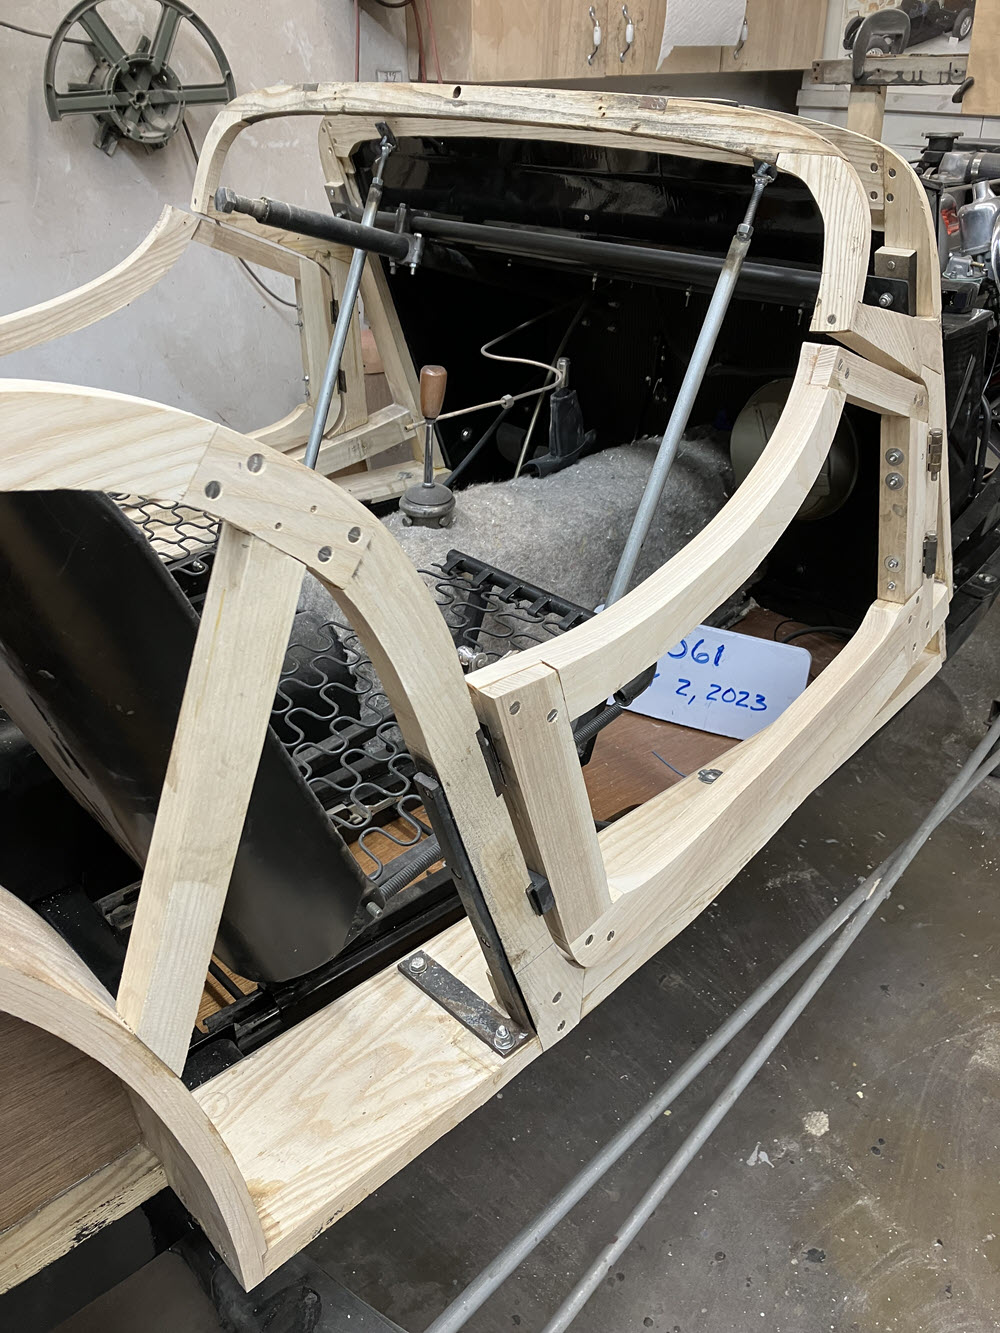
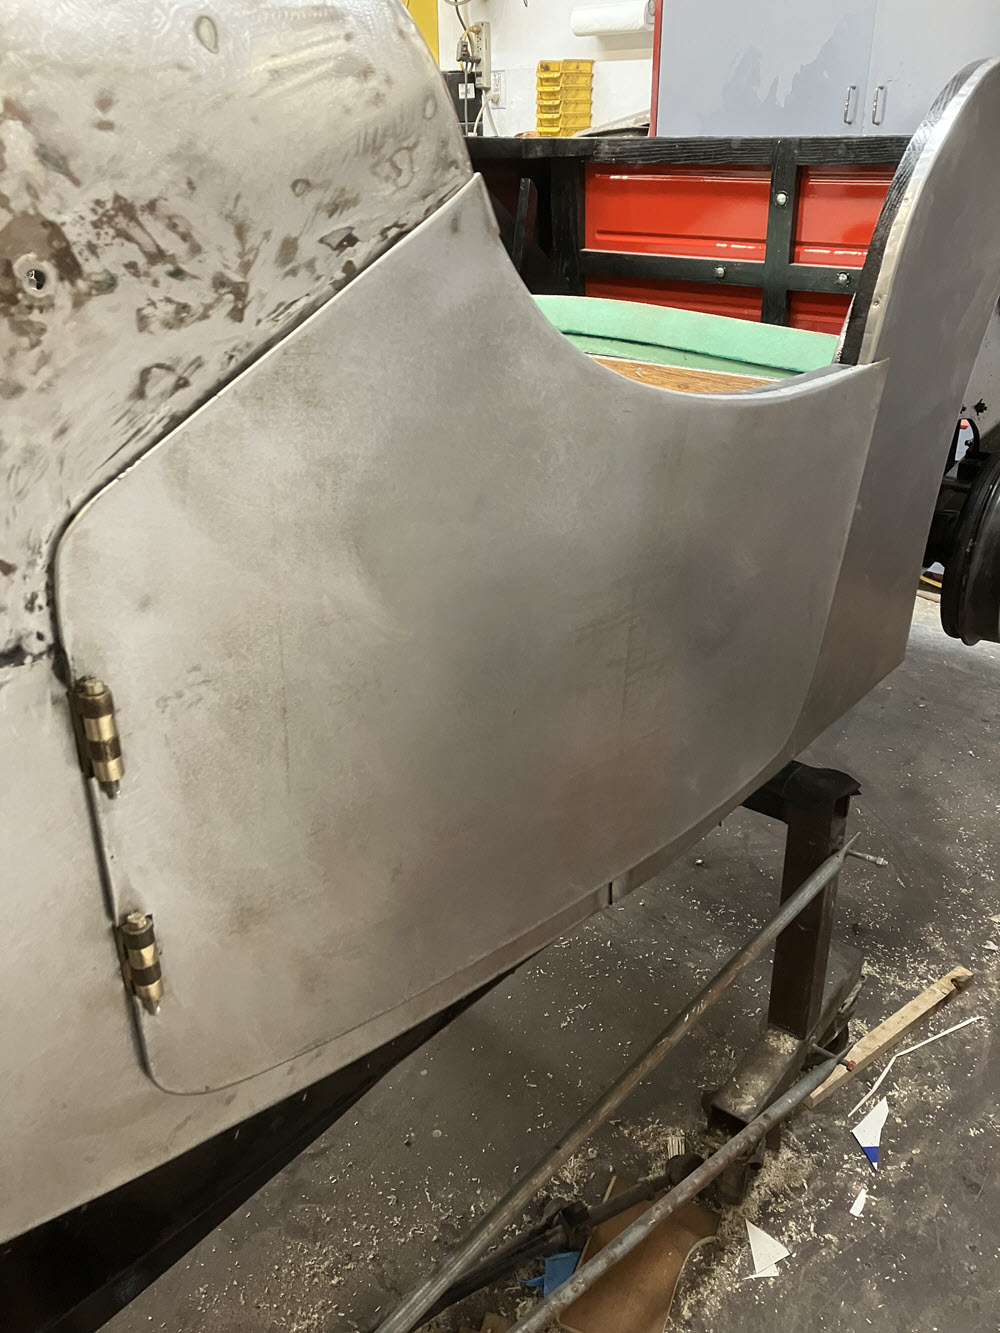
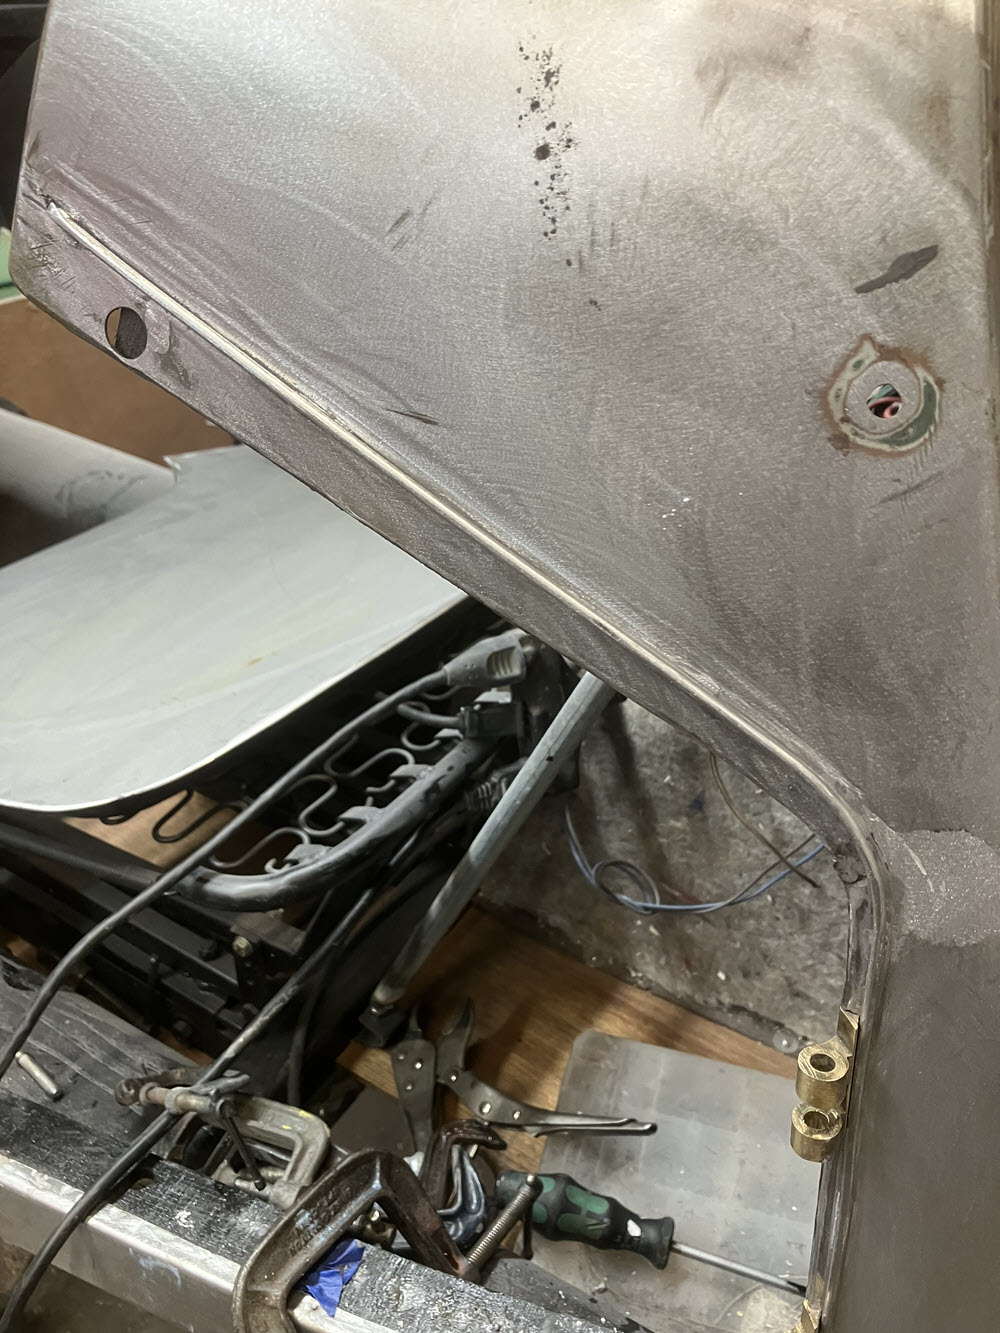
Marine Mahogany inside panelsNew Ash wheel archesNew wood front section reusing a few good orignial bitsnew sillsparts rear bulkhead in workfinished rear bulkeadCheck fit new rear sheet metal to bulkheadCheck fit new rear sheet metal to bulkheadwheel arch “shoes” finishednew rear panel installedset centerlineThresholds fitted epoxied and screwedoriginal scuttle trimmed at hinges and fittedmake and fit door postsrear wood finishedseats fitteddoor framinng in workdoor framing in-workbody frame finished, seats ready for upholsterybody frame finished (Don’t let anyone tell you it’s easy.)
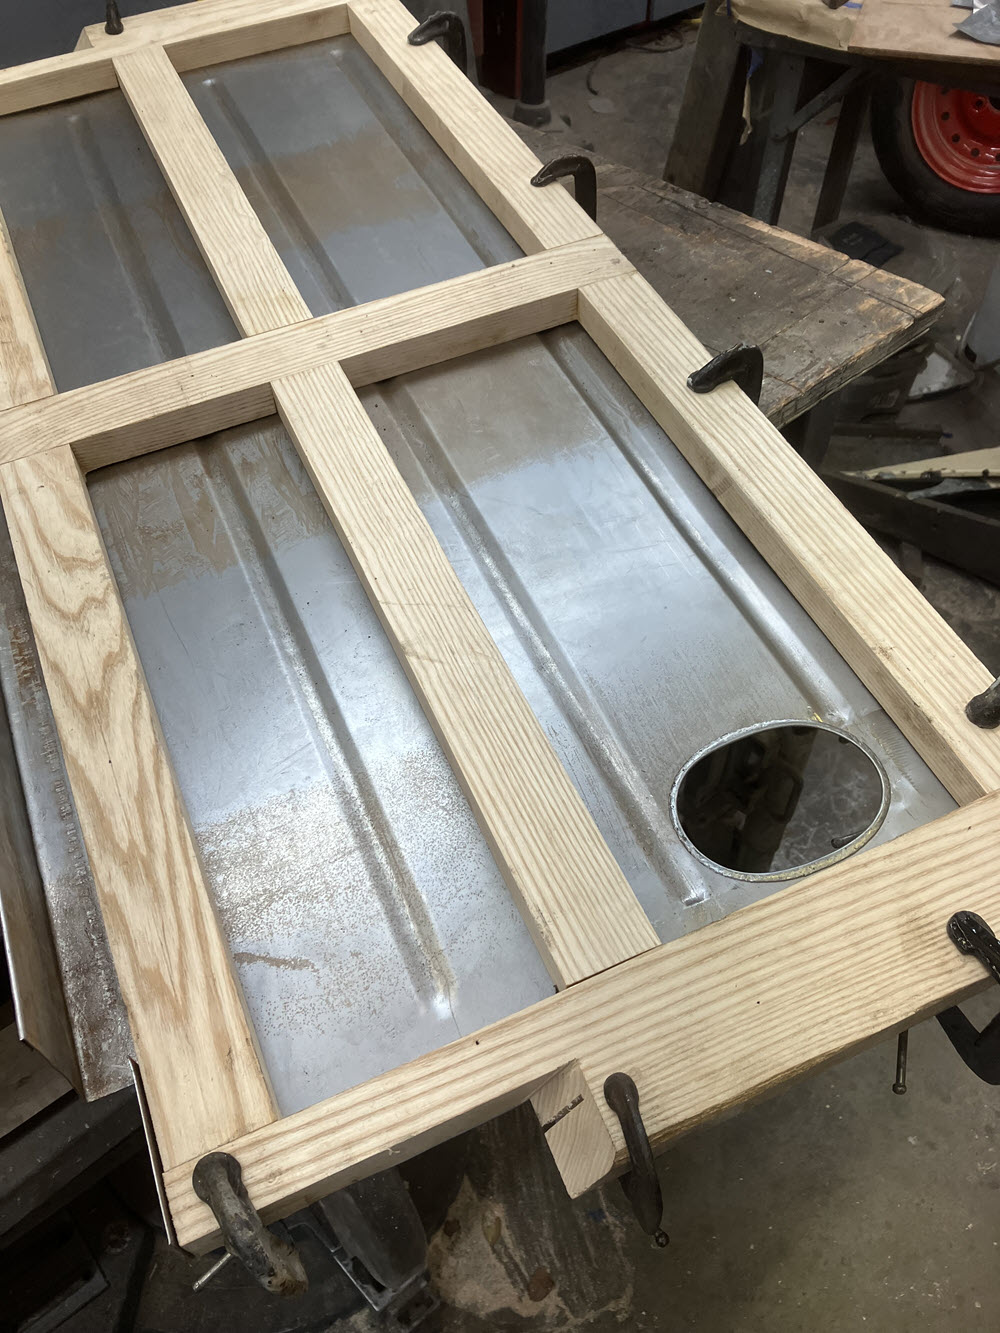
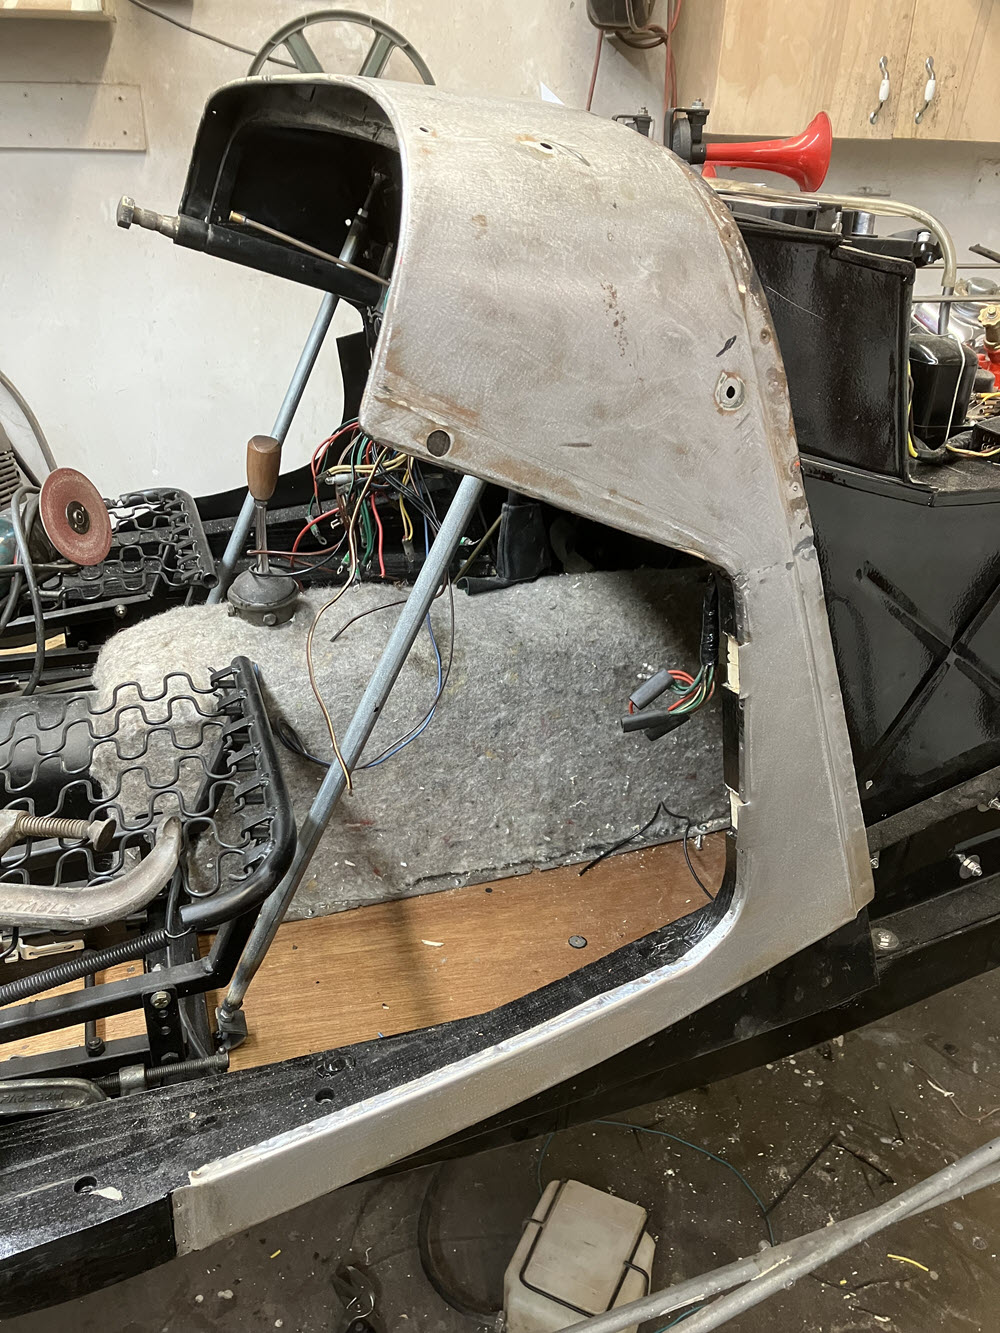
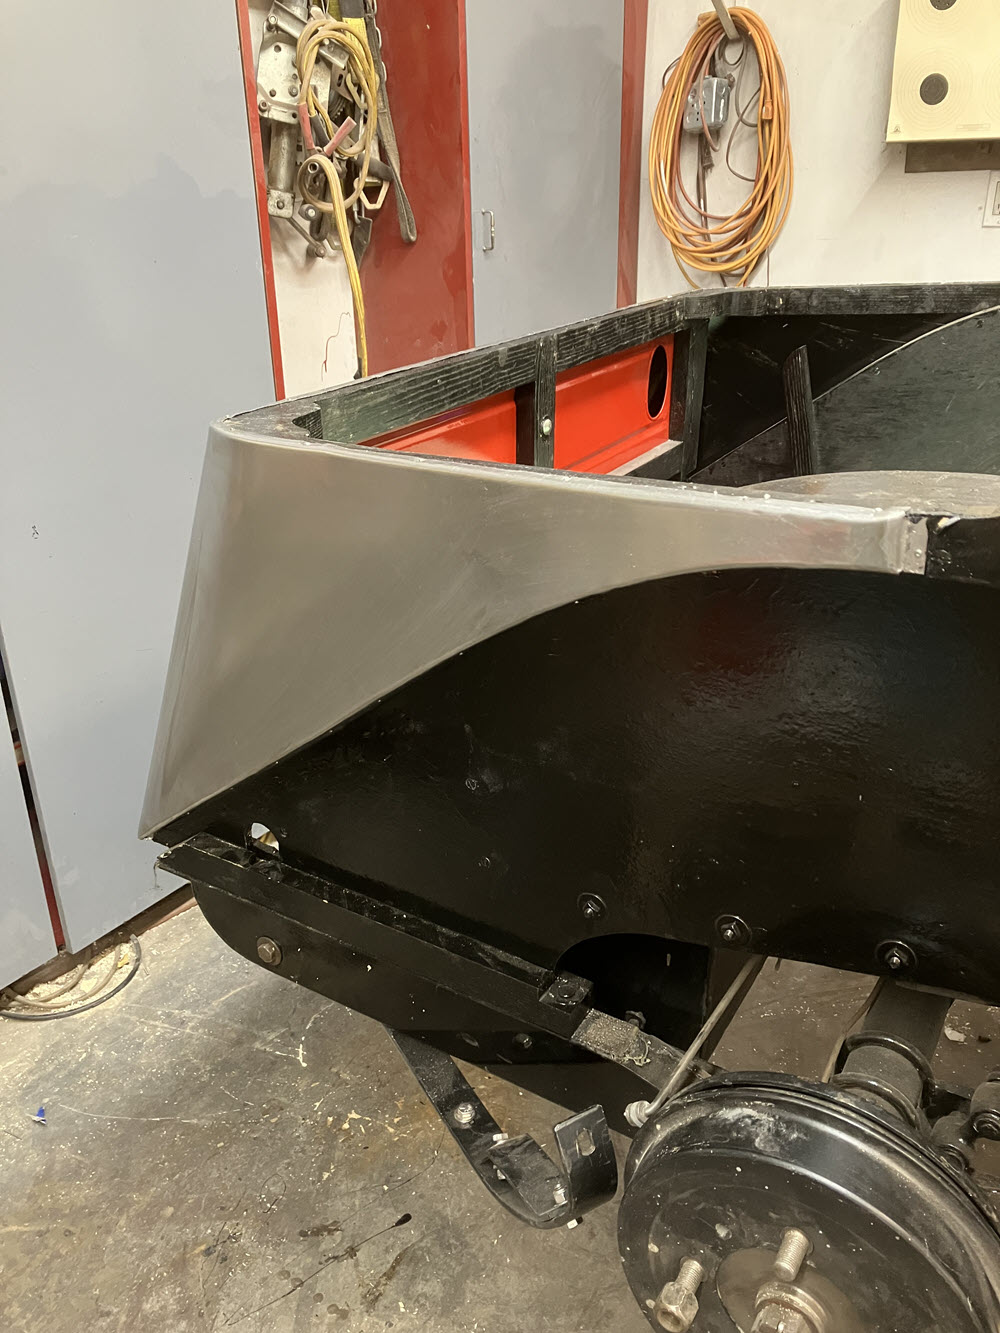
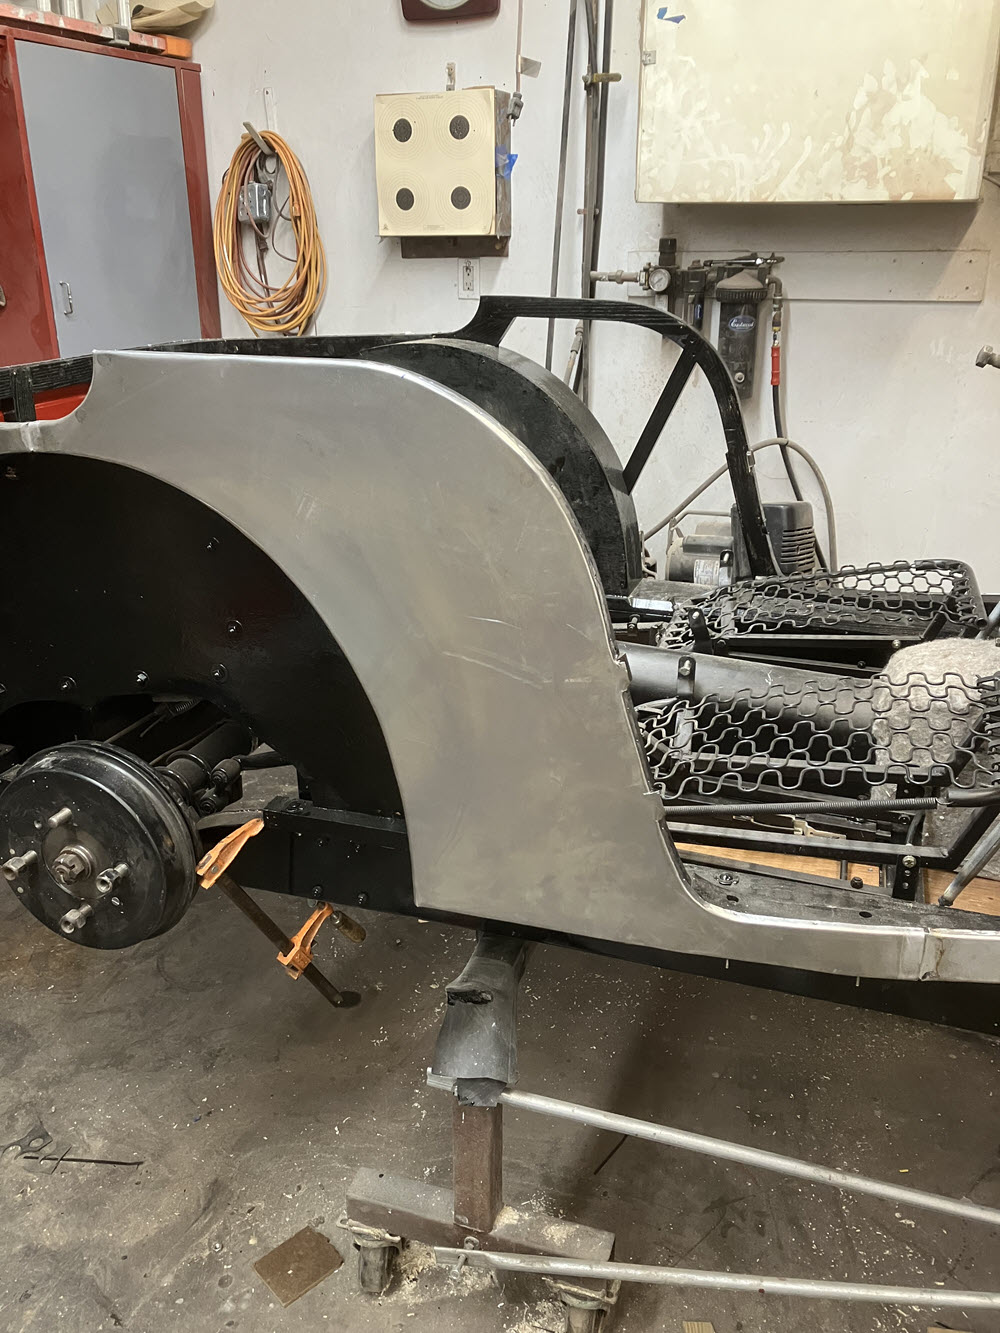
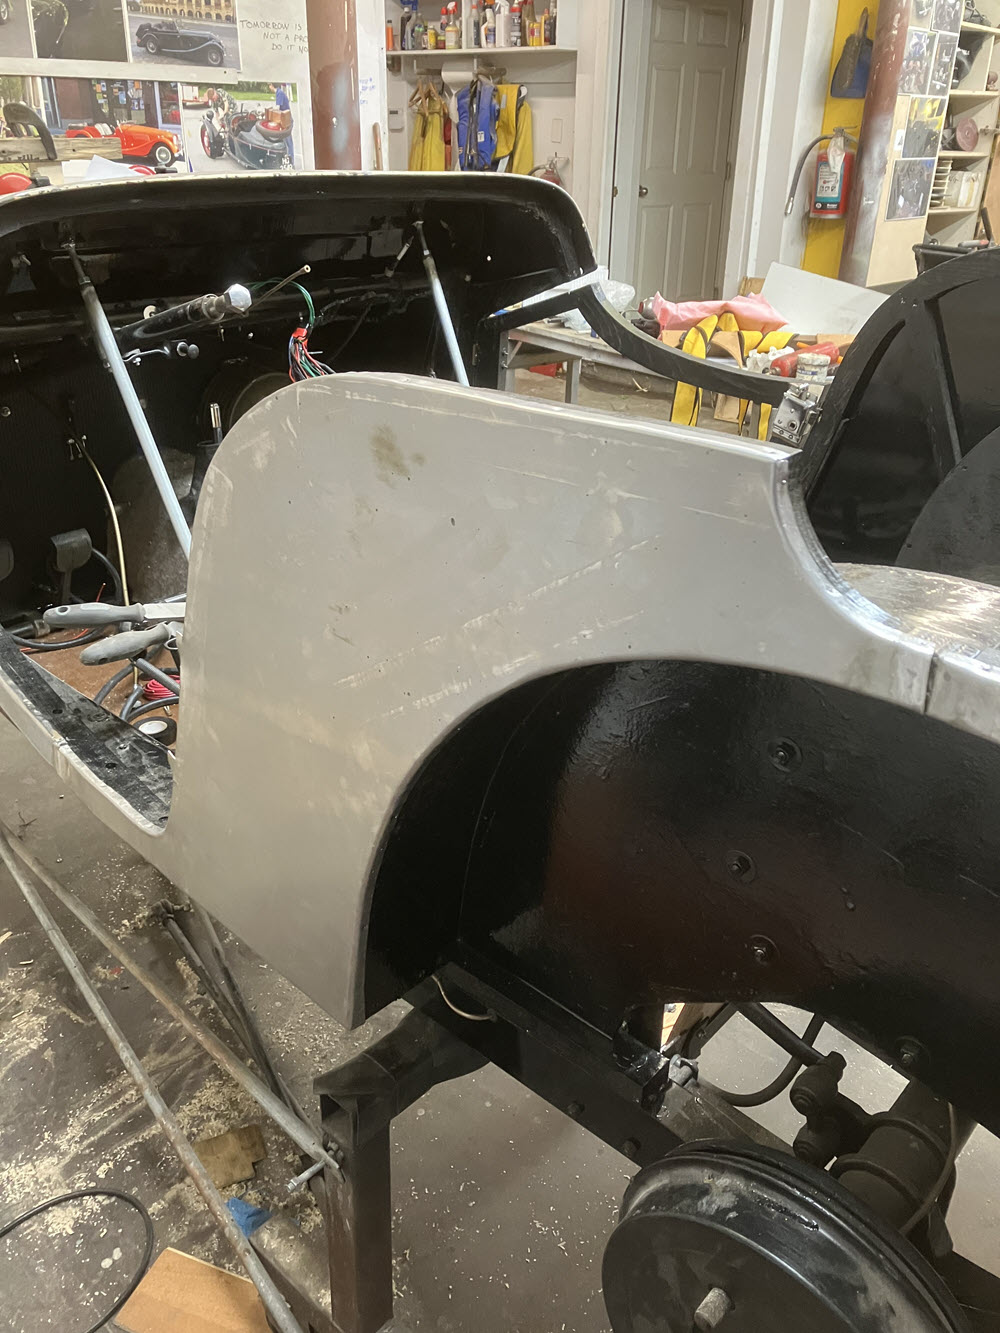
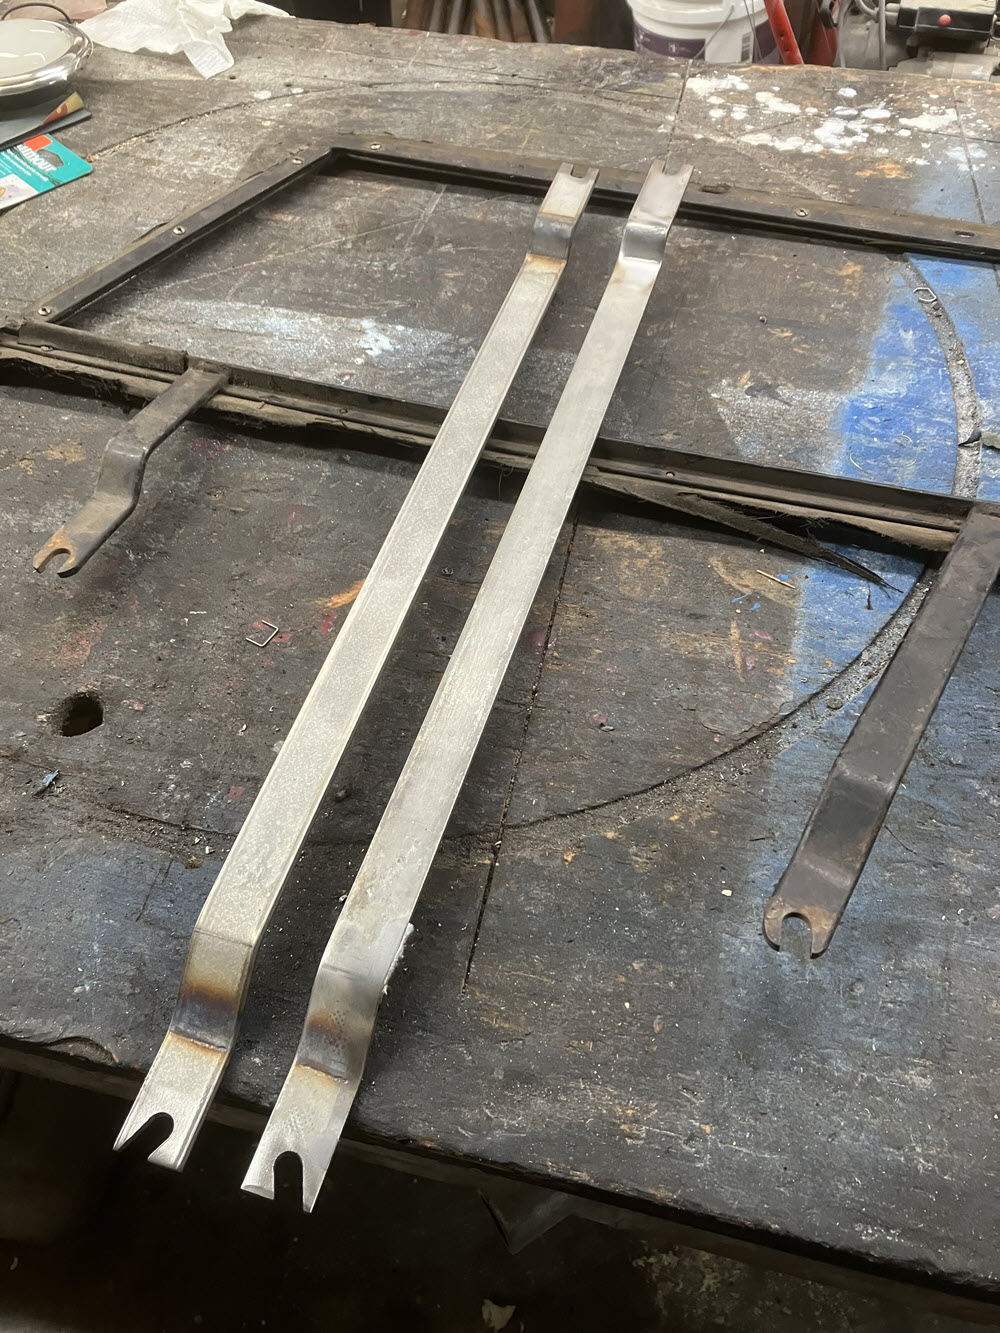
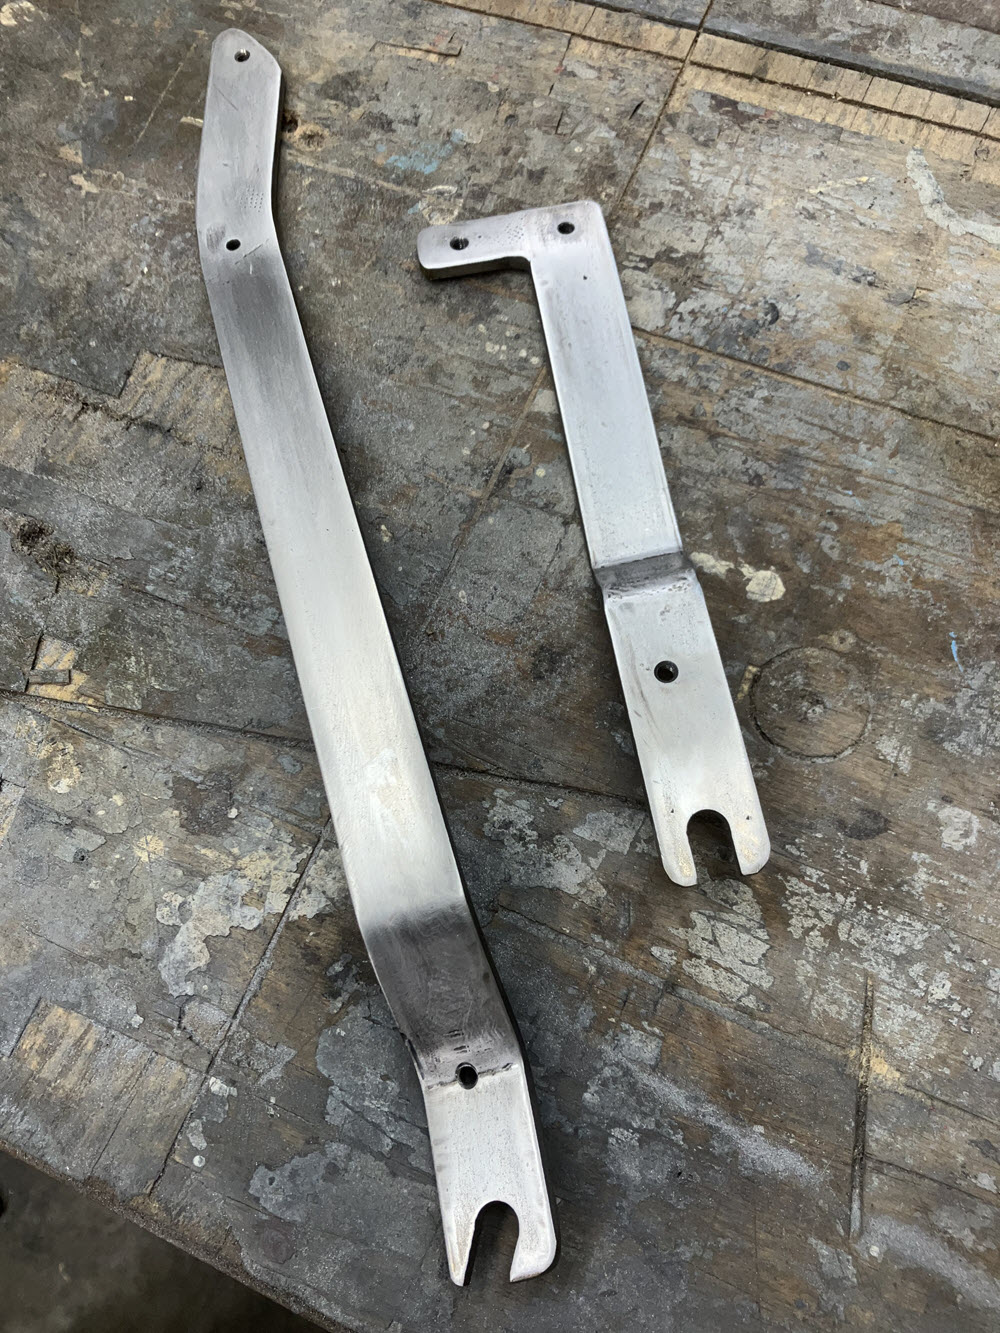
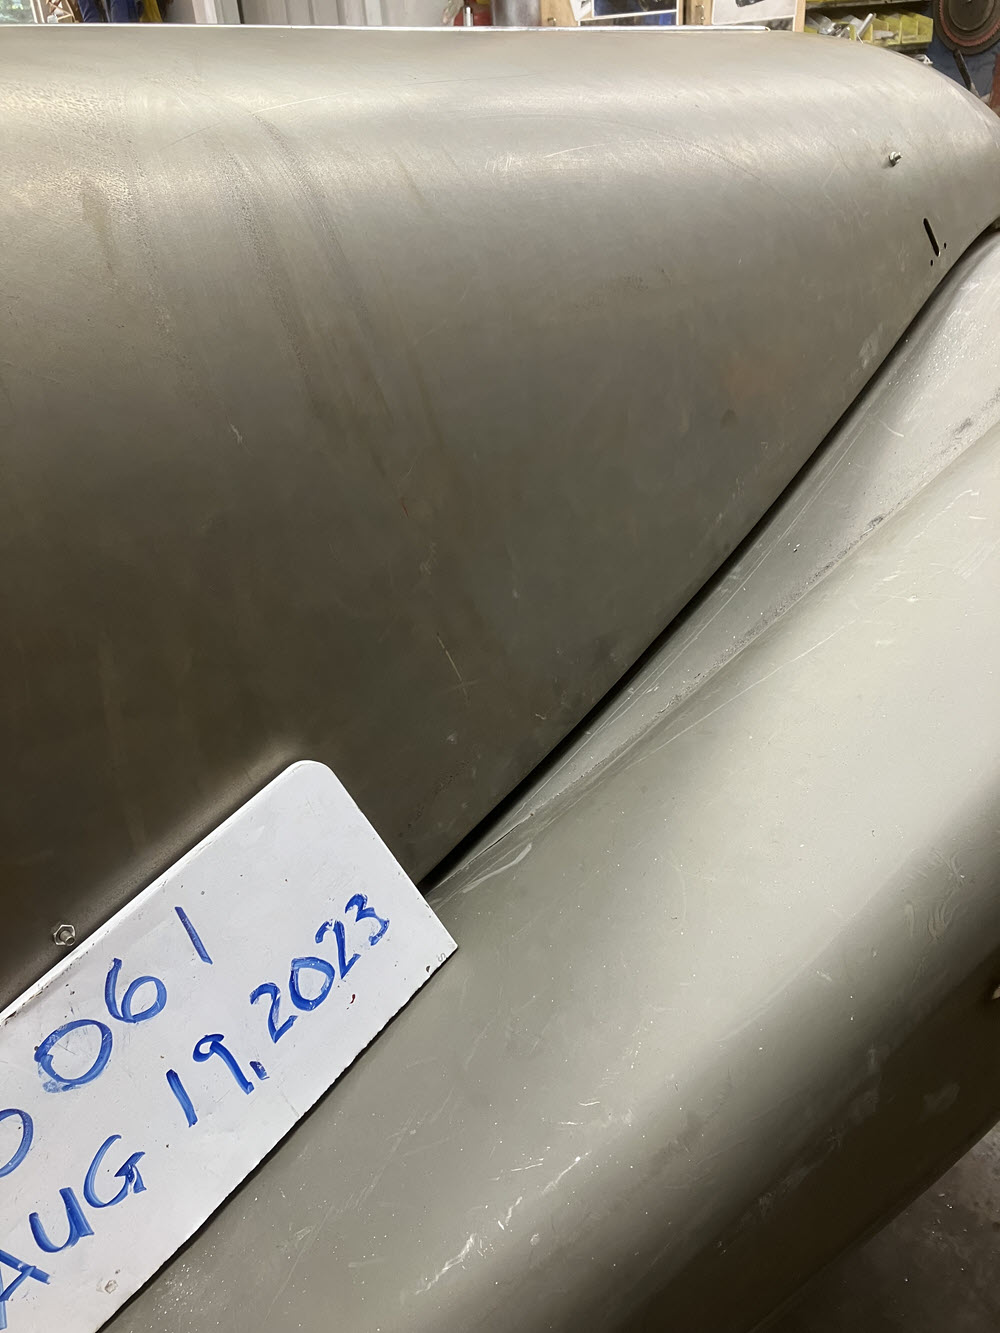
Body Tub Sheet Metal
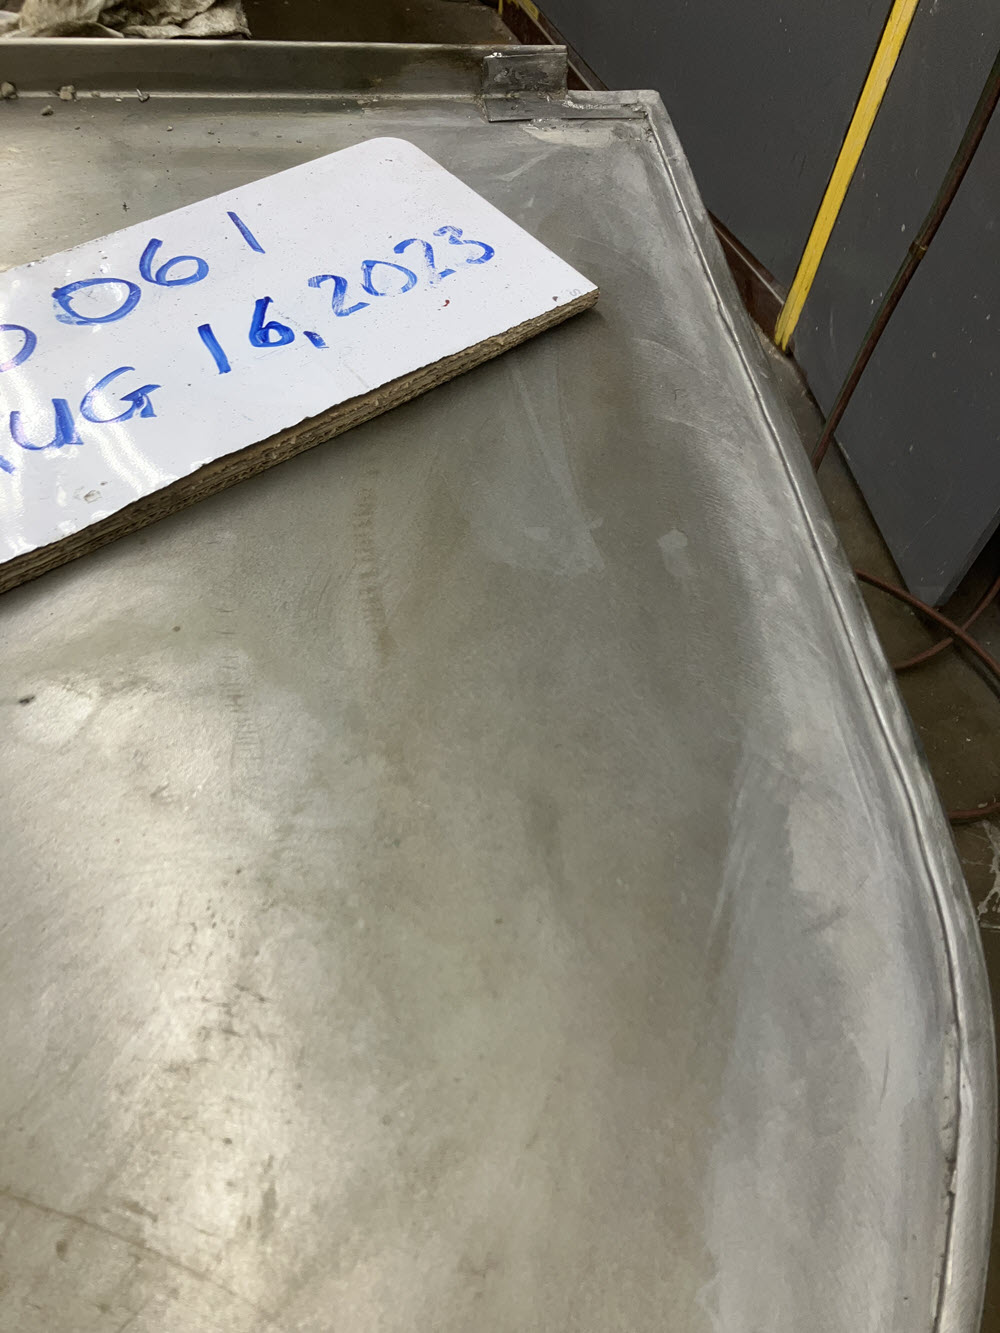
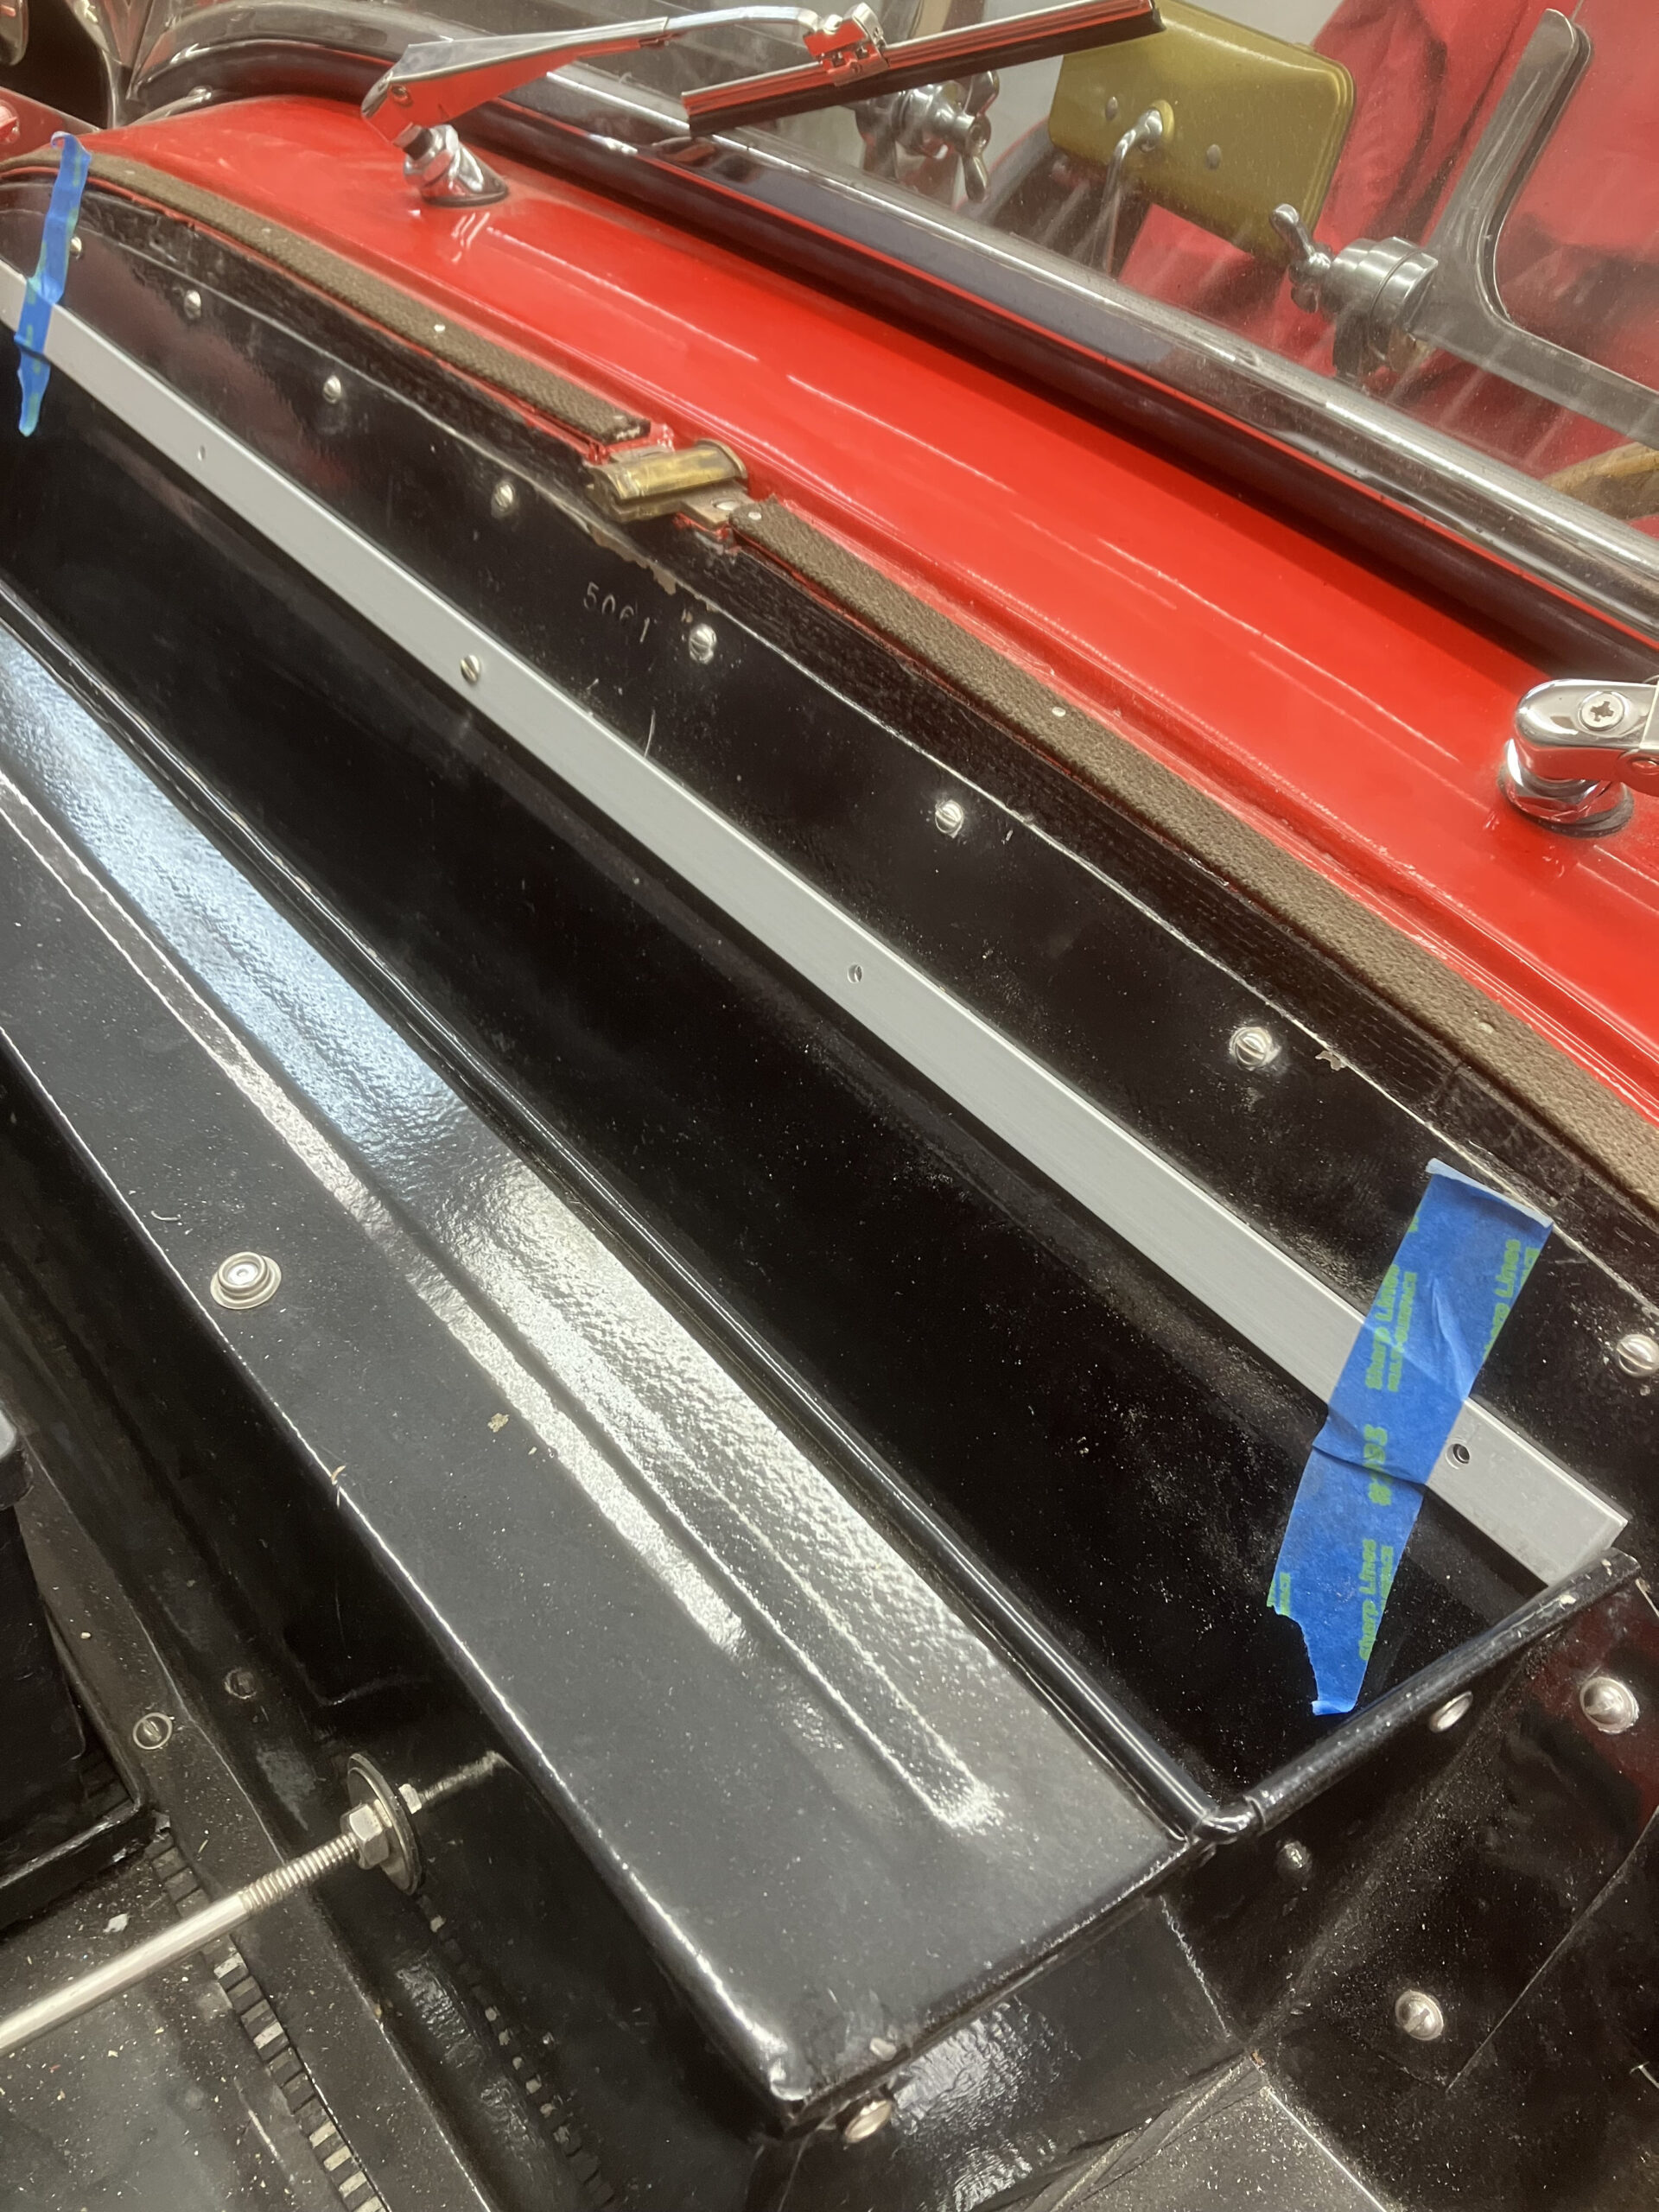
Scuttle installed with new steel bottoms welded one-piece rear panel in workwire formed edge finishedrear panel installedrear panel: no ripples, zero body filler requiredbegin quarter panelalmost doneleft side formedhinge details. striker, and dovetails finsihed. Door fittedleft door finishedright door finshedNew lights, script and lower valence fittedDoor drip edge soldered onHood bows repaired and fittedHood bows in position
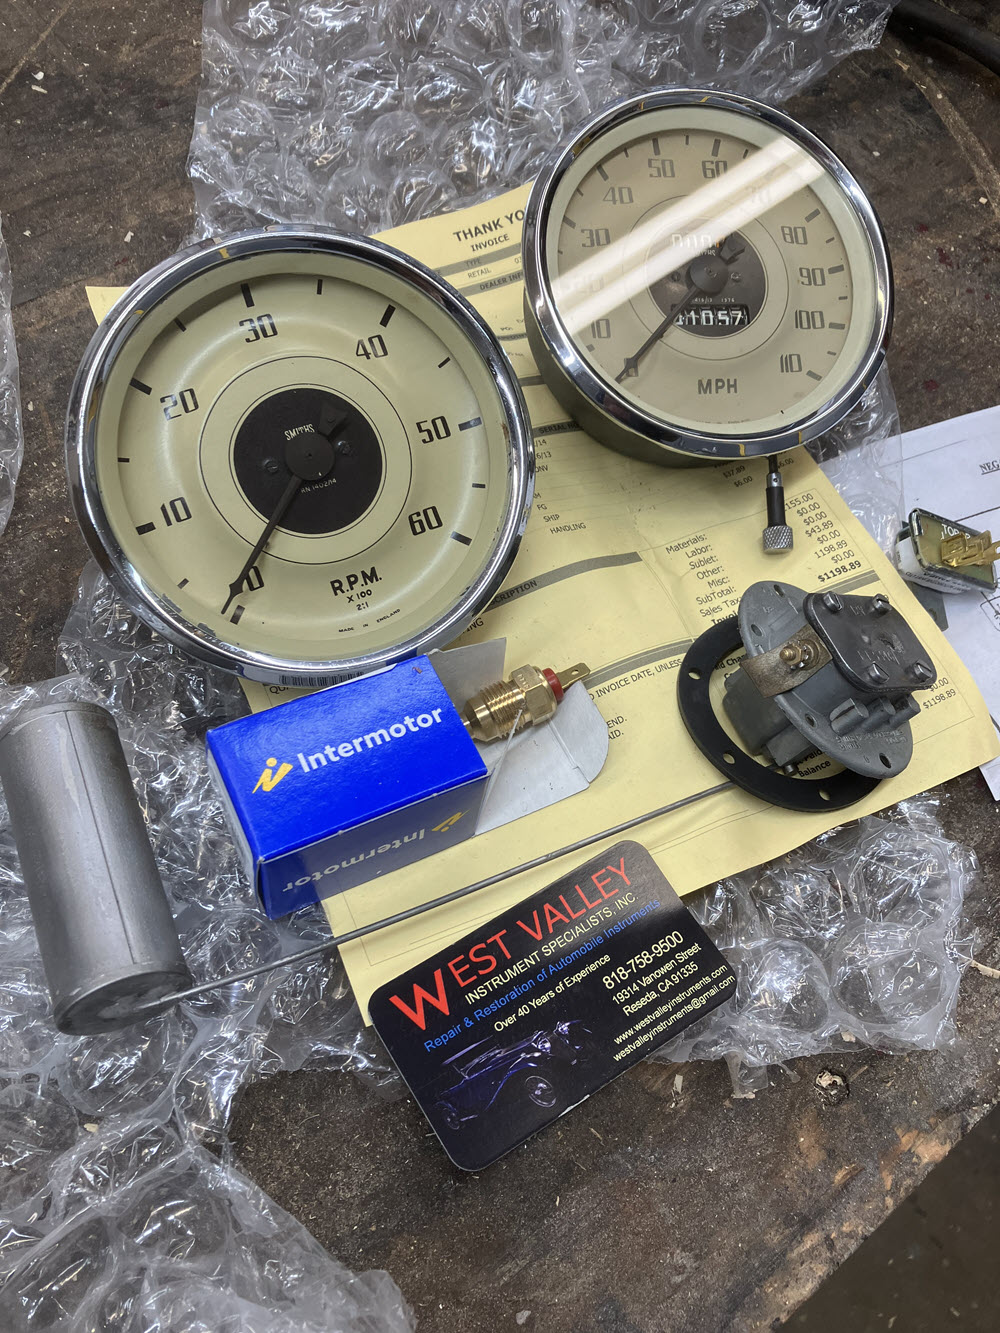
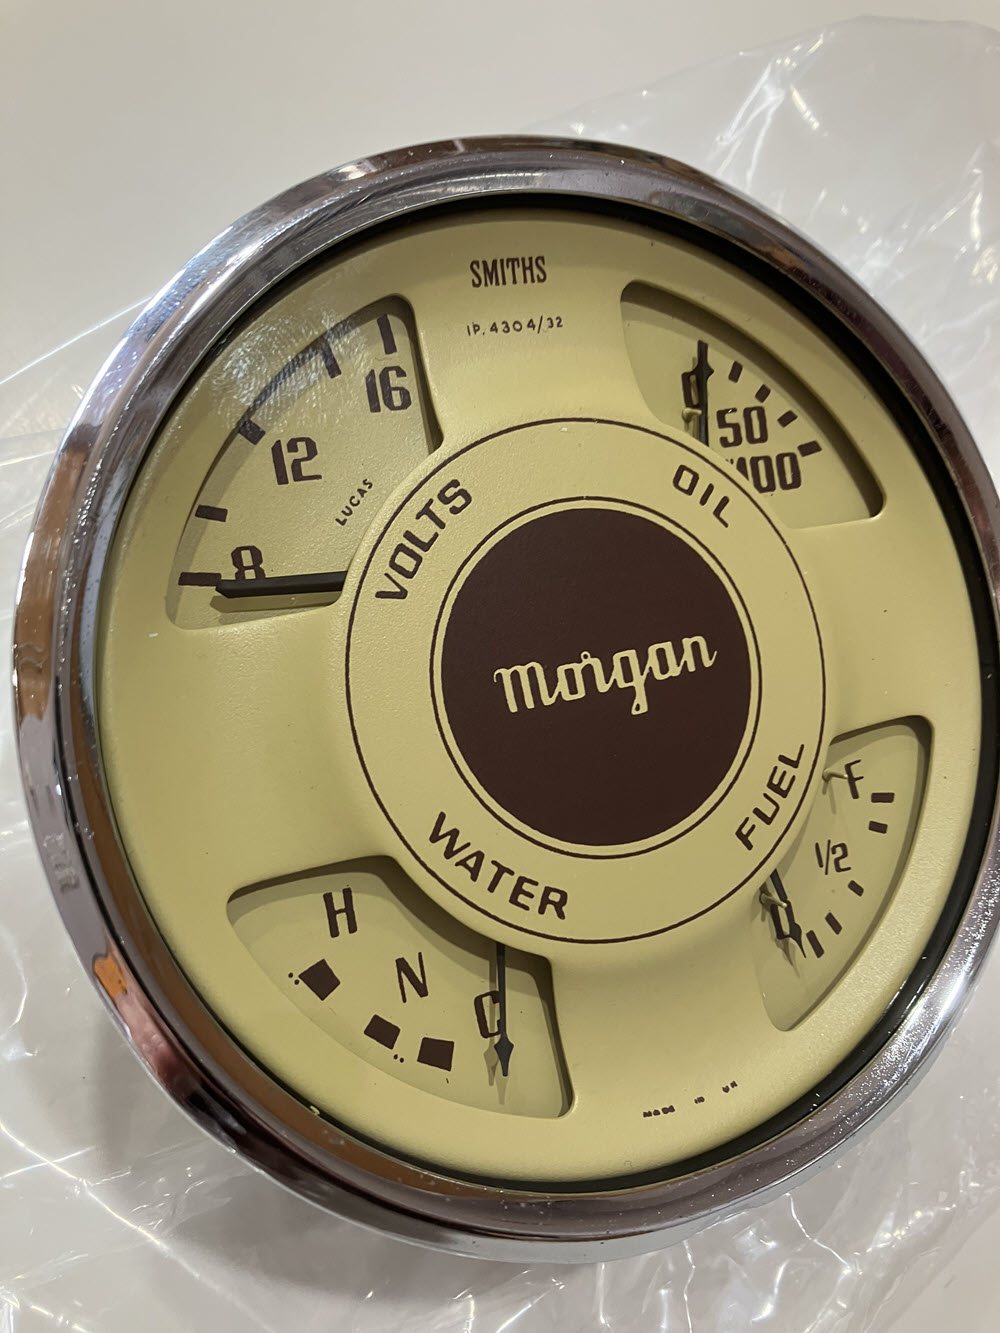
Instruments
Engine turned stainless steel dash panelinstruments fitted, Dash ready for finishoriginal instruments before rebuildSpeedo, Tach, and tank unit rebuilt by West Valley InstrumentsNew tach cableAmmeter converted to Voltmeter, Temp guage upgraded, Gas and Oil P inspected, Everything reprinted. Beautiful work by West Valley Instuments
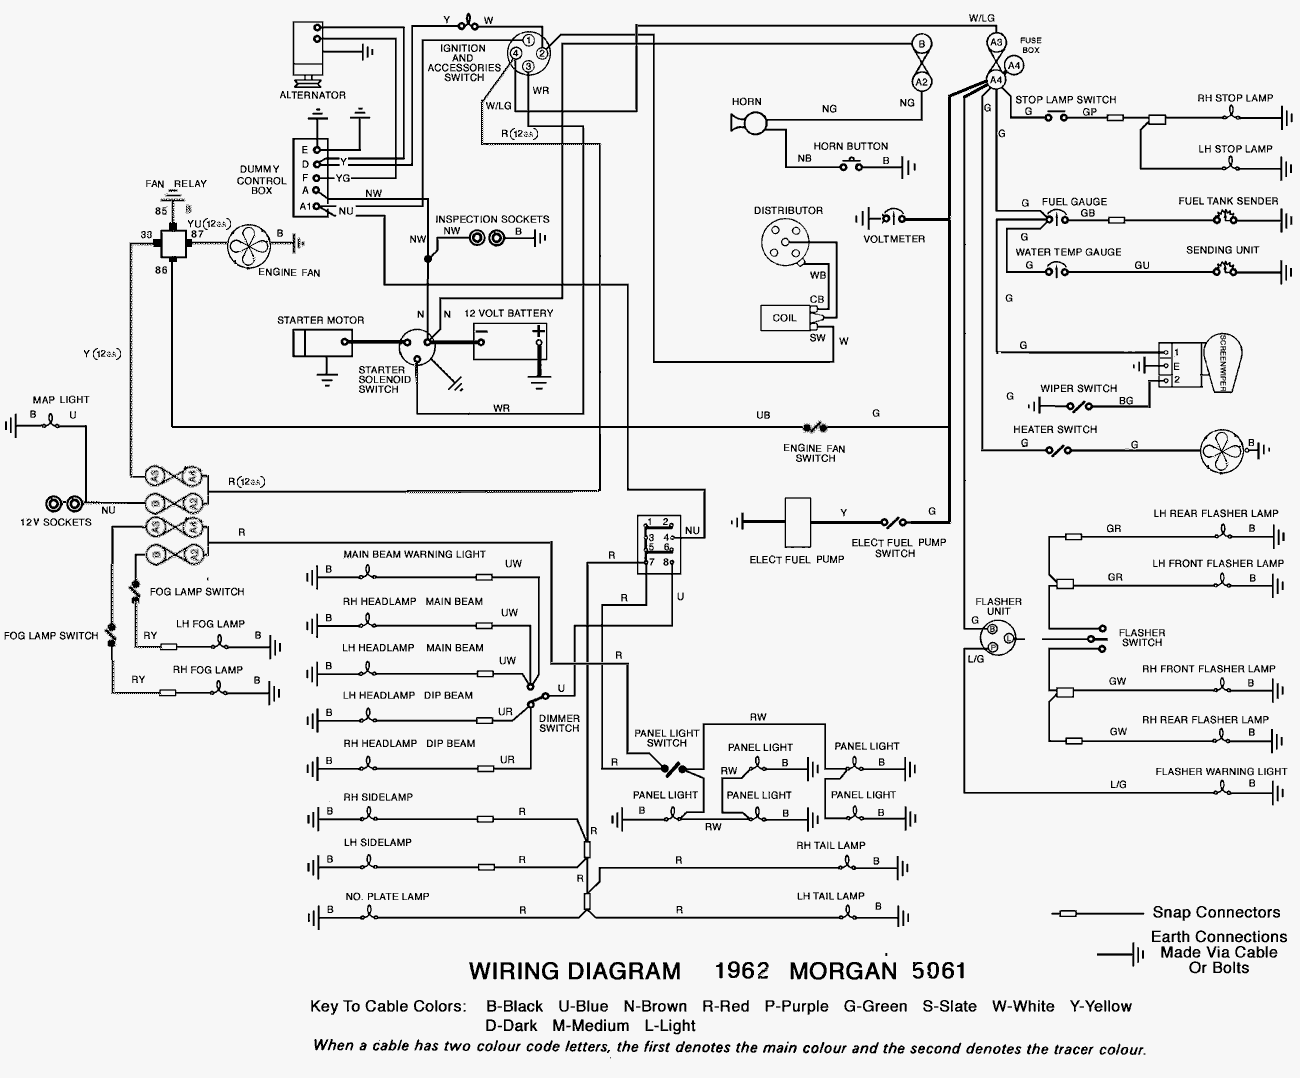
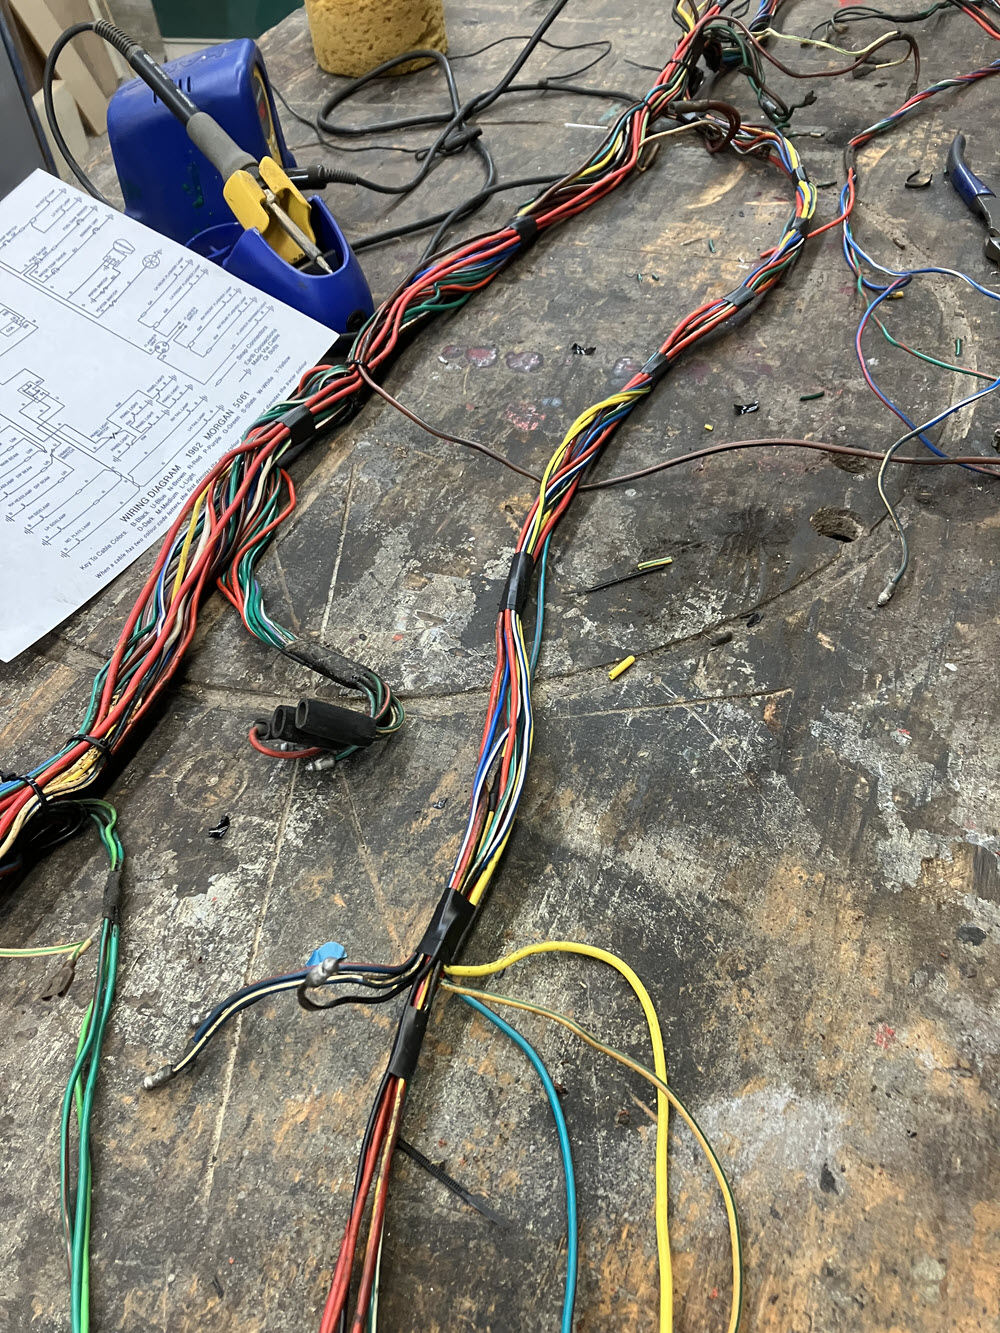
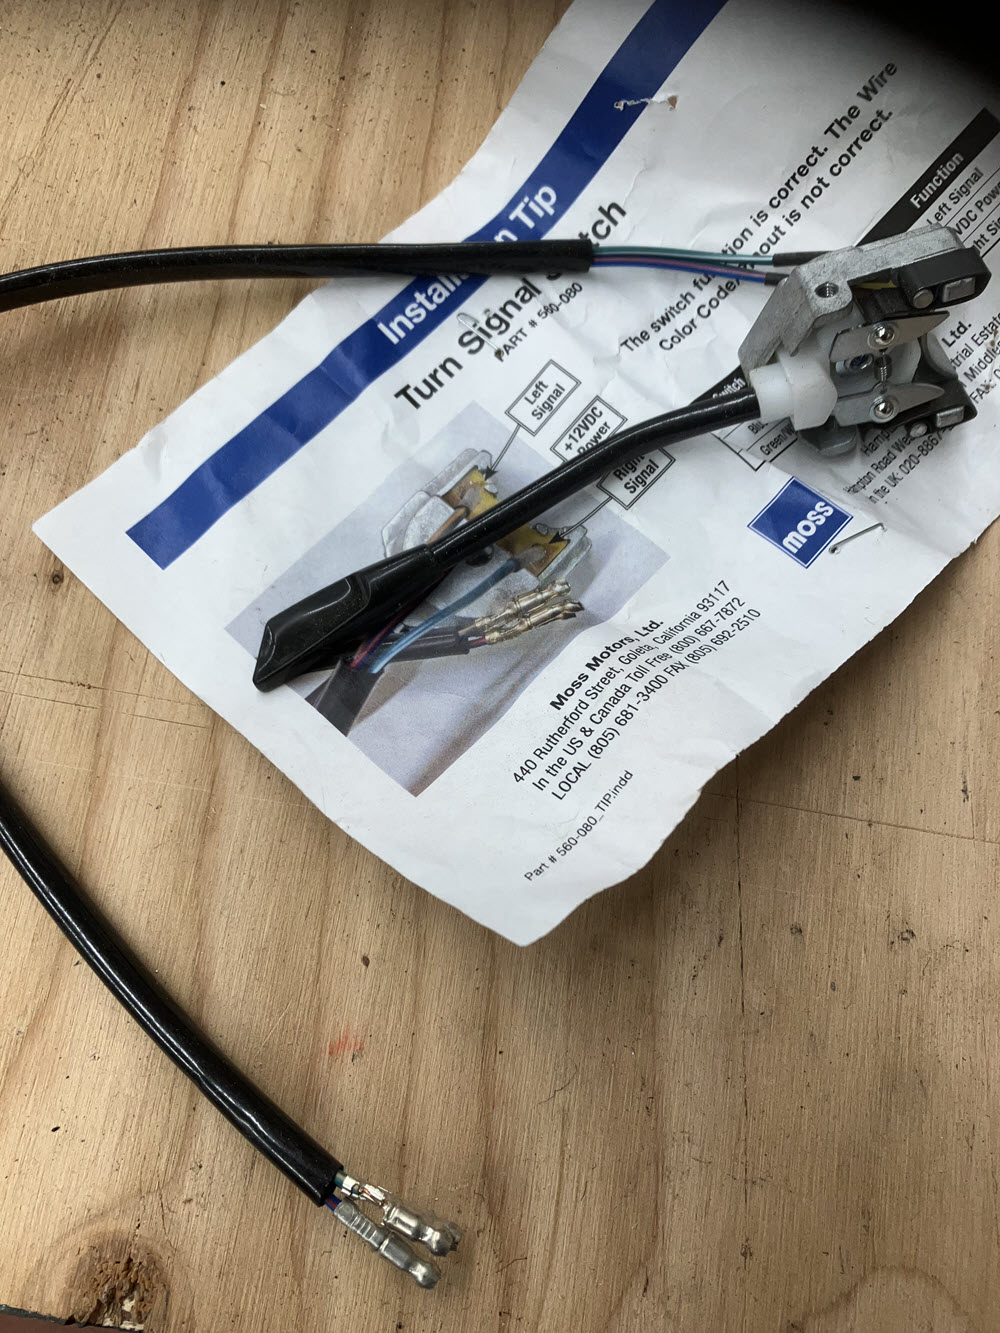
Wiring
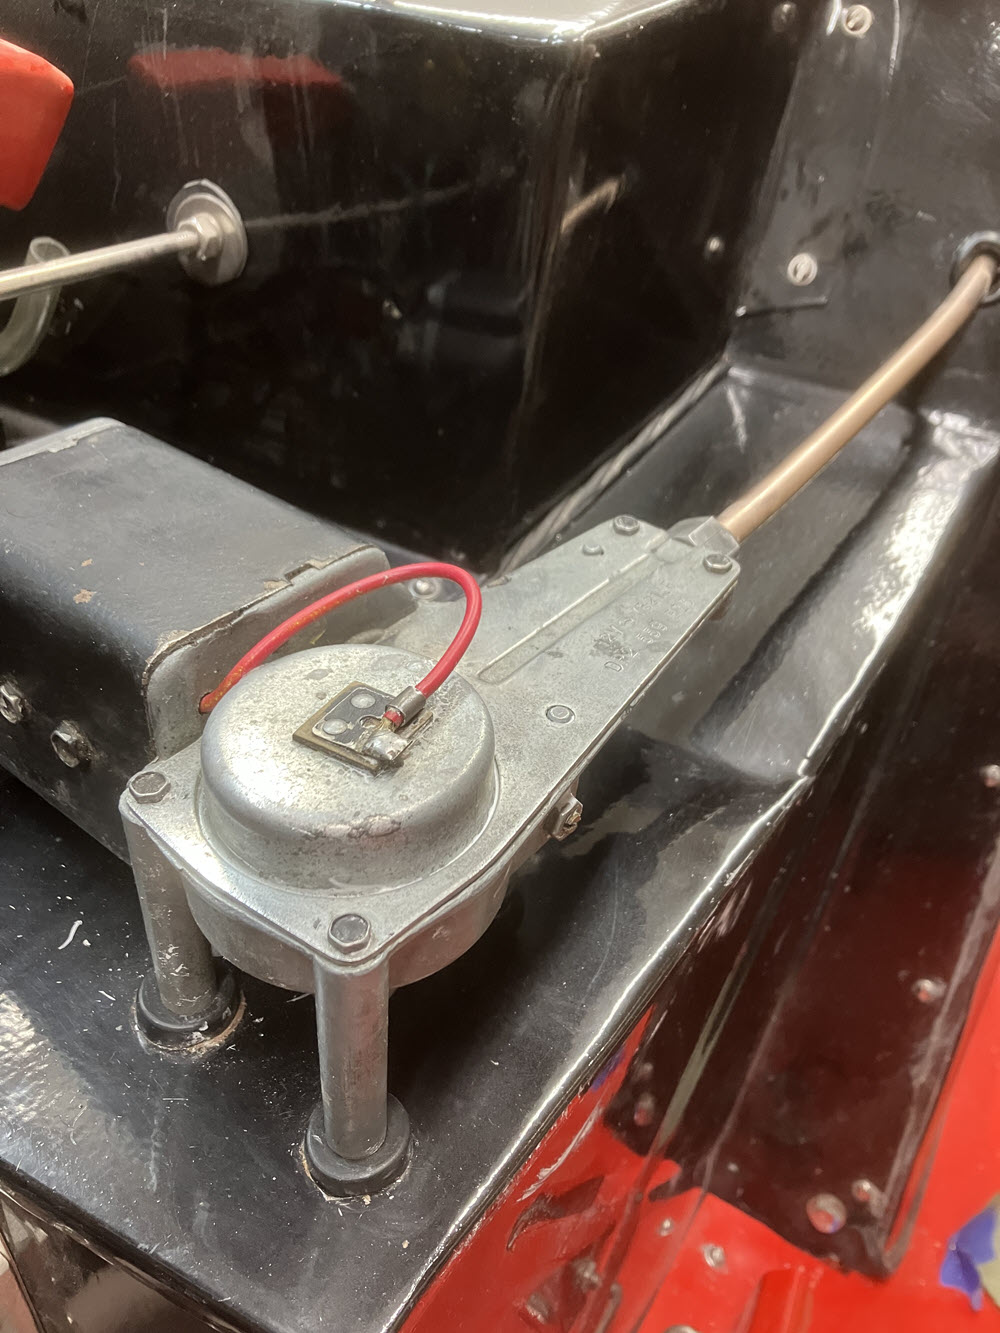
Strip, clean, repair, and add new circuitsTrial installationHarness completeNew column mounted directional switchcolumn directional switch installedTwo 12V outlets and lighted heater switch installednew front flasher lights30 amp lighted switch compared to origial lucas switchpanel layoutpanel shown with switched circuits on
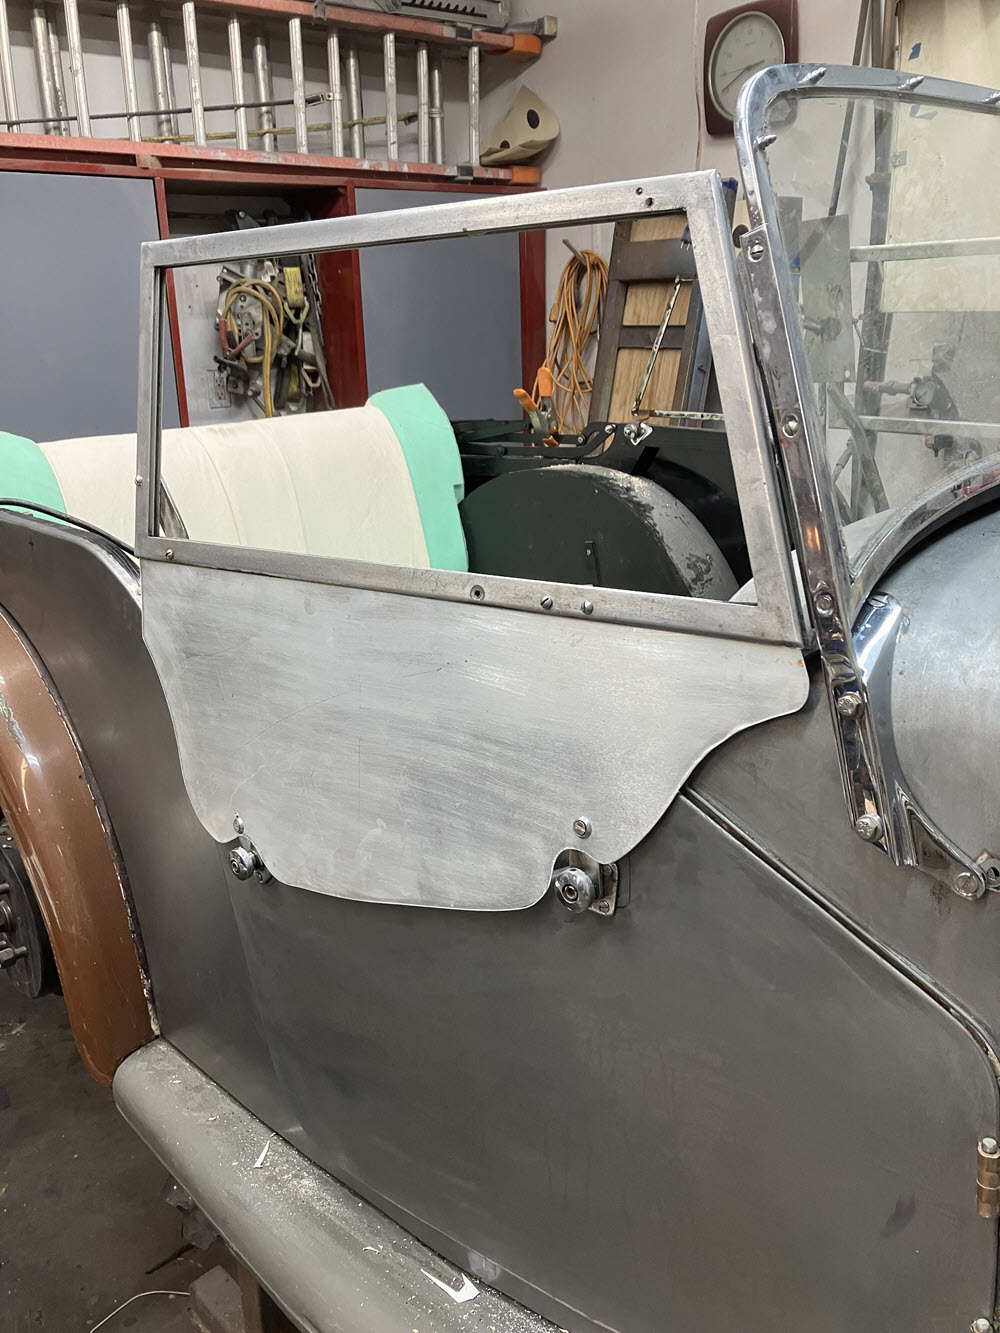
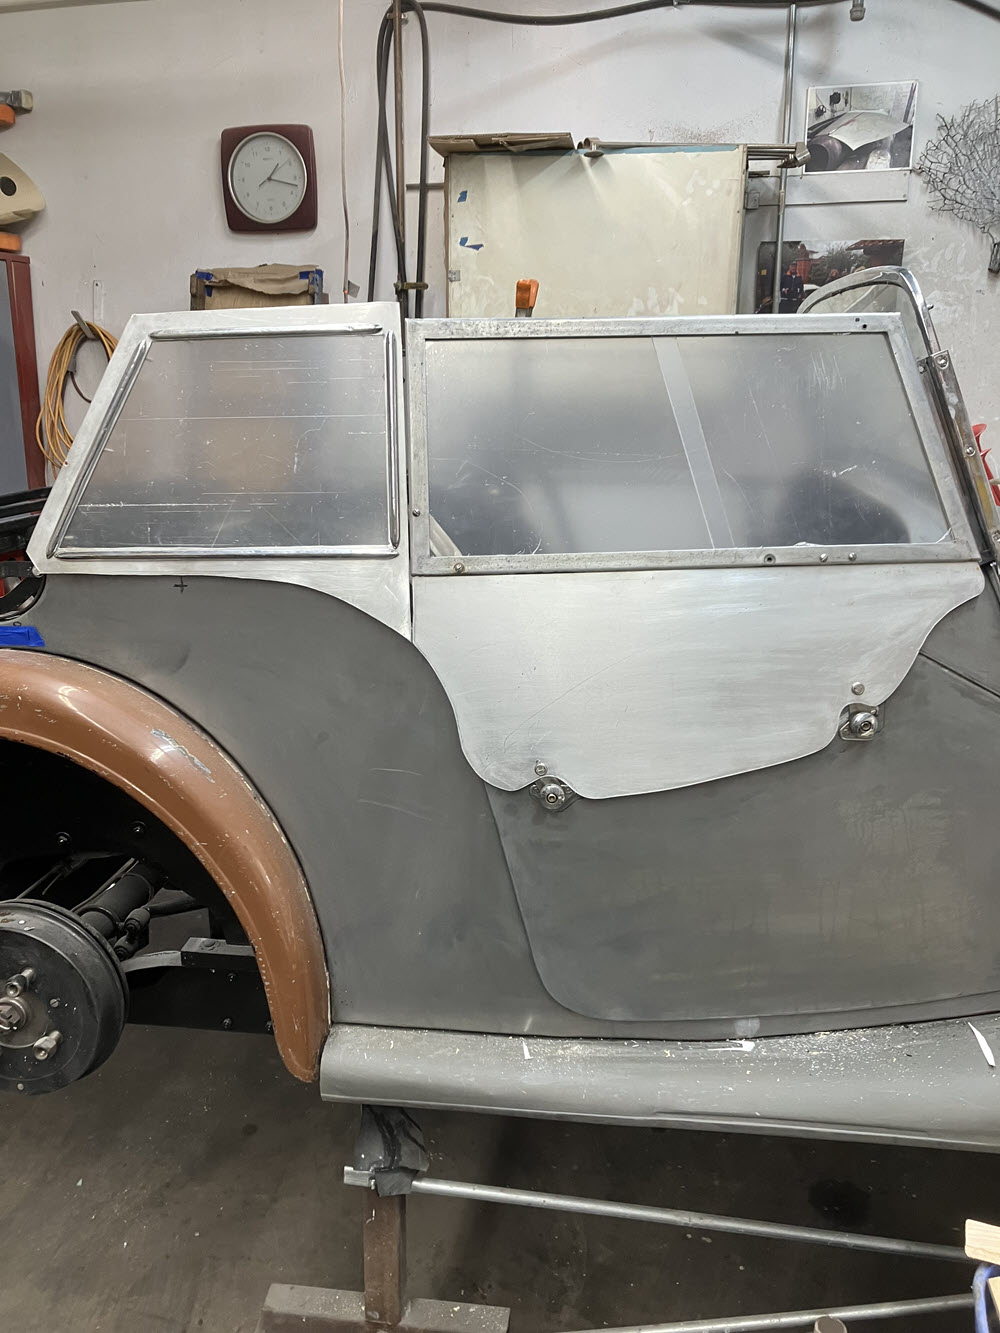
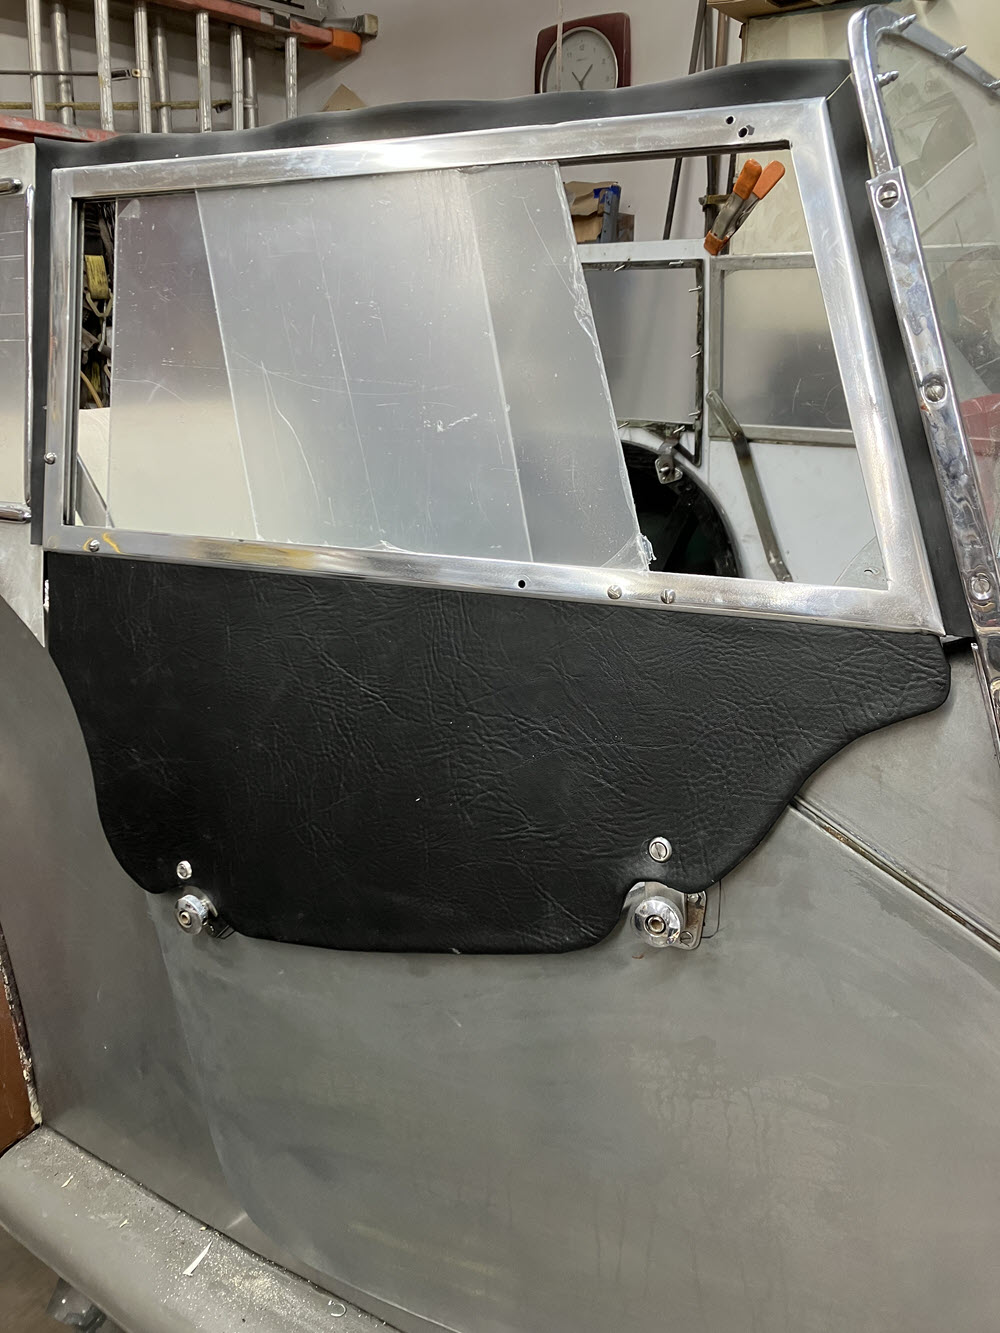
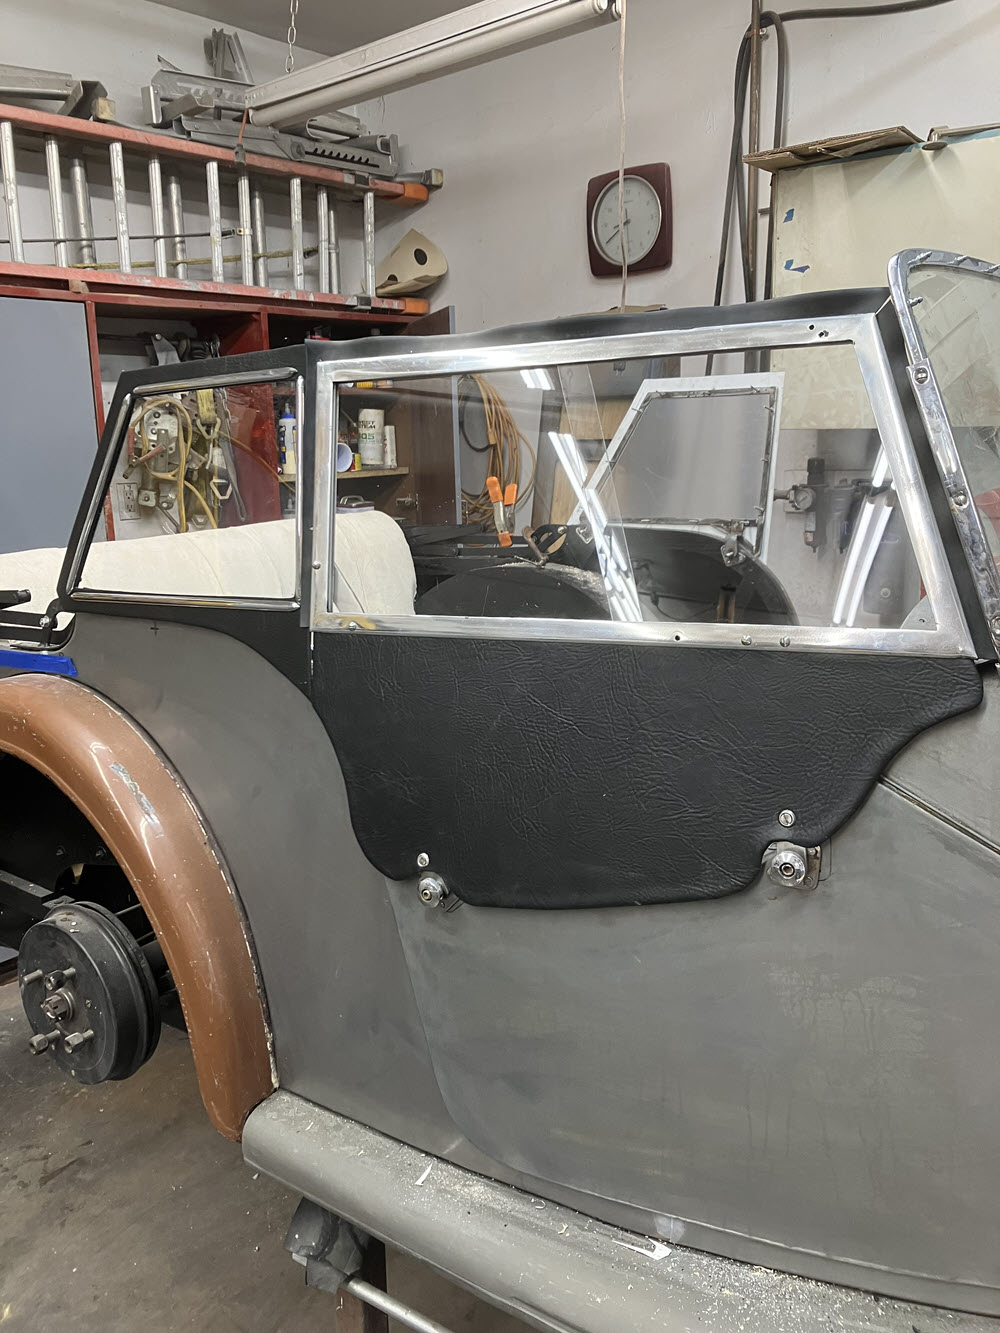
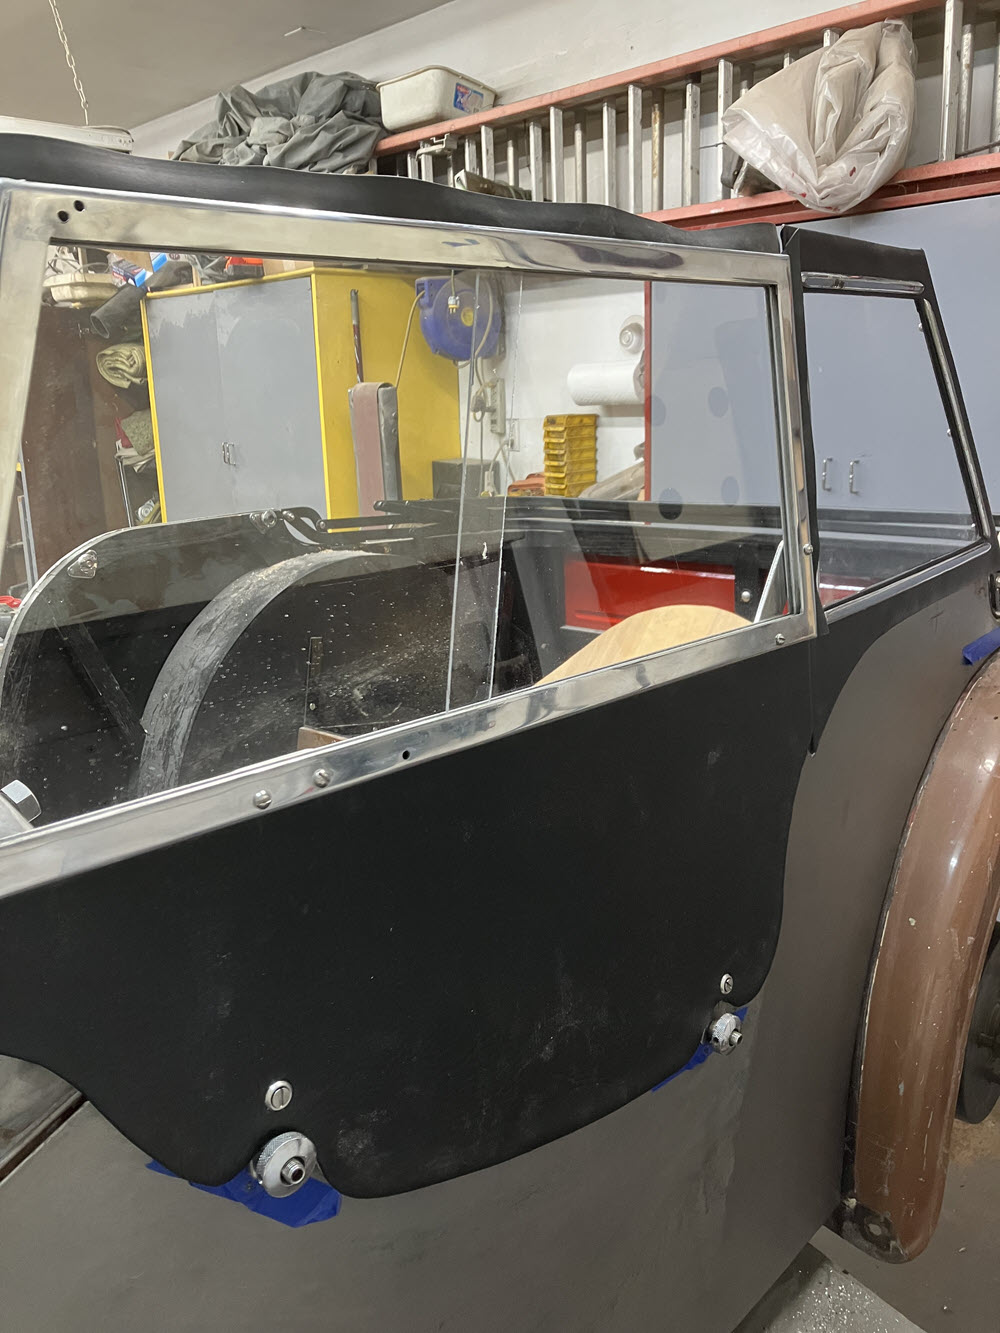
Sidescreens
Decided to adapt a pair of aluminum sidescreen frames from a later model four seater. The advantage being acrylic window panels that slide open and that you can actually see out of. No good deed goes unpunished. It was a lot of work.
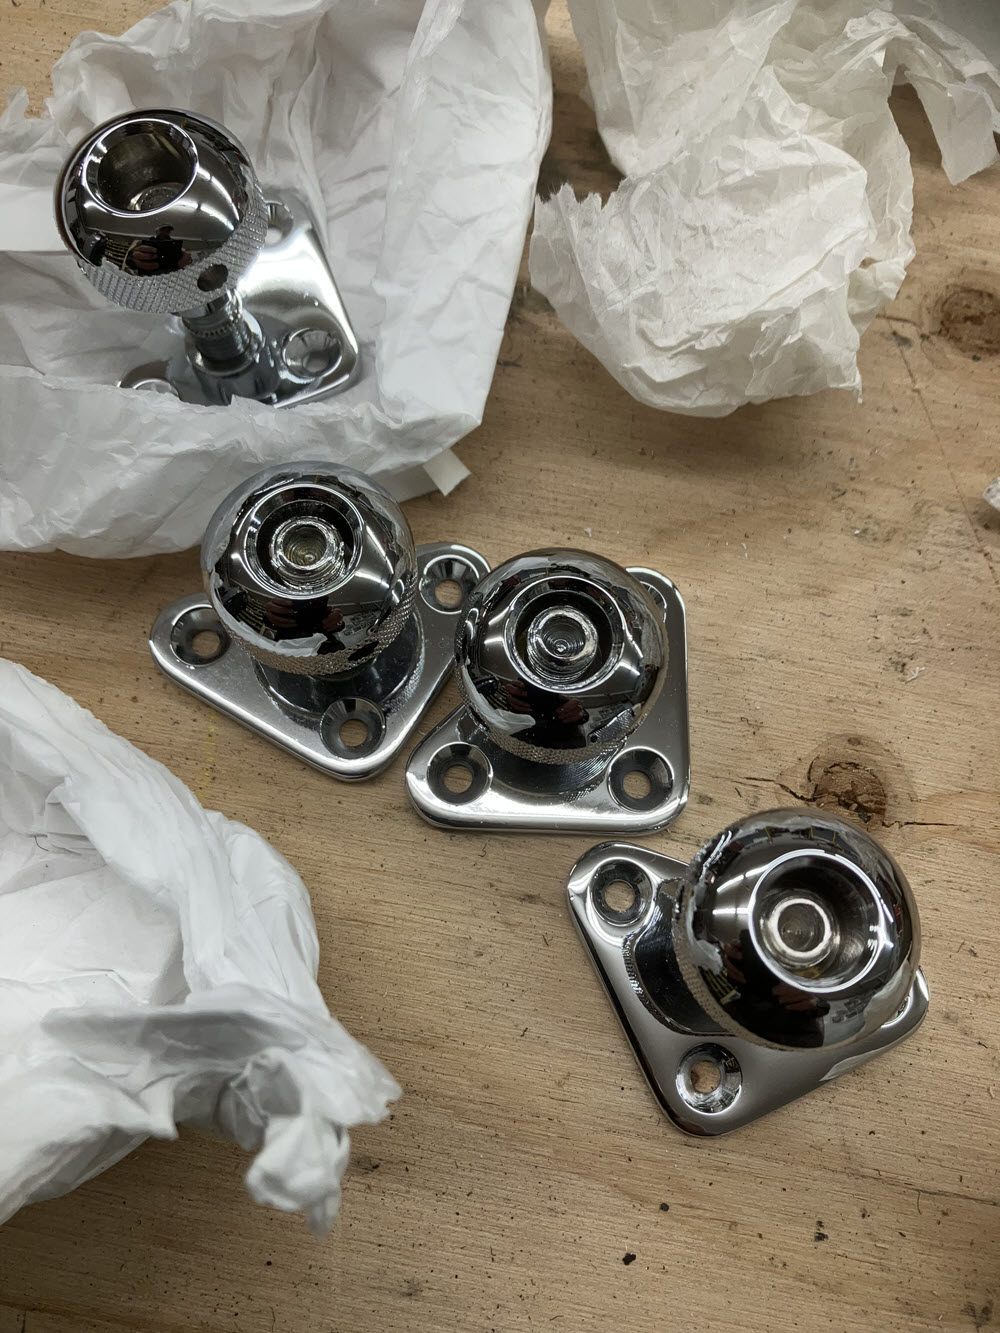
Fit aluminum frameNew Stainless Steel struts in workone pair of SS struts ccompleteLeft Side Frame With StrutsFit new aluminum lower panelNew acrylic glazing installed in both front and rear screensVinyl covering complete and new rubber sealsRight side completeRight side completeLeft Side Screens Complete
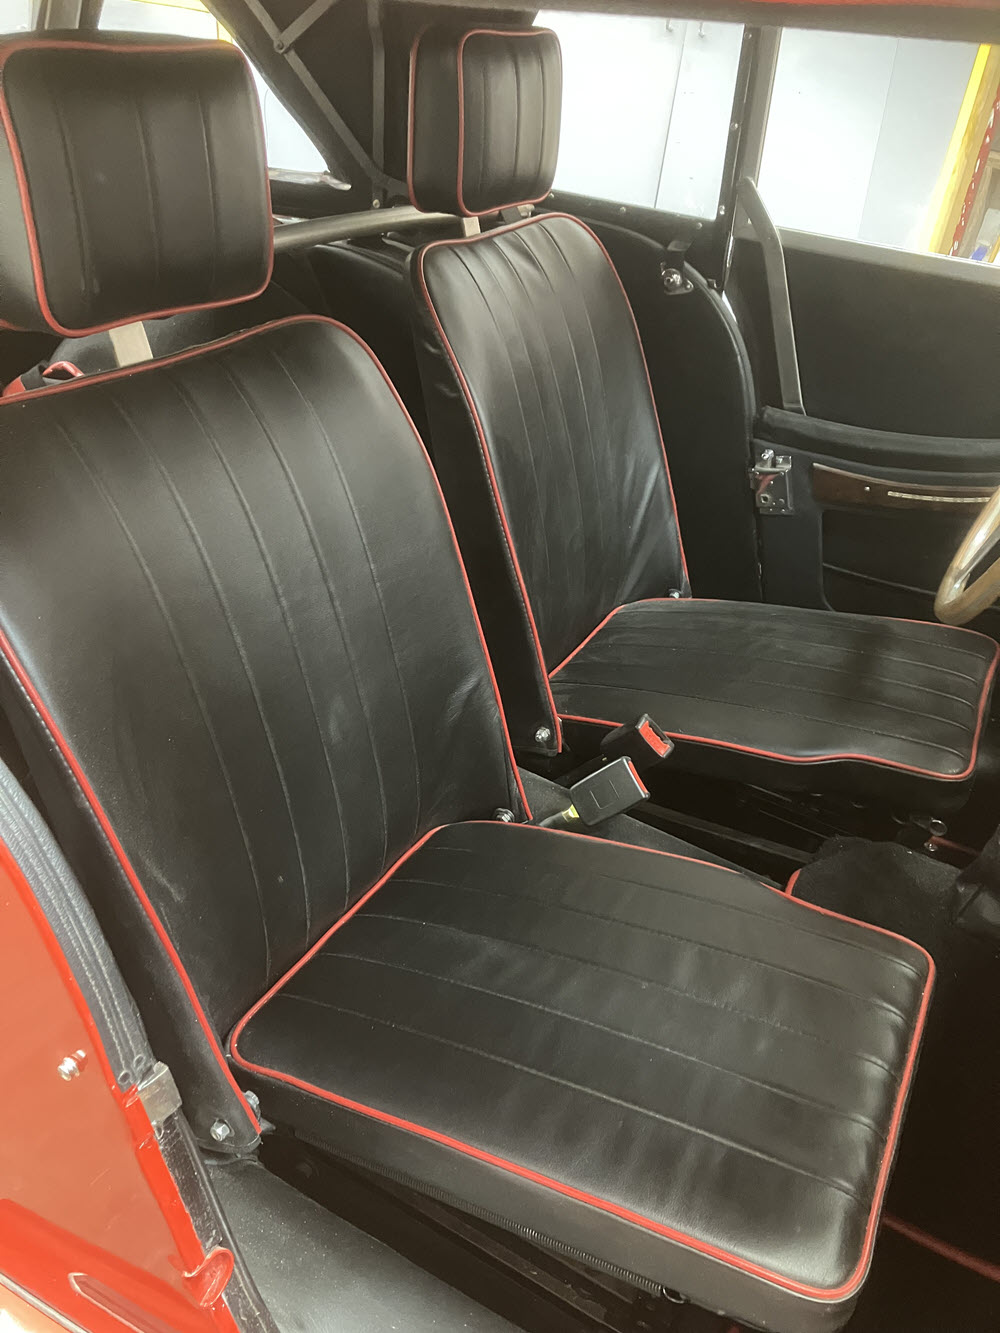
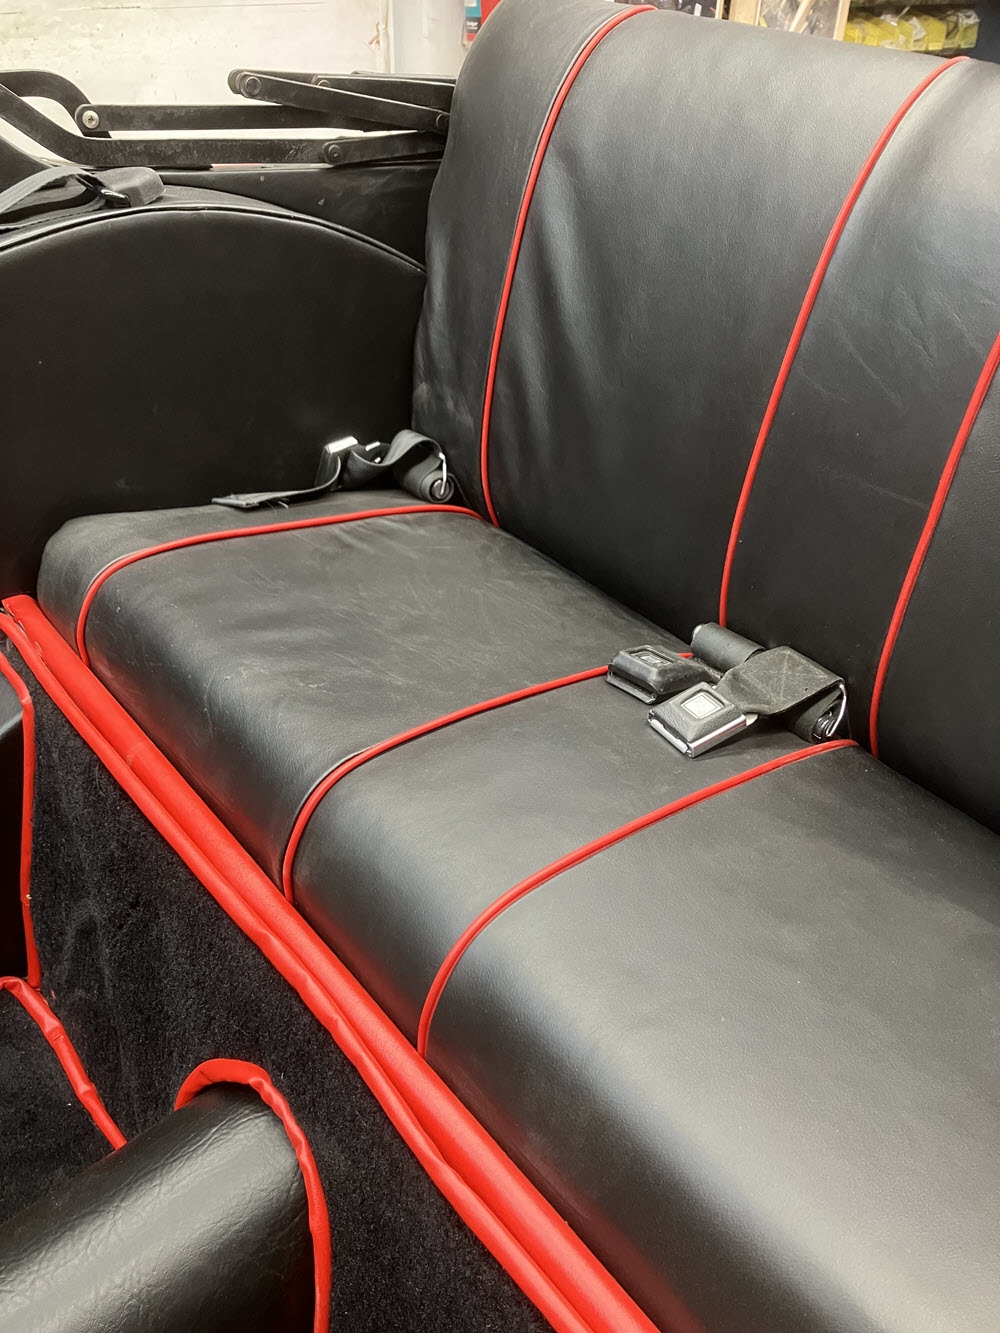
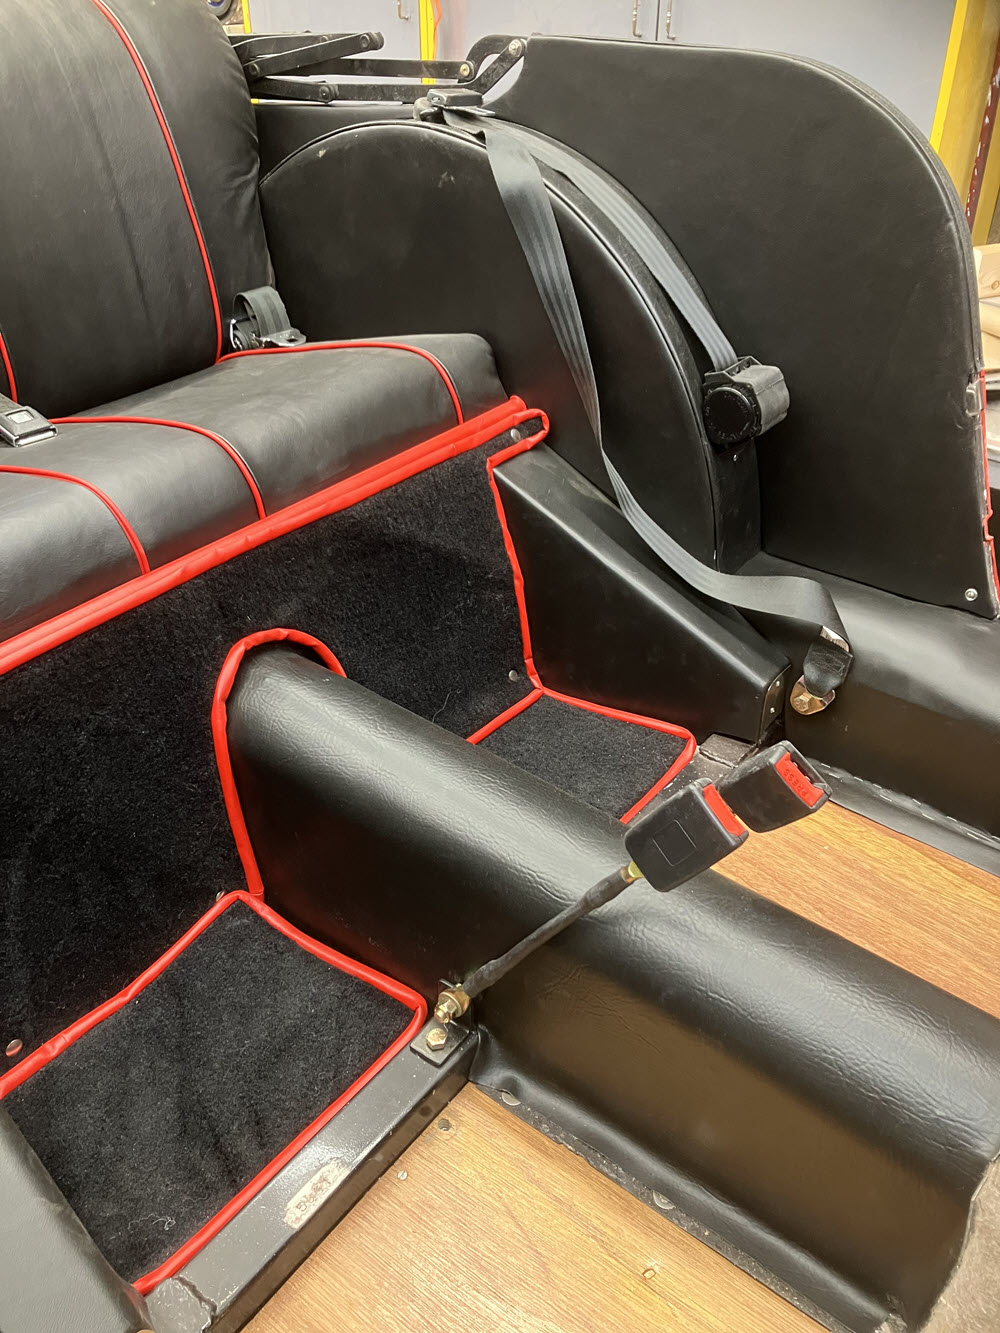
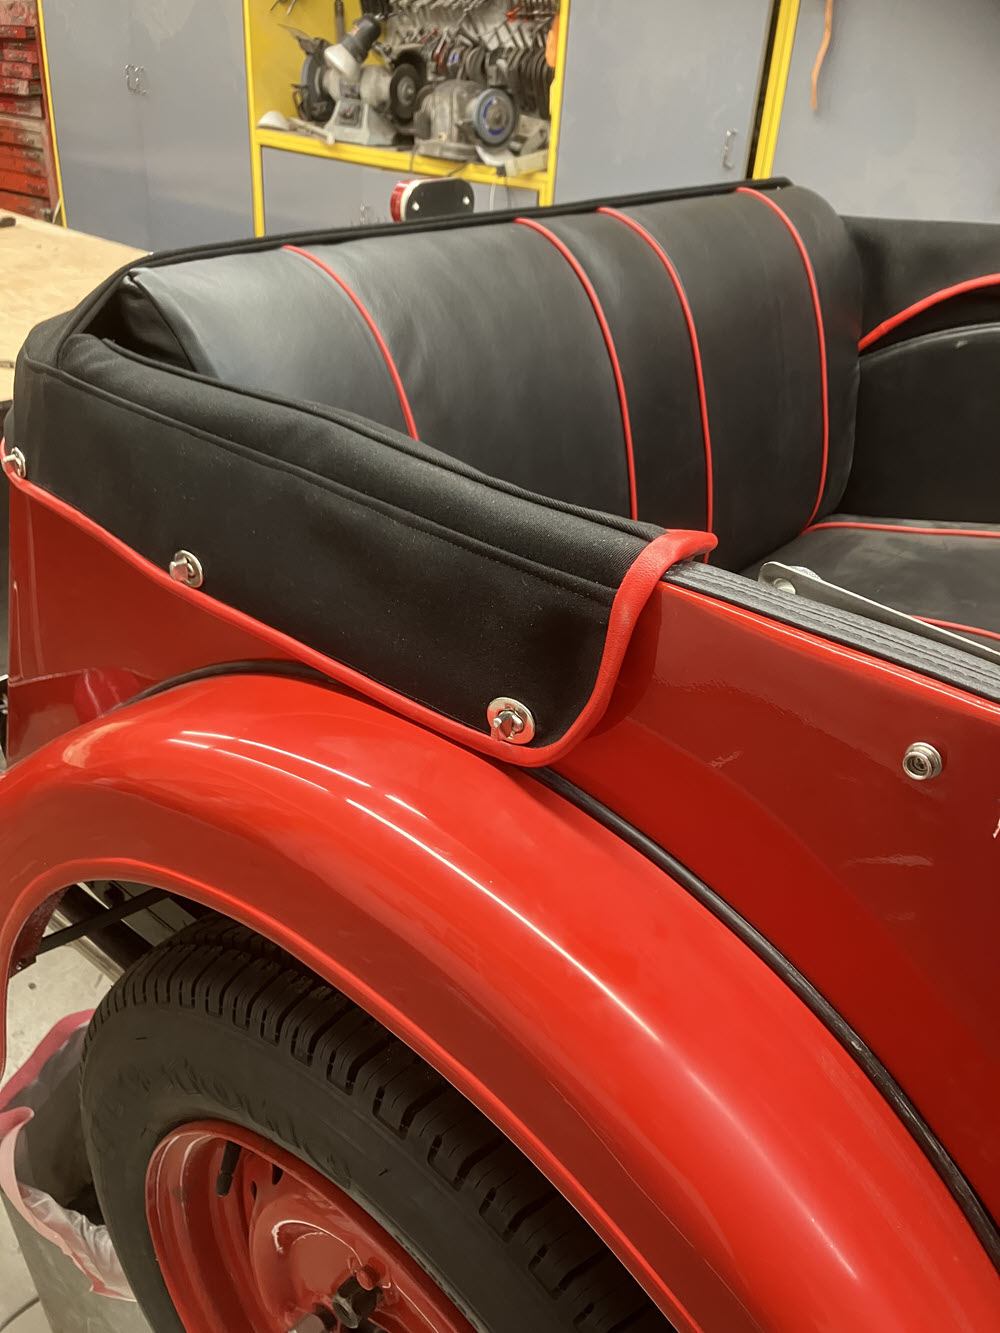
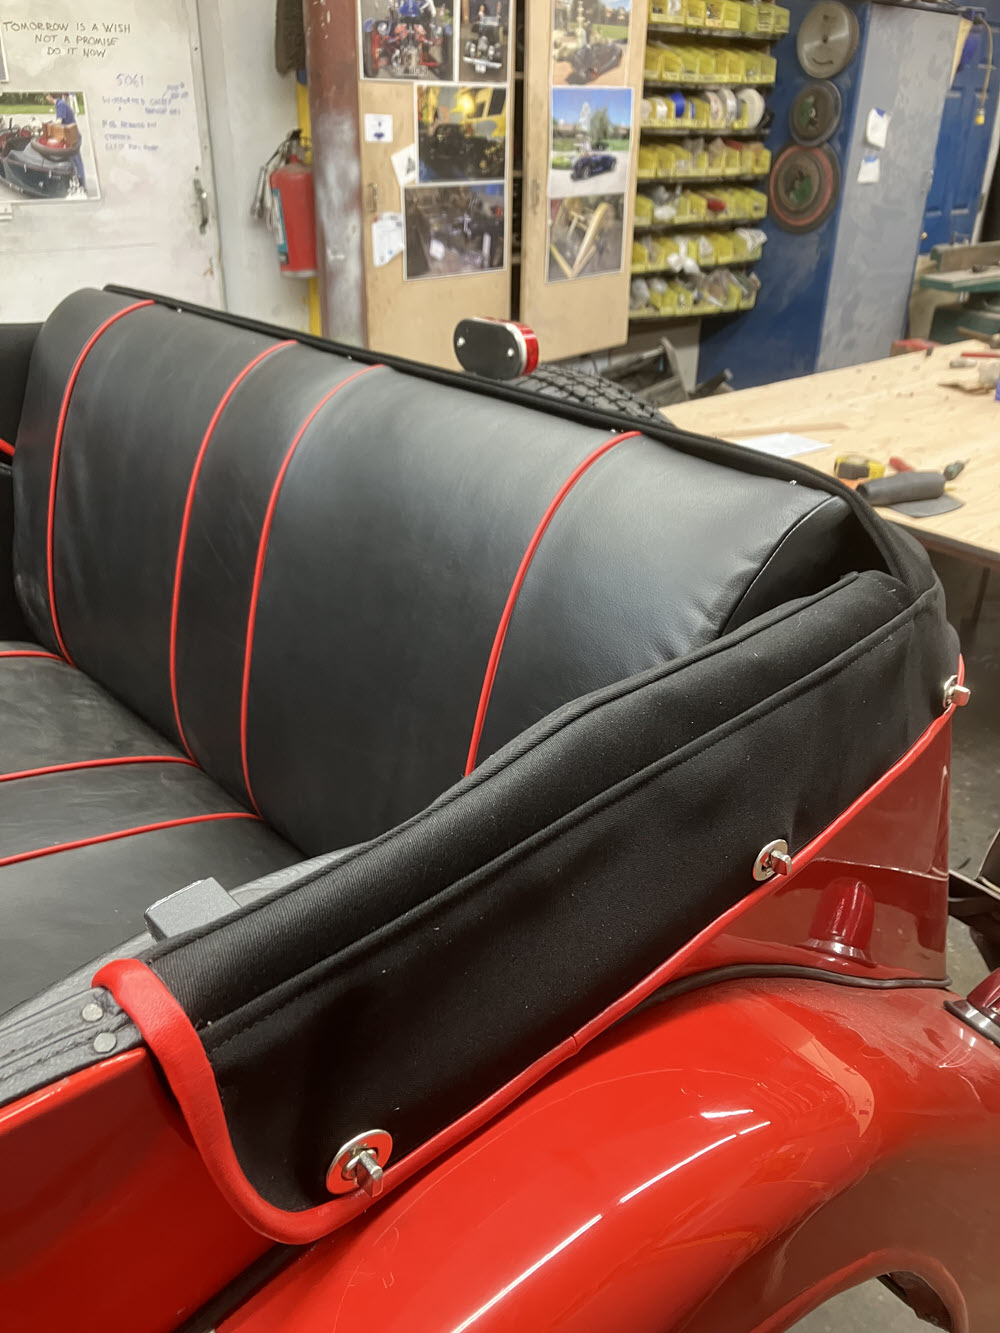
Seats and Upholstery
I have adapted Sparco brand seat slides on three previous four seaters and my own DHC. They work well and make it easier to adapt to different drivers. My back will simply not tollerate the original coil springs installed by the factory. I started using proper upholstery springs many years ago. They are vastly more comfortable particulary for longer journeys.
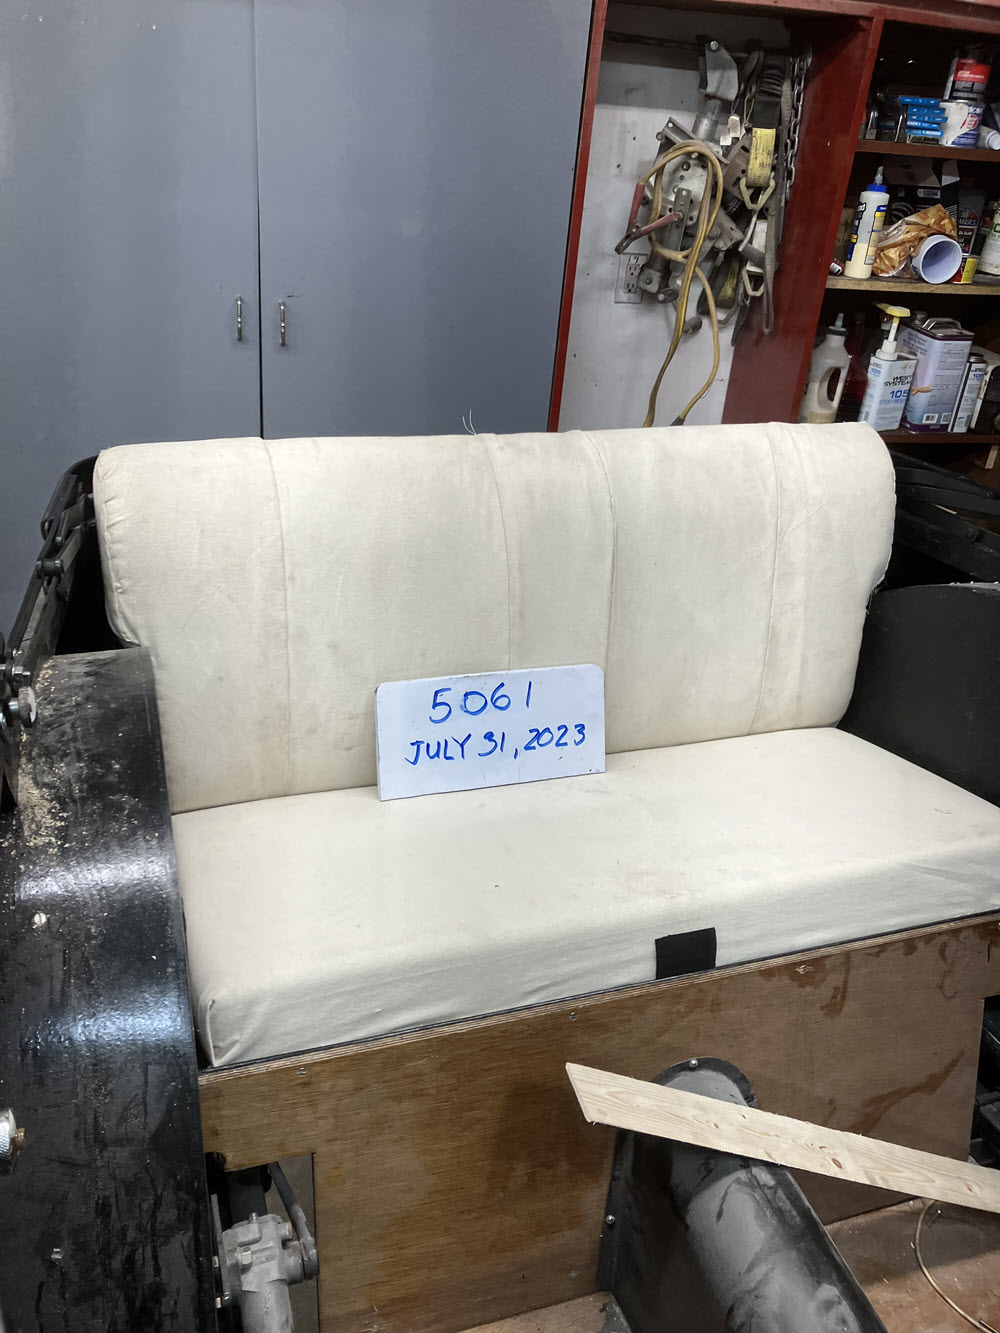
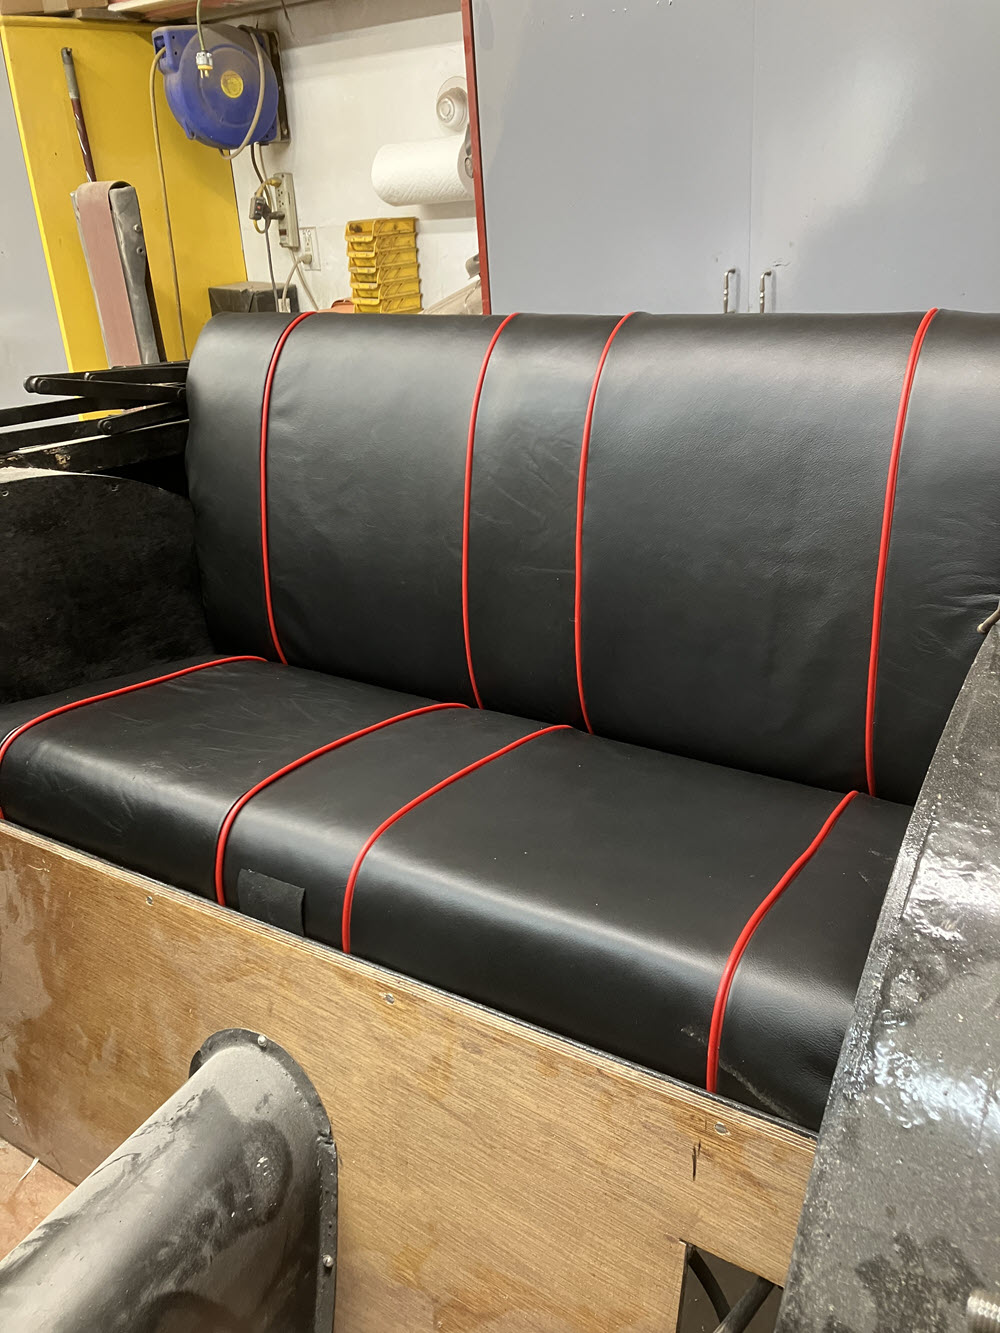
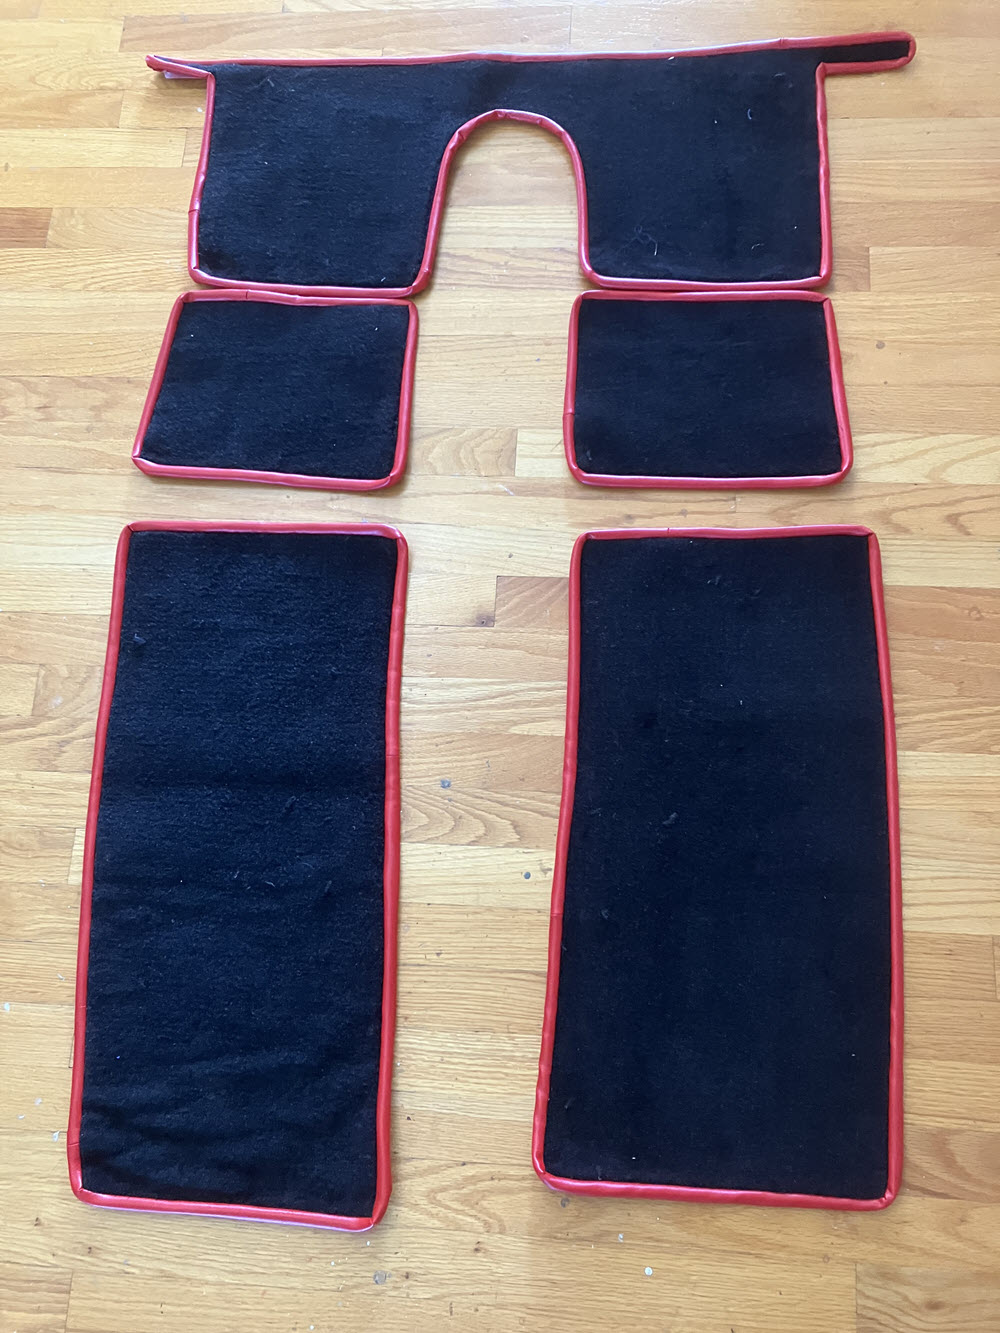
Upholstery Spring MaterialFabricationng new springsCompleted seat frames with adjustable head restsCompleted seat frames with Sparco Seat slides installedSeats Fitted with Foam and Webbing installedCanvas Covering on Rear Seat FoamCompleted leather seatCompleted leather seatLeather front seat backs and cushions finishedNew Edge Bound Carpetsfinished seats installed
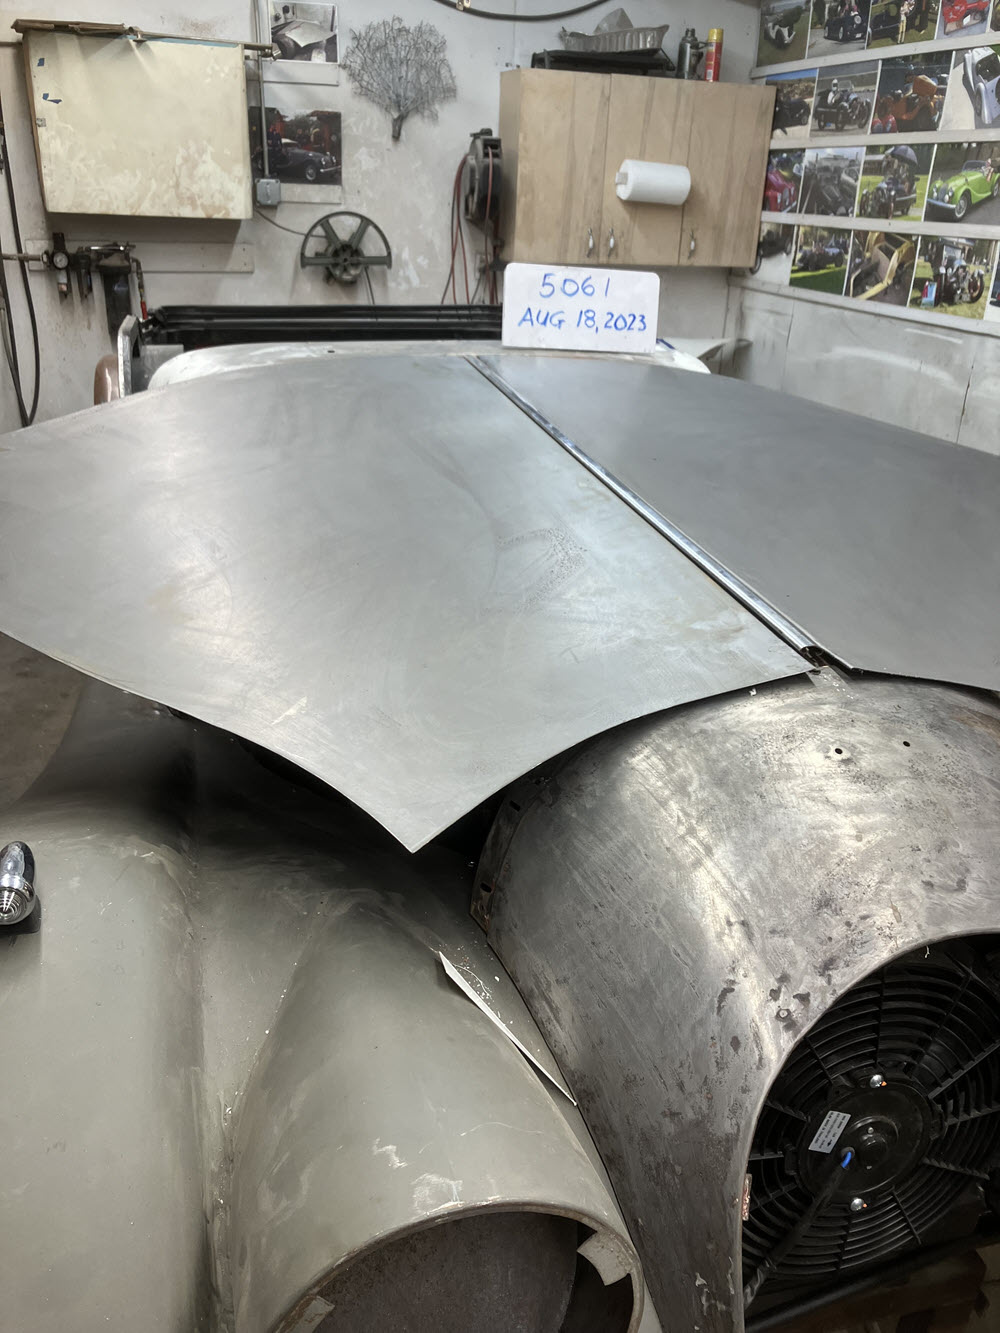
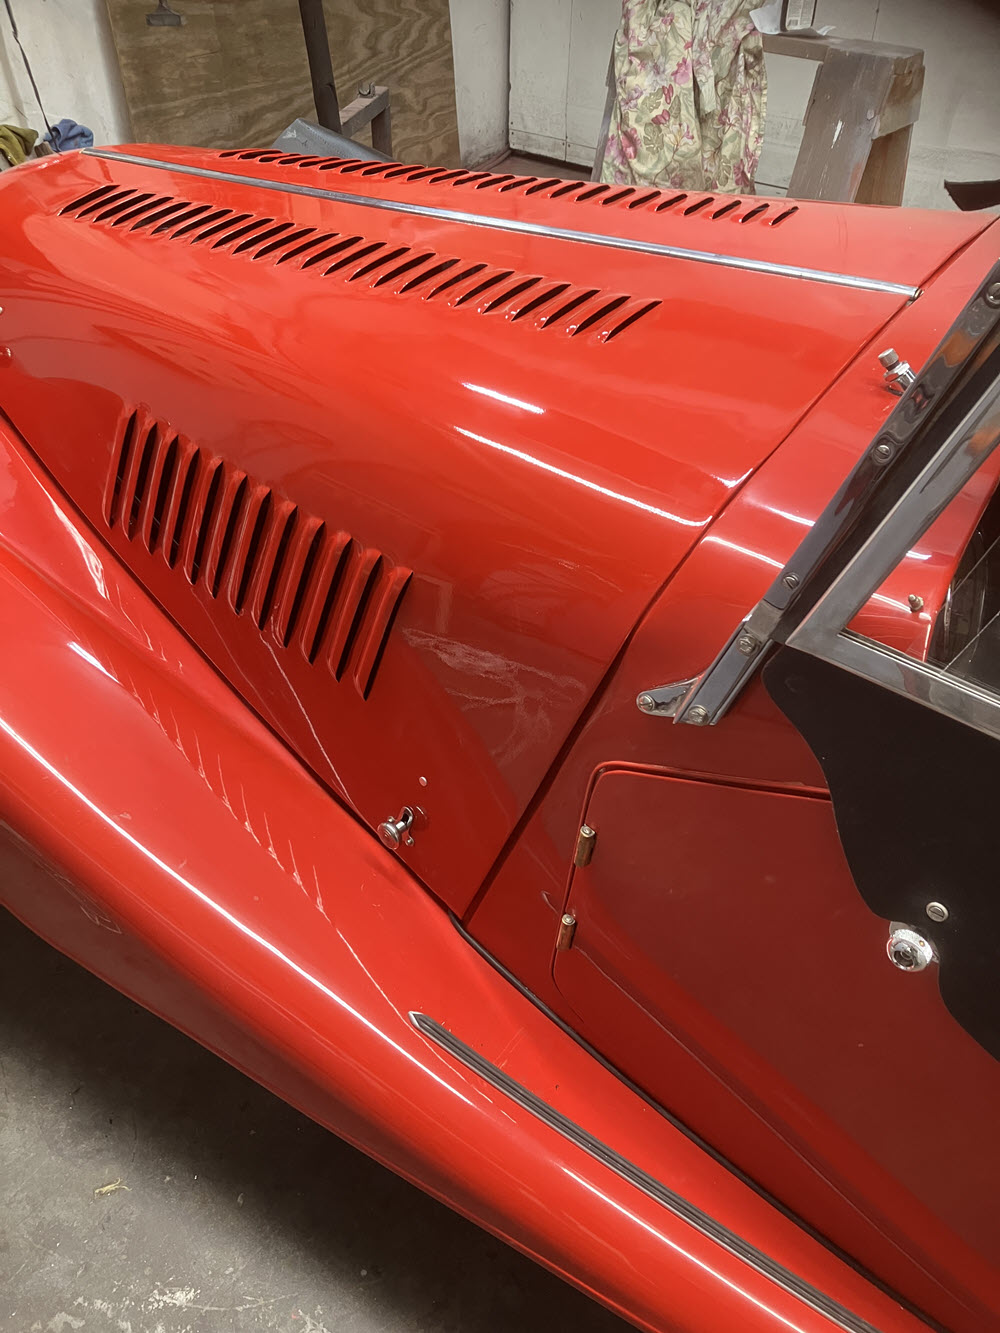
Cowl, Bonnets, and “Final” Fitting of Body Parts
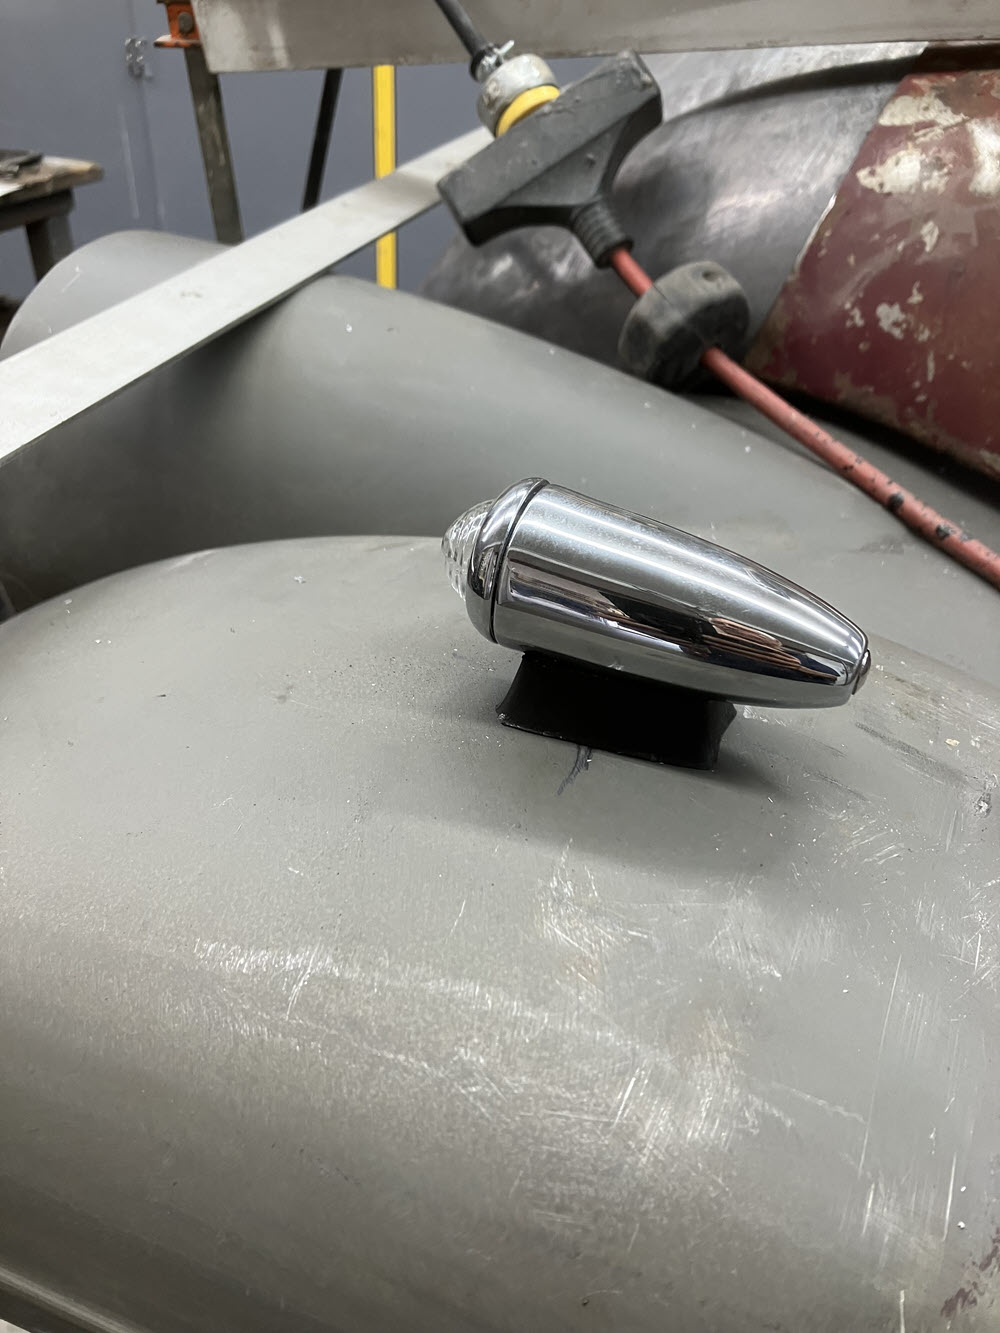
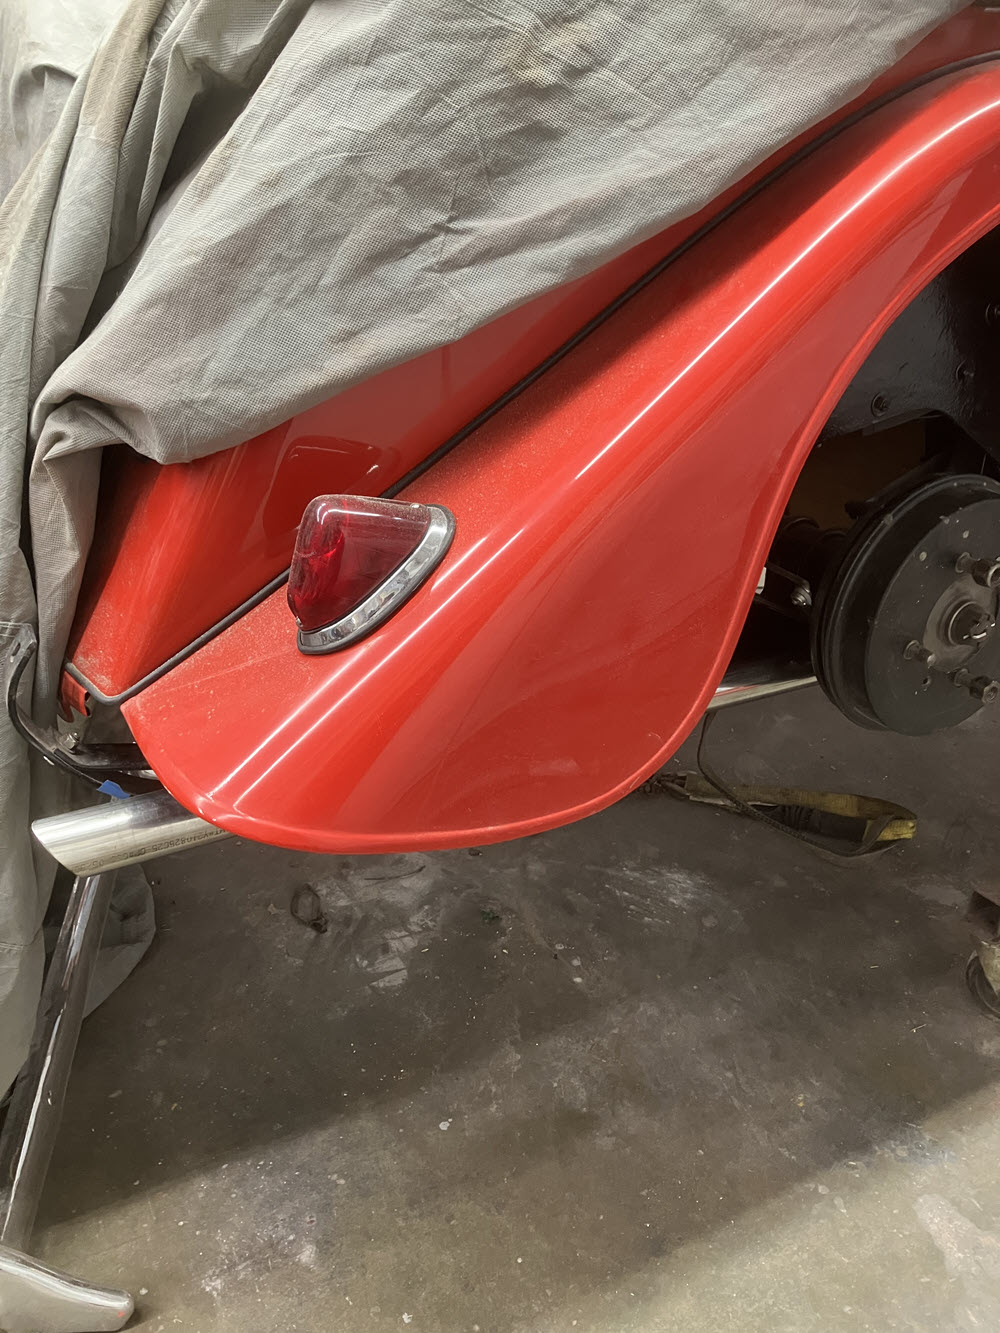
factory new wings fittednew wing lights located and fitted
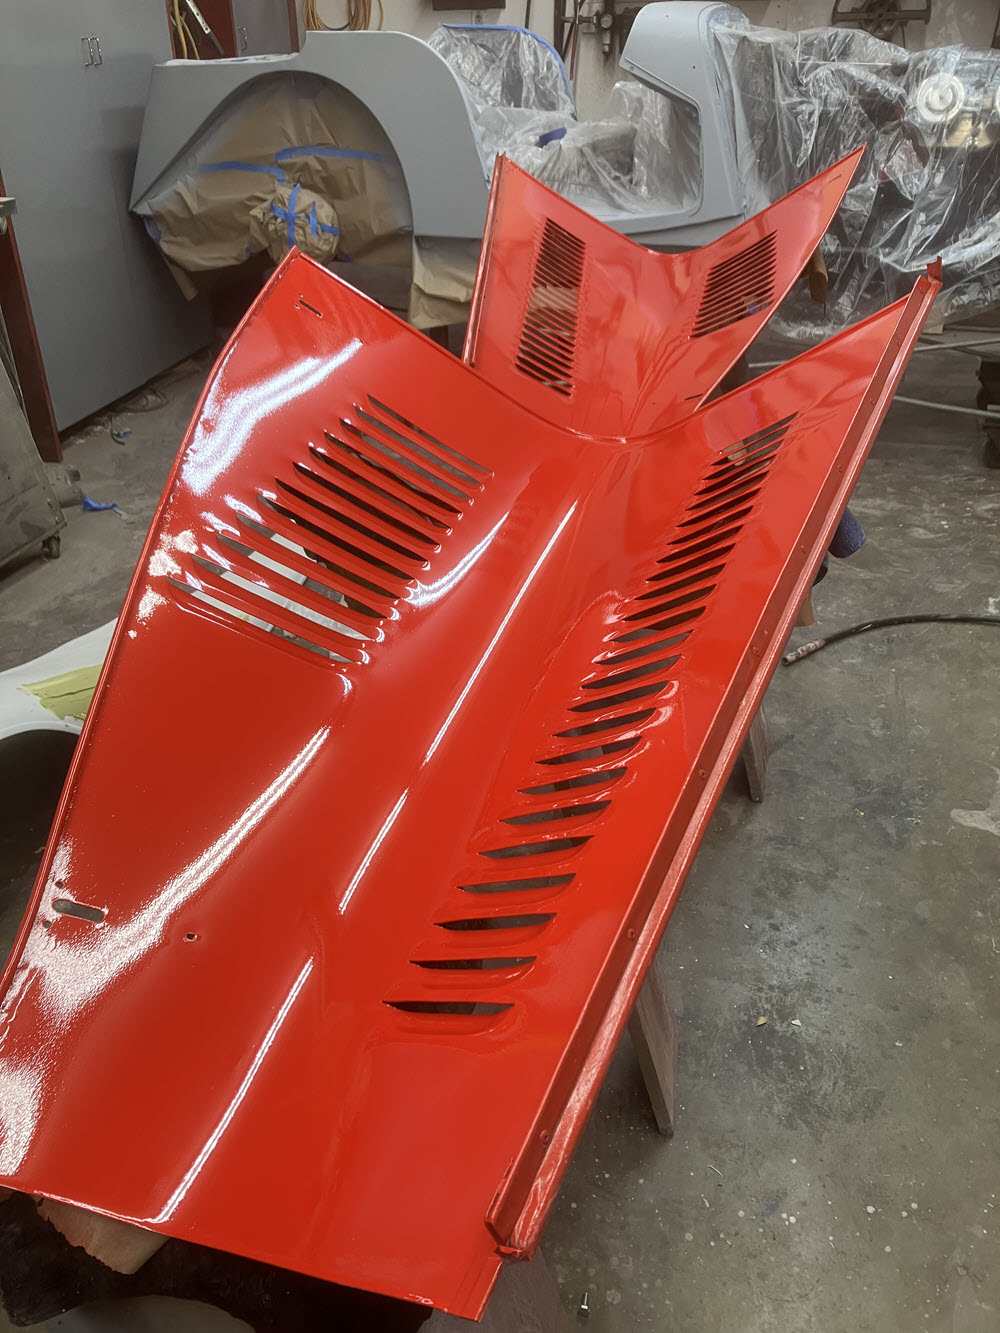
Bonnets
These bonnets are a special case. After a day of picking and filing I’m coming to a tough decision: Continue straightening the originals and finish with polyester body filler (normal body shop approach) OR make new? Body filler is great stuff. I use it but very sparingly. I don’t like using it on parts like bonnets that flex. But making a new bonnet is a lot of work. Then again, a new bonnet has no filler and is straight. Tough call.
original bonnet after a day of raising dents and straightening
Make a New Bonnet
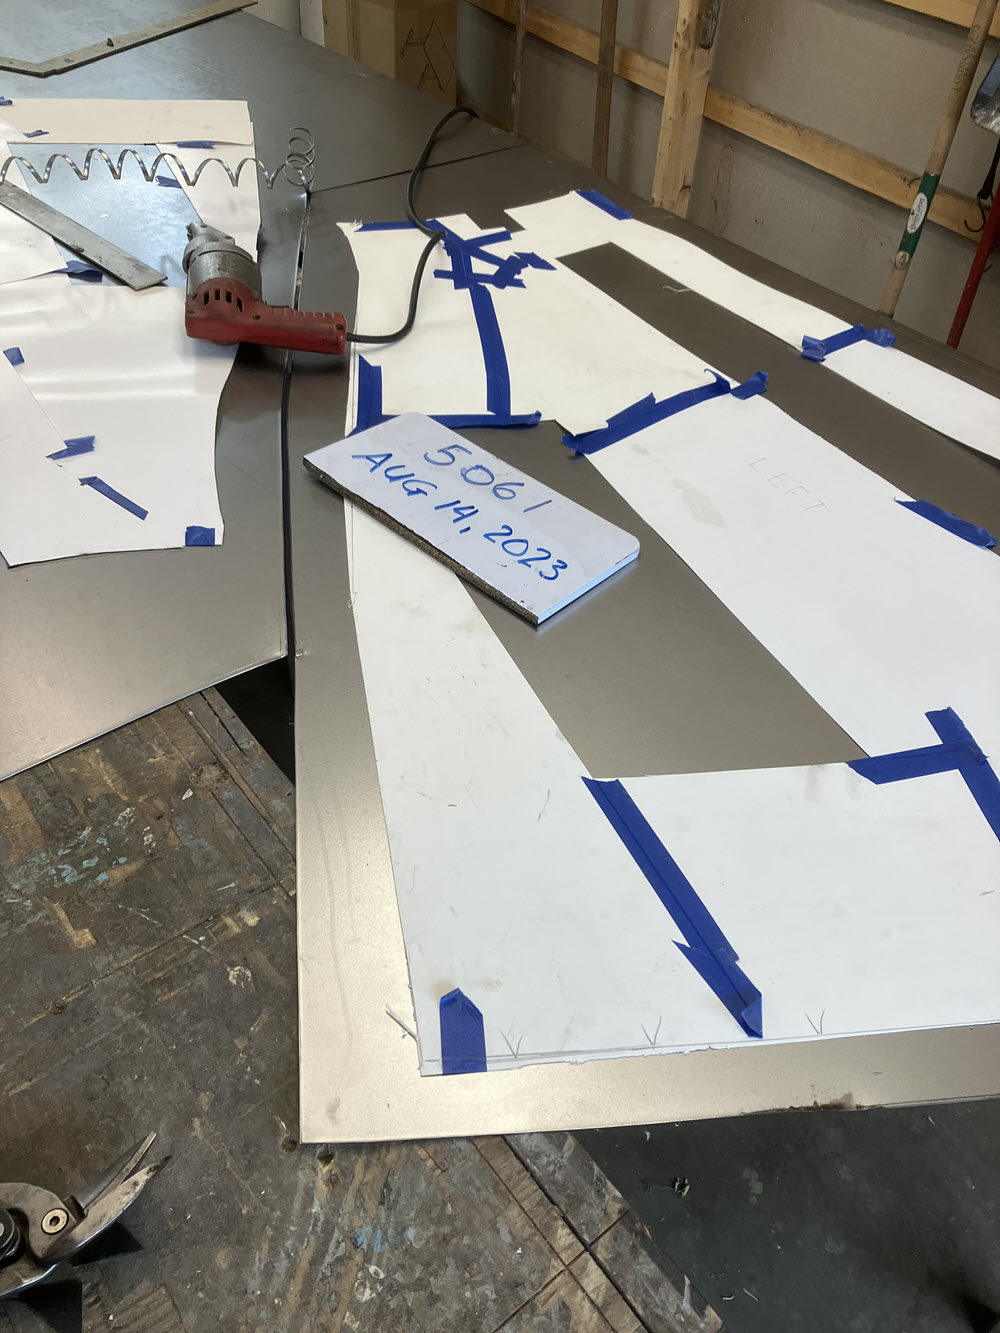
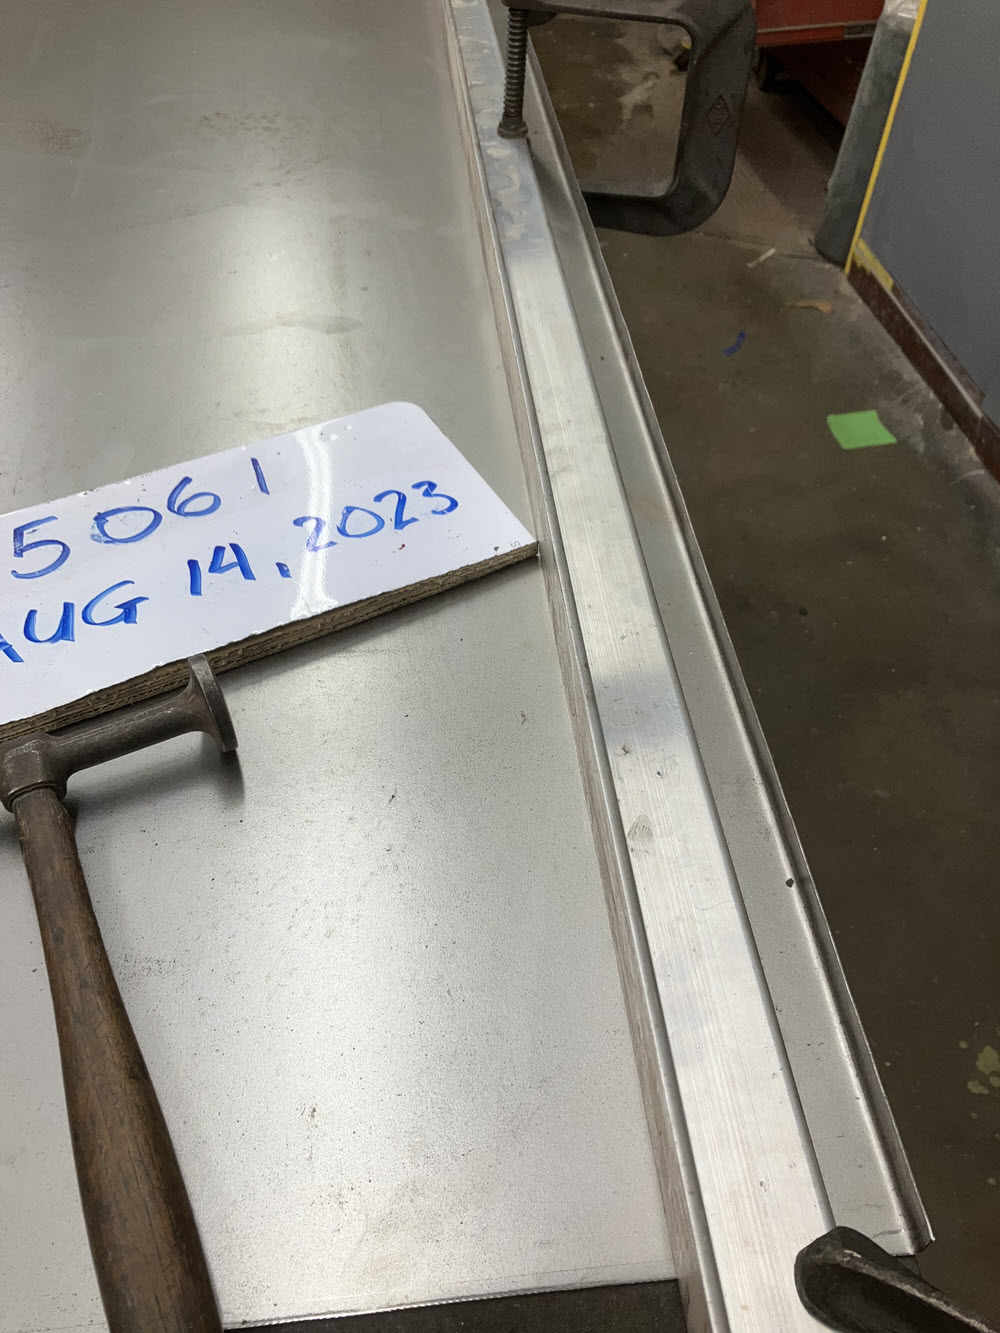
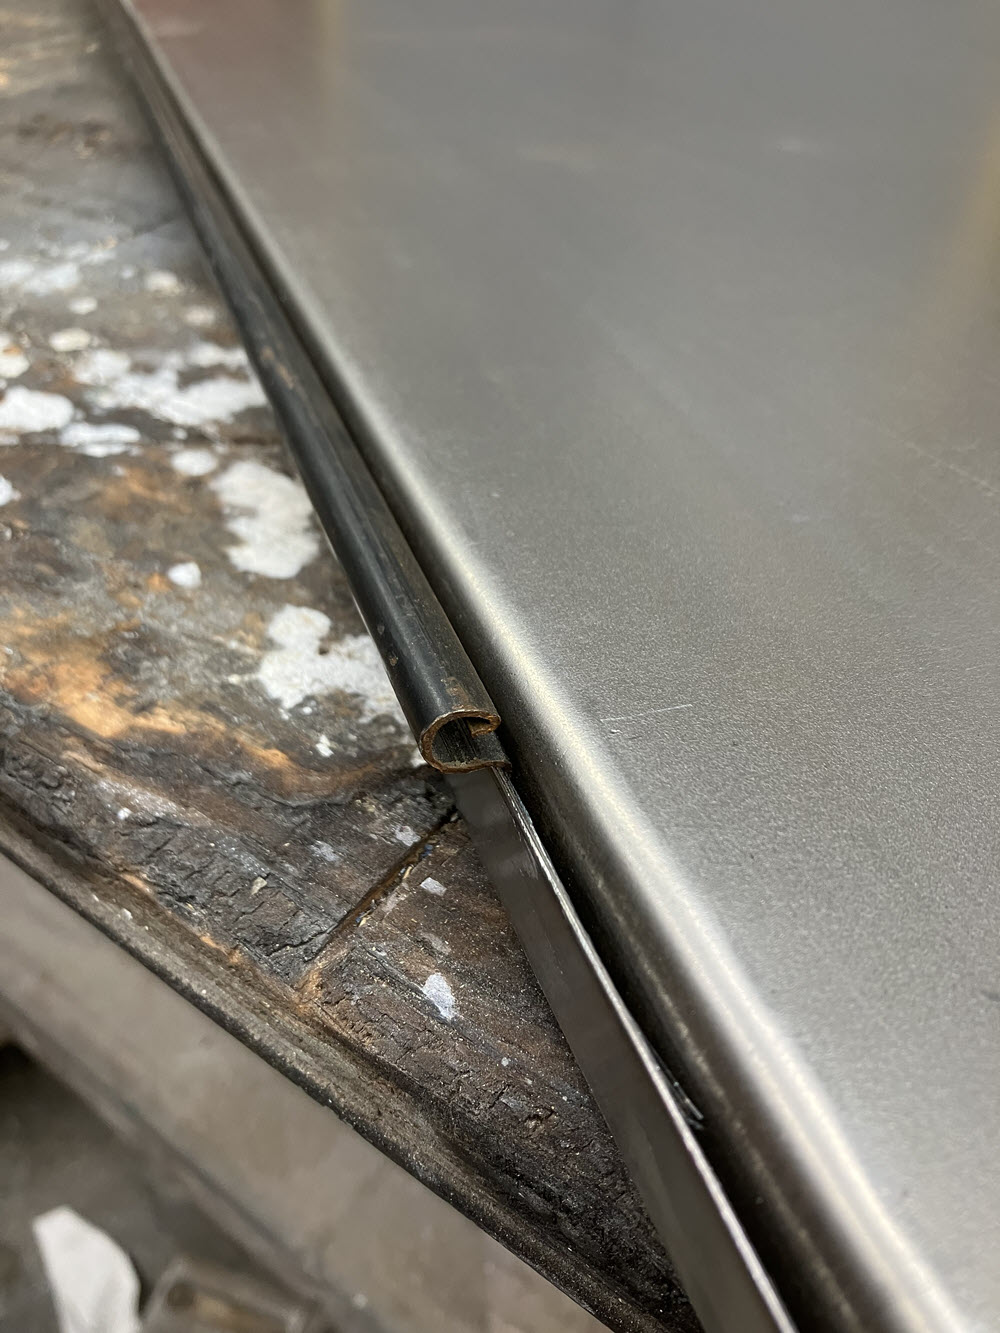
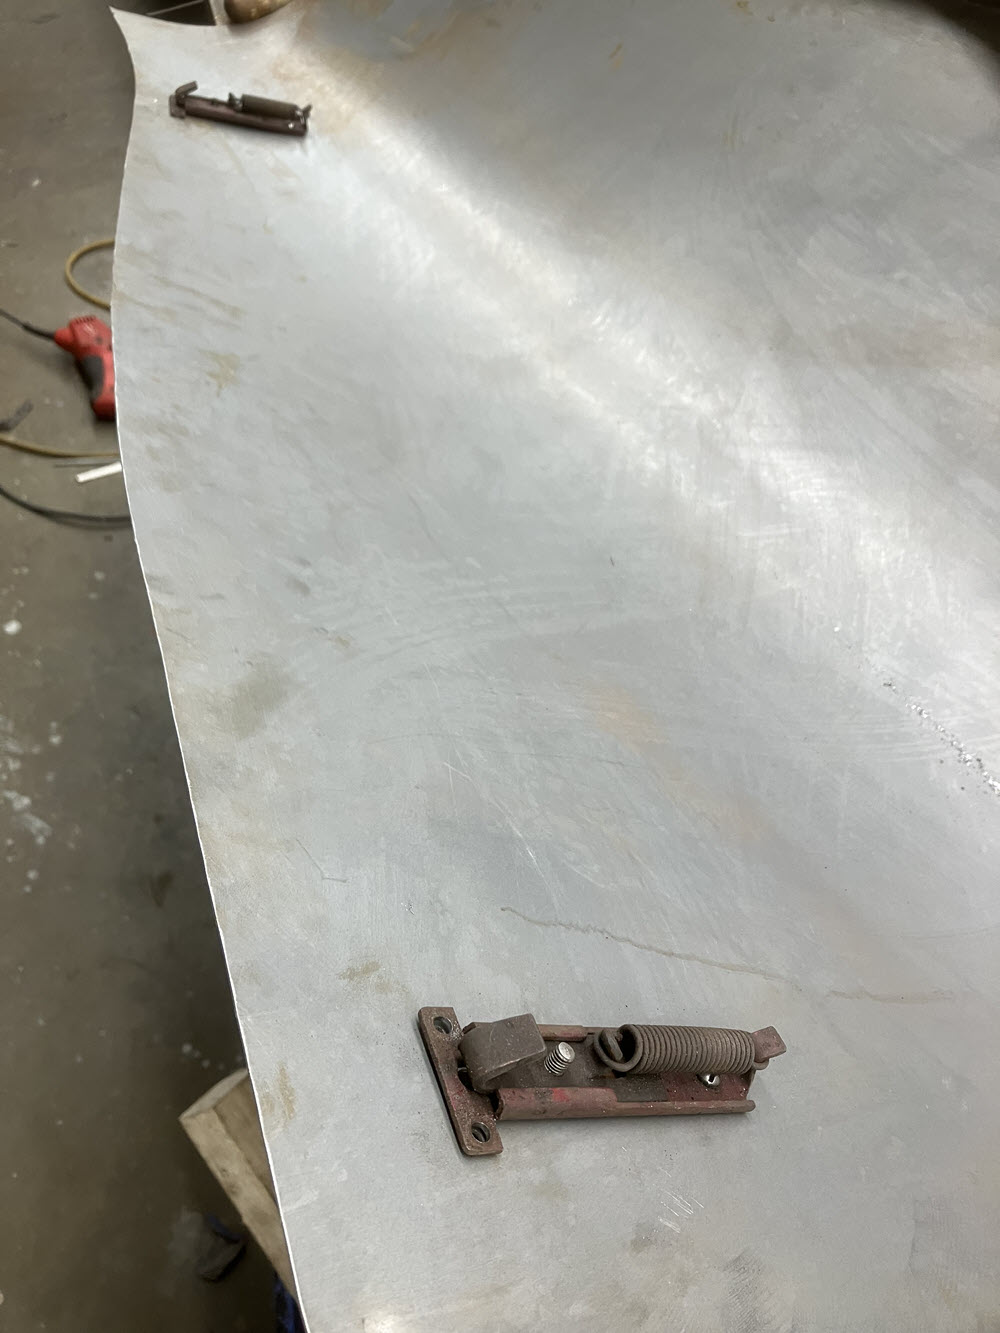
Can’t over emphasize the need for accurate patterns20ga CRSlayout patterns on steelstarting second bend at hingefirst bend for hem at rearcompleted double hem ar rearFirst check fitcheck fit after begining bendbend completed fitted to cowl at frontlocate and fit latchesWire rolled bottom hem doneRight Bonnet with bottom wire rolled hem fittedlatches fitted to car. Only louvers leftfnished
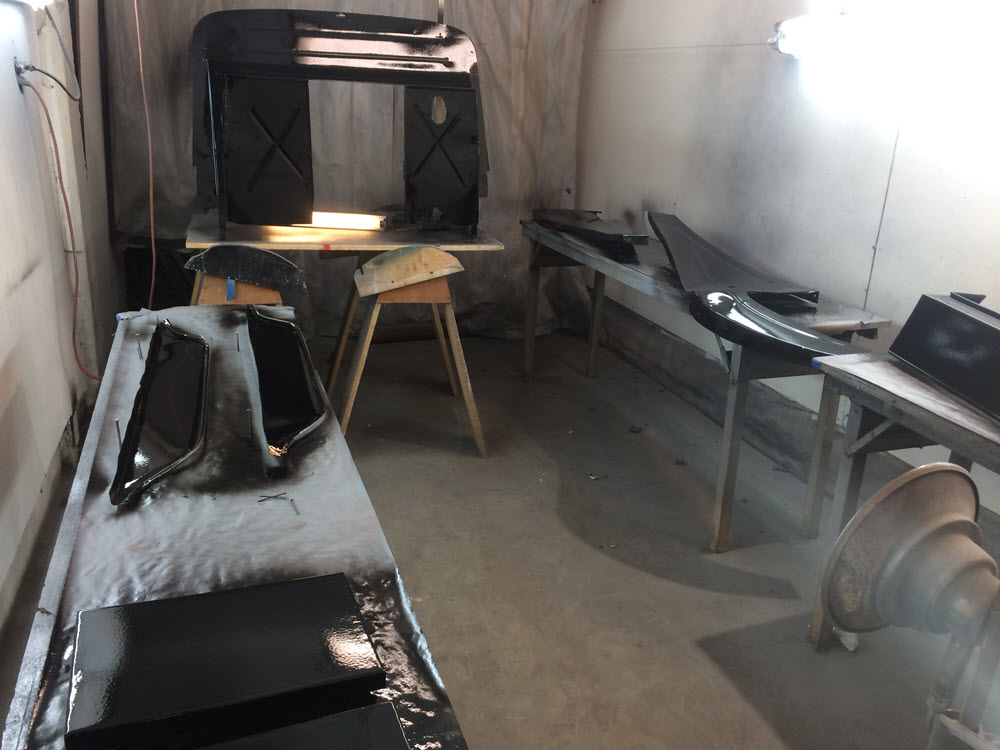
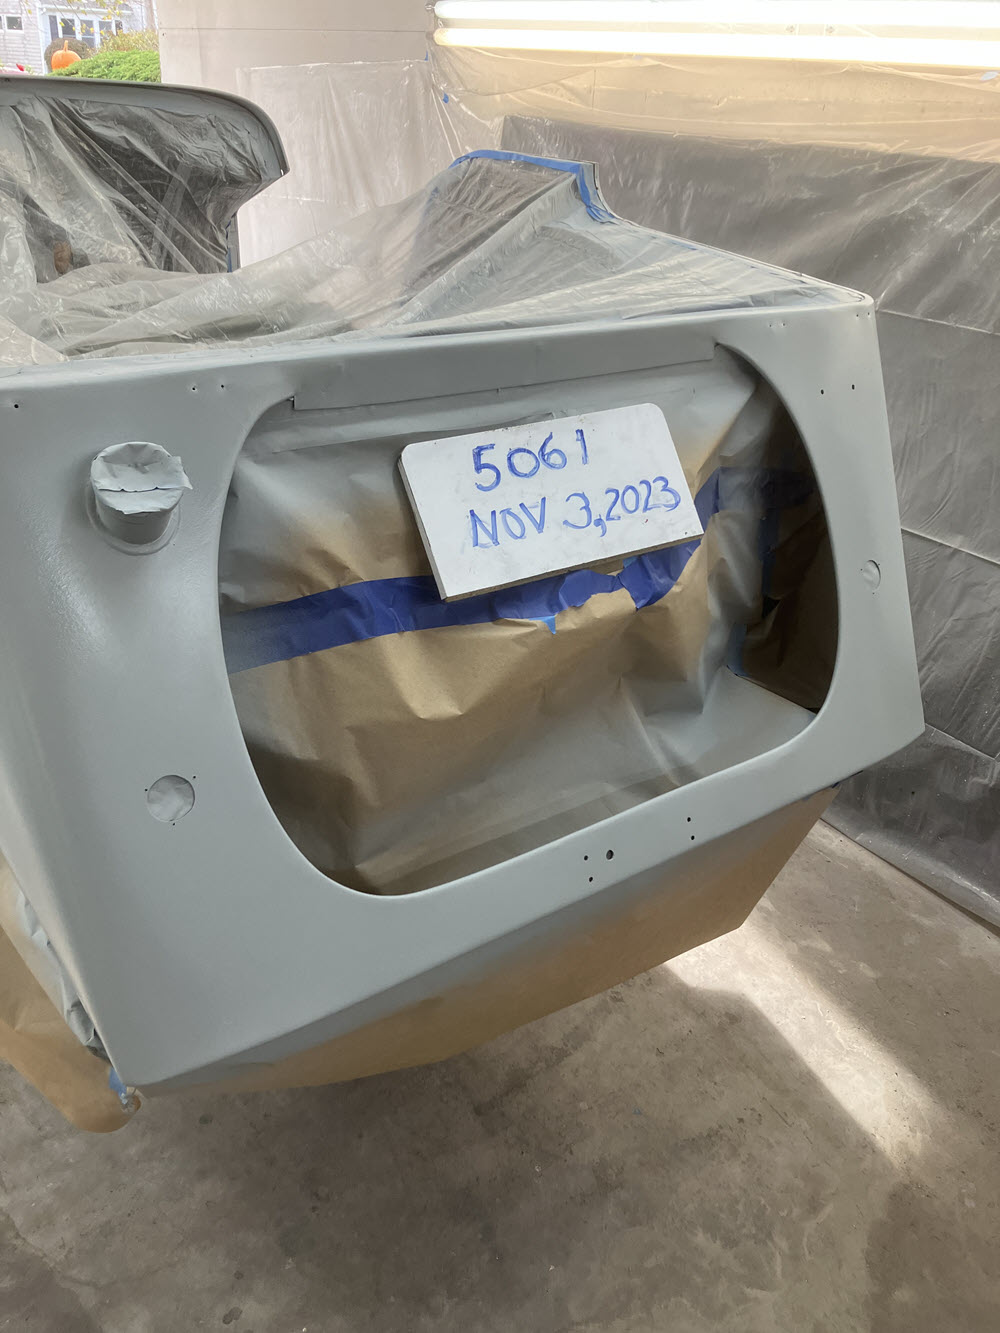
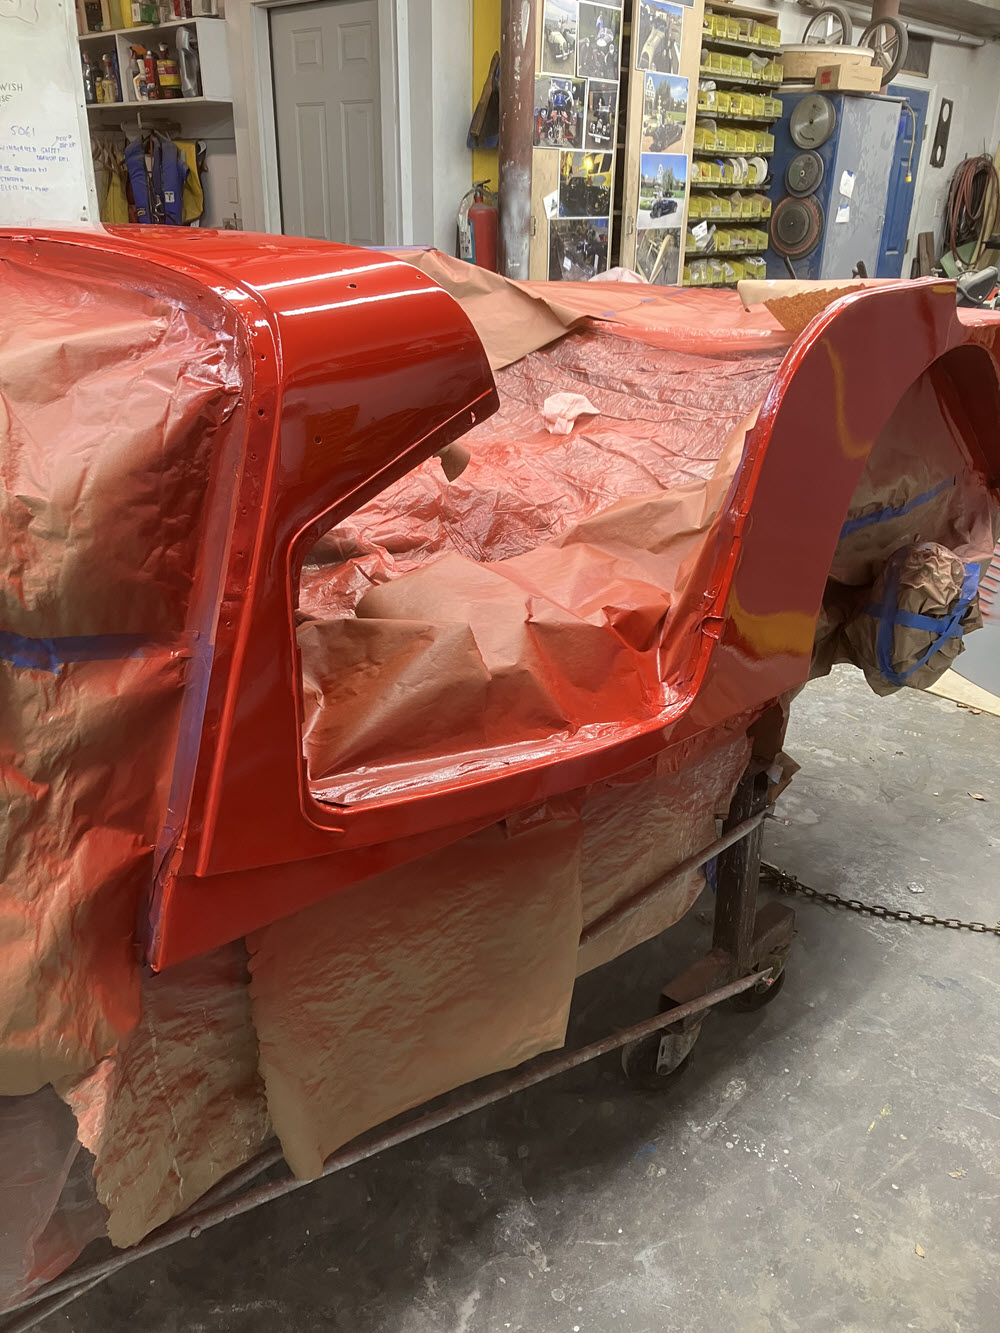
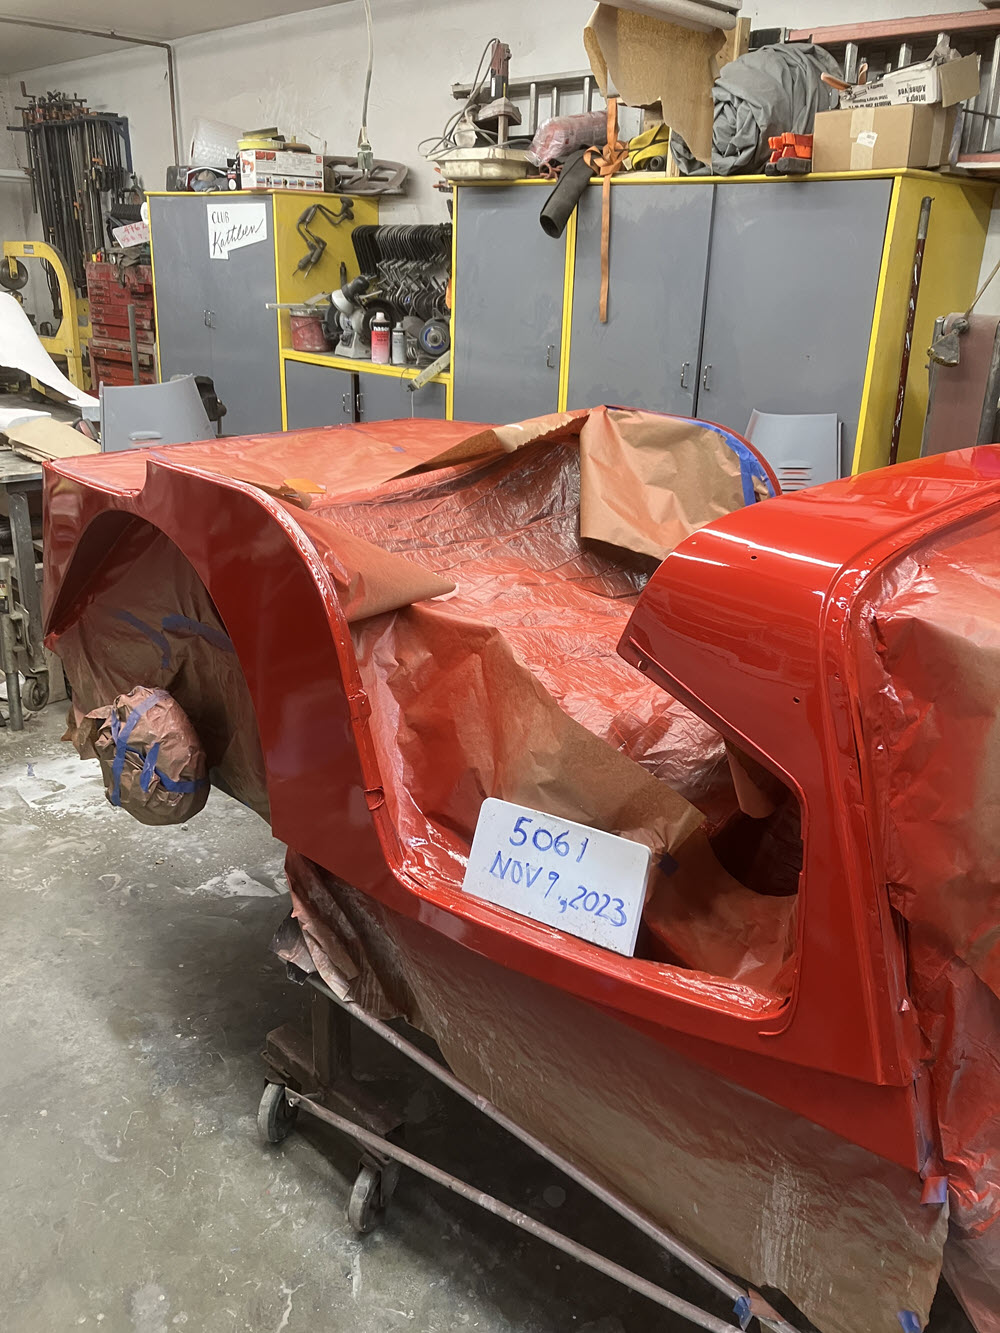
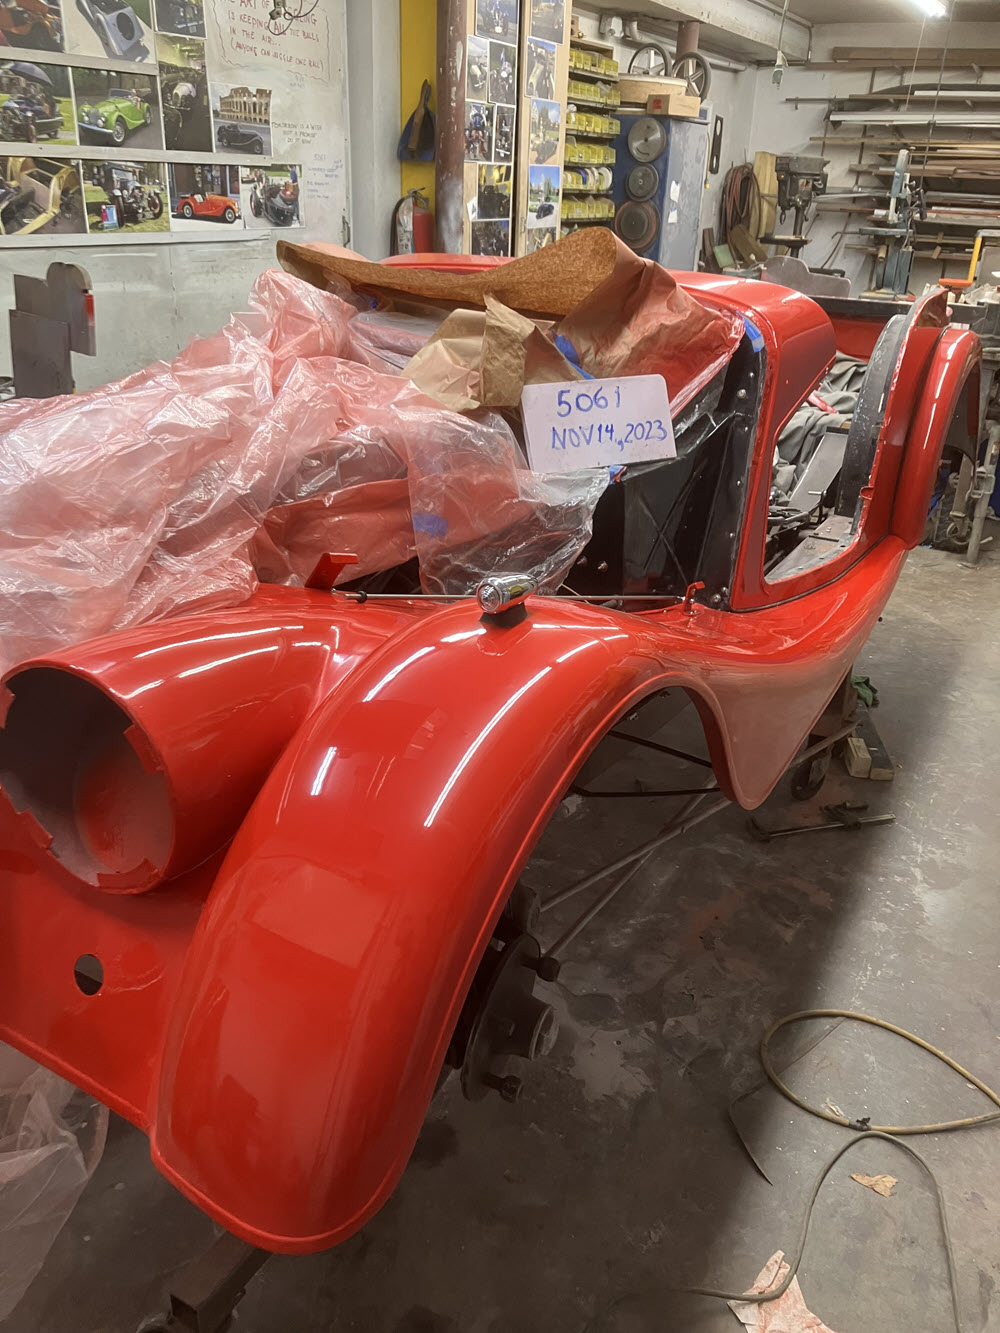
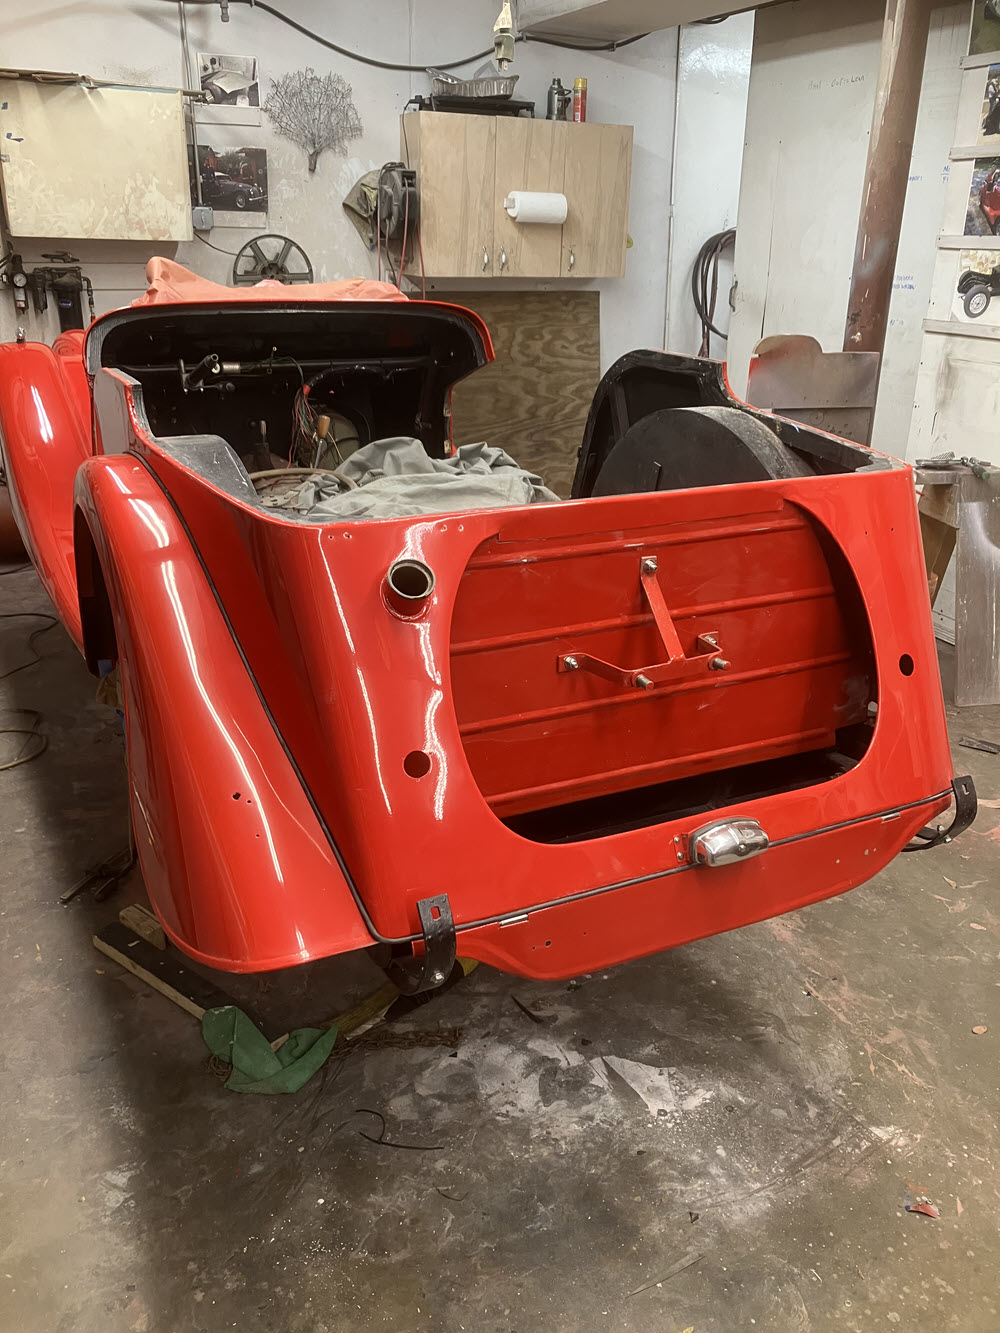
Paint
first parts in primerbody tub in primerbody tub in primerinside bonnetsdoors and bitsbody tubNason Single Stage Urethane Fleet color: durable and easy to touch-upbody tubbody tub
Assemble
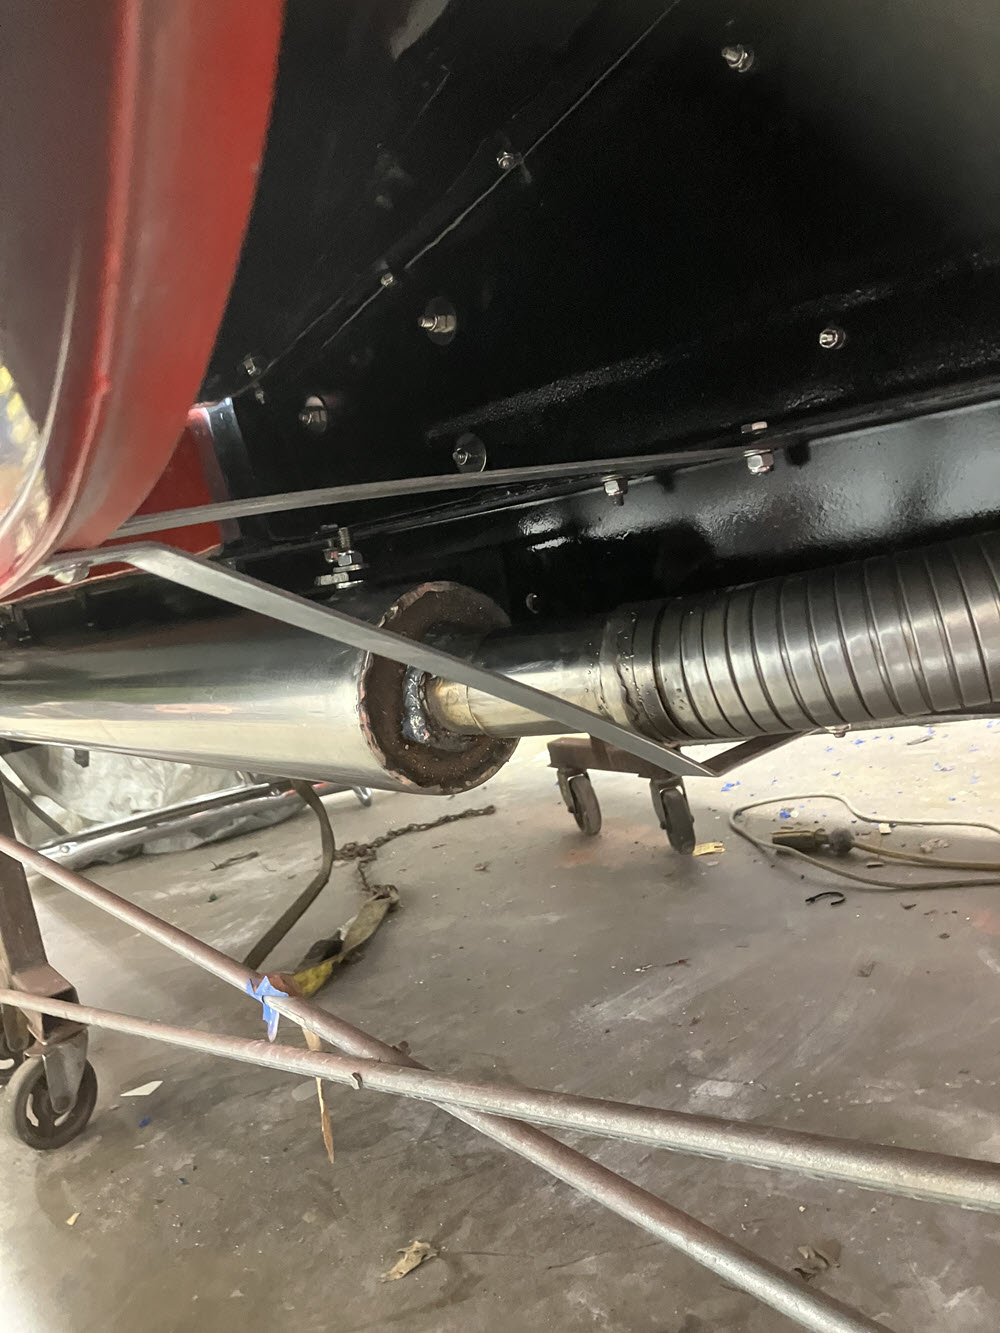
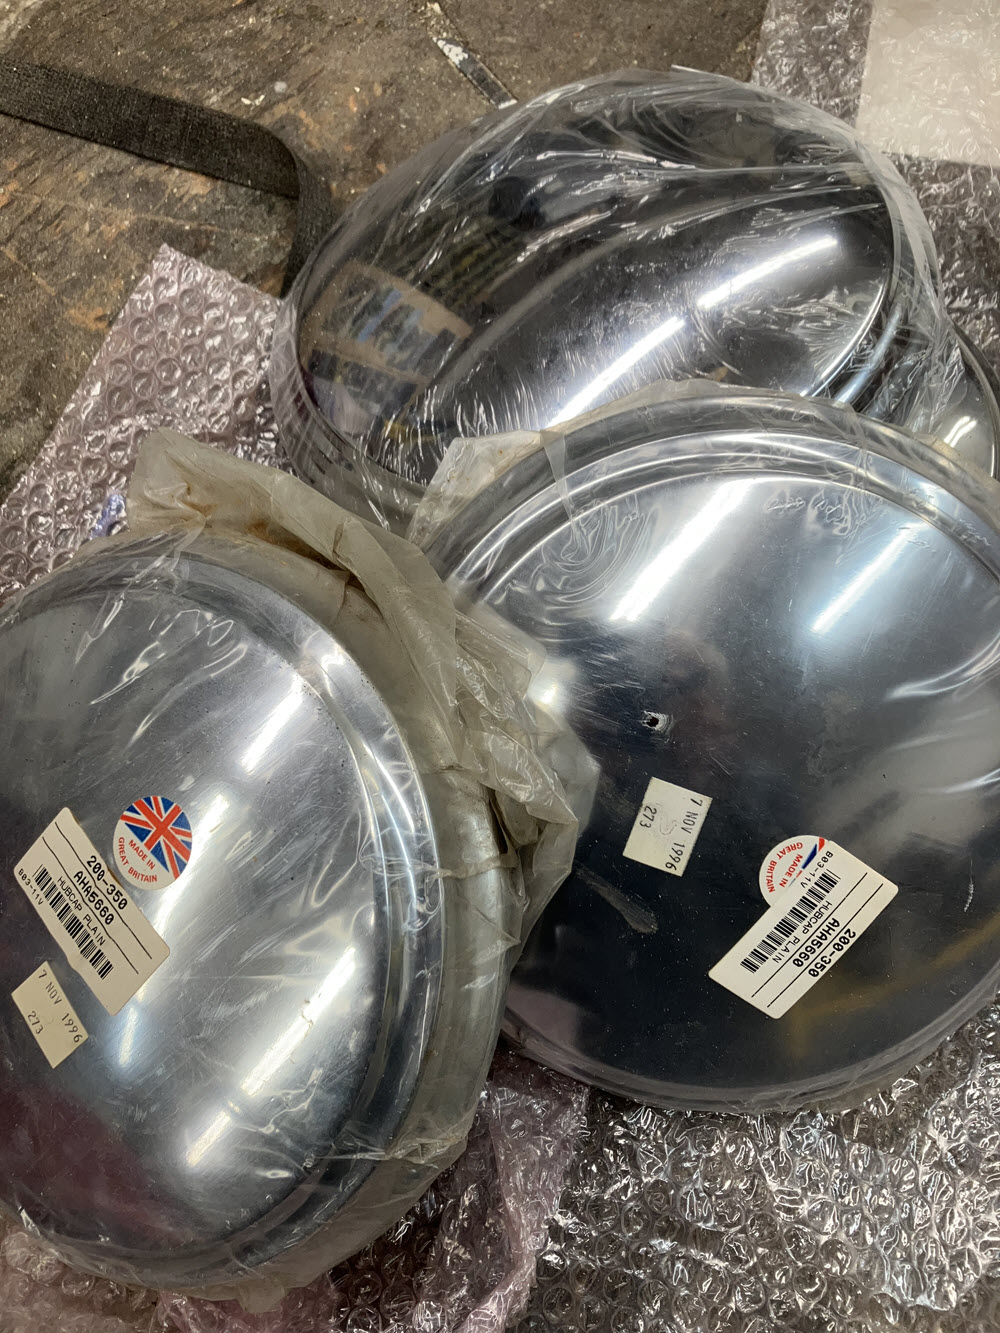
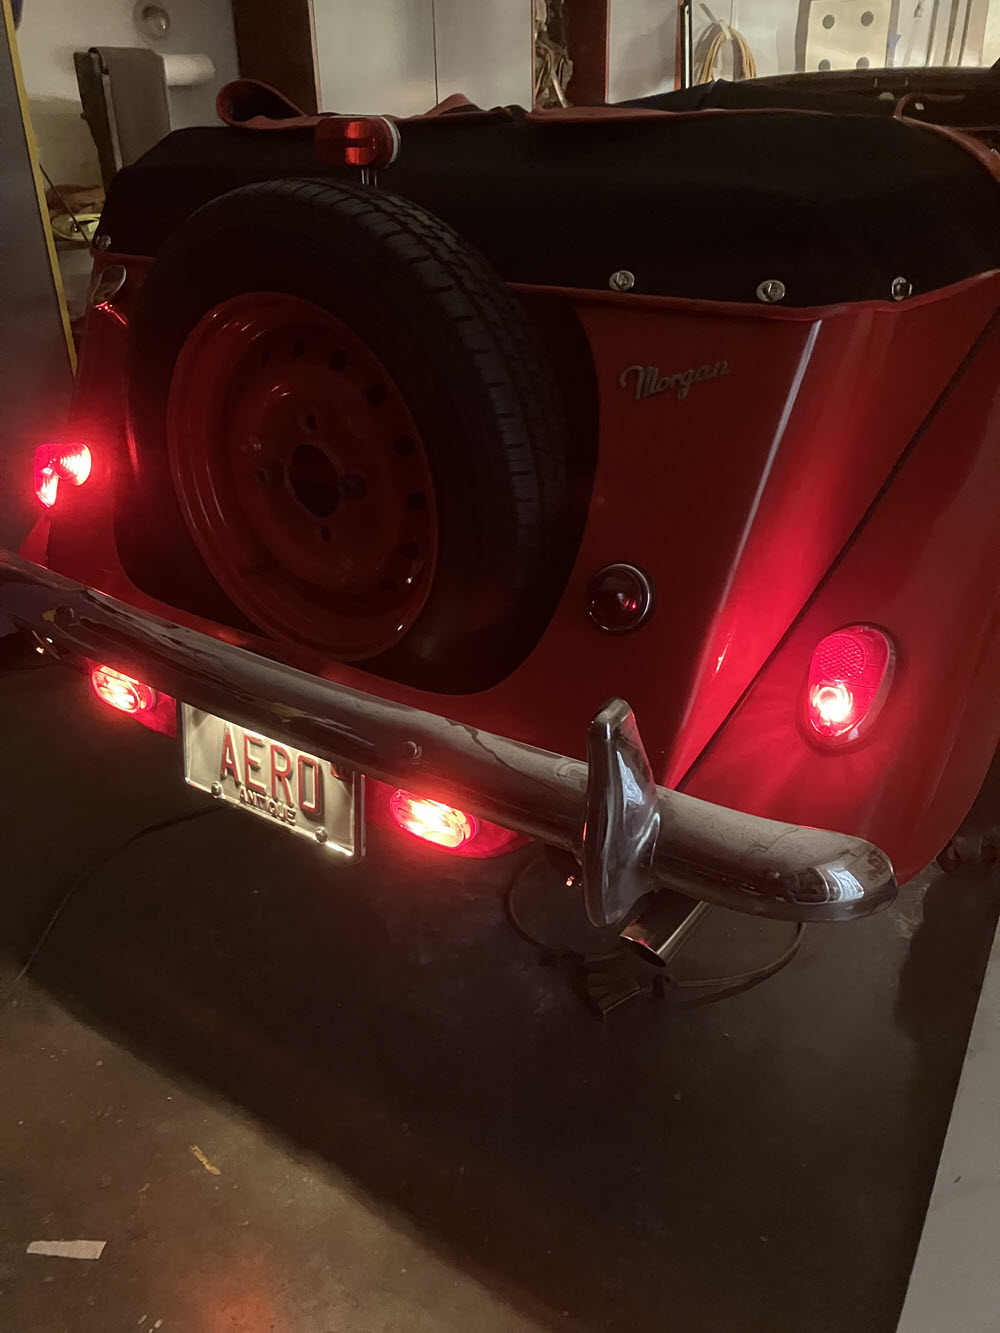
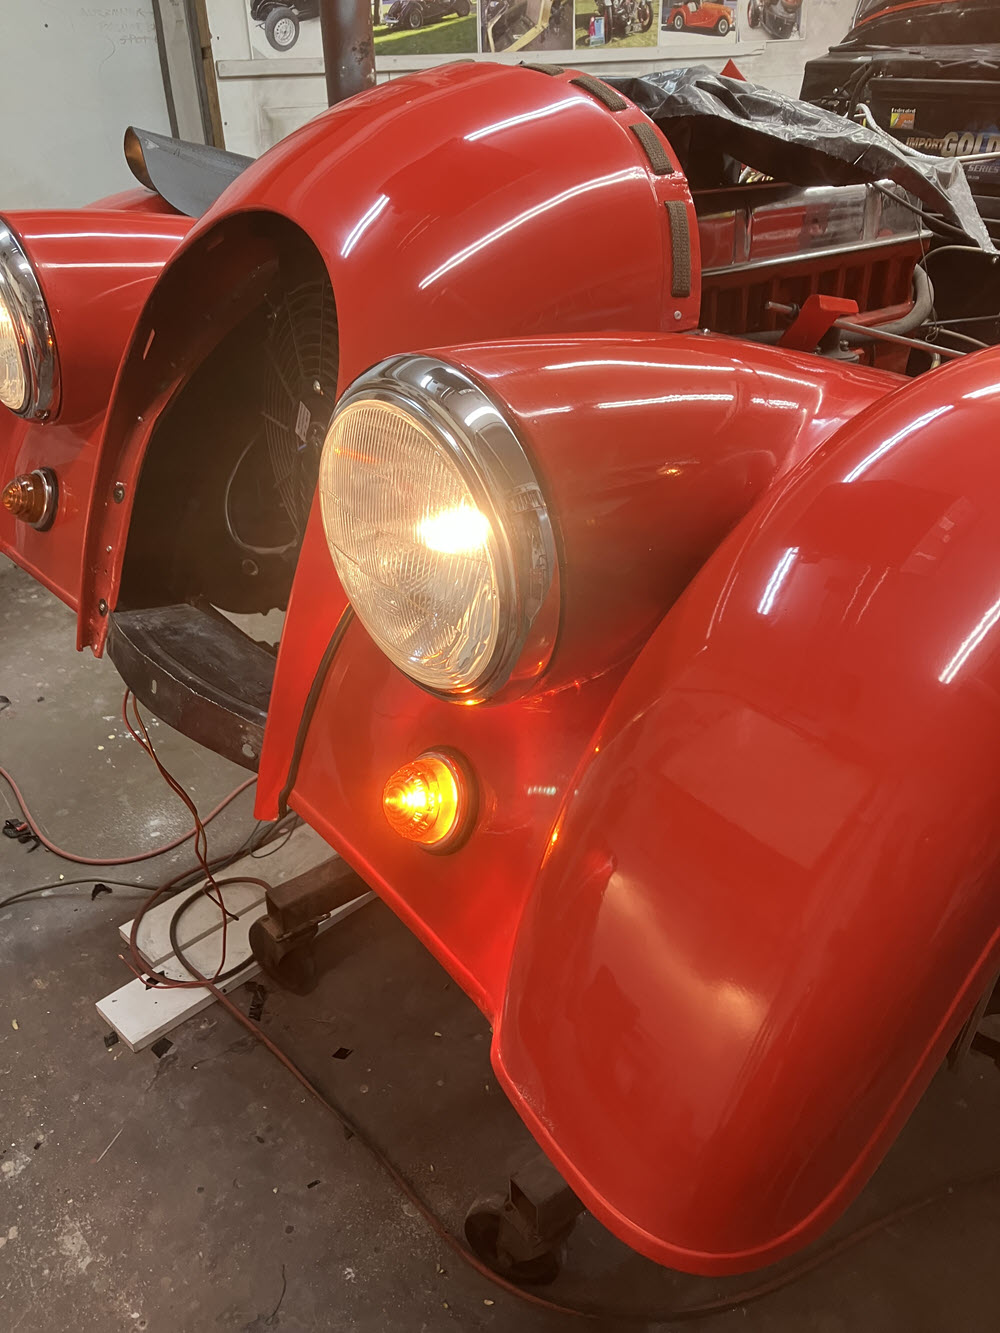
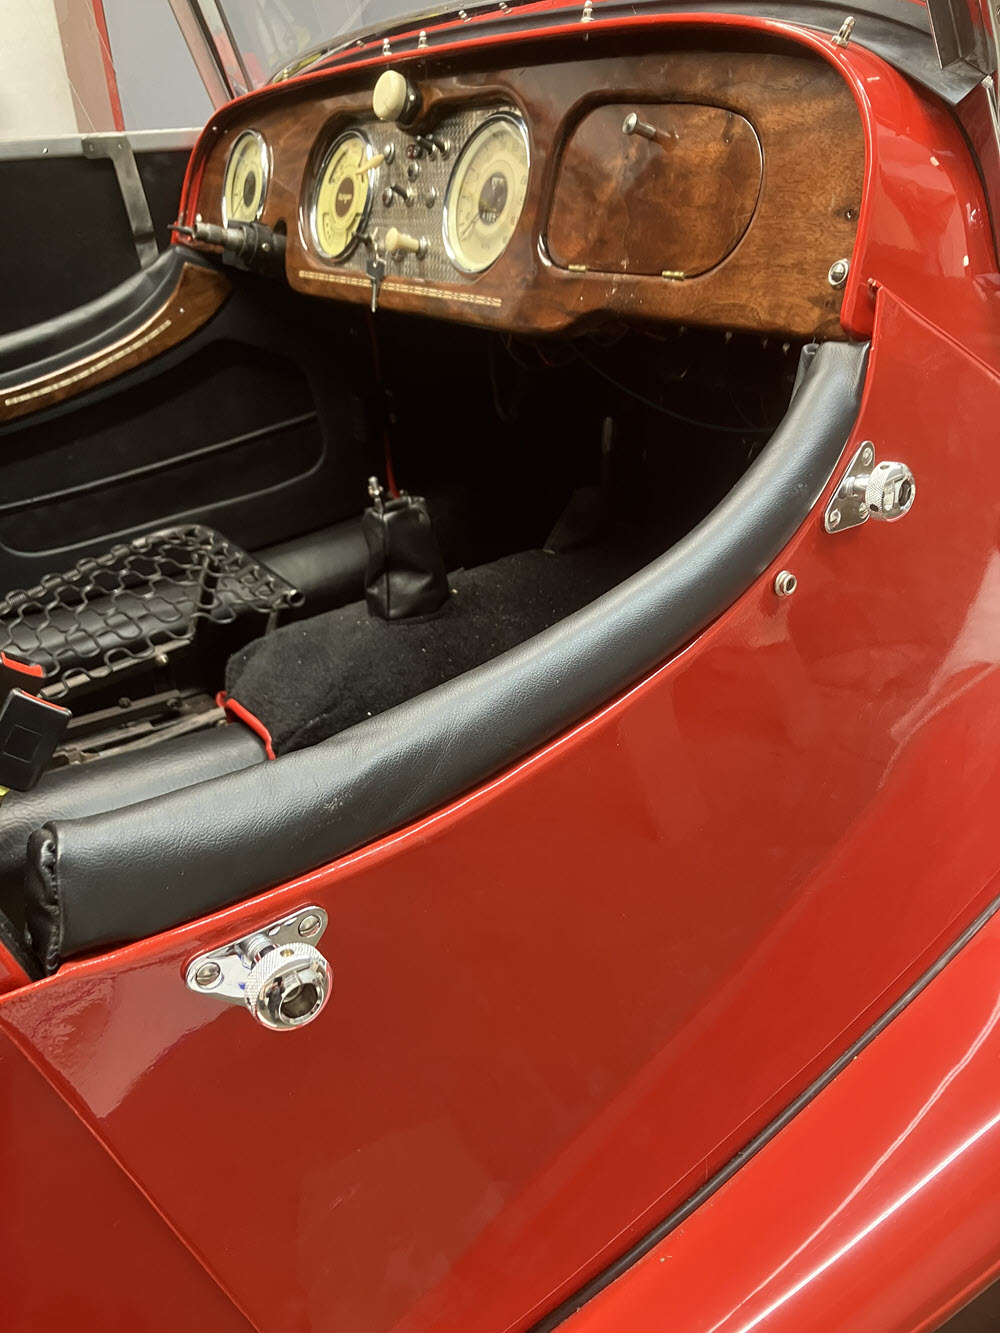
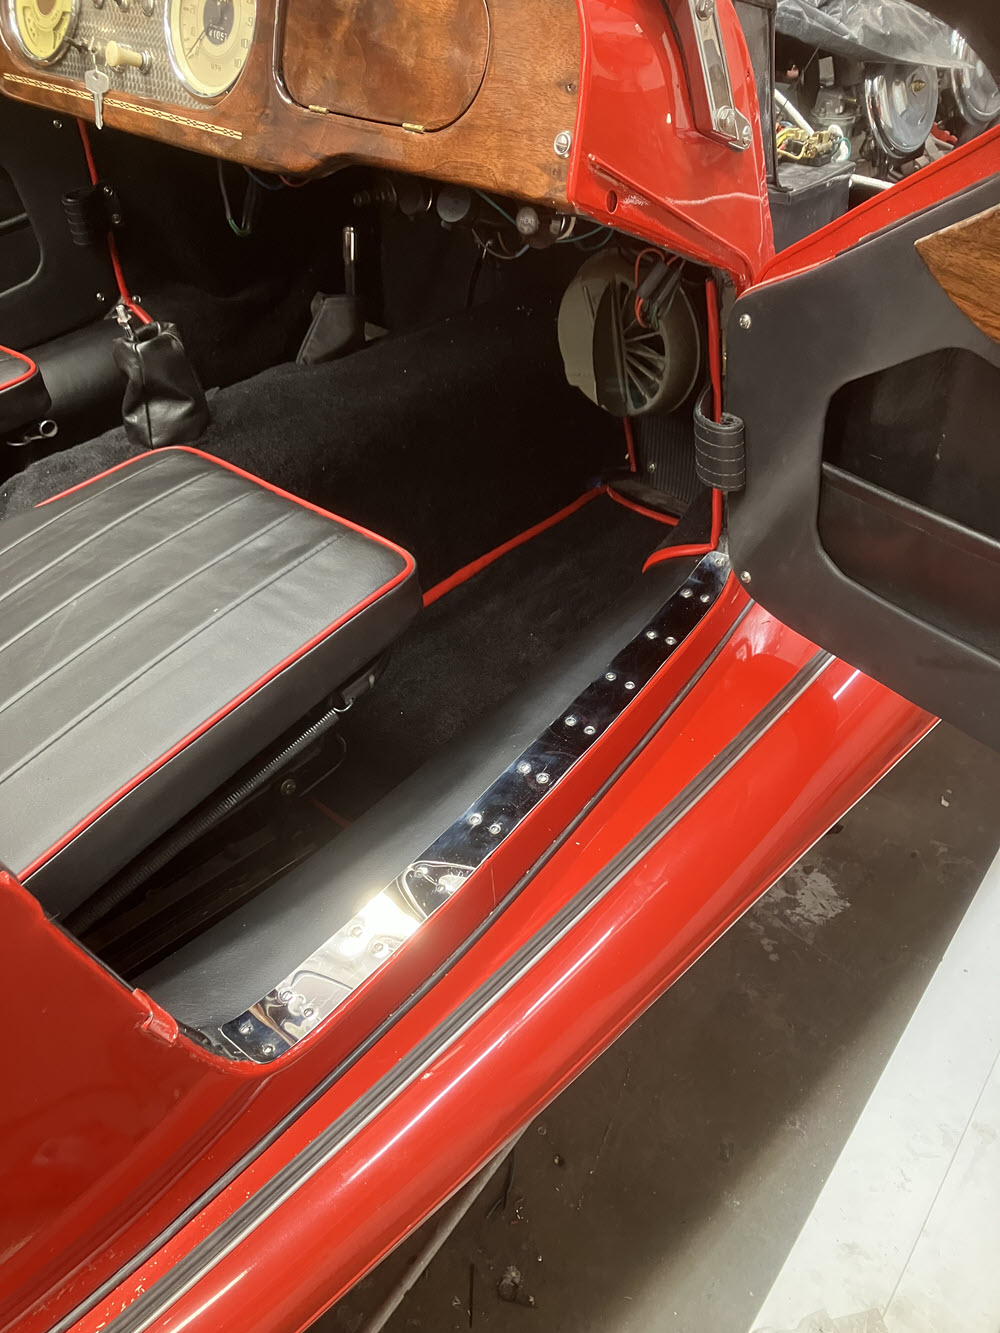
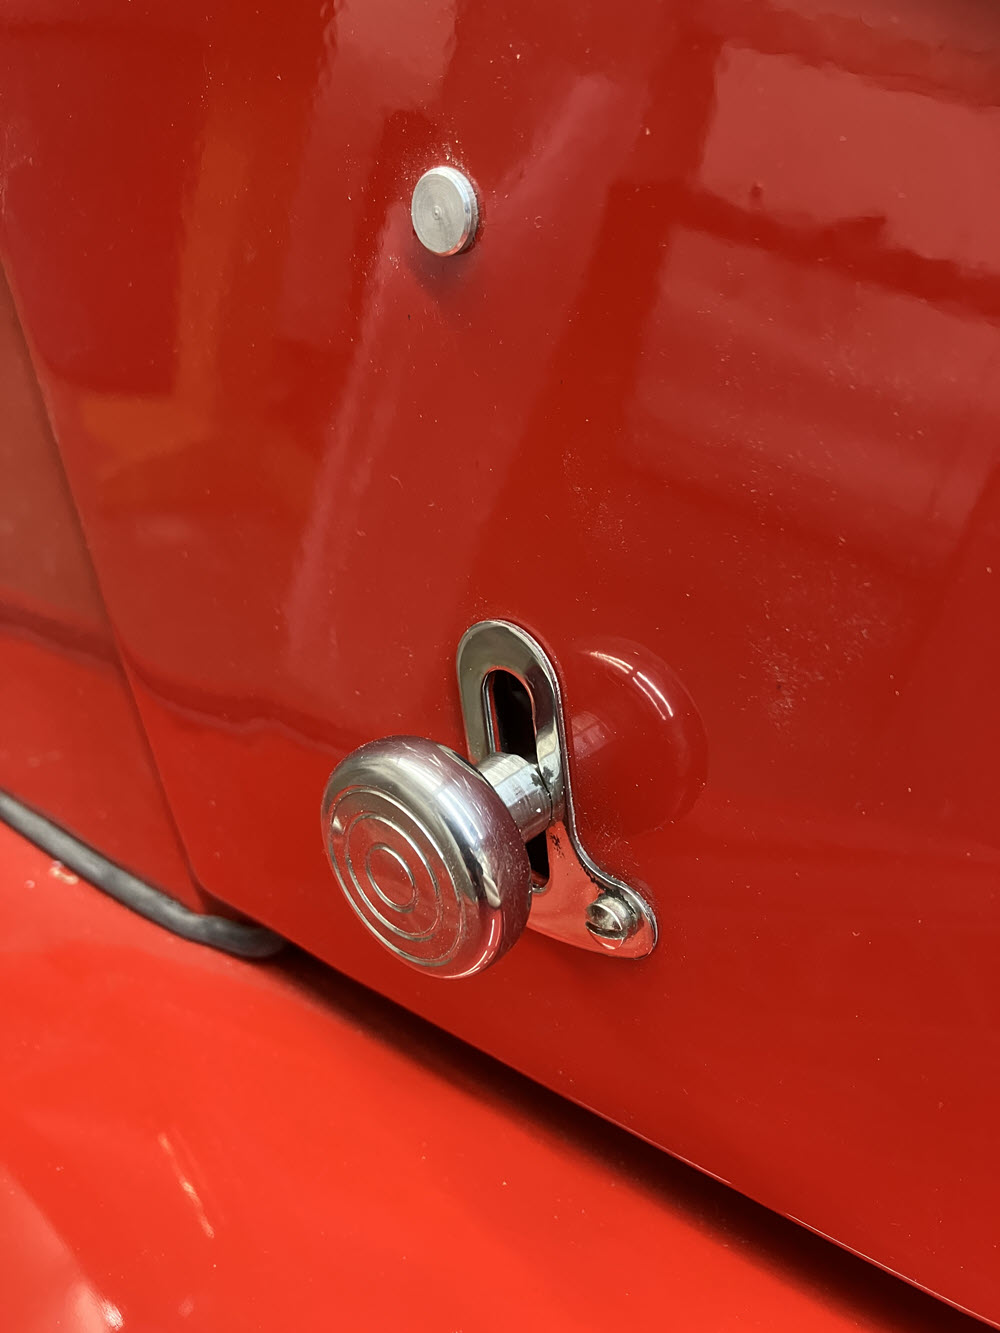
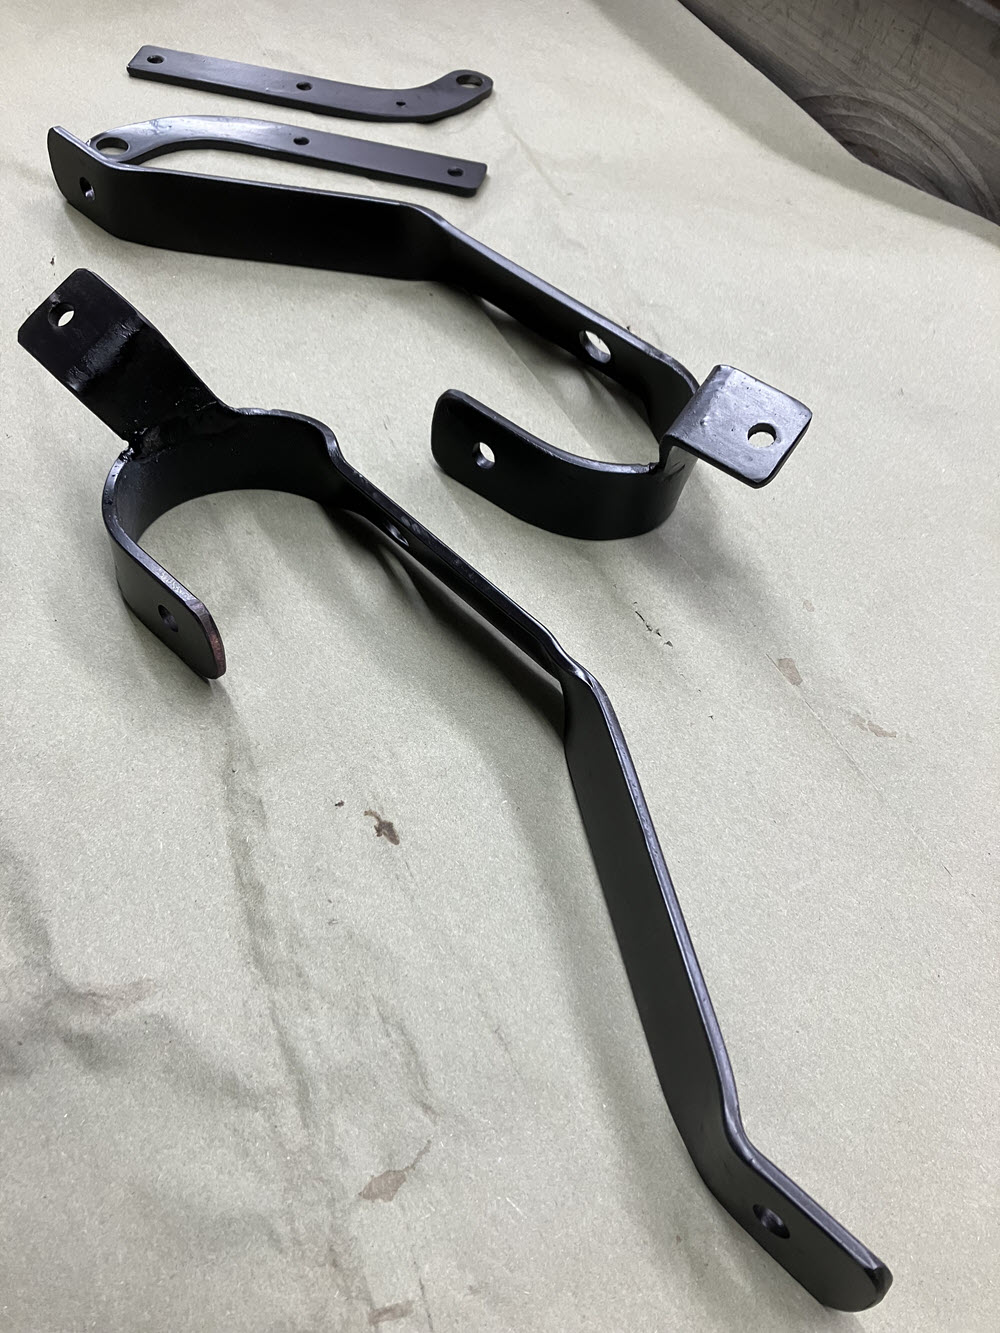
left wing hinged rear valenceleft rear fenderright wingcowl complete new headlight assembliesfabricate new stainless bracket for center stop lighttrimmed rearmost panel and new filler hoseleather covered spring covers and wheel panels installednew retractable seat belts installedStainless steel exhaust system installedStainless steel exhaust system installedNew Hubcapsrear lighting complete; test stop lightsWiring complete all circuits testedWiring complete all circuits testedNew Sidescreen KnobsNew Sidescreen Knobs InstalledNew treadstrip installed Both SidesSatinless steel threshold plates fabricated and installedLeft side SS threshold plate installednew dash mirror installedfog/driving light wiring completed
More Interior and Detail stuff:
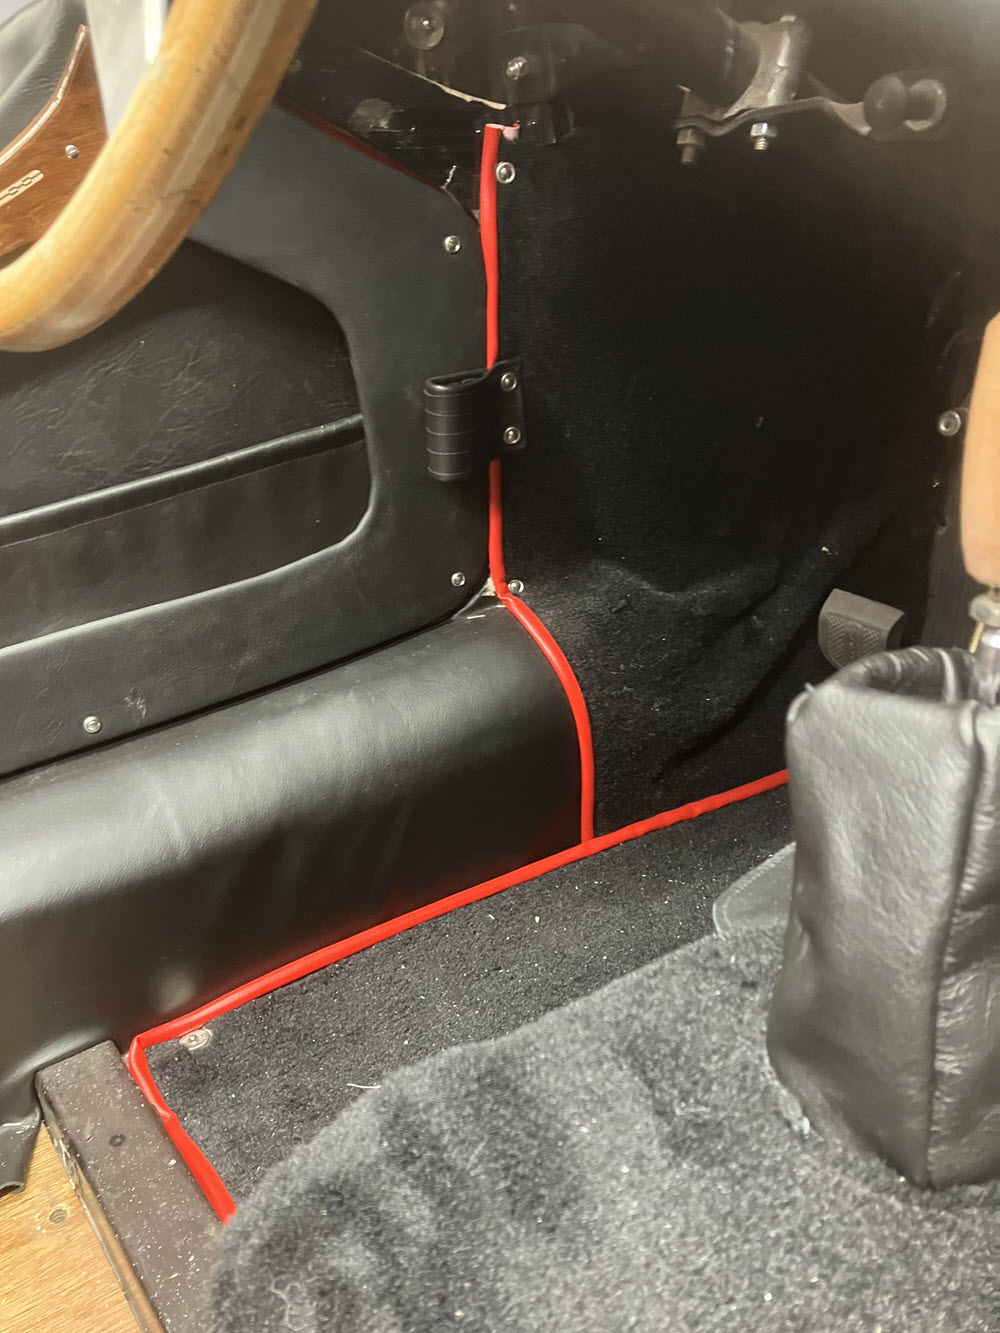
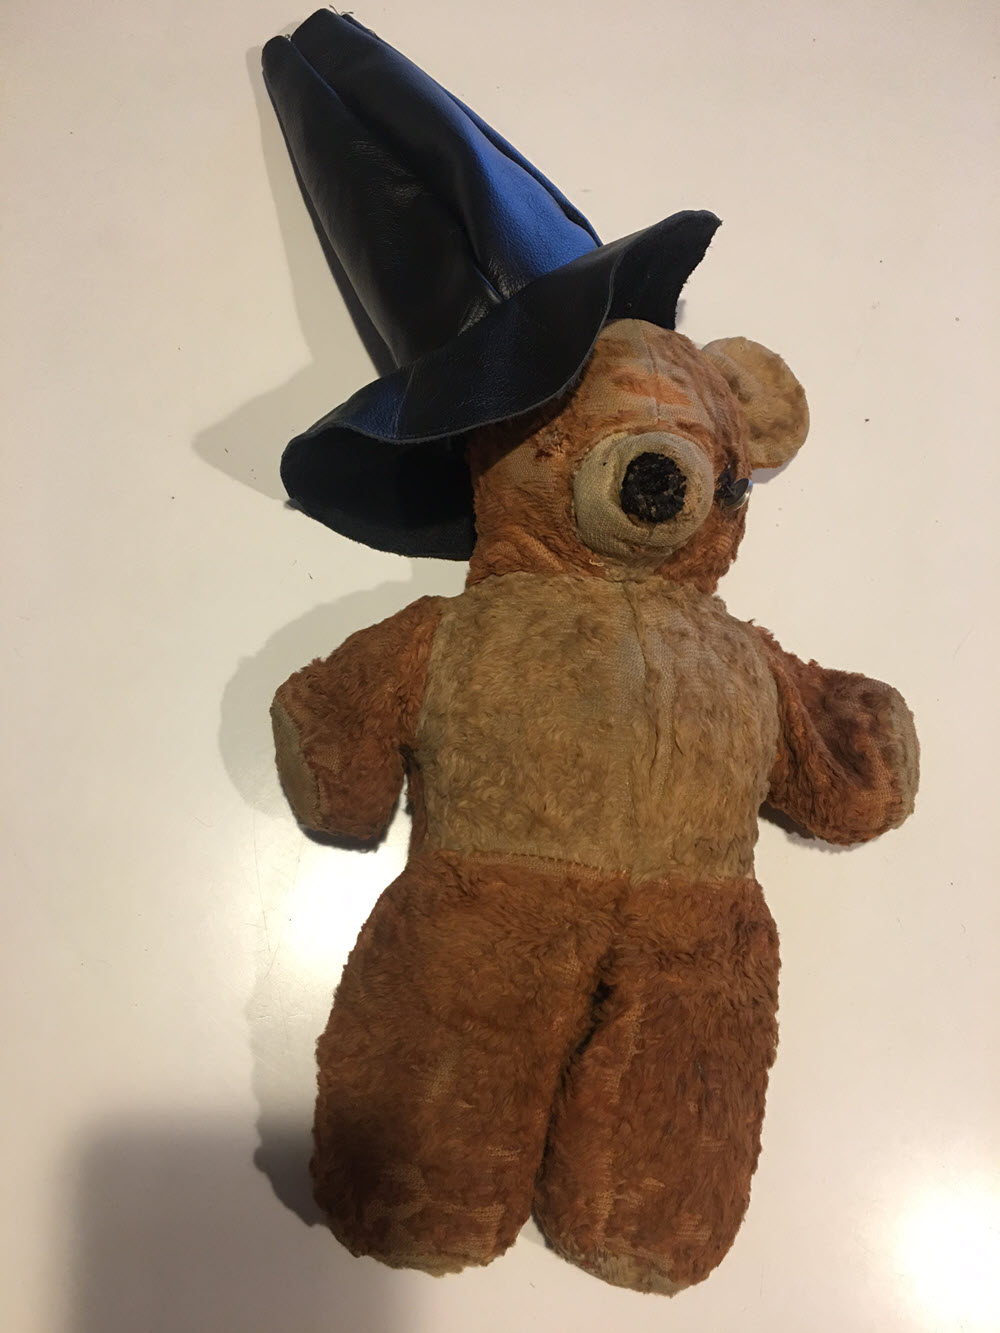
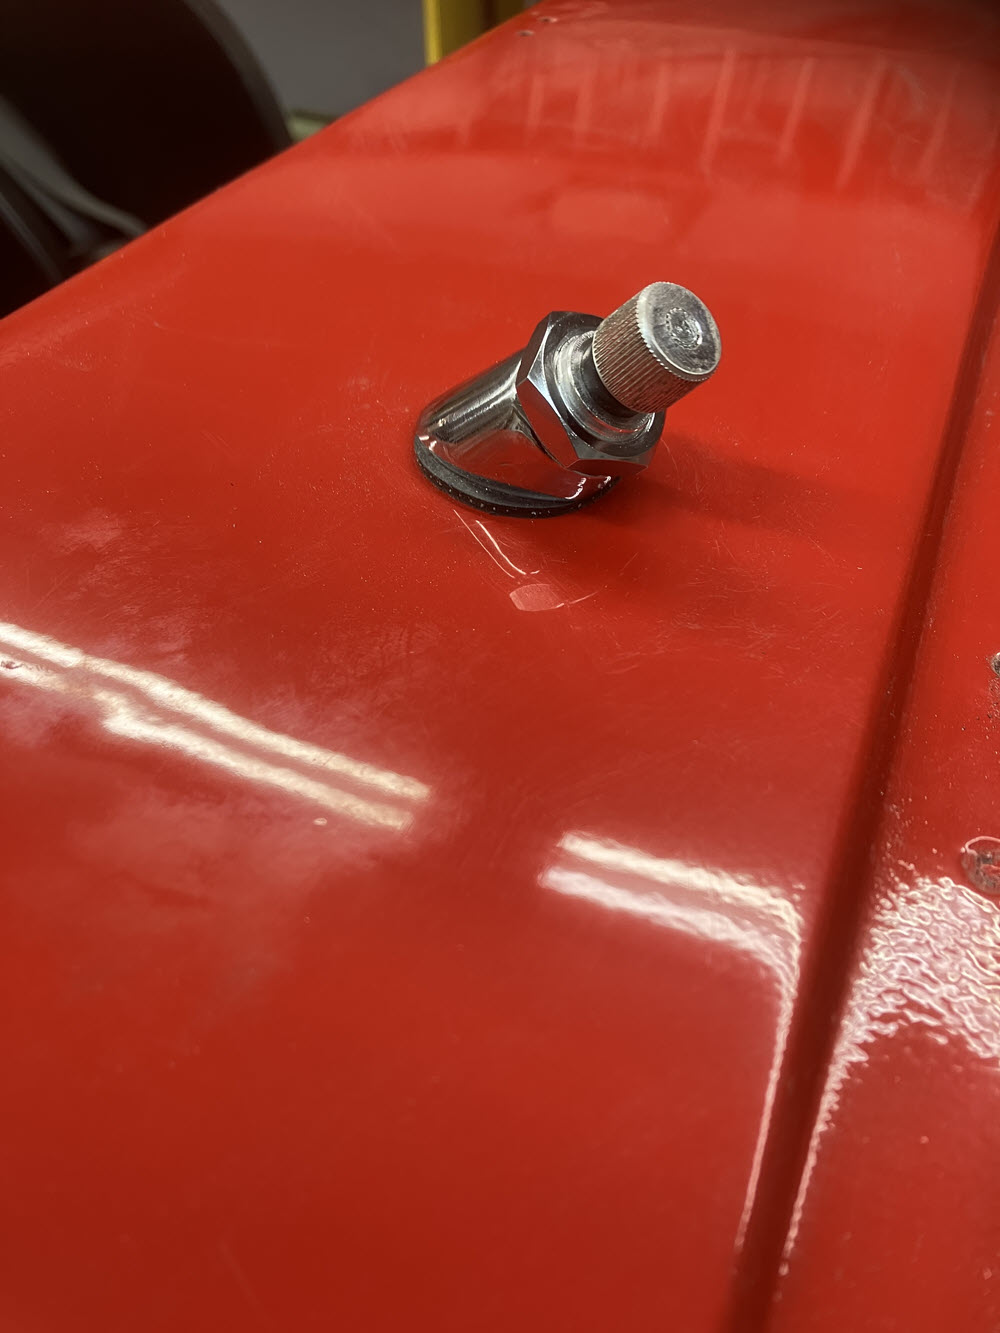
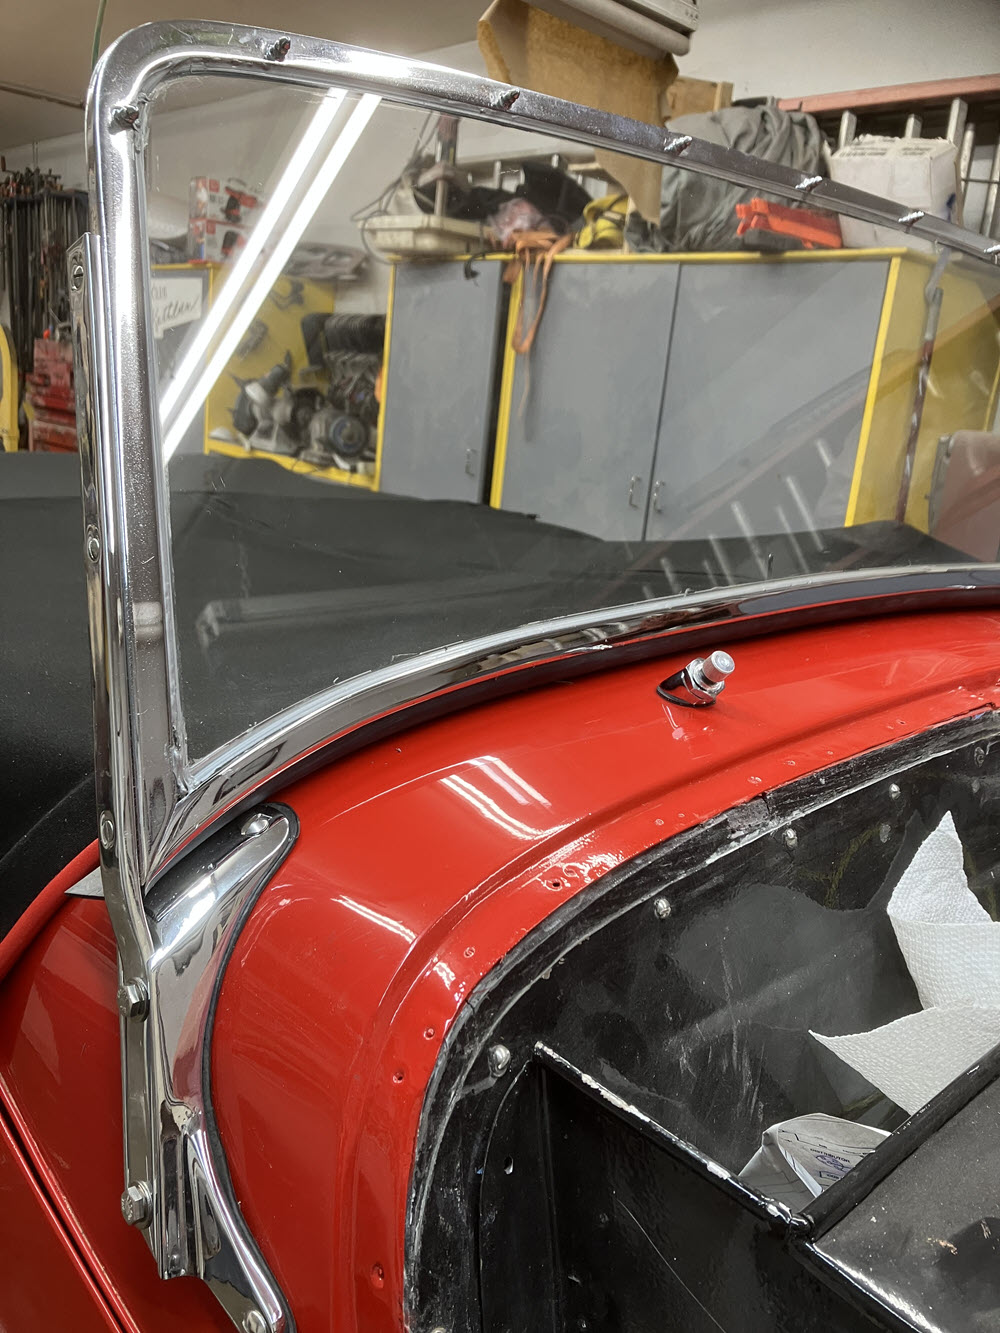
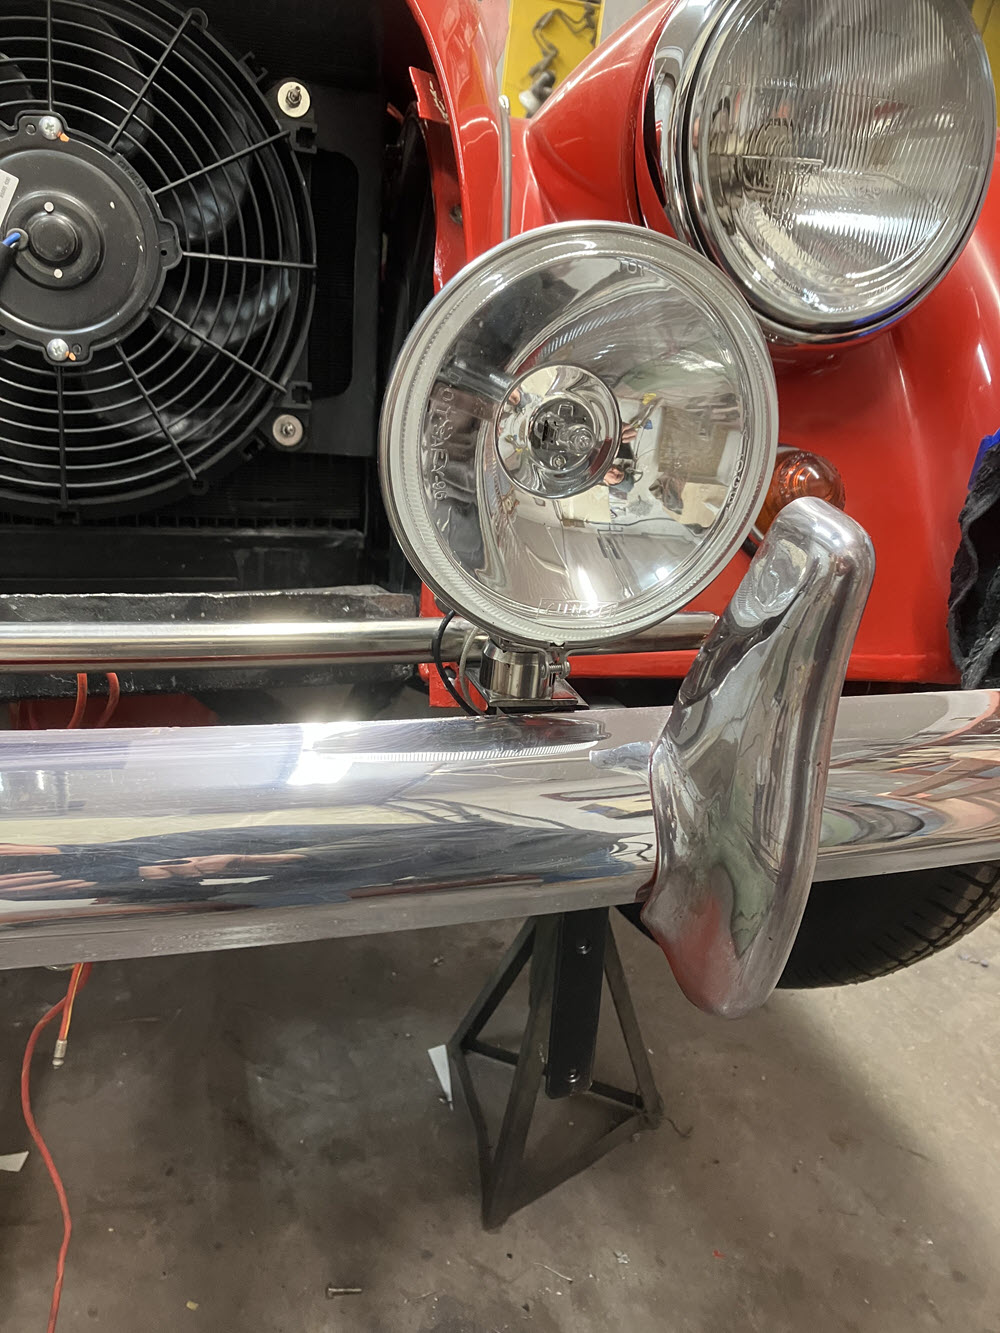
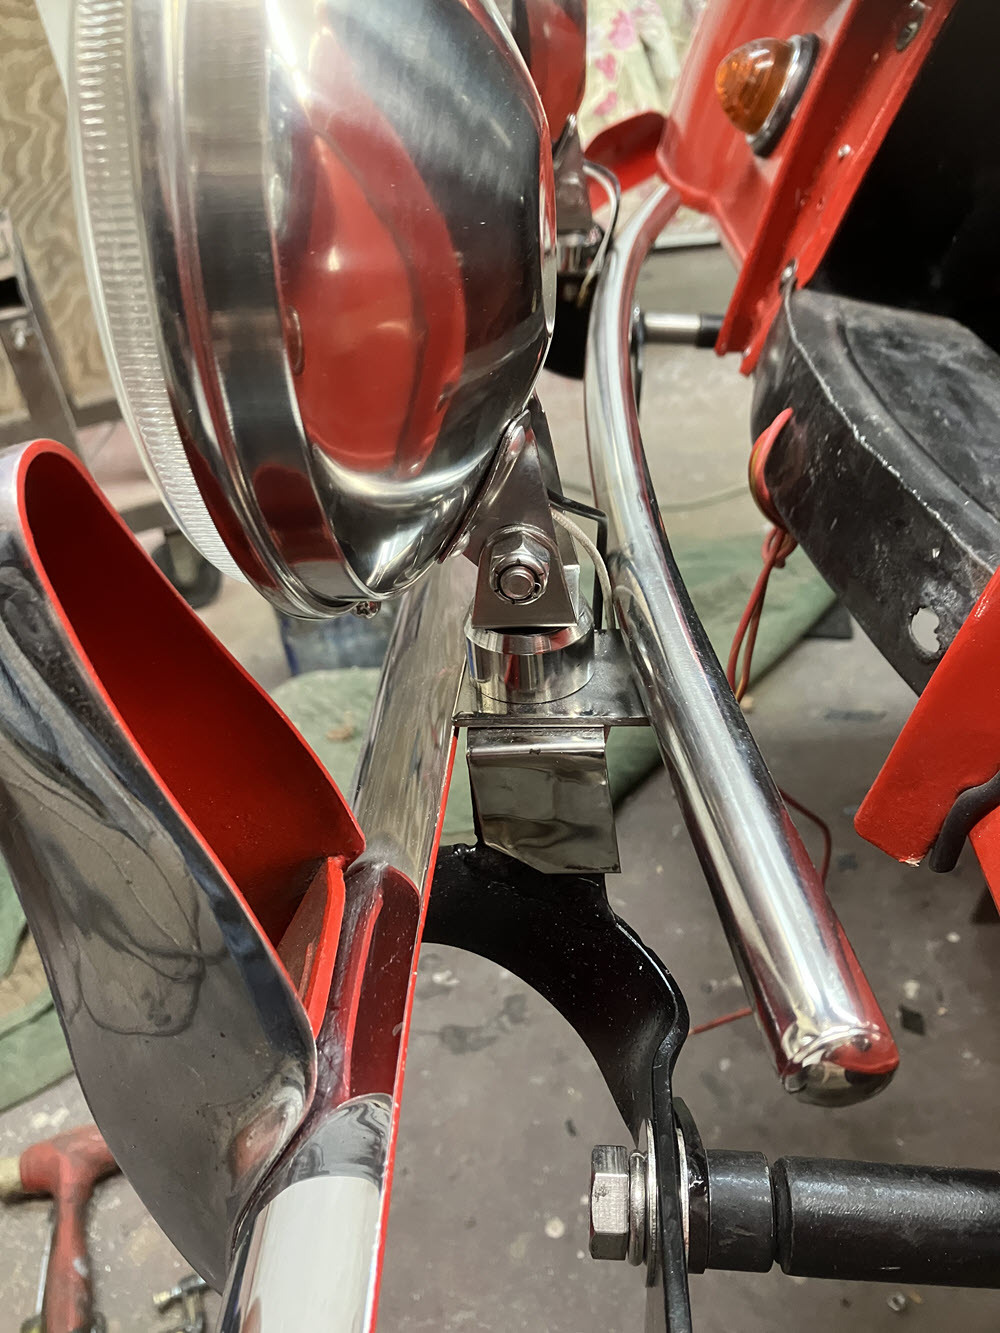
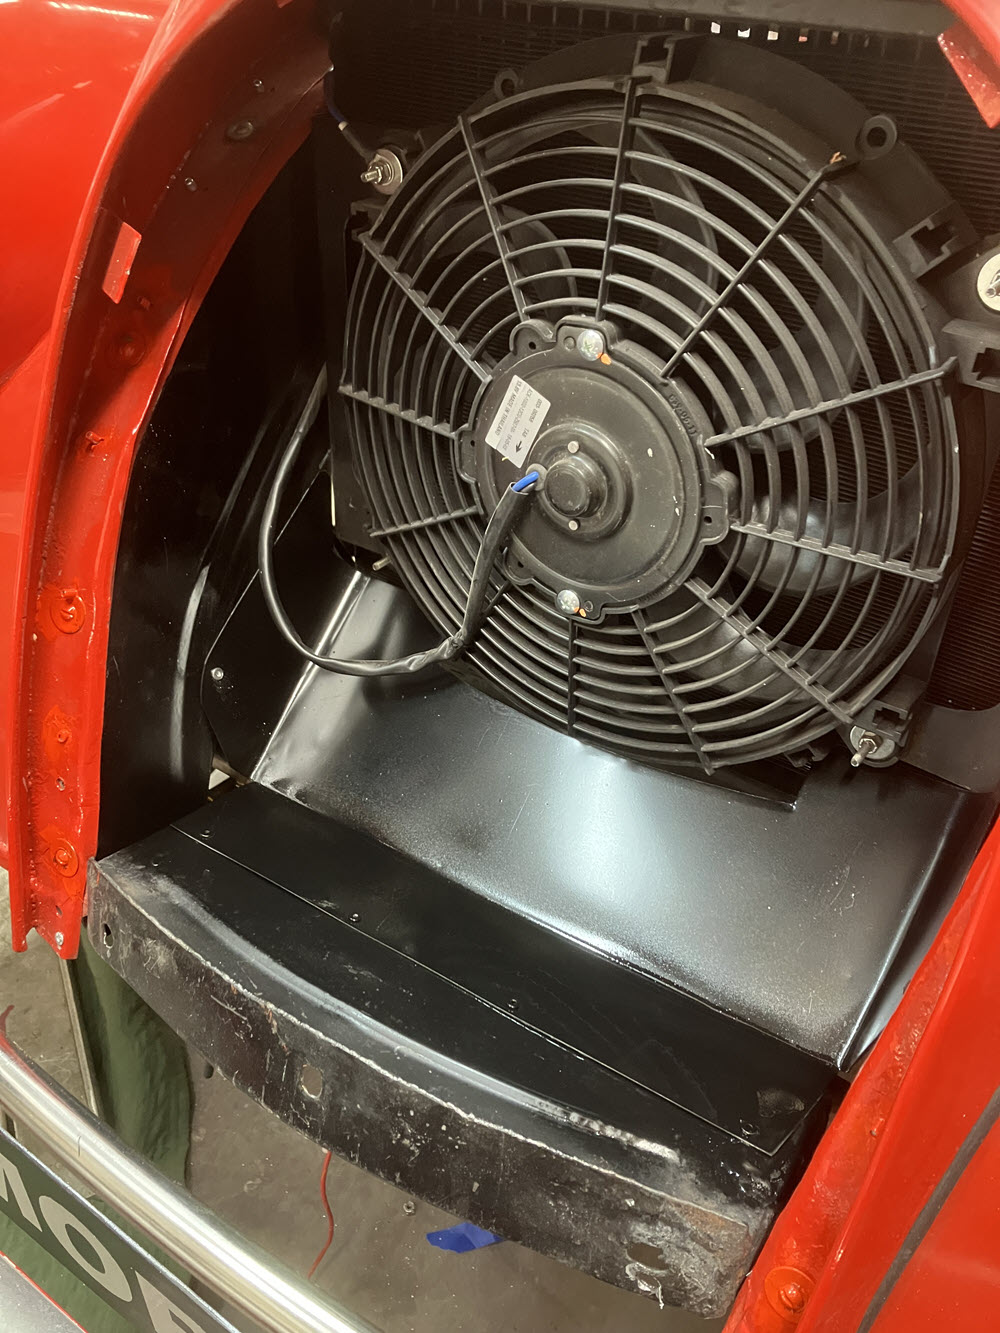
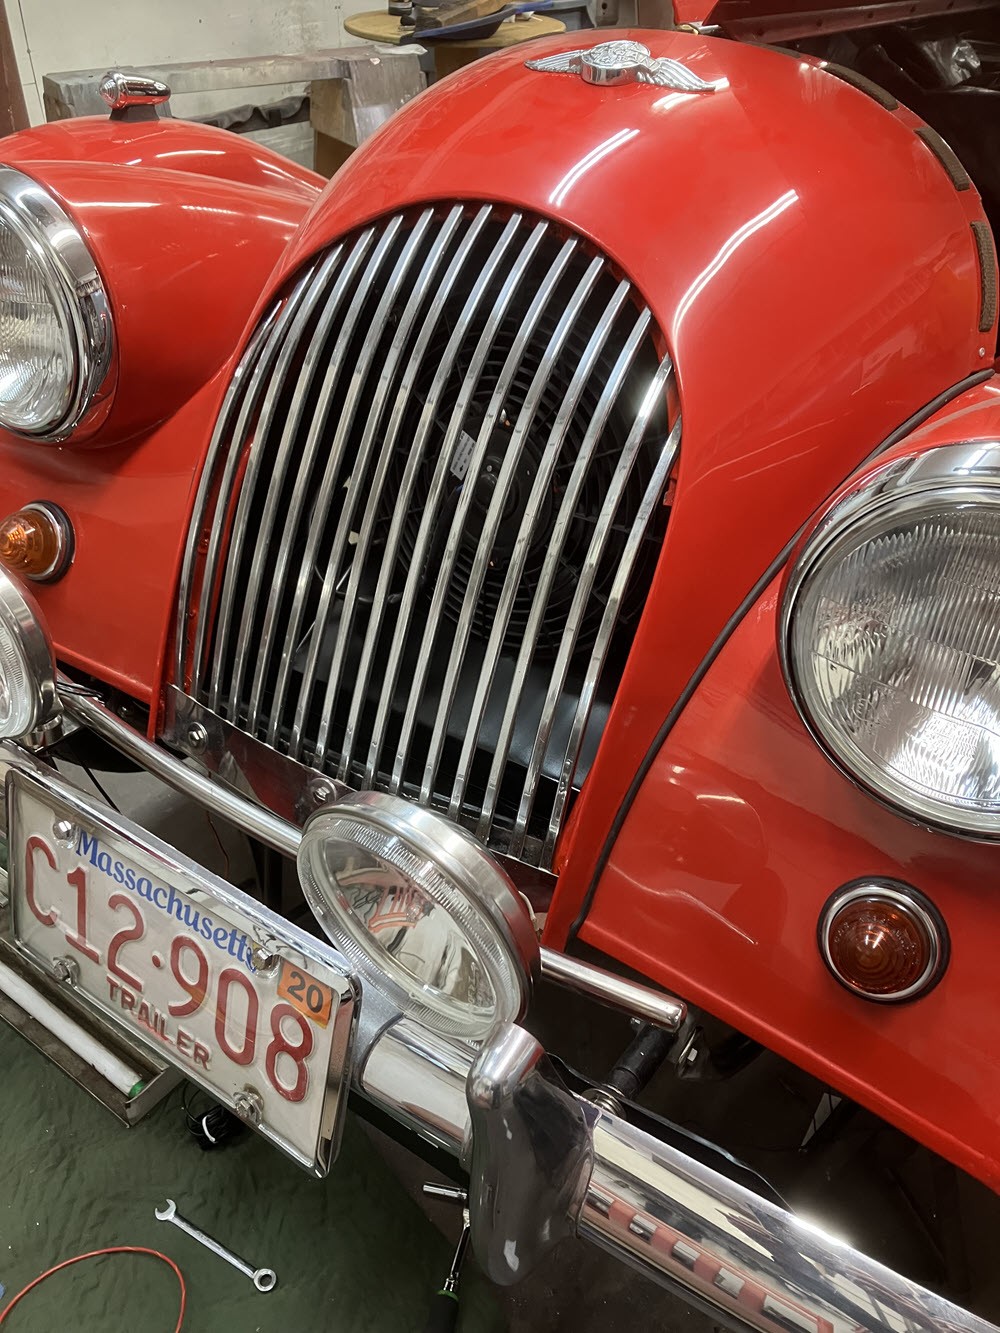
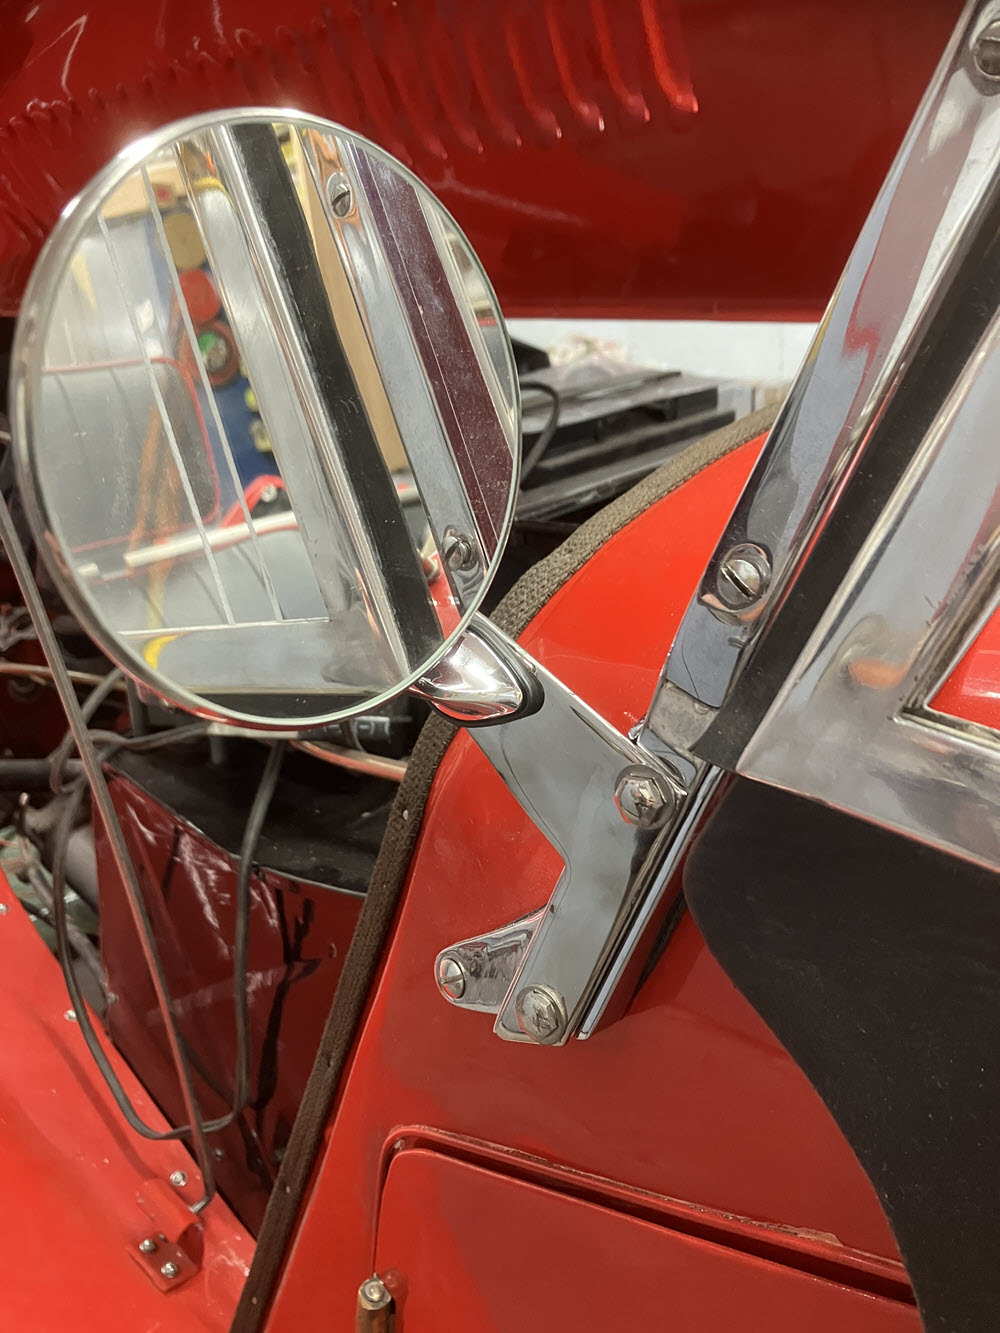
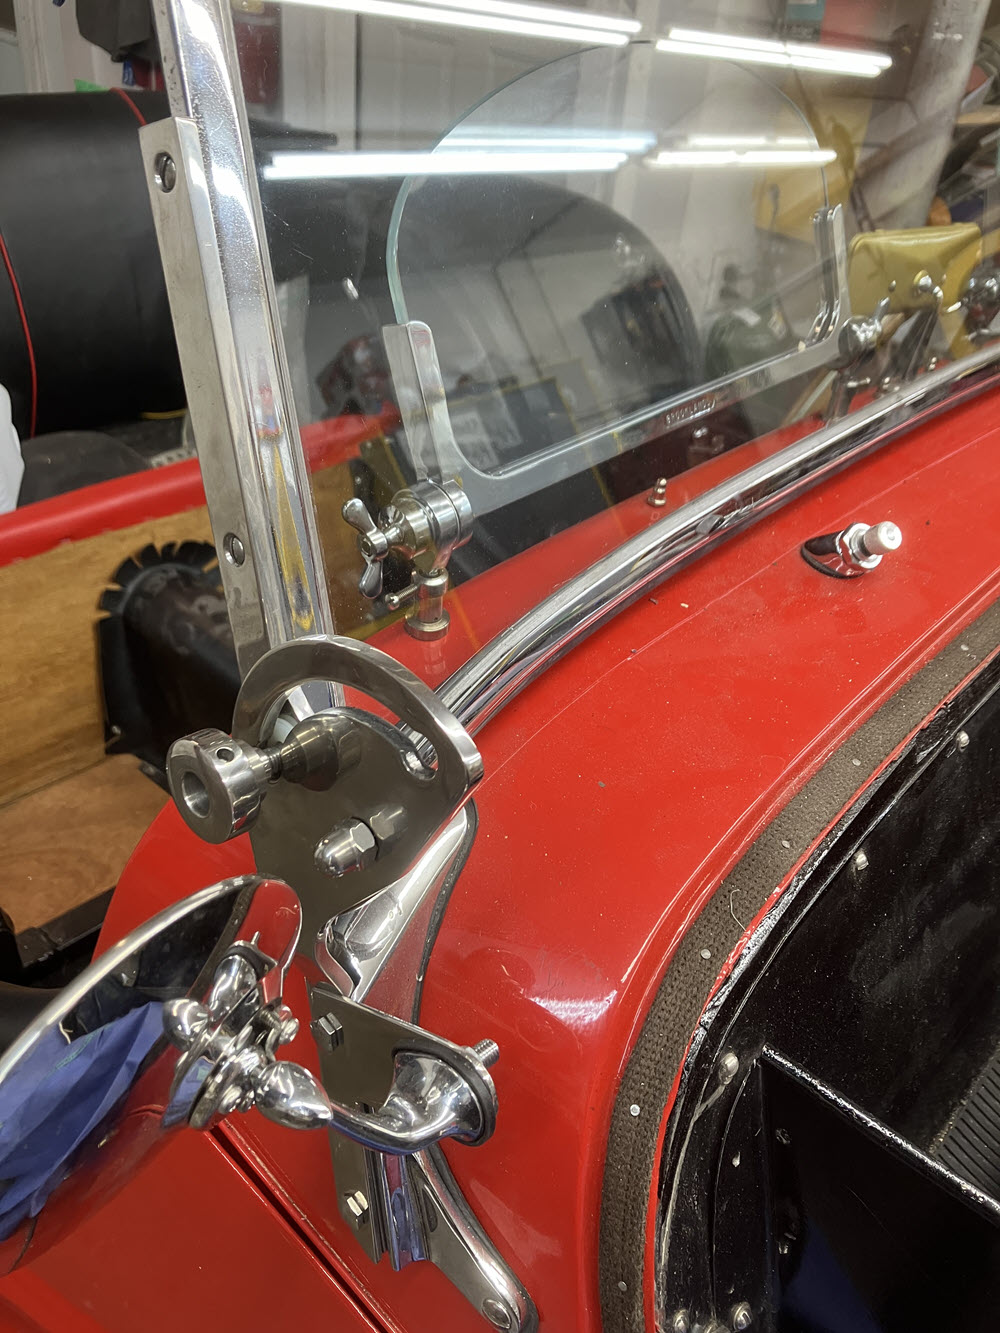
Leather Inner panels istalledRear Seat Belt Retractors installed Retractors and Front Seat Belts installedHidem binding innstalled Leather door trimsidewall carpetedsidewall carpetedDoor trim in workShayna made a new leather shift boot (aka Bear Hat?)All new screen wiper wheelboxes, cable and chrome trimscreen wiper installed with new NiCu tubingnew wheelboxes and bezels installedscreenwiper motor installedWindshield installed with new glass and bottom gasketFirst look at front seats installedInstall Bonnetnew stainless bonnet knobs and trim platesnew bumper supports with integral spotlight mountsnew driving/fog lights with stainless plinthsnew stainless badgebaraluminum radiator dam installed (Probably not necessary but can’t hurt)grill installedFront end completeMorgan cowl badge installednew Lucas mirrors with stainless bracketsnew Lucas mirrors with stainless bracketsNew Broolands windscreensStainless bonnet stay nestedStainless bonnet stays installedNew: Brooklands windscreens & SS folding windshield brackets stainless steel luggage rackrack is sized for two Sampsonite overhead cases and is low so center light is visable from behindcover of topping material protects suitcases from weather and curiosity Toolbox cover in workTool box cover finished
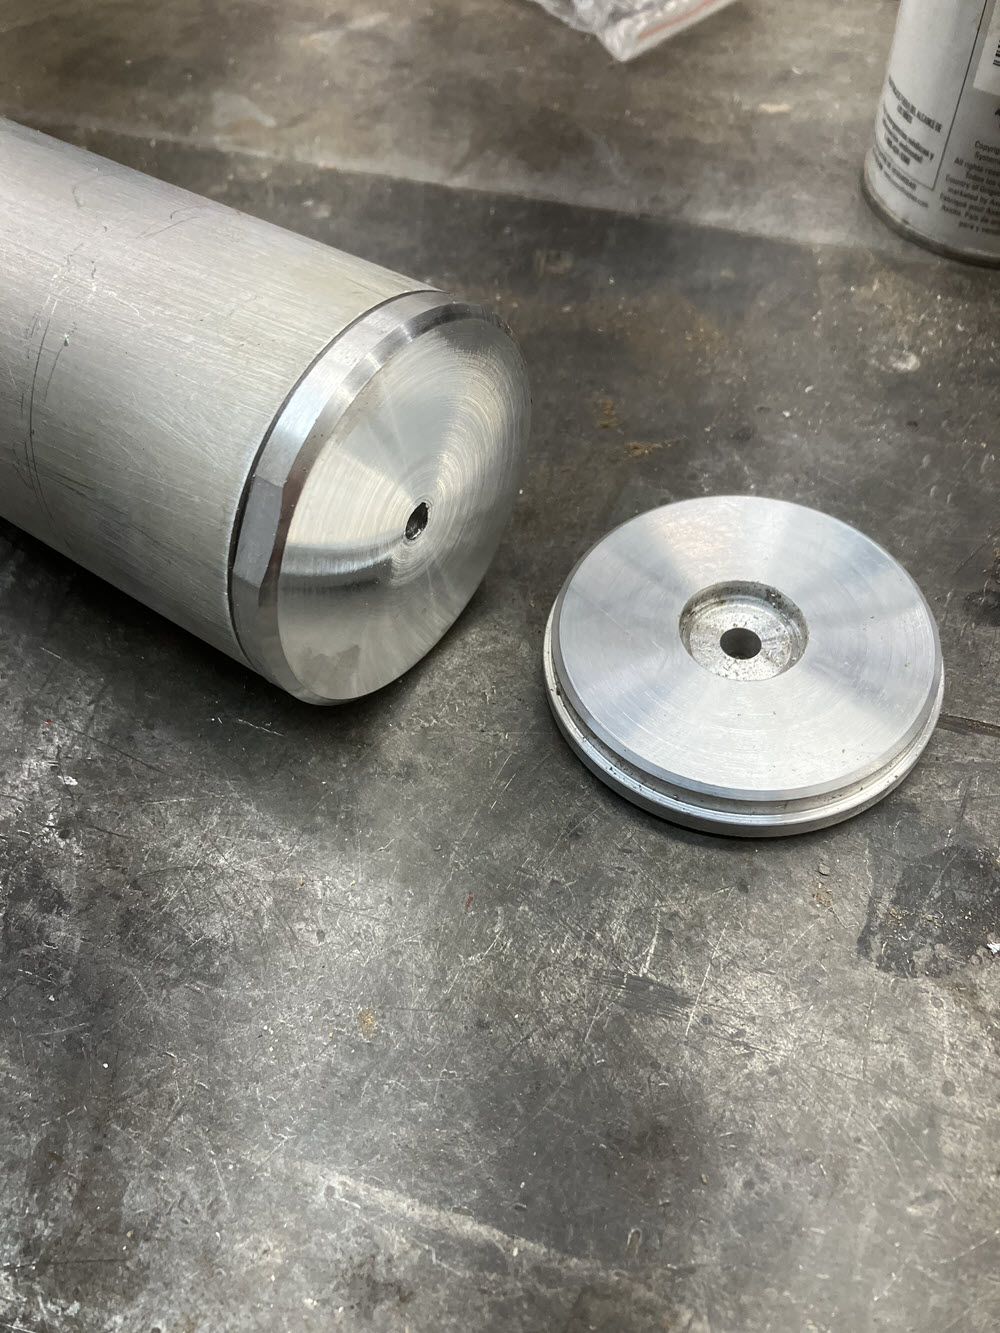
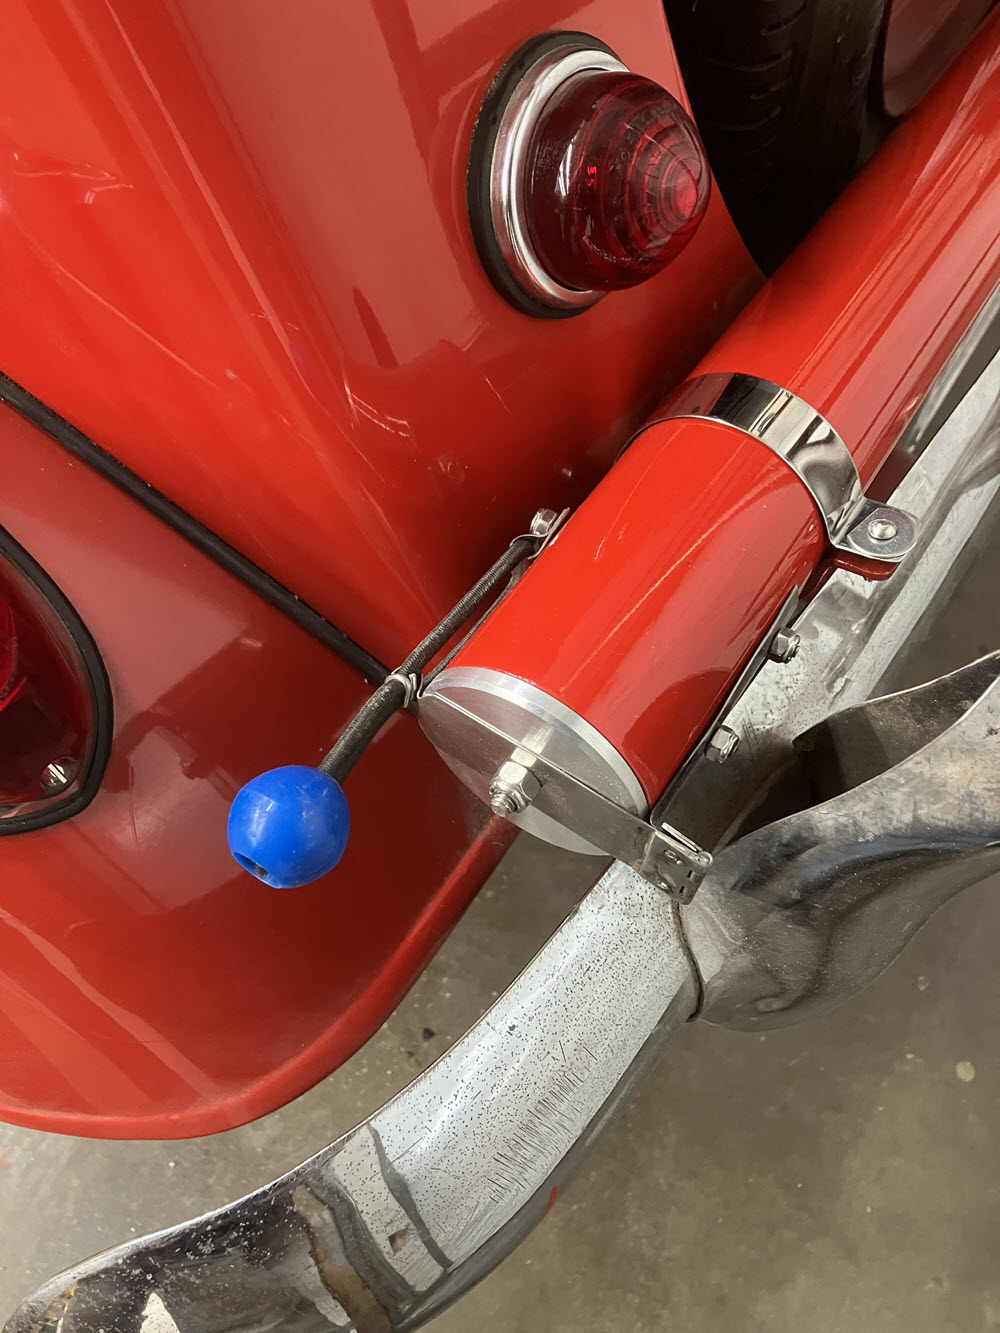
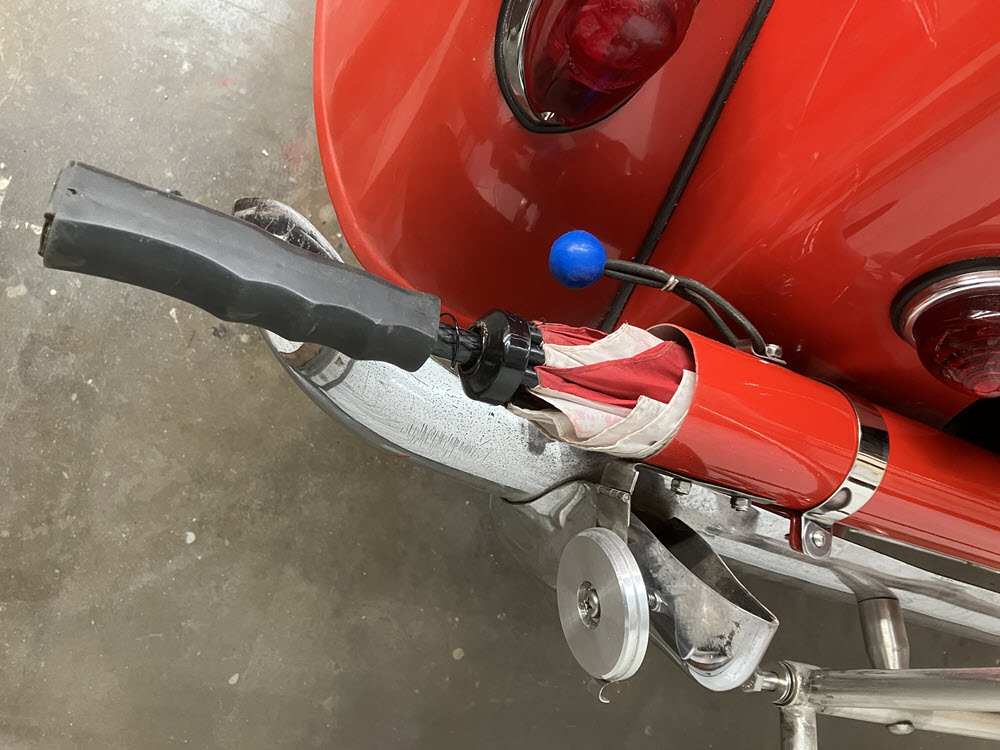
Umbrella Tube
I thought umbrella tubes were frivolous when I first saw them on Irish Morgans at Assen in 2015. Kathi liked the idea so I added one to Bene for our later tours. BRILLIANT! There were so many times that we were saved because that umbrella was handy.
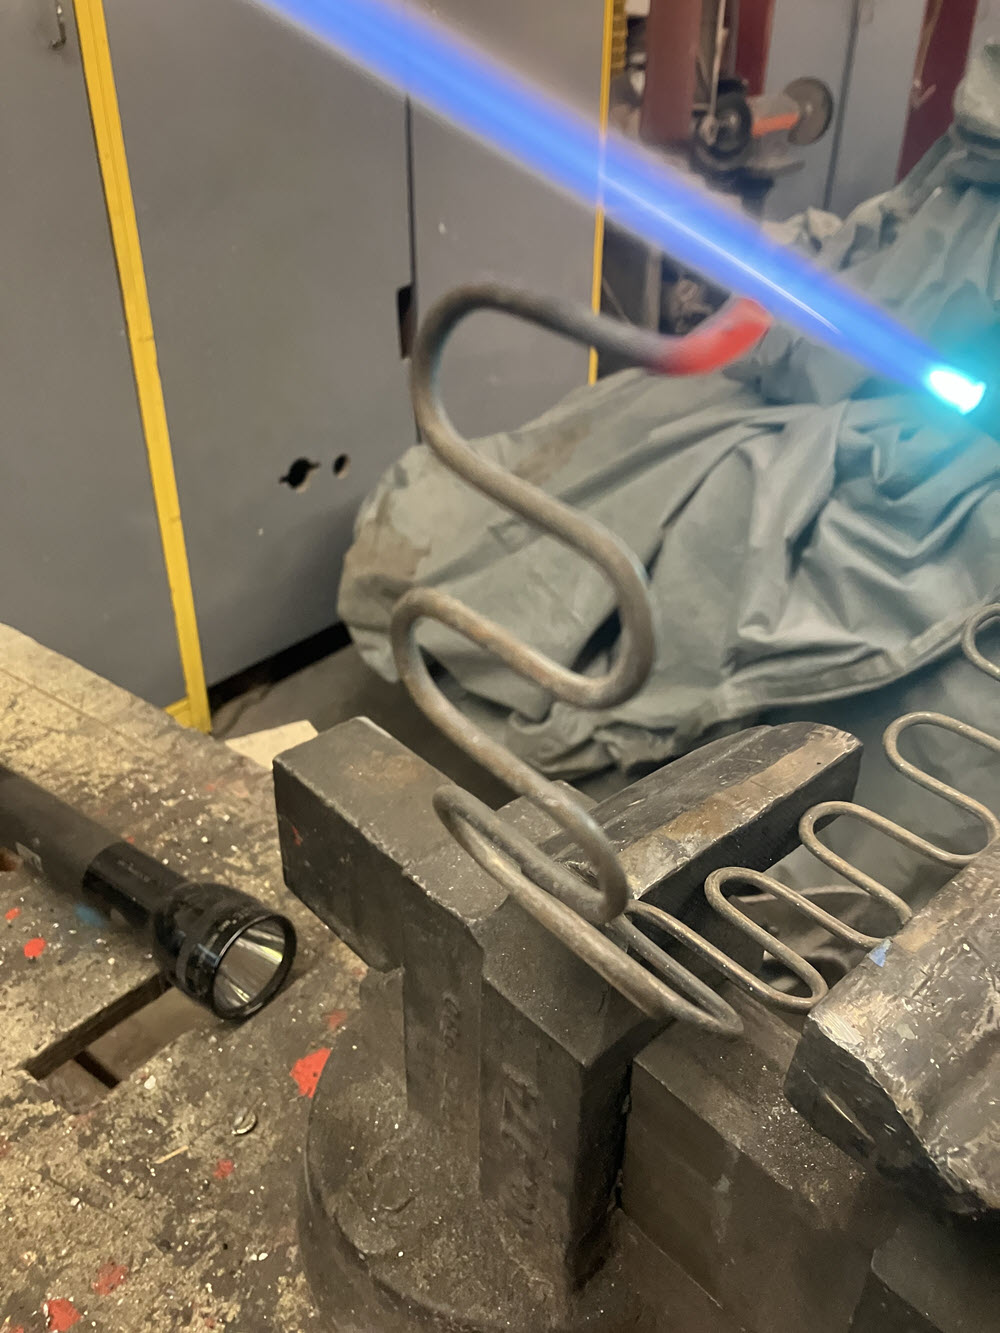
Machine ends from Aluminum billetStailess hinge and latch installedTrial fit Painted and installed with SS mounting bracketsWith Umbrella to match
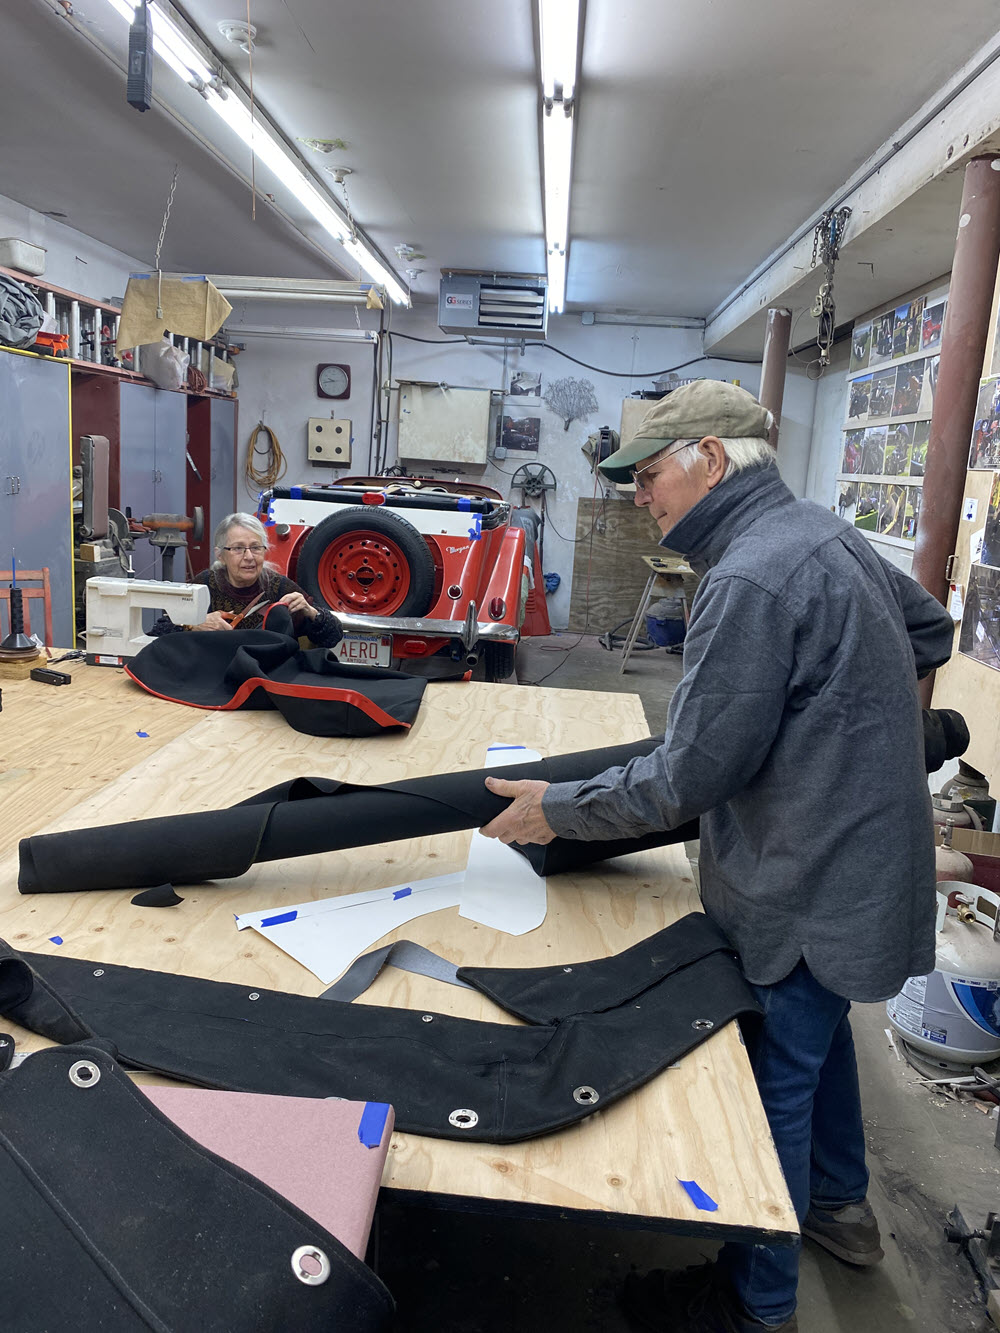
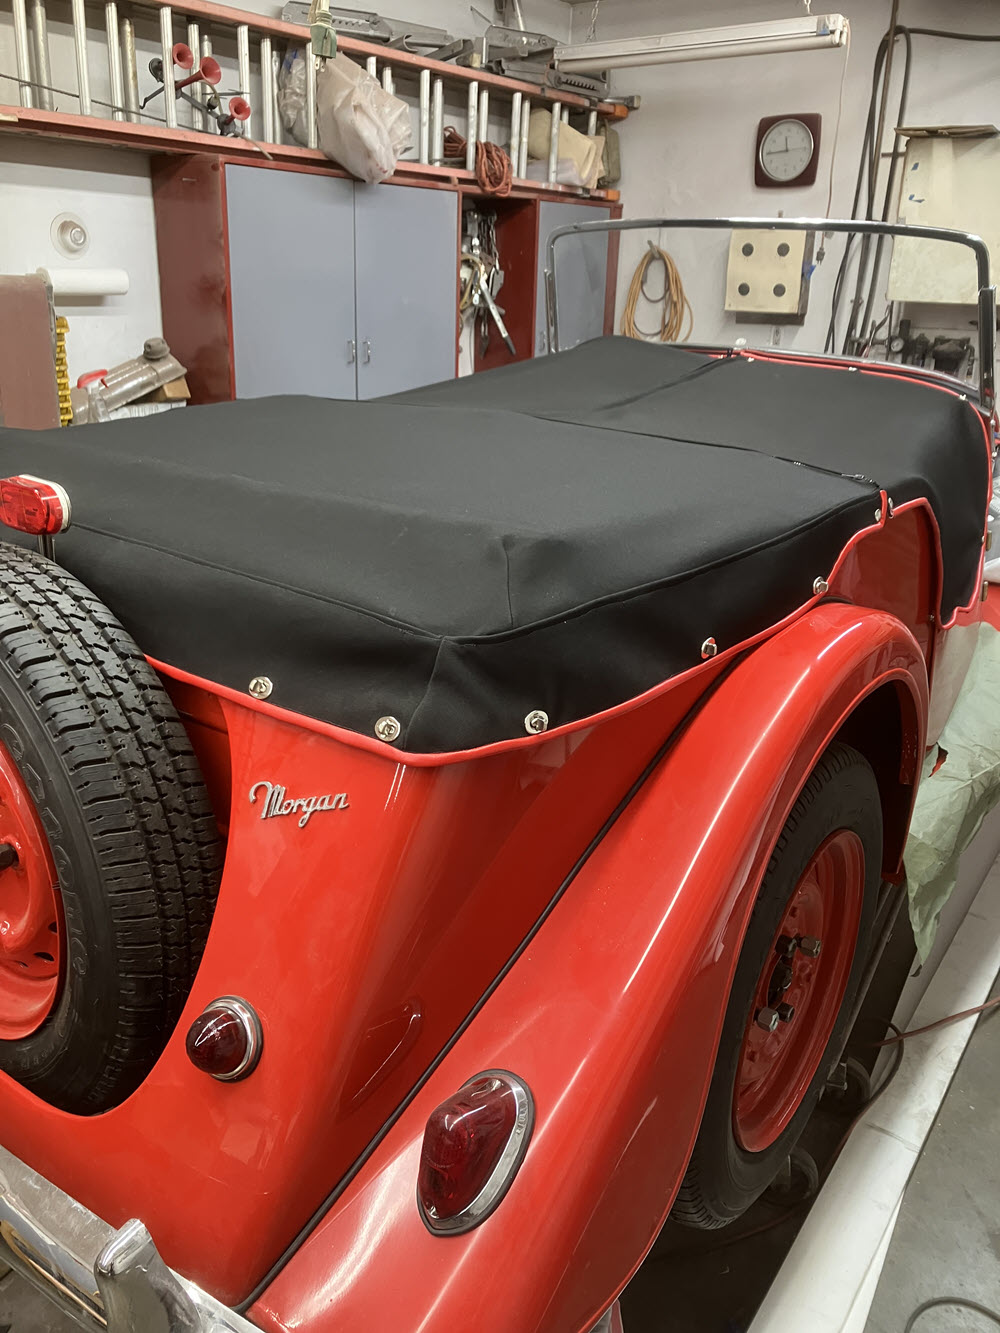
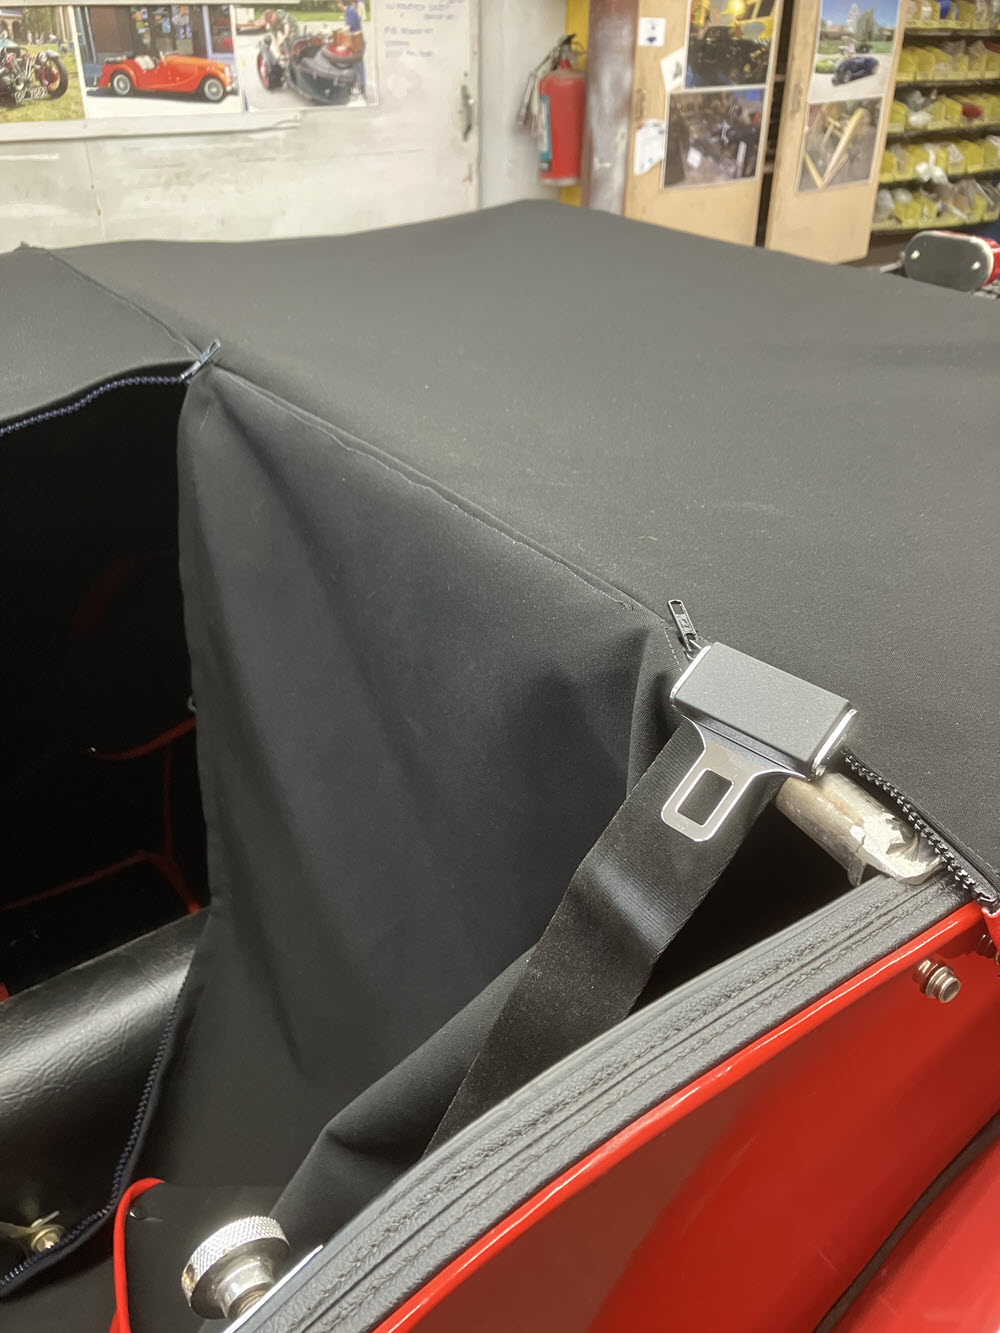
Tonneau and Boot Cover
Four-Seaters are great for taking the grandkids for a toot around the neighborhood or going to events with a couple of friends but usually the back seat is unoccupied. I have always preferred a full tonneau cover on all my roadsters, four seaters in particular. With the cover in place the car has two seat character and the back seat becomes a handy place to toss “stuff”. The tonneau is HUGE though and sags so on my last two four seaters I added a removeable stainless steel support behind the seats. It is arched, hooks onto the rear sidescreen knobs and is easily removeable. And best of all, it prevents the tonneau from becoming a swimming pool when that unexpected rain shower strikes.
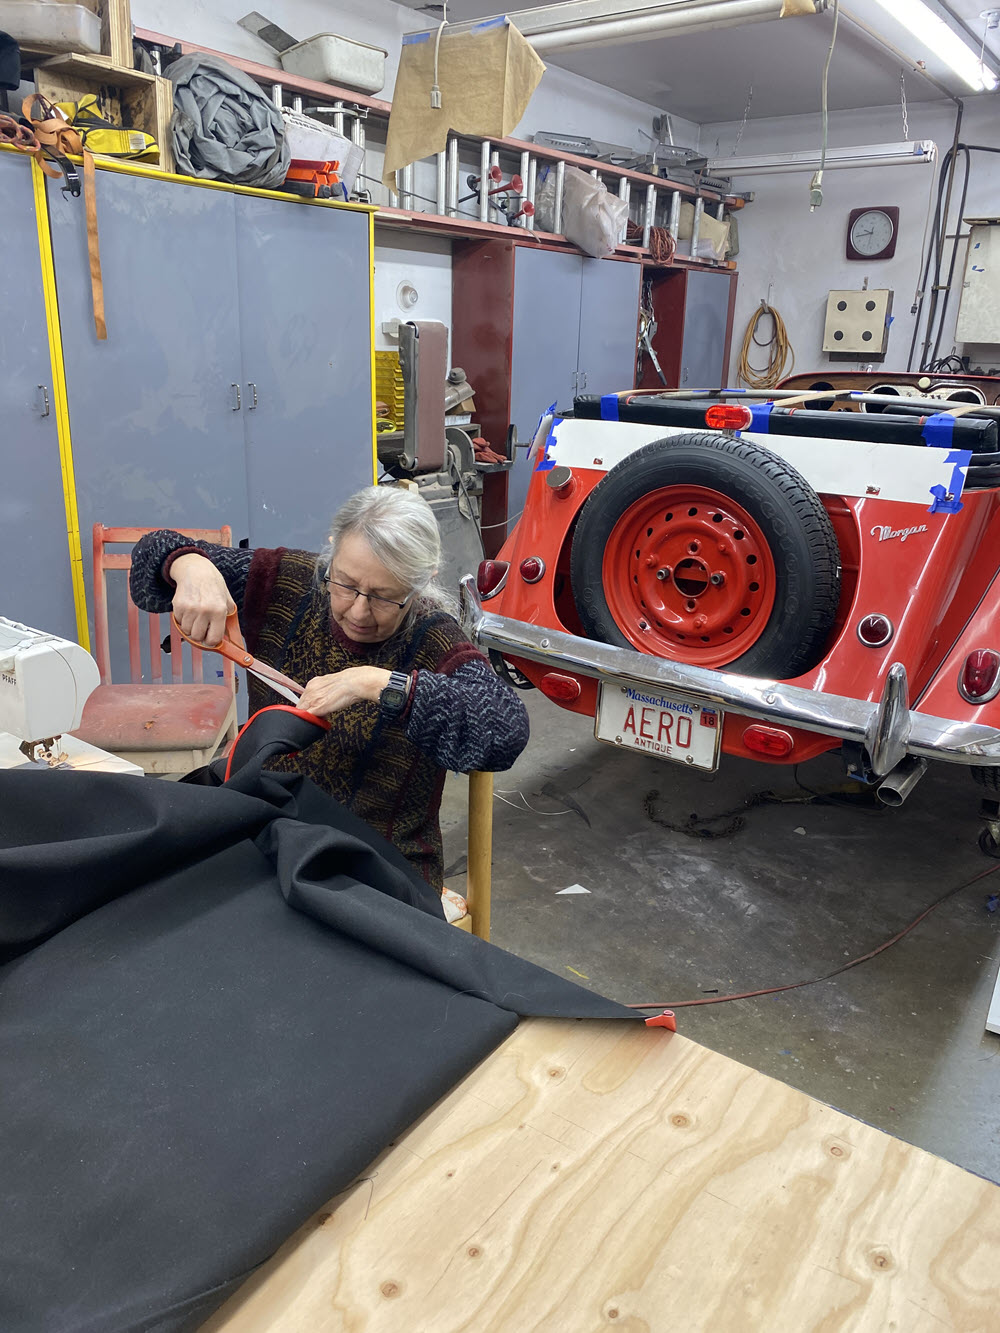
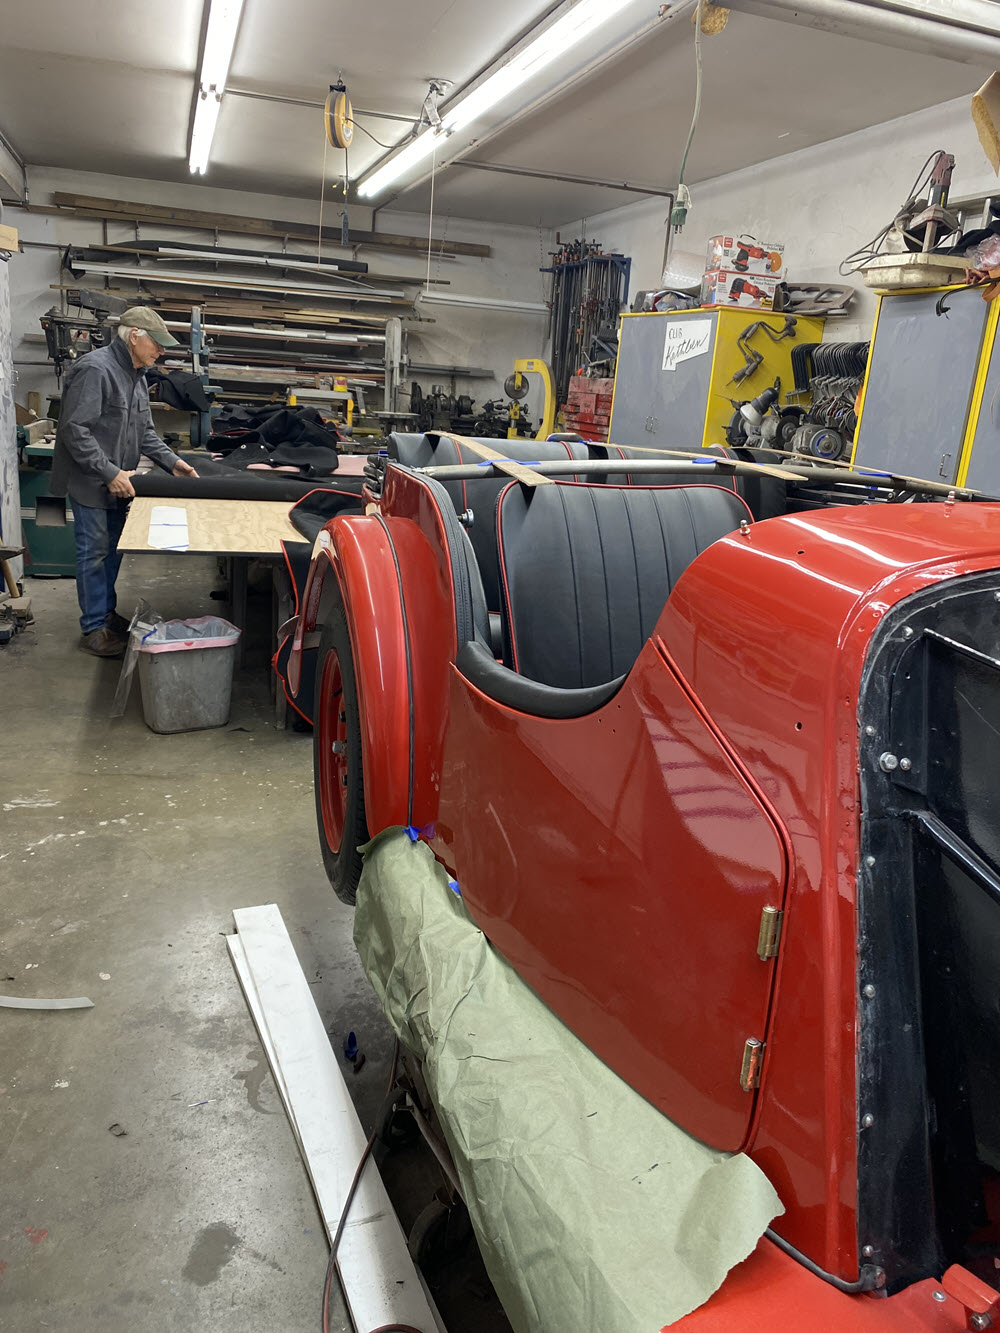
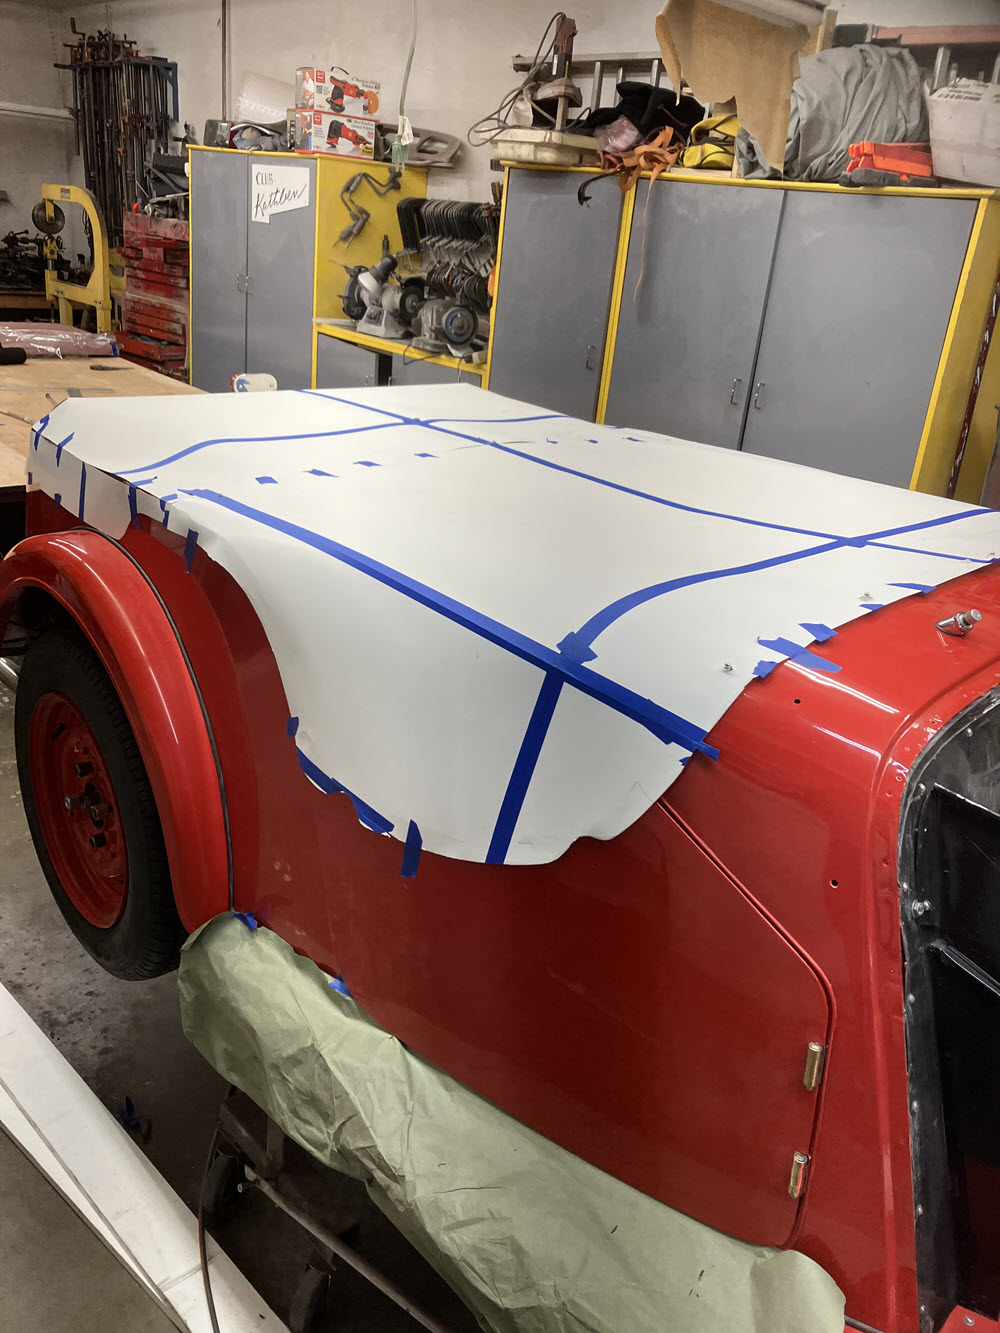
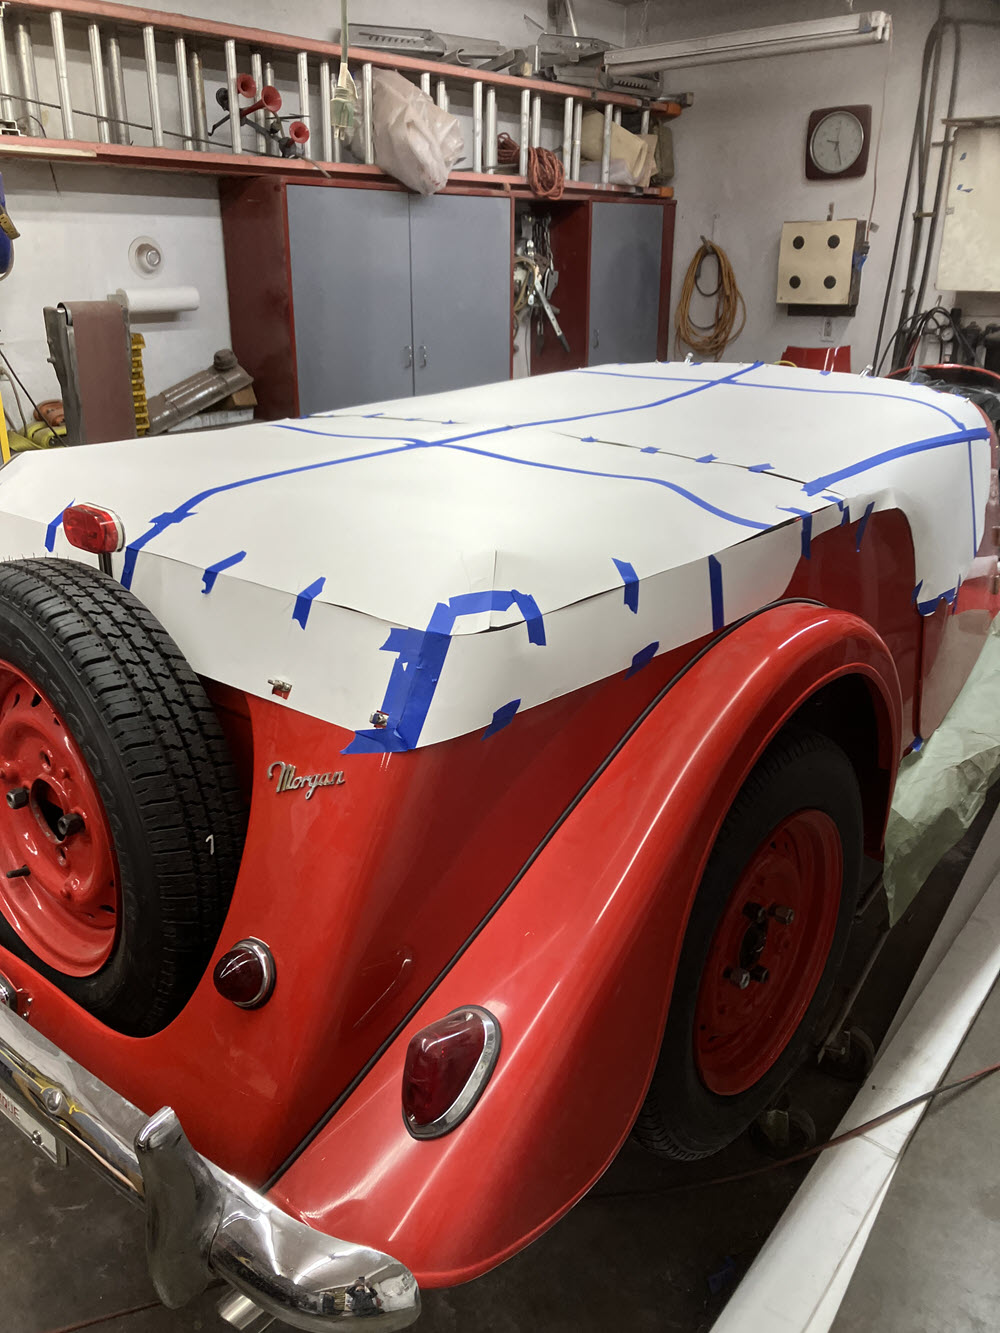
Ron cutting and Shayna sewingShayna putting it all togetherAt the cutting tableArched Stainless Steel Tube Tonneau SupportIn the beginning…Pattern for TonneauTonneau CompletedDriver’s Side Down Showing TonneauSupport and Seat Belt Boot Cover CompletedBoot Cover Completed
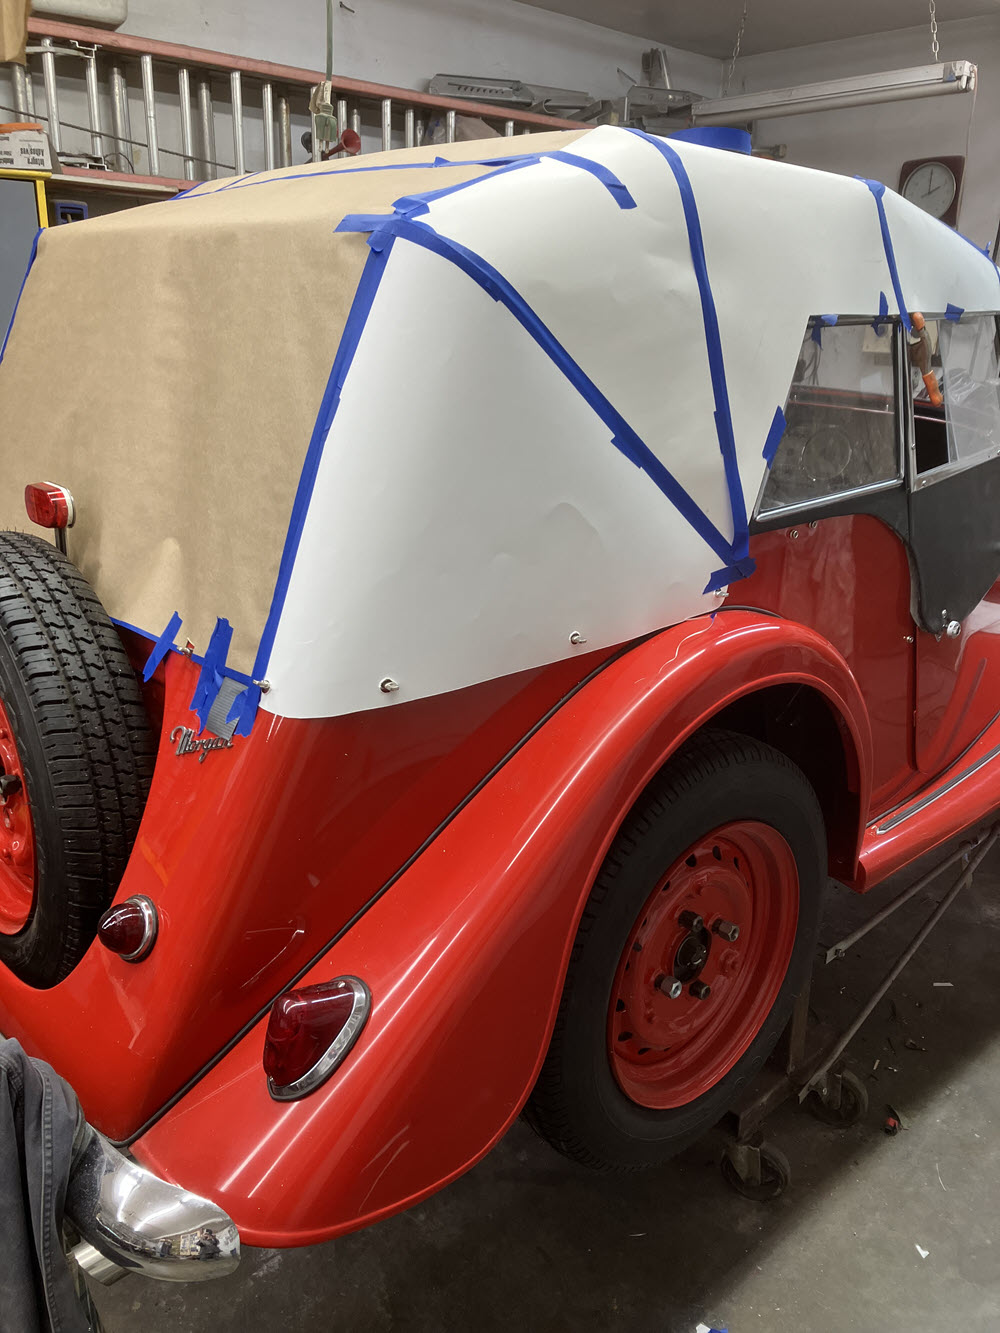
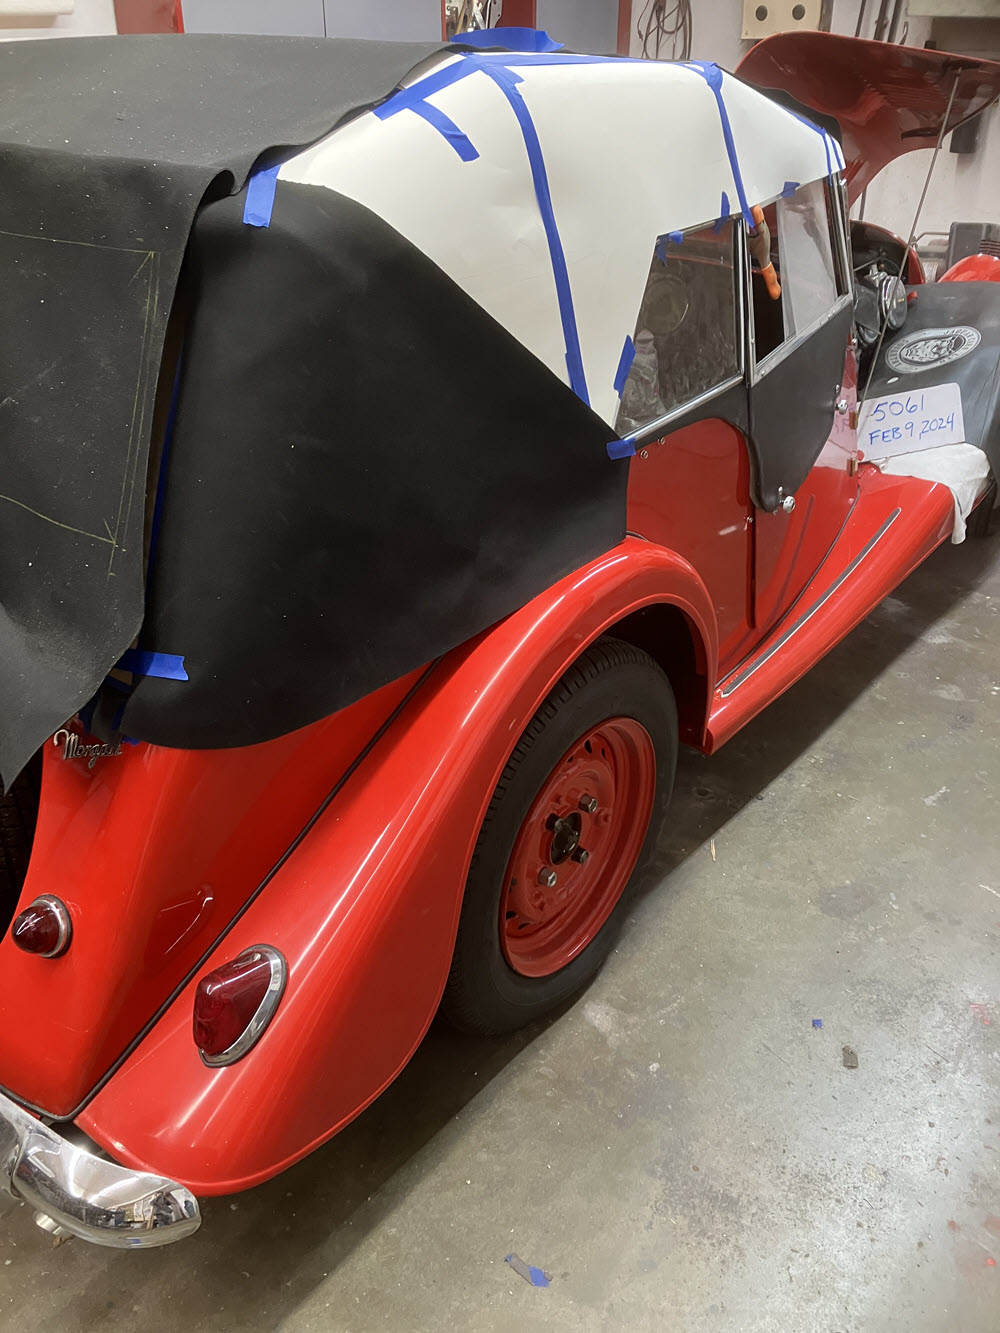
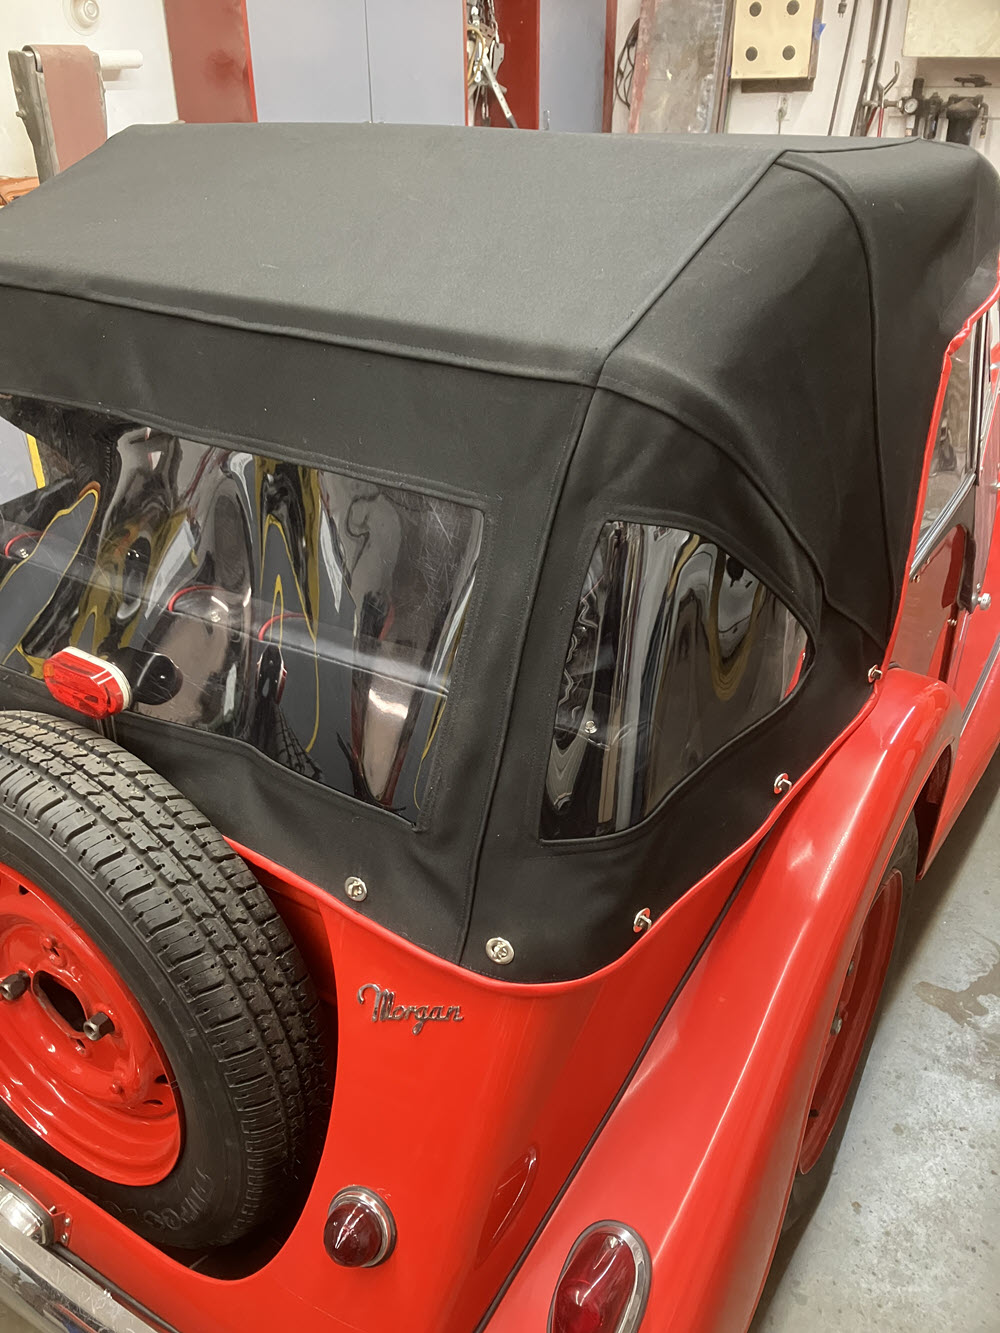
Hood (Top to us colonials)
pattern for new hood in workpattern for new hood in workcutting hood fabricNew Hood nearing completionNew Hood finishedNew Hood finished
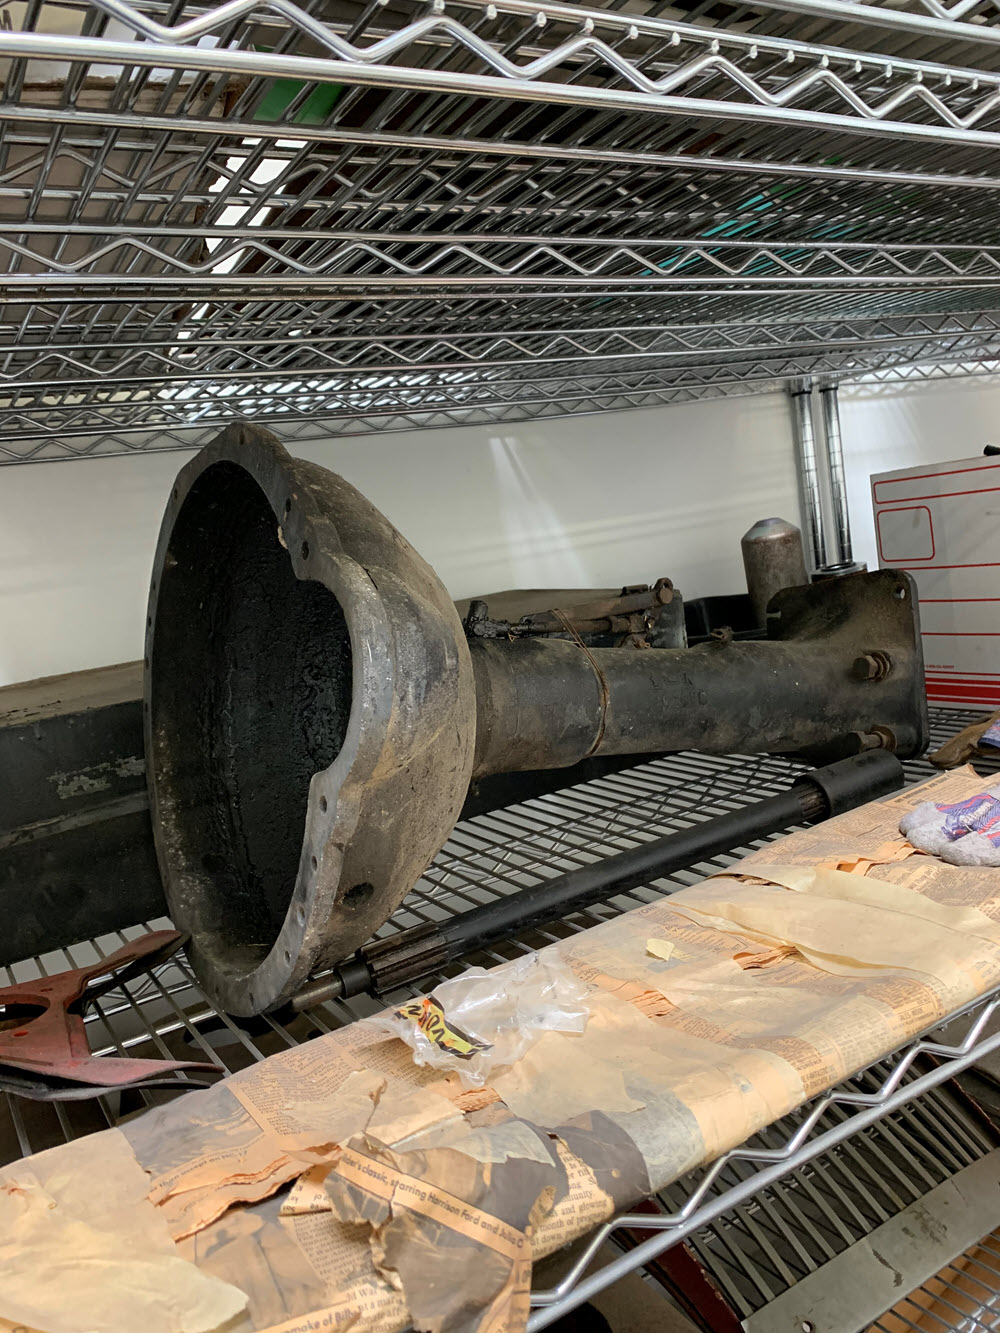
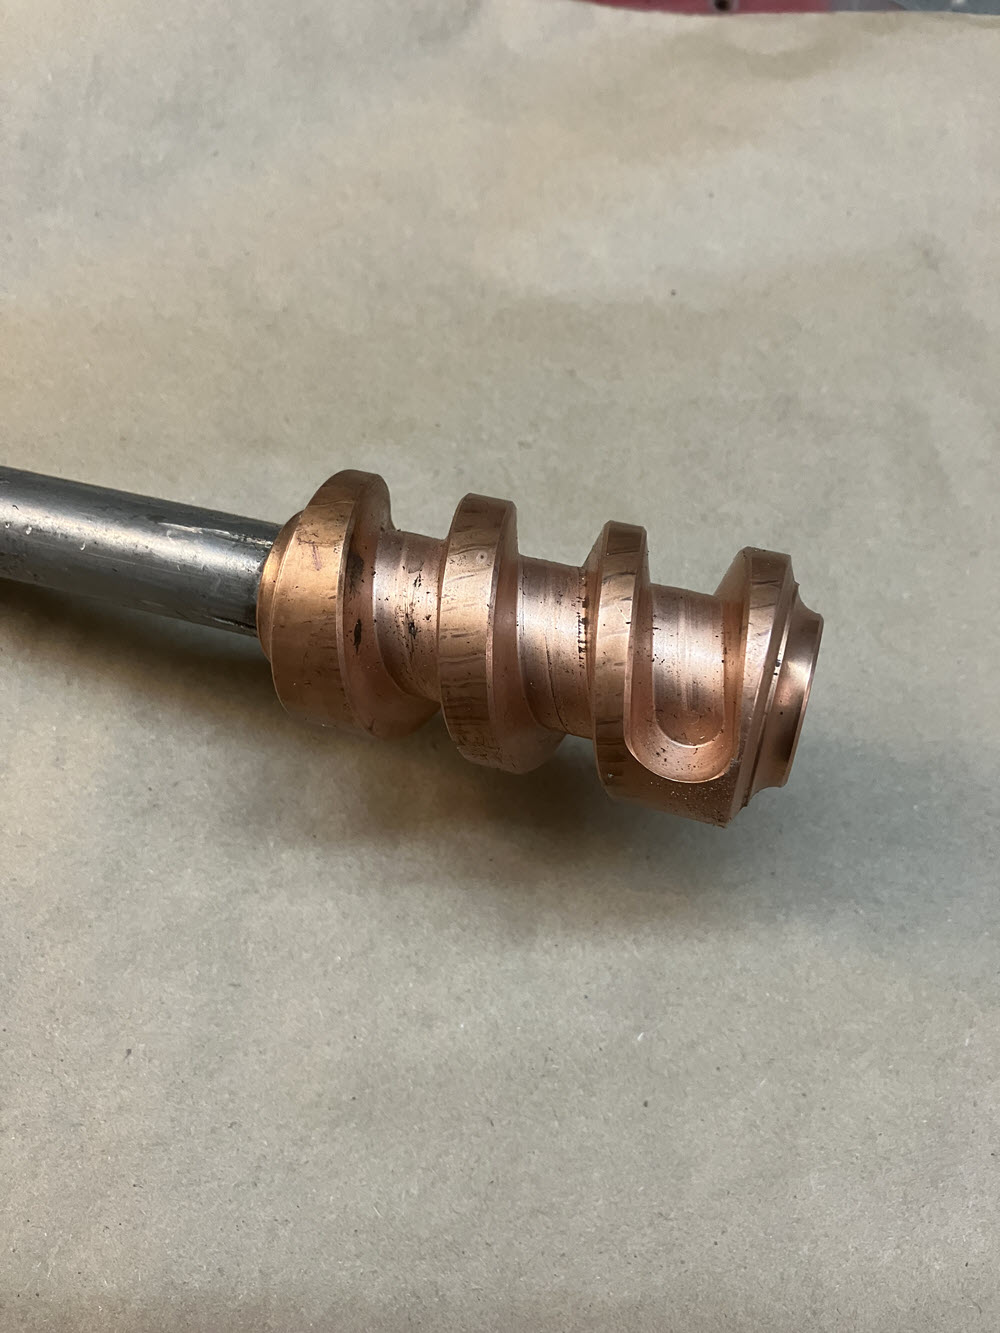
Steering
There was too much freeplay in the steering. Adjustment did not correct the problem. Closer inspection indicated the “worm” was worn beyond salvage. Only option (yes expensive) was to replace it.
New “worm” installed on shaftAssembling Steering box