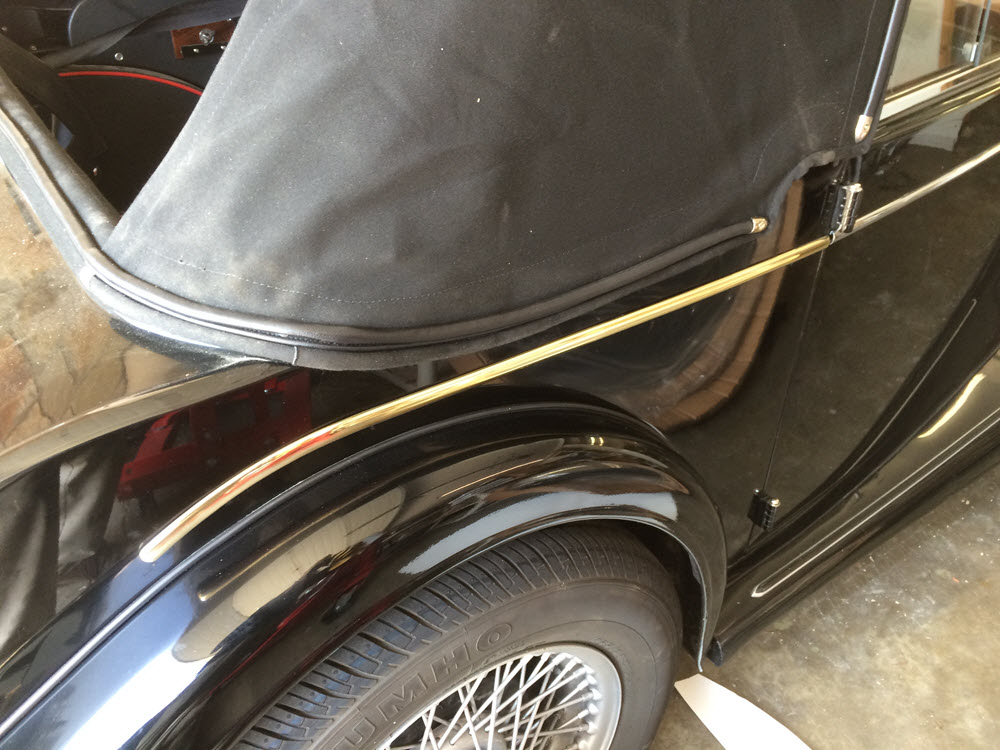
I have only had to do this twice. The first time I was tempted to make proper short-run tooling to actually duplicate the original molding: “Nah! it is only a one time job so just fake the part.” That was a reasonable plan until now when I have to make another.
Faking consists of carving the molding out of solid brass stock. The factory used two different width trim strips depending on the year of the car. The trim on this DHC is just enough over 1/2″ wide that standard stock won’t do.
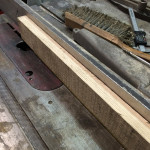
I start with brass strip 1/4″ thick by whatever width I can get that is greater than 1/2″. I mill a piece of wood (ash or whatever hardwood is available) to the same thickness as the brass strip. Two brass or bronze (NOT STEEL) wood screws hold the brass to the wood. The plan is to use a table saw to rip the brass to the exact correct width. Sawing metal on a table saw is NOT safe. Just because I do it does not mean that anyone else should. The screws holding the brass to the wood are located at the extreme ends and such that the saw blade won’t cut them. I use a narrow kerf carbide blade with fine pitch and have the fence is set to the correct width. The brass is mounted on the wood for support so that hands are never near the blade. Several passes taking light cuts at slow feed speed does the job. I let the stock cool a bit between passes and never stand directly behind the work.
Once the brass is the correct width I remove it from the wood carrier, mill the carrier to the same width as the brass and remount it.
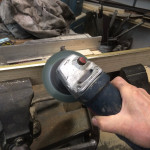
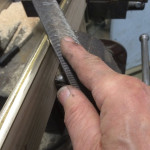
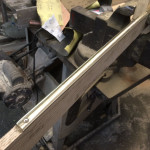
The wood carrier is clamped in a vice and many passes with a 4″ grinder, coarse and then increasingly fine grit discs, round the edges of the brass. A body file can dress it to near net shape without adding deep tool marks. Sandpaper, used “shoe-shine” fashion will remove the remaining tool marks and (eventually) bring the brass to a high polish.
Bending the brass to the hockey stick shape could be done before grinding and polishing or after. Bending before making the half round shape is probably easier but then the grinding and shaping would be much more difficult. The both times I’ve had to do this I made the half round first and then did the bending using a fixture like the one shown below.
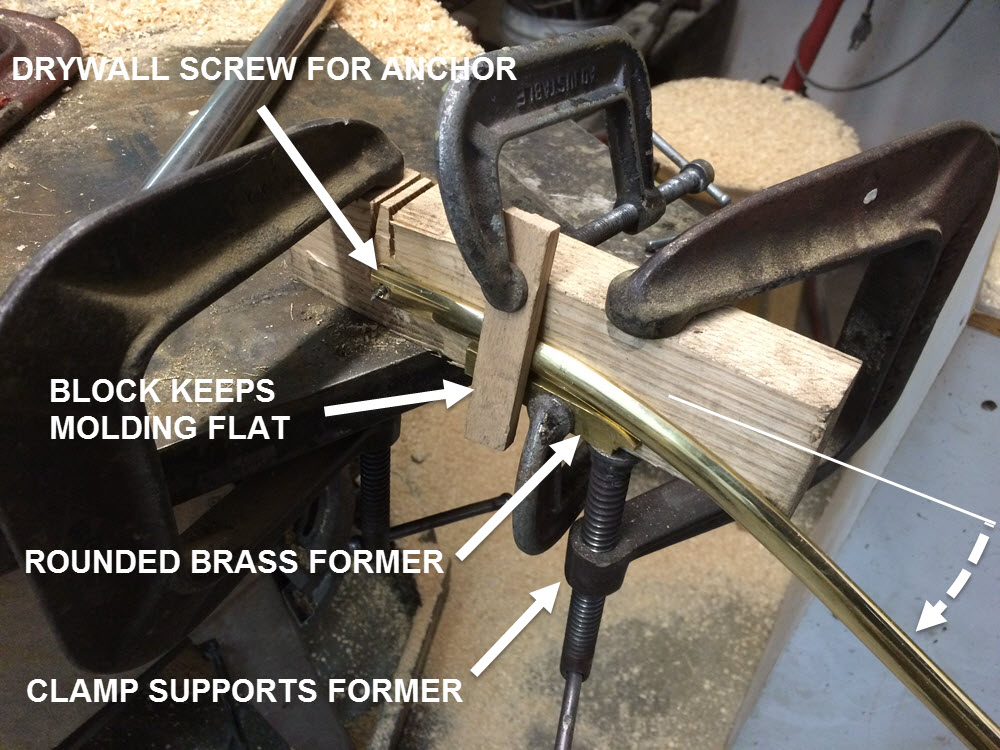
A long drywall screw passes through one end of the hardwood block that is clamped to the workbench. The brass strip is anchored by putting the end screw hole on the pointy end of the drywall screw. A piece of 1/4″ thick brass with a radius ground on one corner acts as a former and a 1″ diameter pipe over the outboard end of the molding, up close to the support block, applies the bending force without distorting the straight part of the molding. The force is considerable so the former has to be clamped to the block and well supported. I bend a little, remove and check against a pattern, bend a little more and so on several times and adjust the fixture as necessary each time.
To attach the molding to the car I silver solder #6 stainless steel machine screws to the flat side of the molding. The molding is first prepared by using a center drill in a drill press to make a pilot hole. The quill stop of the drill is adjusted so that it cannot go through the molding. The pilot drill is followed by a countersink. Again care is taken so that the drill does not go all the way through. I turn the round heads of #6 machine screws in the lathe to a cone shape matching the countersink angle. To be sure the screws are perpendicular to the molding I use the drill press as a soldering fixture.

The screw is held in the chuck and the molding is clamped to the table. From experience I know that lead solder is not strong enough. I use Oxy/acetylene and silver solder to finish the job. Sand and polish a final time and send to the plater.
I’ve seen other techniques for doing the same task. None are easy and all are compromises but then it is not easy to find original moldings either.

