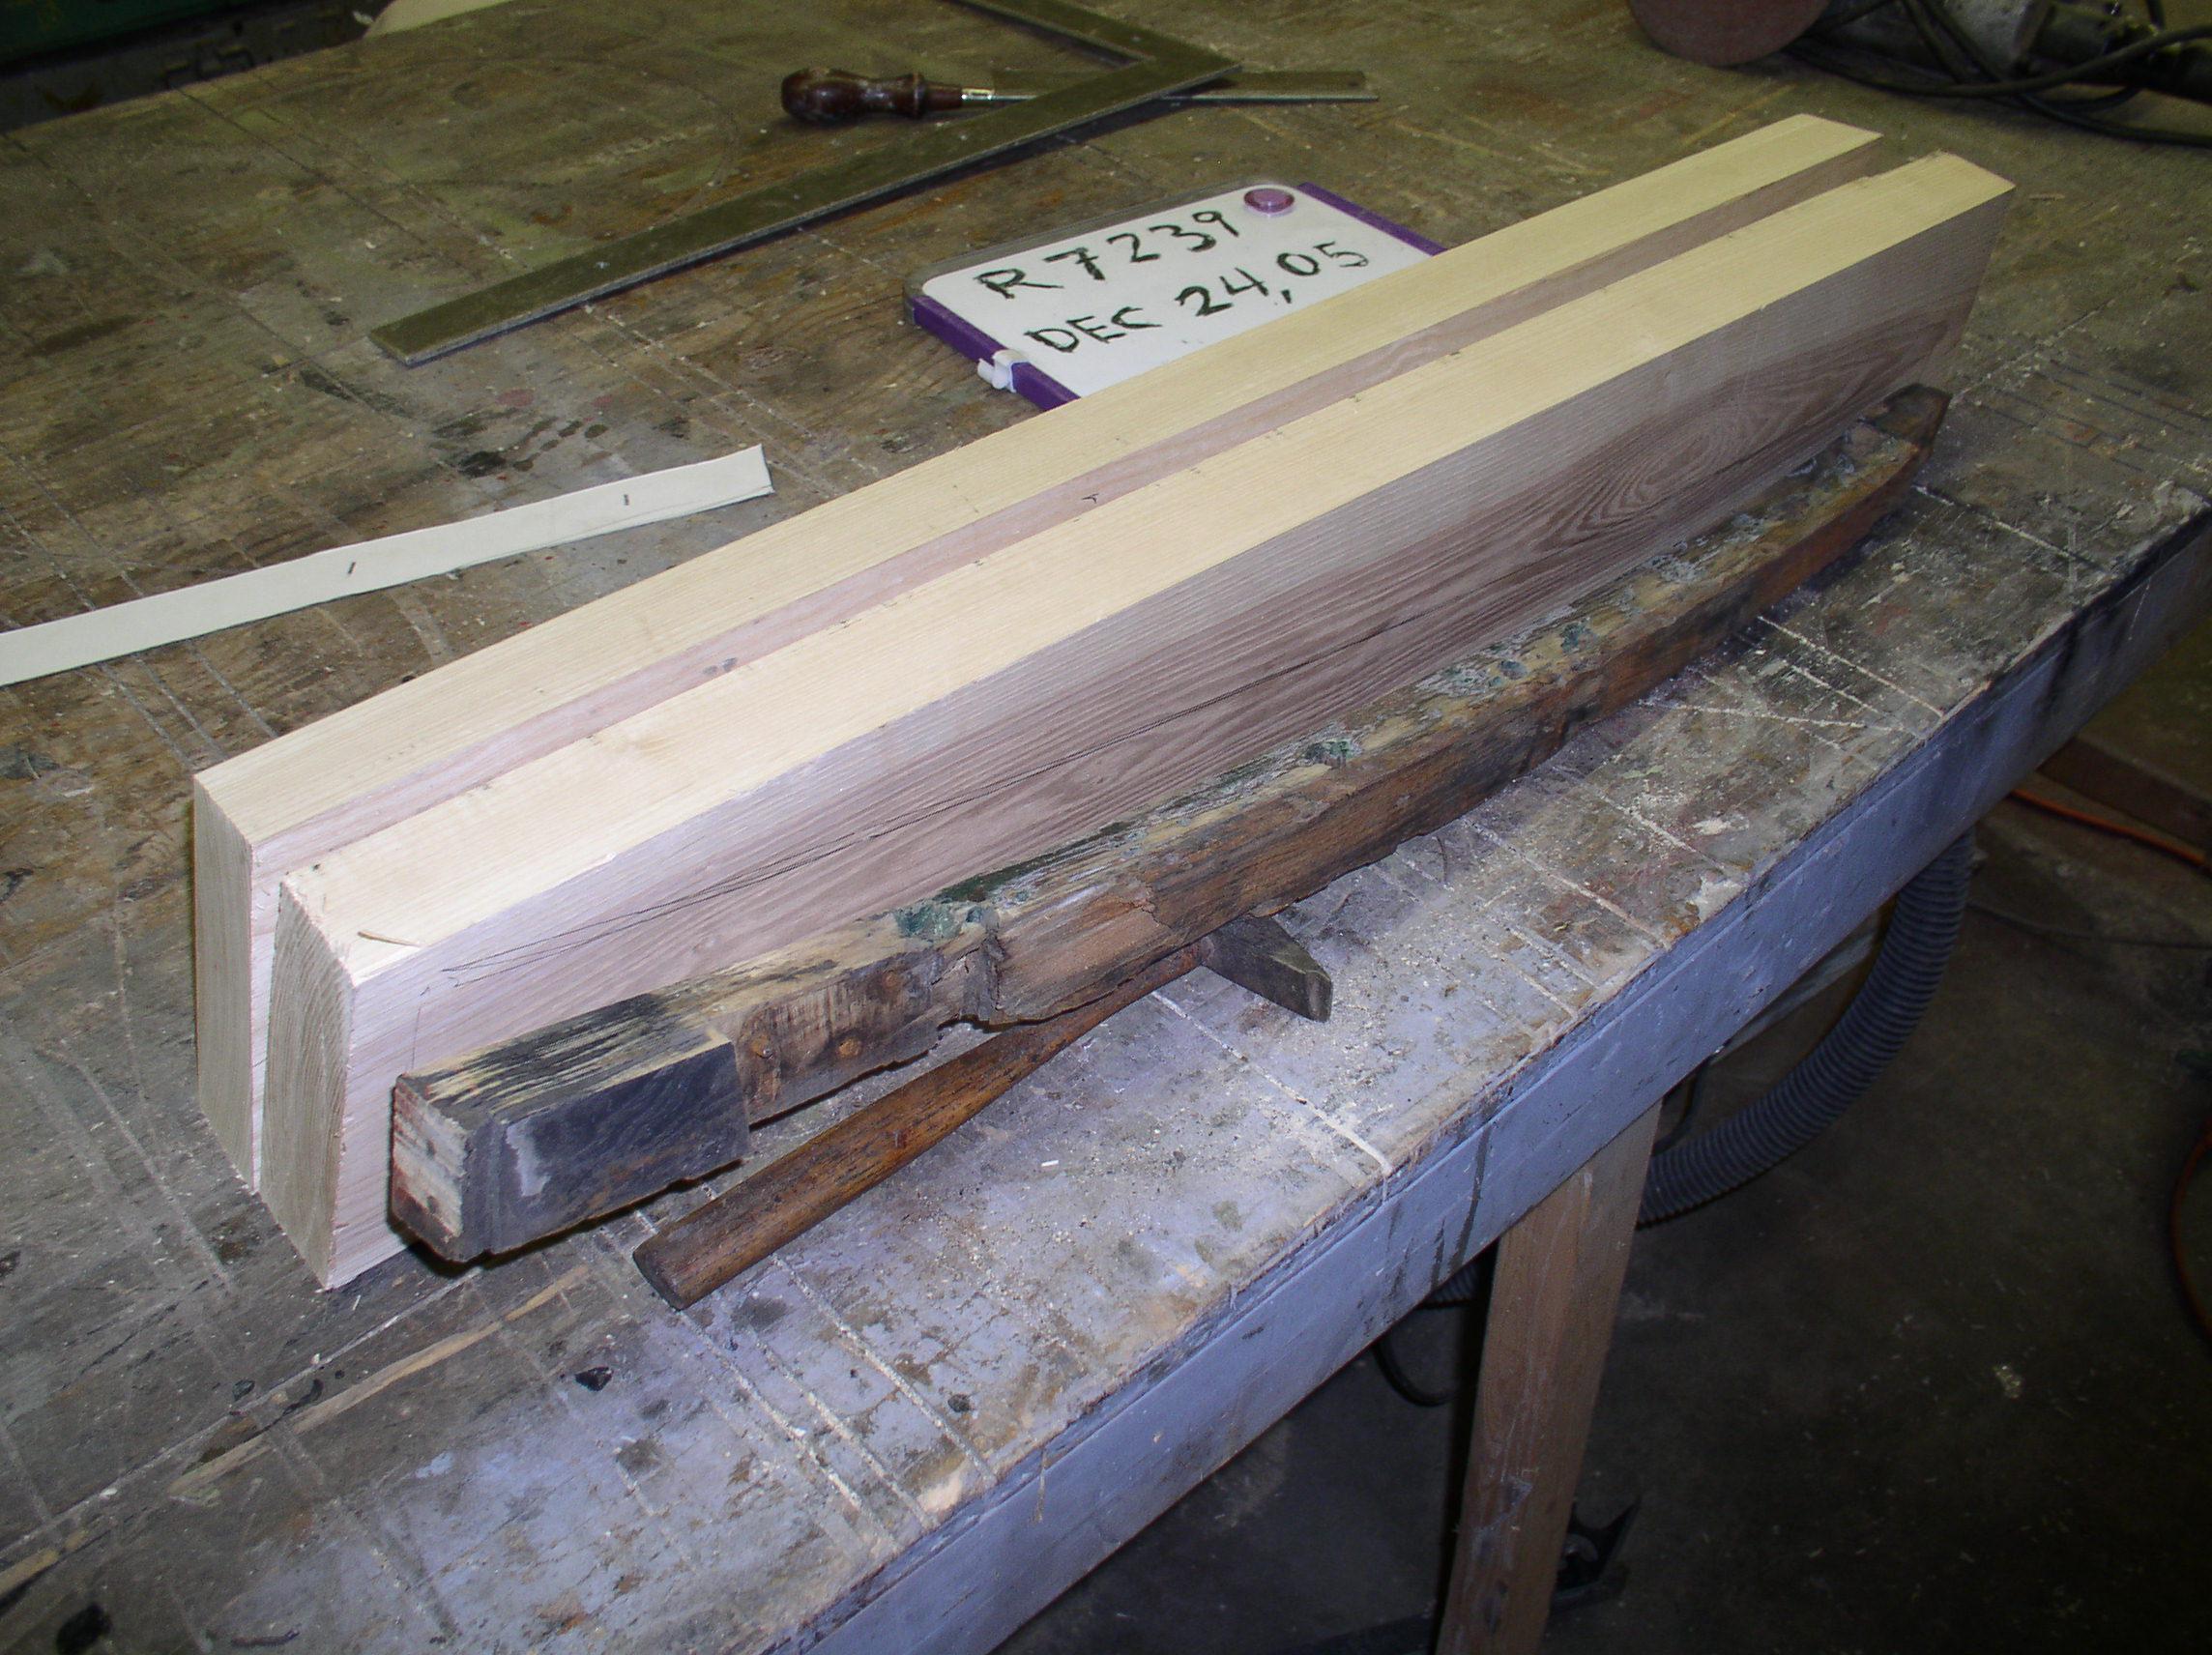
 Square the stock. It needs to be a full 8/4 thick (that’s 2” rough; and 9/4 won’t hurt.) by 5” wide. The rocker leans in slightly as well as bending on three sides.
- Use the table saw to rip one long side (the side that will lie flat on the sill board) at a slight angle, full length. Adjust the tilt of the blade so that you remove about 1/16” more from one side than from the other. Place the cut side on the sill and compare the angle to the vertical piece of wood attached to the firewall. Both should
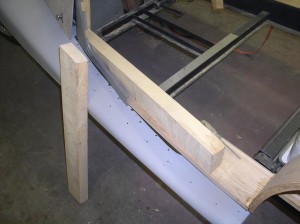 lean in about the same amount. The rocker butts against the wood at the firewall at a compound angle. The next step is to mark and cut the correct angles at the front.
 - Clamp the new rocker to the sill board shoving forward until the outer front corner touches the wood piece at the firewall. The inner rear corner should be about 1 ½” inboard of the outer edge of the sill. When all is secure, place the rule from your combination square on the top surface of the rocker block and press the rule tight against the firewall wood piece. Draw a line on the rocker along the back side of the rule. You should have a line that is at the correct angle to match the firewall piece 1” back (the width of the rule) on the top of the rocker. Place the same rule on the inside (the 5” width) of the rocker block and again press it against the firewall wood and draw a line along the back of the rule. You should now have one line on the narrow top of the rocker and another on the inner side and they should meet on one edge.
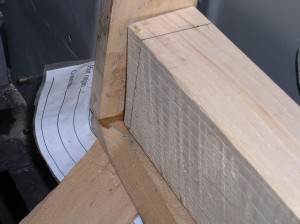 Return to the table saw and set the pusher to match the second line and tilt the blade to match the first. Saw away.
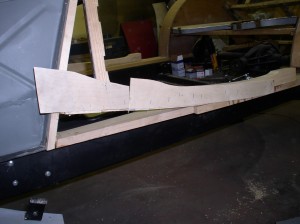
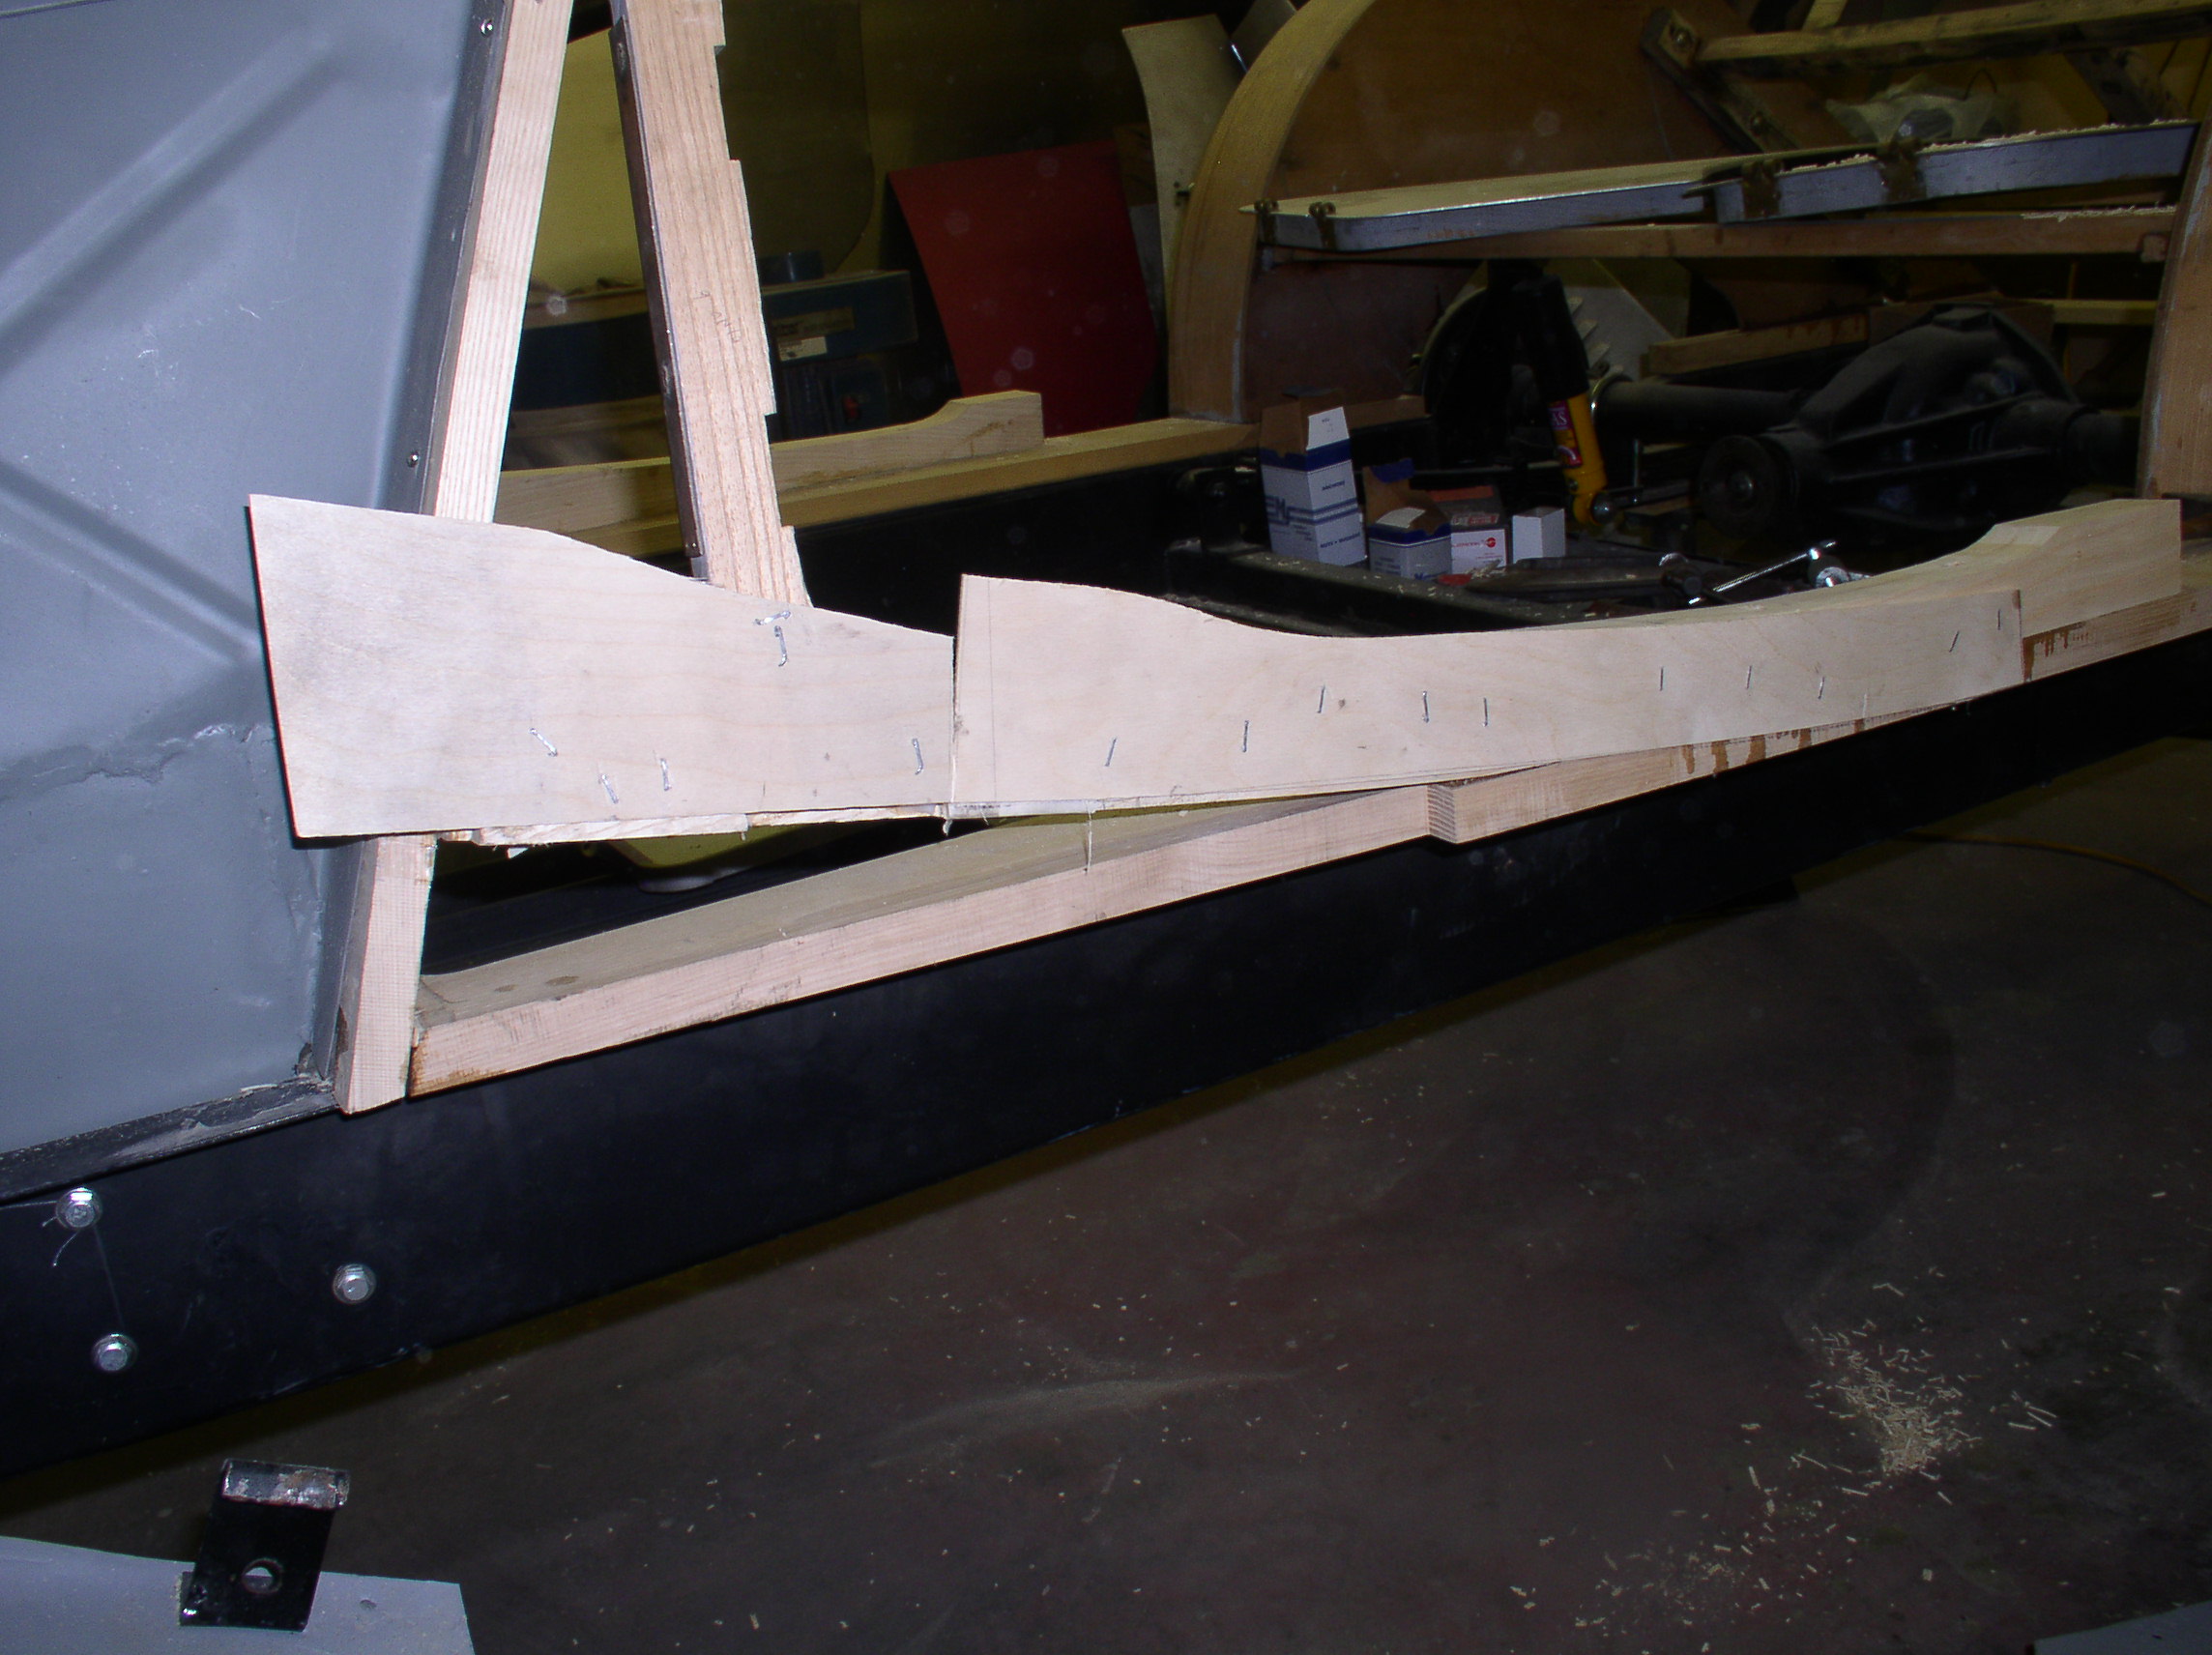
The rocker should now be a large rectangular block that sits on the sill leaning slightly in at the top. The front of the rocker should perfectly match the firewall wood.The critical curve is the bottom of the rocker where it controls the joint between the body and the wing. - Clamp the rocker in position on the sill and press it tight against the firewall wood. Pull the rear of the wing up and out until it is as close as you can get it to its correct position. Draw a pencil line along the top of the wing on the rocker. Remove the rocker and clean up the line using a long piece of thin ash (or similar springy material) as a guide. A few nails along the line will help spring the ash and make a fair curve. Allow 1/8” or so extra and cut it on the band saw. It is still 8/4 thick so the blade should be ½” with fairly wide spaced teeth. Fine teeth just fill, burn, and wander. At this point the rocker fits the firewall wood and the sill. The bottom curve is slightly oversize for matching the wing.
- Cut a pattern for the shape of the top curve (side view, durectly under the door). I use art supply type poster board for pattern material. Staple the pattern to the outside surface of the rocker and band saw the rocker to match the pattern. Again, don’t try to be too exact; a little excess is good.
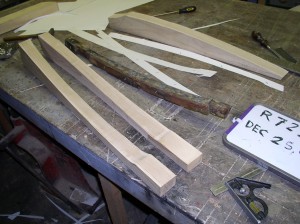
- Cut a pattern for the curve on the inside and outside of the rocker. This would be the top view if it were a drawing. The inside does not have to be very fussy because it is covered by padding. The outside does not have to be precise either but remember that extra material is easier to correct than even a tiny bit too little so be generous.The rocker now fits perfectly on the sill and at the front and has the correct basic shape.
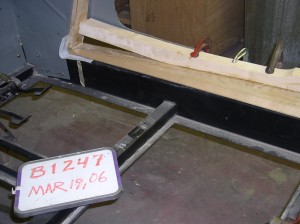
- At this point I glue the rocker in place using West System Epoxy; the screws can be added later. The top and sides are rough shaped and should be close enough to finish to size with a belt sander. Once the glue has cured and the outside of the rocker has been dressed I cut the recesses for the door posts with a router equipped with a guide bushing. Make a pattern from 1/16” Baltic birch or equivalent plywood and use a ½” diameter cutter in a plunge router taking bites about 3/16” deep per pass.

- The bottom of the rocker and the part of the sill it blends into are cut to finished shape using a router against a pattern of scrap wood.


One thing that will pop out at you is that I build the body on the chassis with as many of the mating parts in place as possible. The factory has fixtures and repetitive manufacturing practices that the occasional craftsman does not. Trying to build a body on a bench and hoping everything will fit later is a tough way to work.