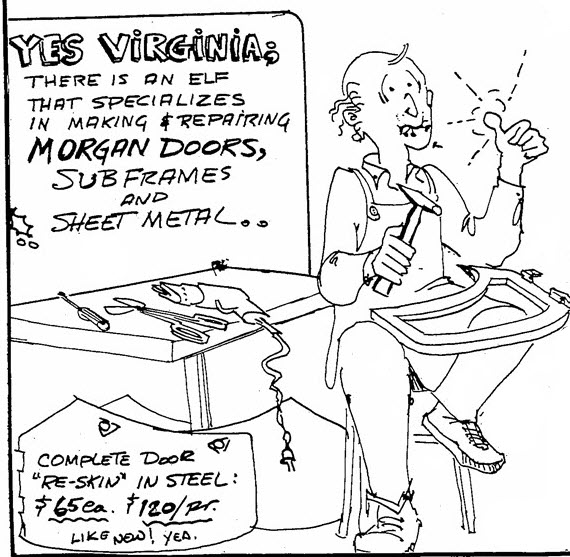
Kinda how it all started: A cartoon from circa 1980. $65 each! Yes; quite a funny cartoon.
Steel or Aluminum; it hardly matters, Sooner or later Morgan doors are going to need the skins replaced.
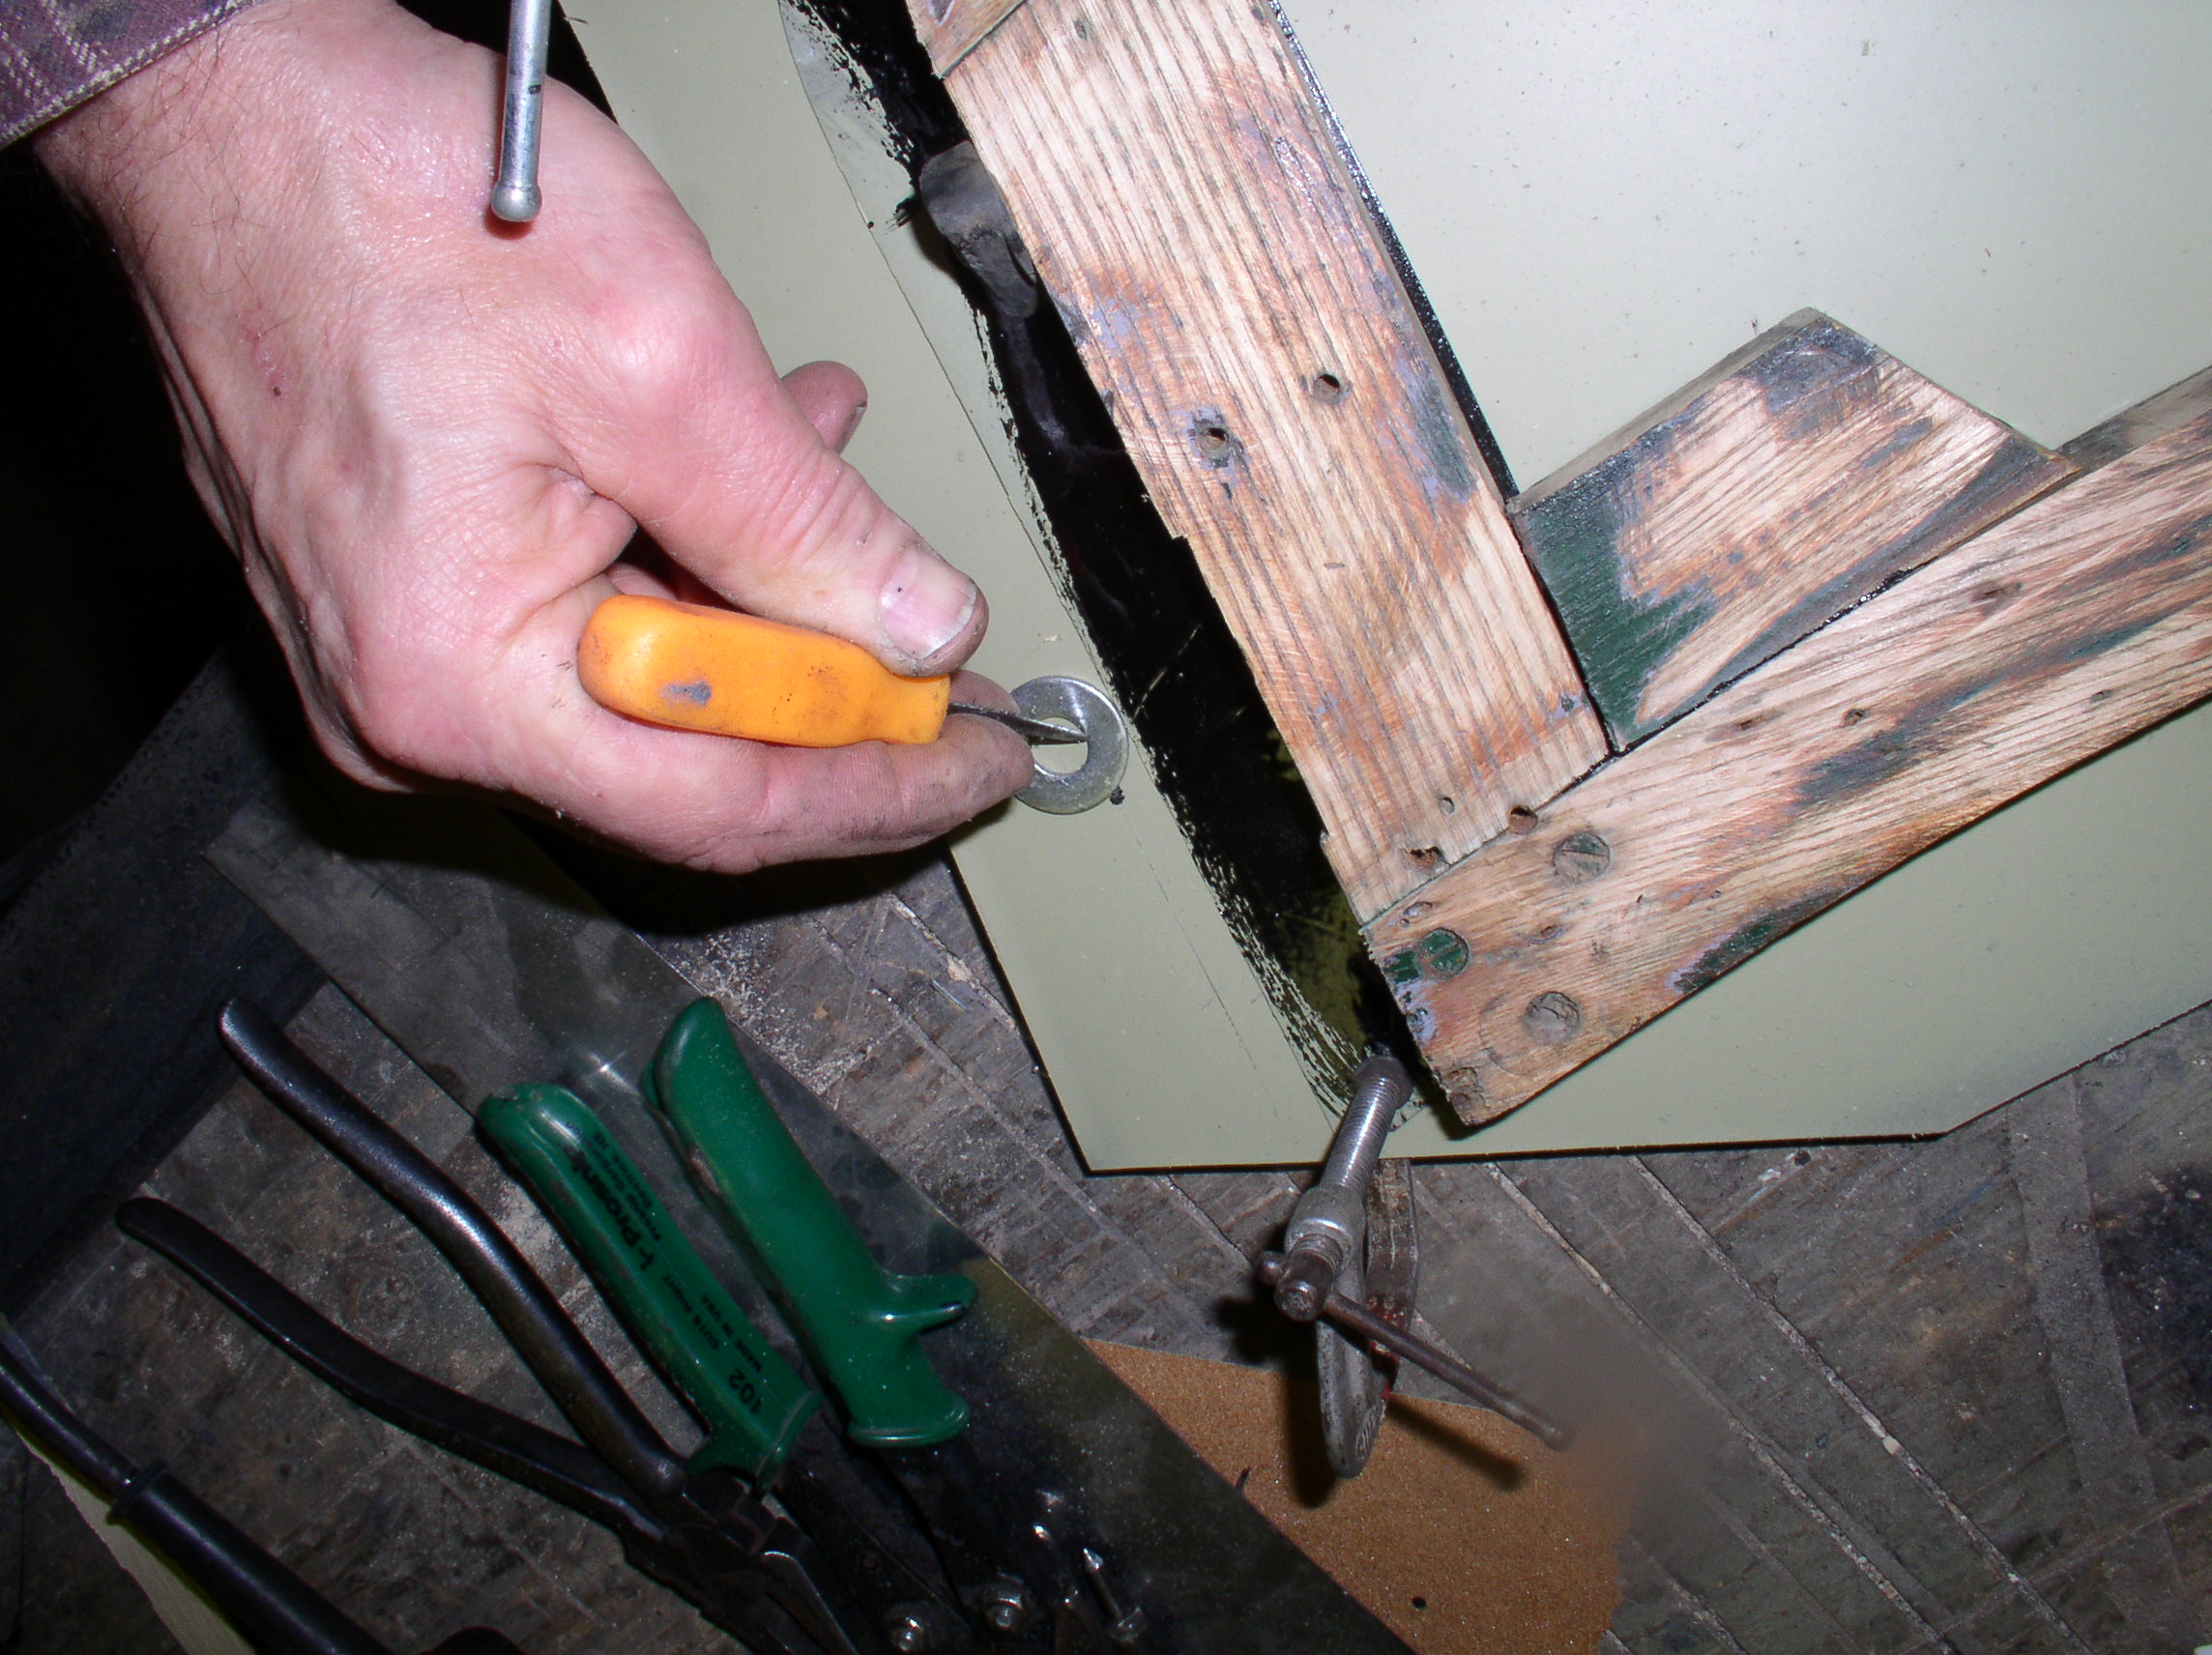
The hinge pin (the originals are steel and rust inside the brass), if not the entire hinge, will also have to be replaced. Remove the door by taking the hinges off the door posts. The usual arrangement is one wood screw and two machine screws through each hinge plate. You may have to drill the heads of the machine screws and drift the shafts out with a punch. Even if you plan to replace the hinge you should drive the pin out of the originals and replace it with a screw or clevis pin. It is convenient, as you work, to leave the hinge plates in place and remove the door by pulling the pins. Stainless steel clevis pins are available at marine stores and make good permanent replacements.
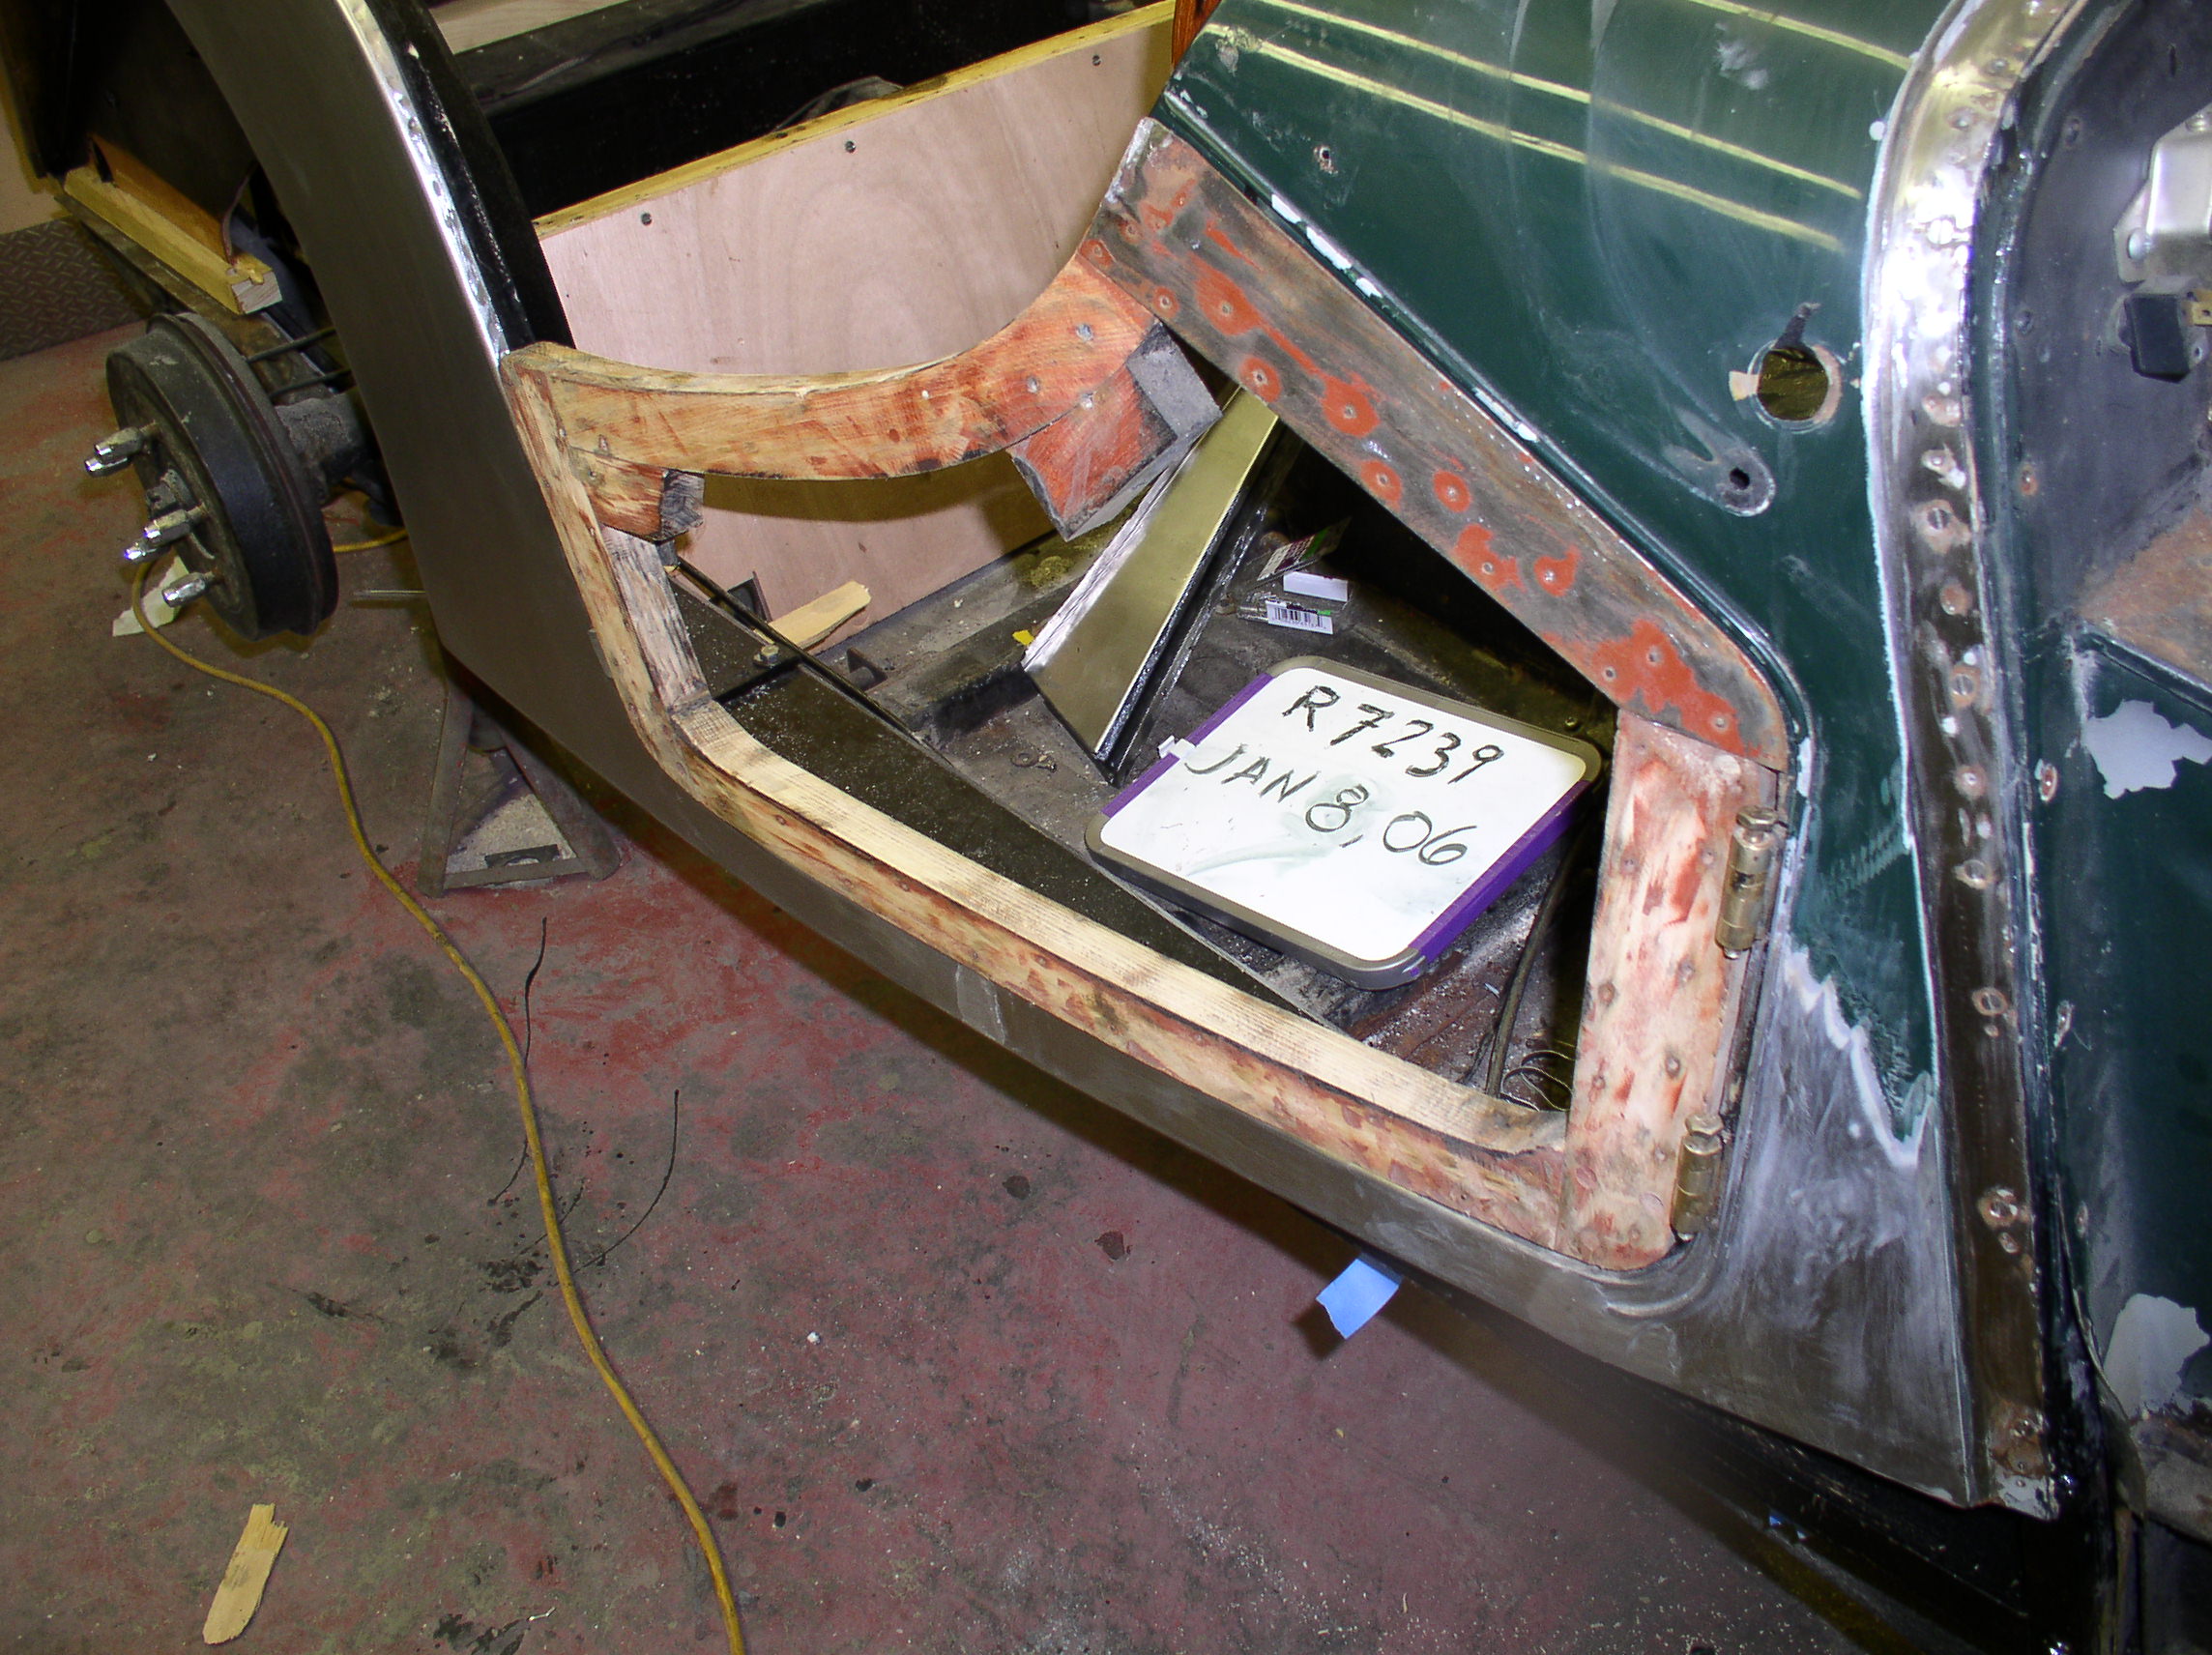
The door skin is folded over steel inner panels on all sides except under the arm rest. To remove the original skin grind the outer perimeter of the fold all around. An angle head disc grinder is the best tool for the job. Put the door in a vise or clamp it to the a work bench so you don’t end up eating it. Once the five sides are free it is an easy matter to coax the nails off the armrest piece. Avoid twisting and pulling. Force nothing!
Remove the inner pieces as necessary. The bottom one is always bad but you can often salvage the top, front and back. Replace the hinges in both the door post and the door and rehang the door. Check fit!
Place a thin plywood spacer under the latch (duplicate the thickness of the inner trim panel) and screw it in place on the door frame. Install a new rubber dovetail. The dovetail fits into a cup on the jamb and supports the door. It also controls the clearance of the door sheet metal to the standing sheet metal of the quarter panel.
If any joints are loose or rotted, repair them now! Remove the screws from the joint, fill the joint with a thickened mixture of epoxy resin, align the door frame in the door opening and clamp it in position until the glue cures. In the worst of cases, replace the entire piece of wood.
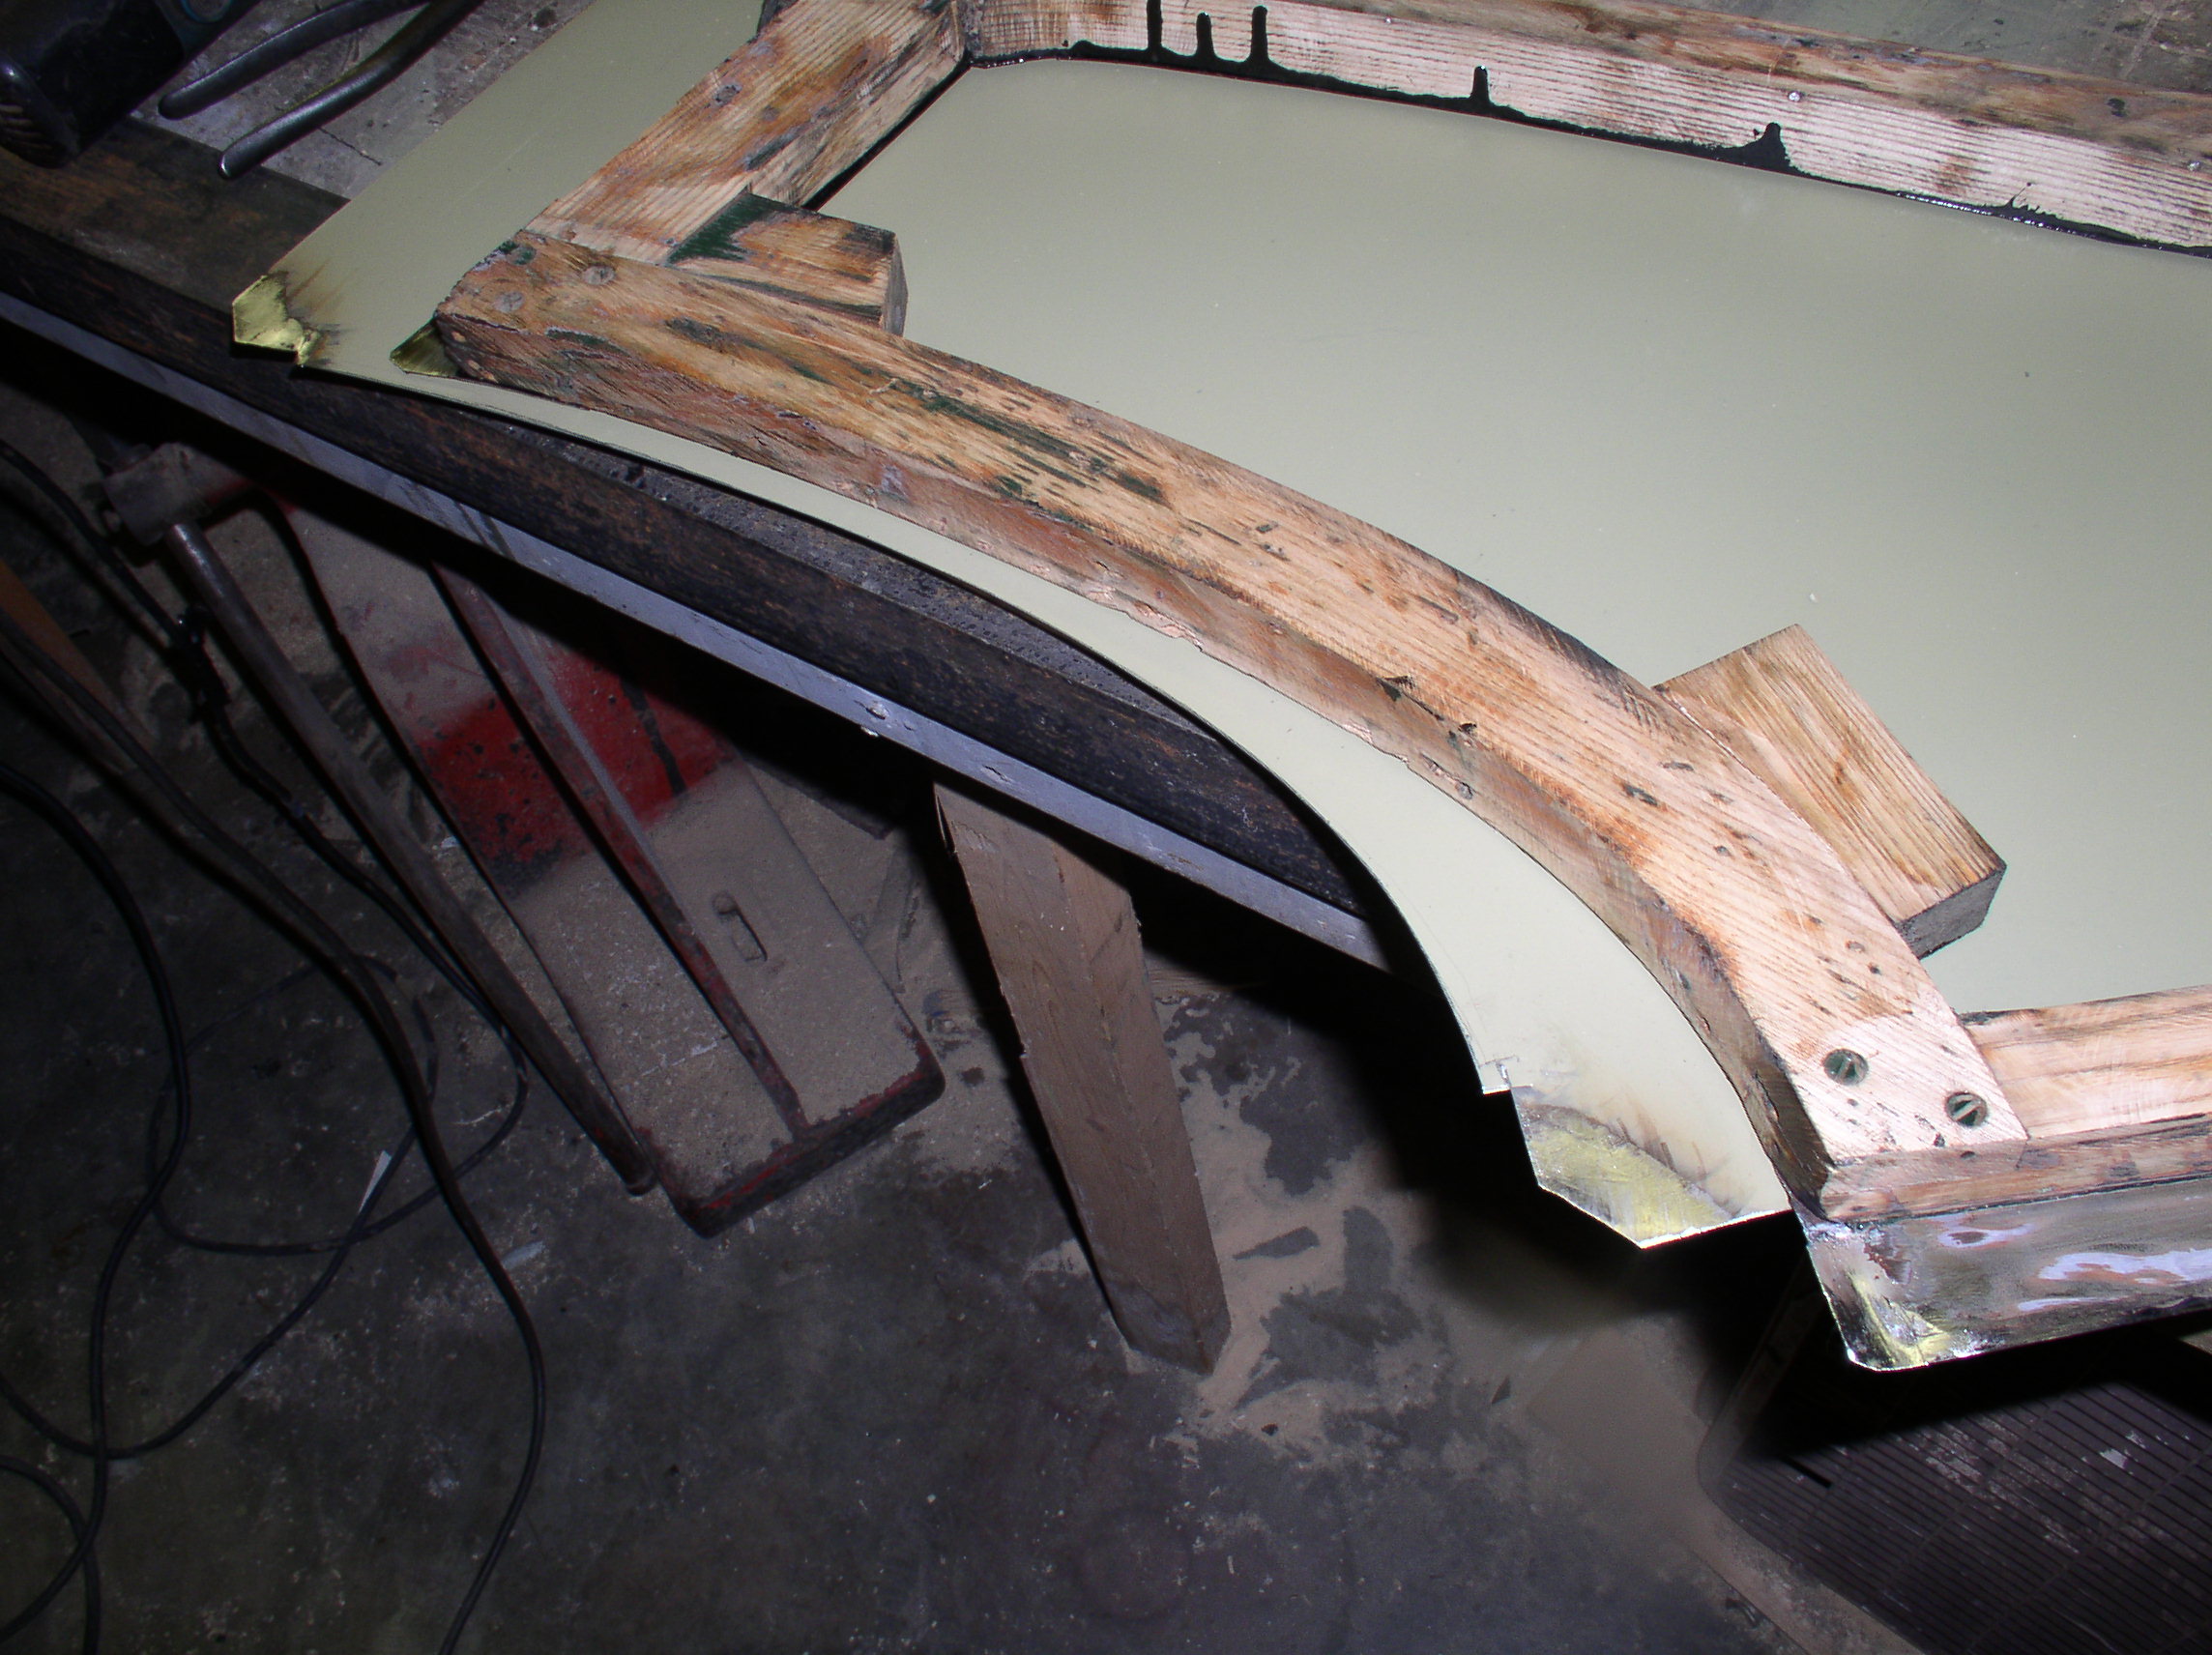
Verify that the wood of the frame projects sufficiently beyond the standing sheet metal to allow the fold of the new door skin to clear (not rub on the paint). Use a belt sander to remove wood from the frame to correct an excessive gap (yes, even original doors had less than a perfect fit on occasion). 1/8”-3/16” all around is about right. The jamb end requires particular attention. On traditional coach built cars it is common to have the top of the door protrude outward so that the latch would draw it into the dovetail for a rattle-free fit that also accommodated wear on the hinges and the dovetail. On a Morgan door, because of its small size, this ‘windage’ is neither necessary or particularly desirable.
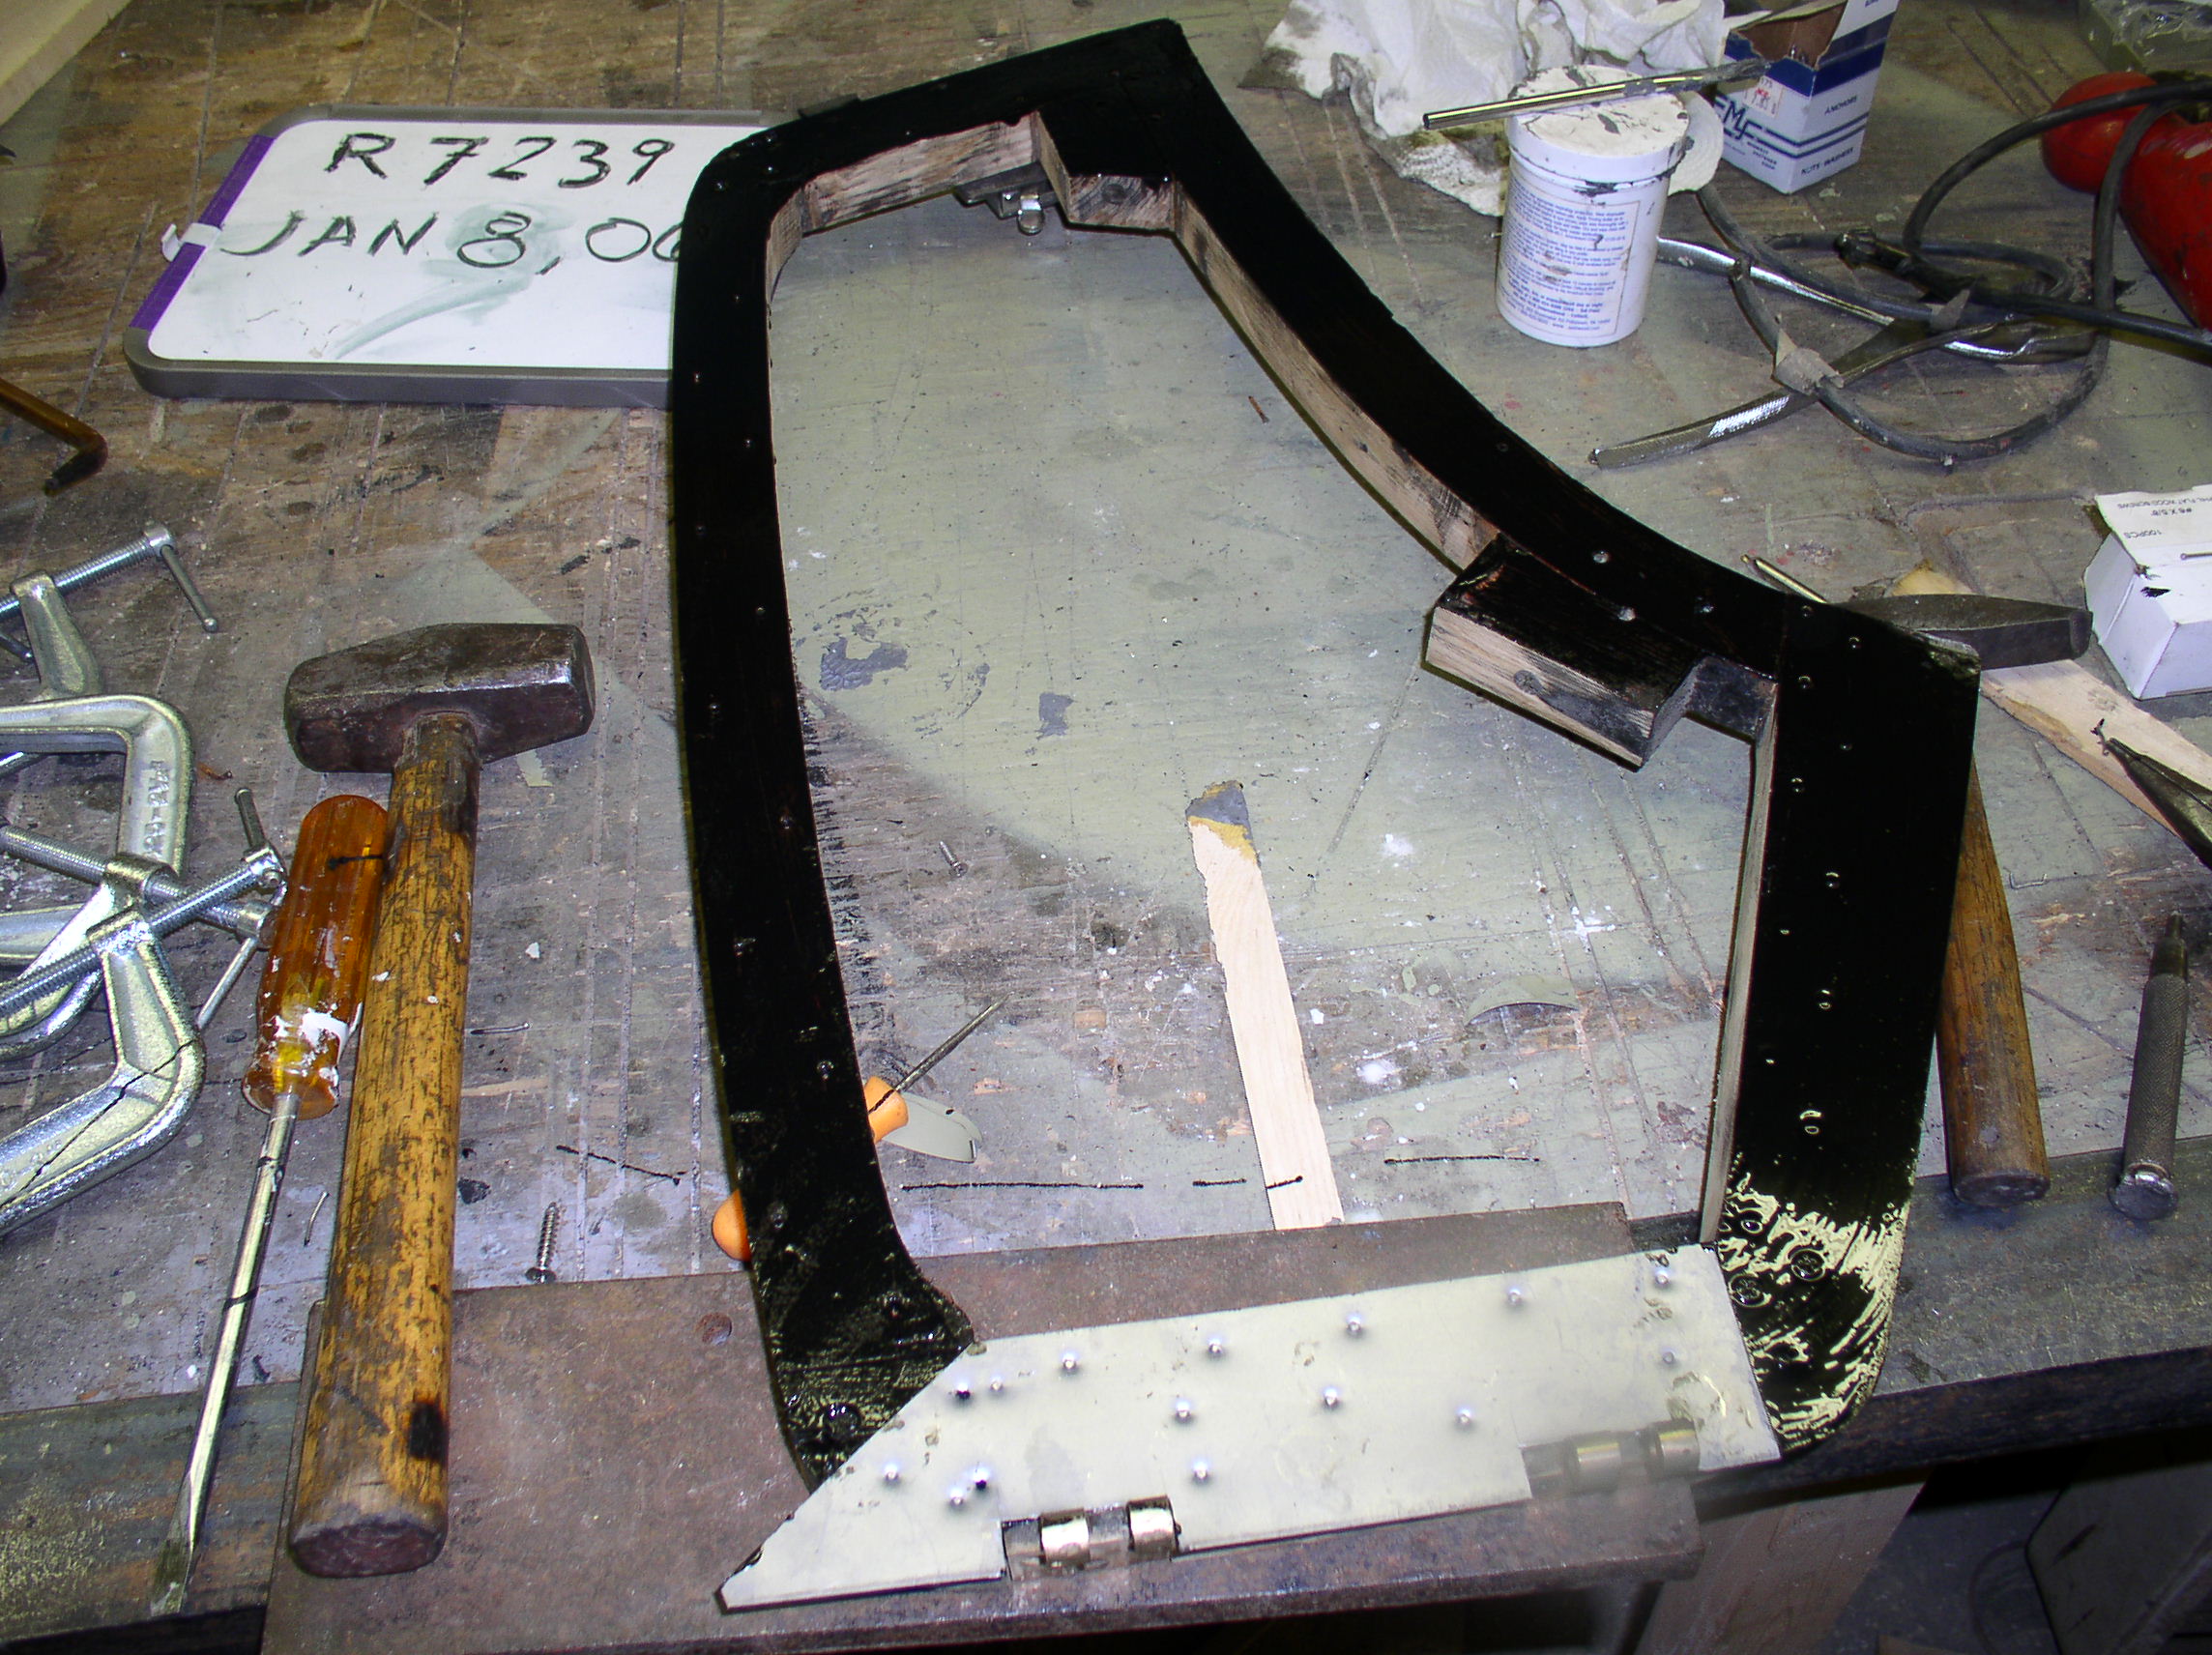
Parallel to the quarter panel is fine and a little windage (1/16”-1/8”) is acceptable however, the opposite condition where the top of the door is closer to the quarter panel than the bottom must be avoided. Remove the door . Install new inner pieces as required. Lightly clamp rough cut sheet metal in position on the door frame and trace the door outline on to it. Leave plenty of material on the outside.
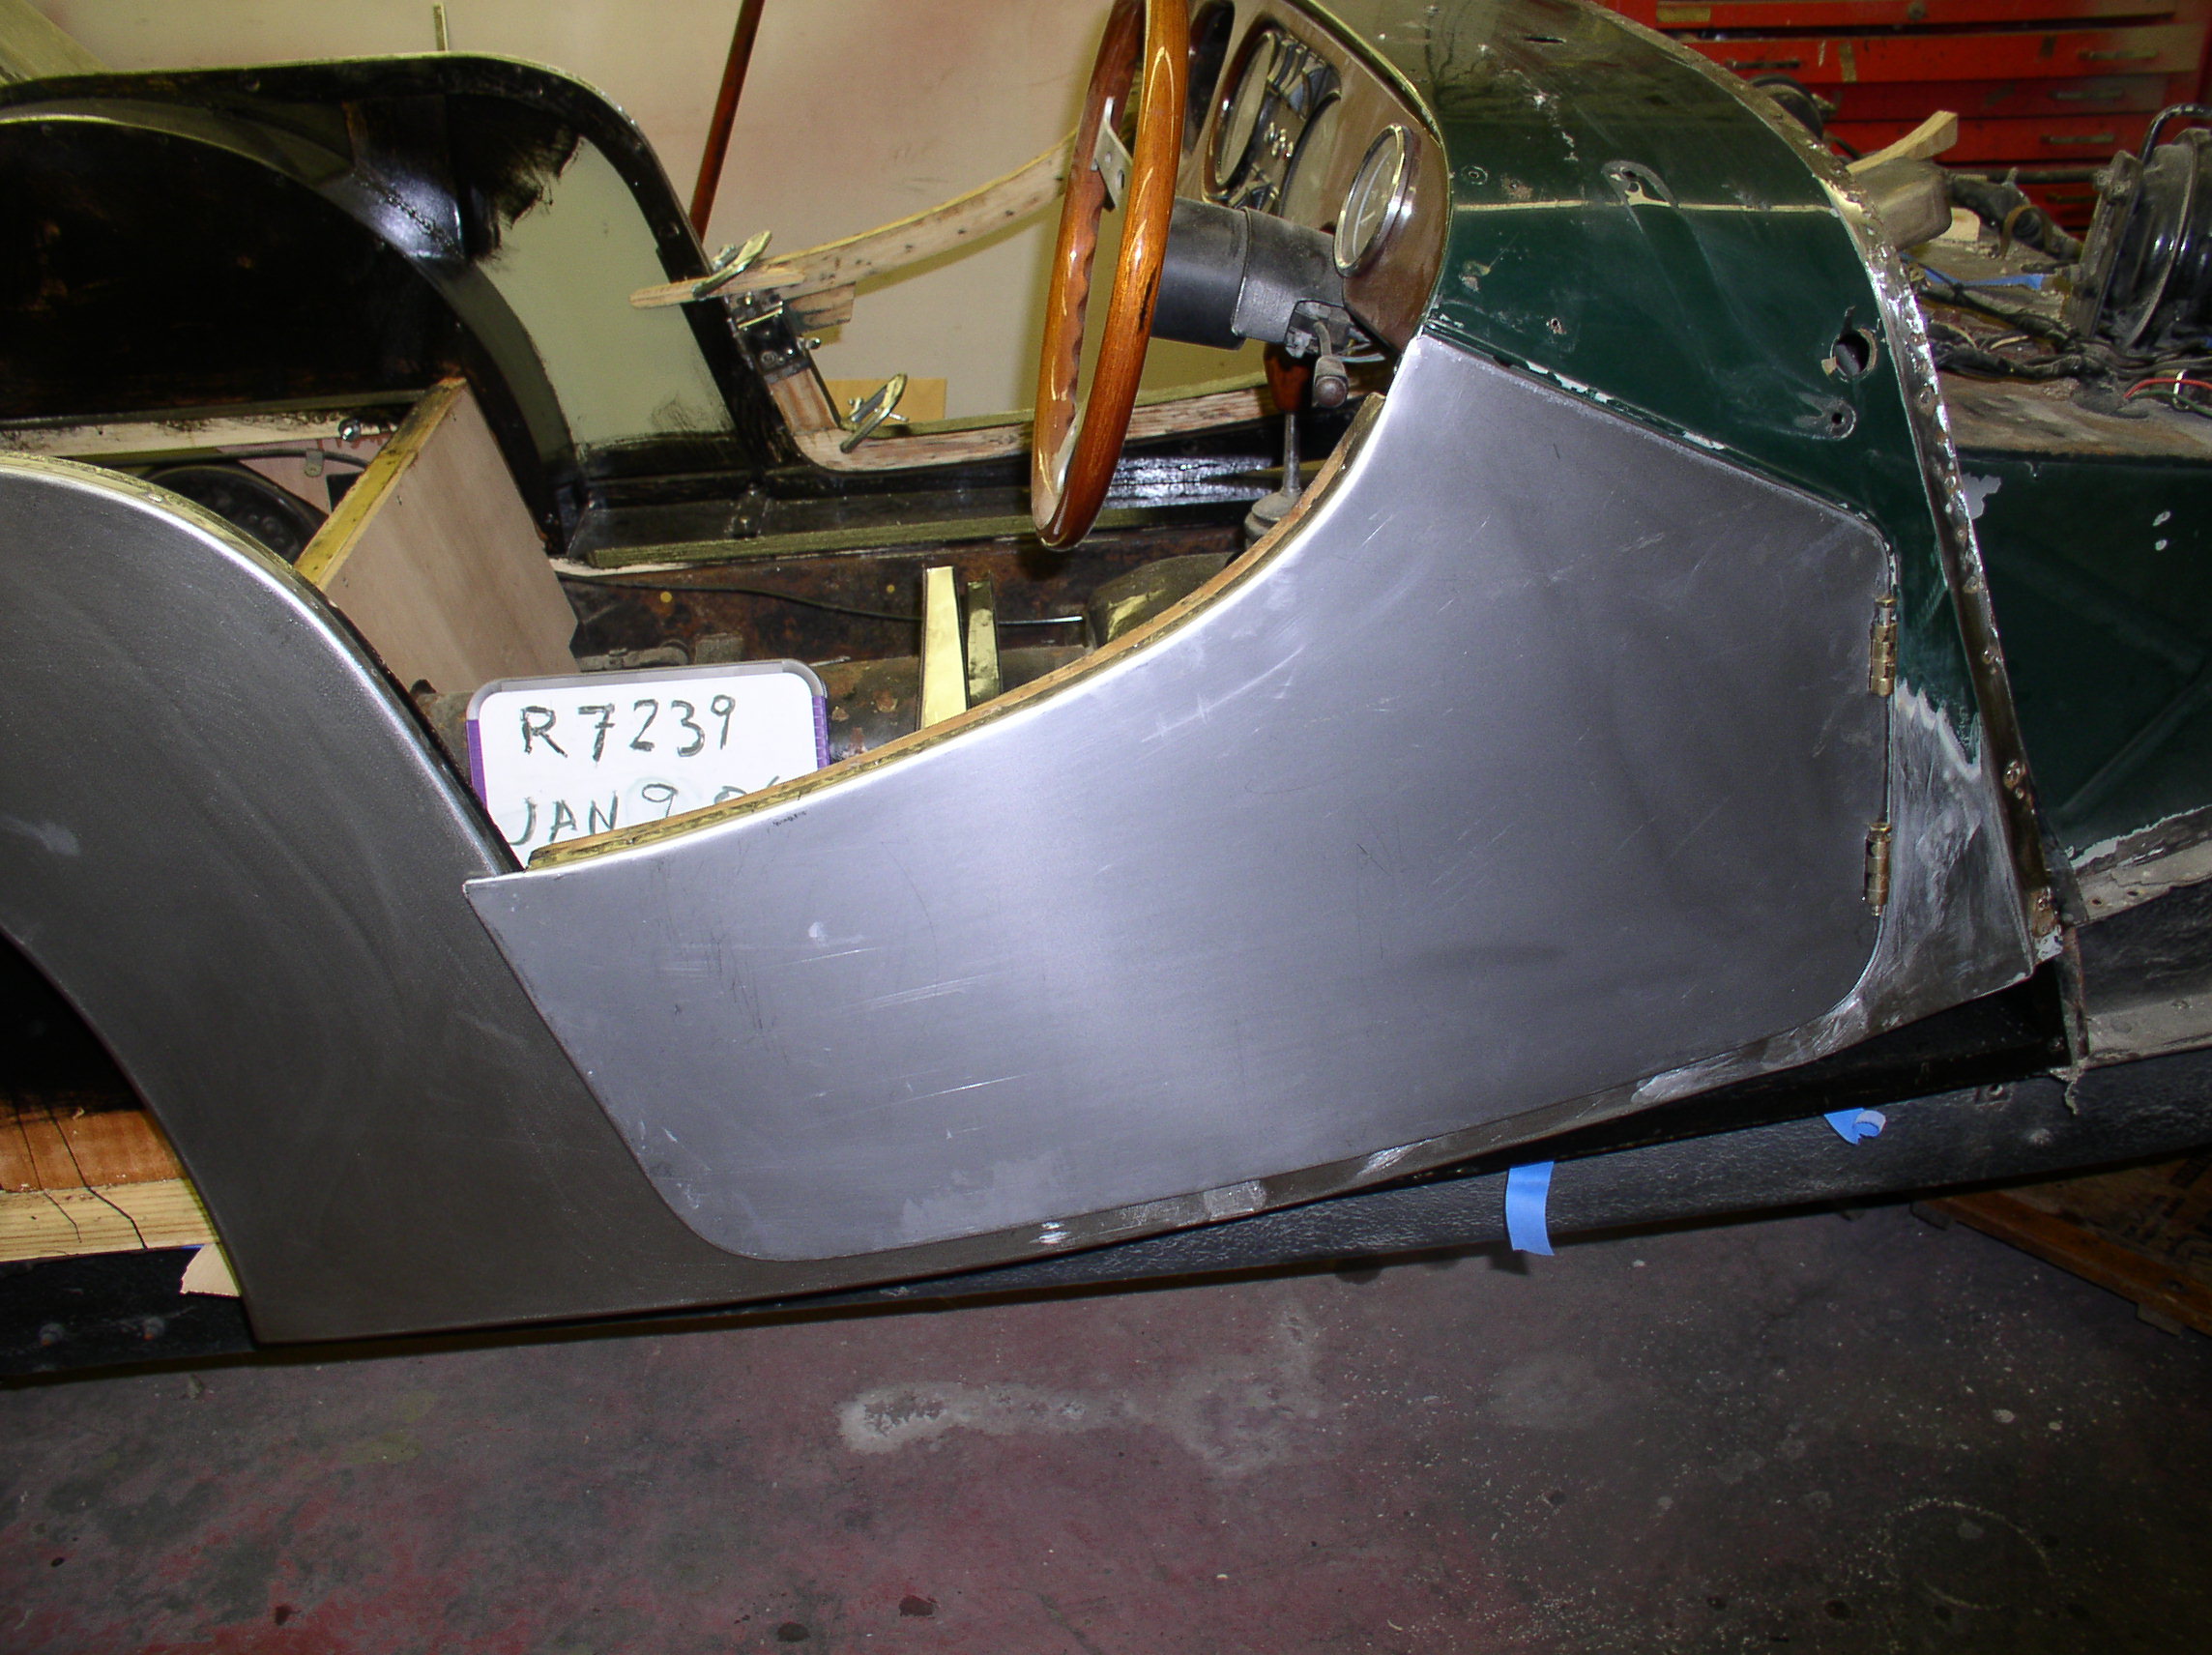
Be sure to slop paint on both the wood and metal before nailing. Pierce the sheet metal with a point punch before driving the nails in. Use the original door skin as a pattern to finish trim the new inner pieces. Rehang the door and check fit. It should swing closed easily and smoothly with no binding or interferences. Pay particular attention to the clearance at the front where the door meets the drip wire on the scuttle
.
Too much material here and the door will scrape when opened and bend closing. Too little and a gap will show.
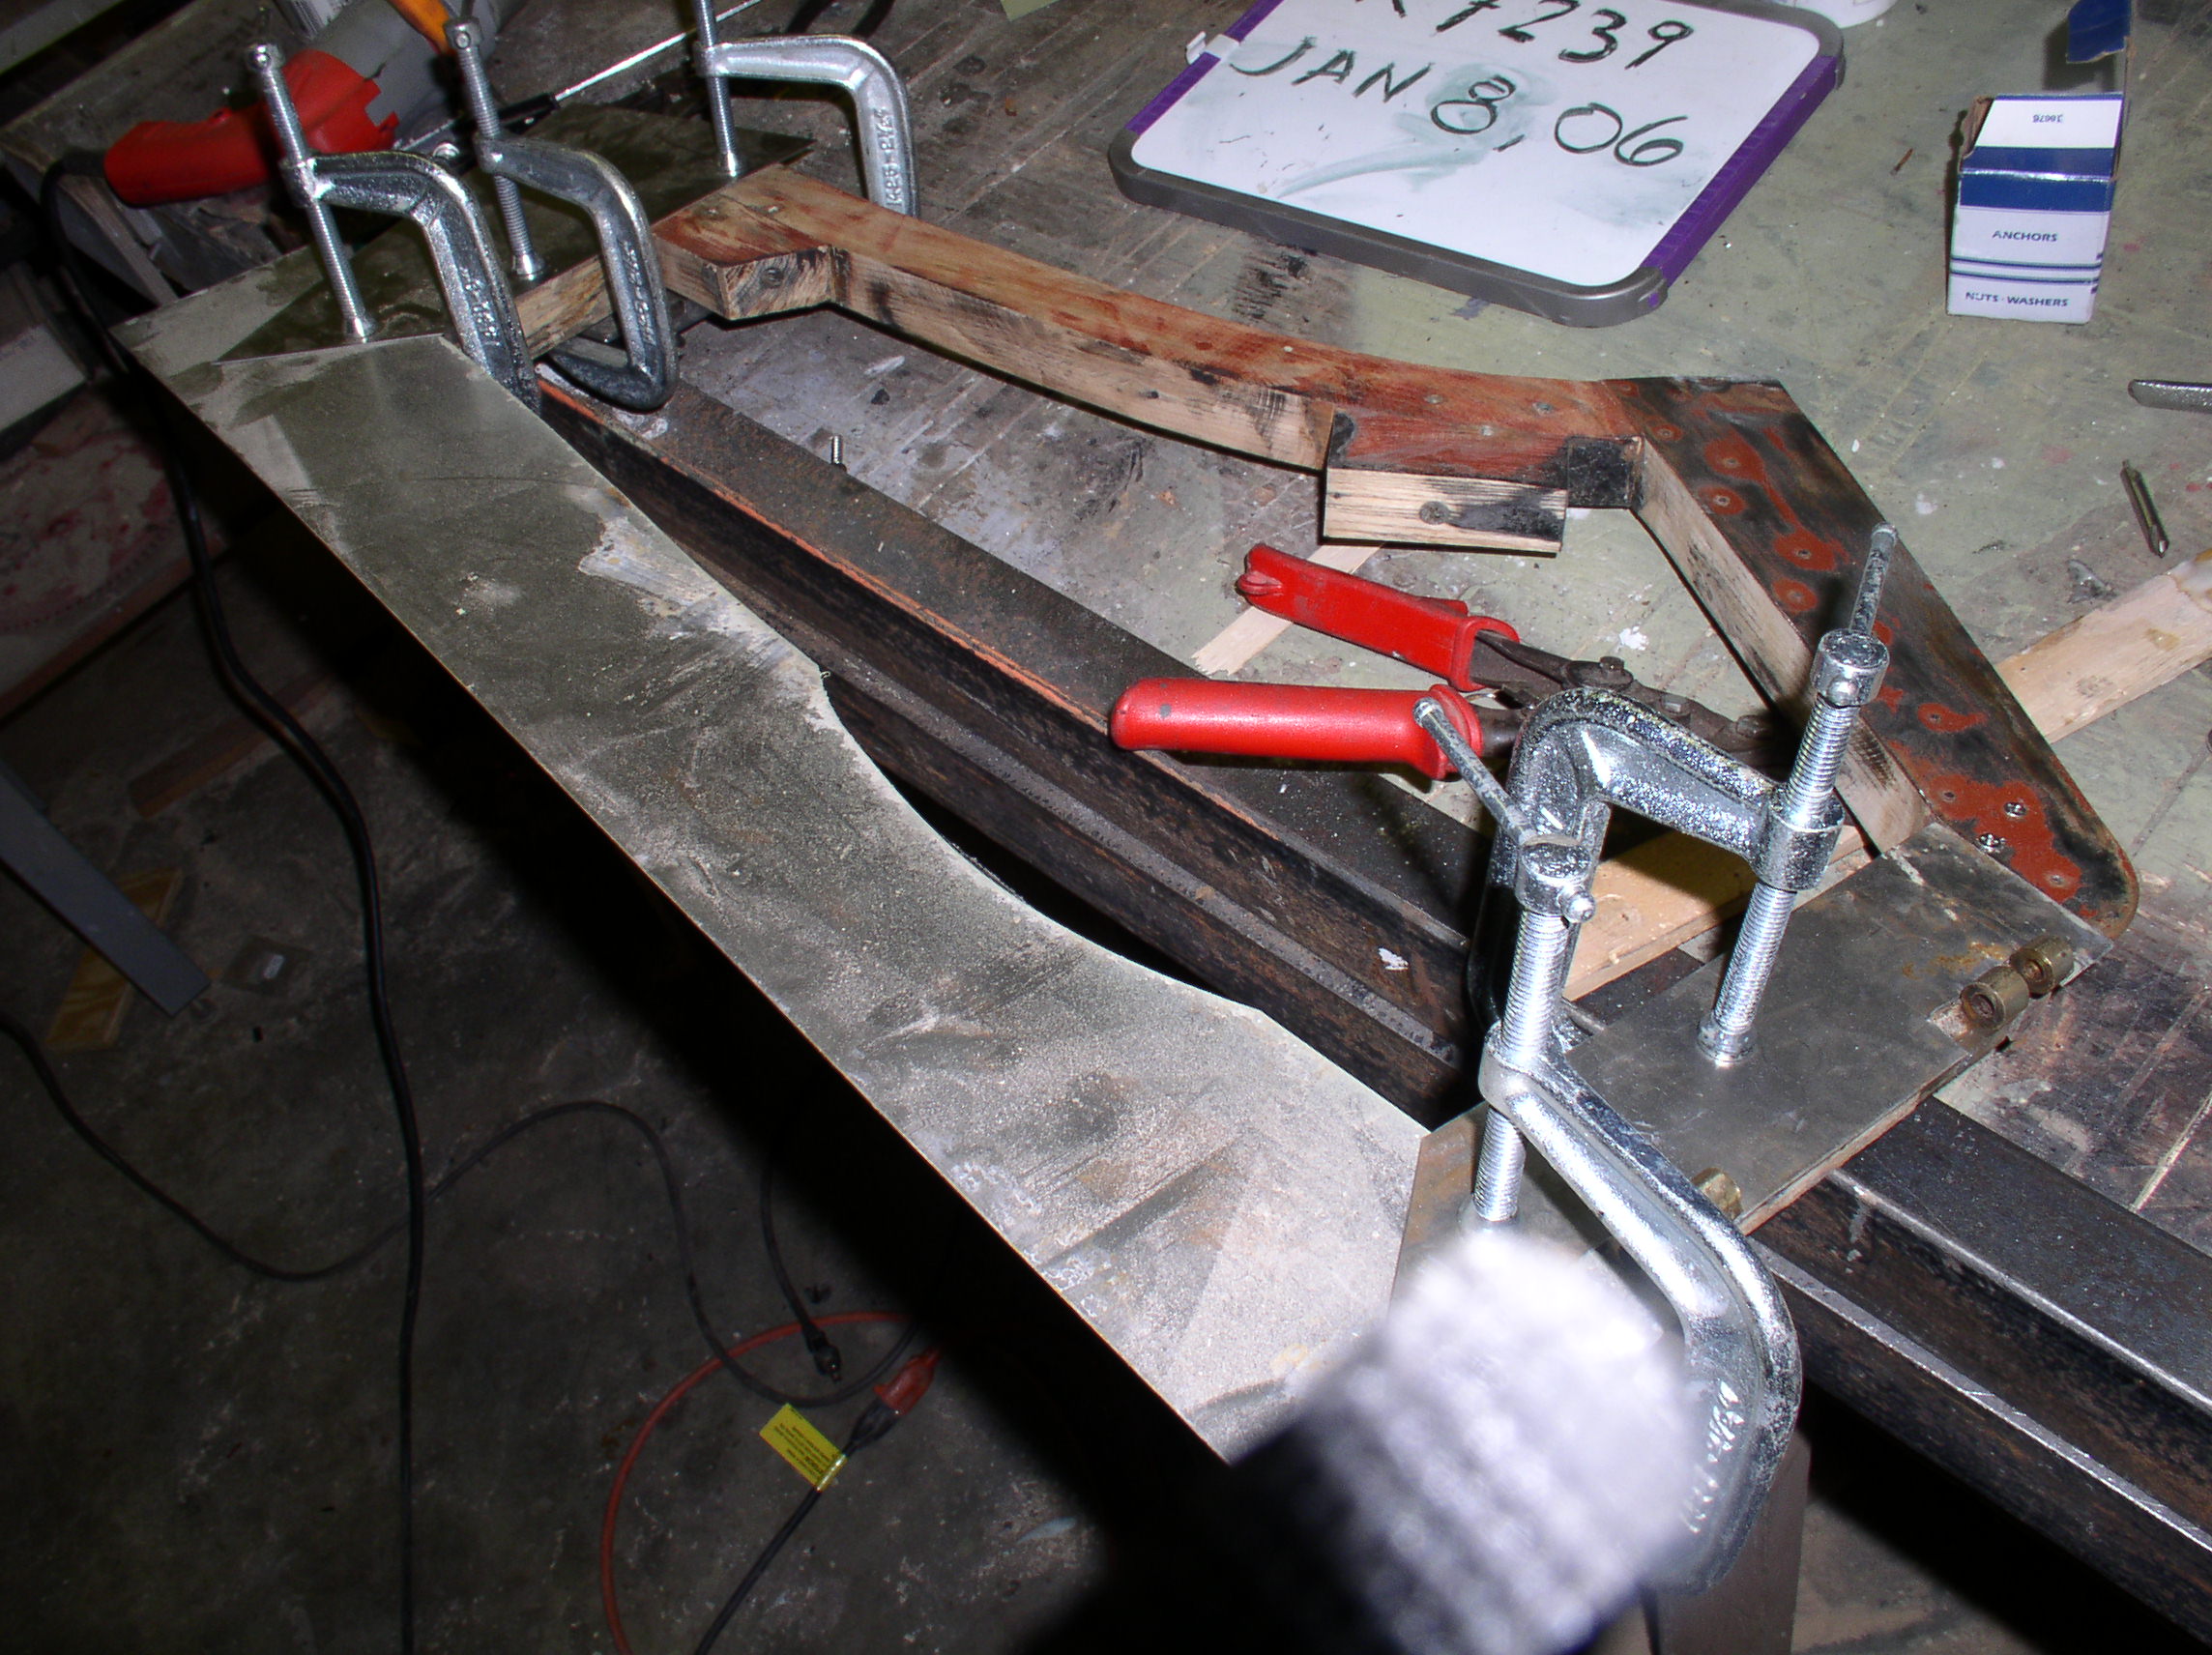
Remove the door and lightly clamp the rough cut steel (or aluminum) skin to it. Mark the hem allowance (between .225” and .250”) with a pair of dividers. I use a scribe in a washer and drag it around the inner pieces. The allowance on the top armrest needs to be 3/8”-7/16”. Once the whole outline has been marked remove the clamps and cut it with hand shears.
The top front and rear corners of steel skinned doors are soldered so before going any further clean the paint from both corners, on both the skin and the inner panels and pre-coat (tin) them with solder. A propane torch and tinning paste work great.

Once again, lightly clamp the skin to the inner pieces and begin turning up the hem. Start with the straight part between the hinges, the short straight edge over the latch and then work from the middle of the round corners out. The first lifting of the hem is best done with conventional pliers and/or glazier’s pliers (duckbills). I grind one side of the pliers to a chisel point and use that side to bear against the inner piece as I begin to bend the hem. This makes a sharp definition and avoids bowing the outside of the skin.

Work gently and gradually beginning at the corners and working away until the entire hem (excepting the armrest which is left to last) has been turned up 90º. Continue and close the hem with a body hammer (I have many and use them all). The direction ‘work gently and away from the corners’ still applies. Your completed hem should not have wrinkles in the corners and the outside should not look like a fun-house-mirror. Clamp a thin piece of ash or plywood to the outside of the skin along the armrest to give it support before hammering it 90º onto the wood. A hammer with a curved face works best. Pierce and nail the armrest fold and finish by fitting the hinges and soldering the corners. Start to finish, assuming the wood is good to start with, skinning a pair of doors will take an experienced person about five hours. However, there is a fair amount of art and ‘feel’ involved.
After you have done your first hundred doors it becomes second nature.