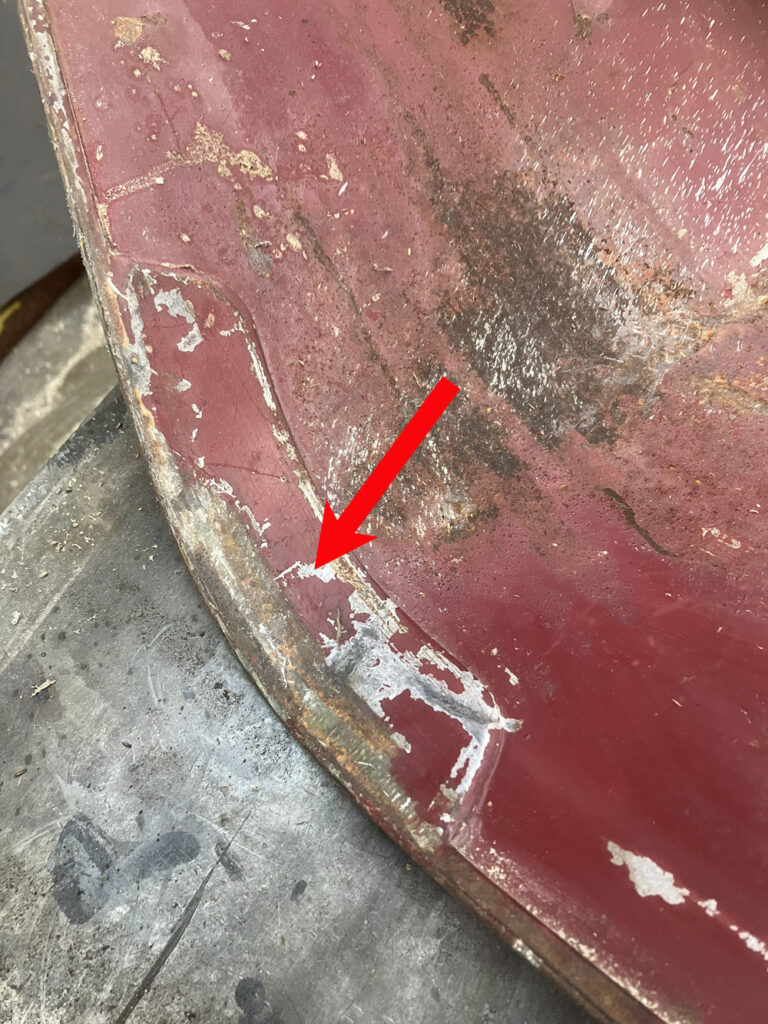
Unfortunately sometimes there is no choice. Bonnets rust out, get banged up or otherwise become unusable. In the early years the factory made the bonnets to fit the individual car. If you need a new bonnet it is possible but unlikely that a salvage part or even a factory new one will fit well.
Step 1 The Pattern
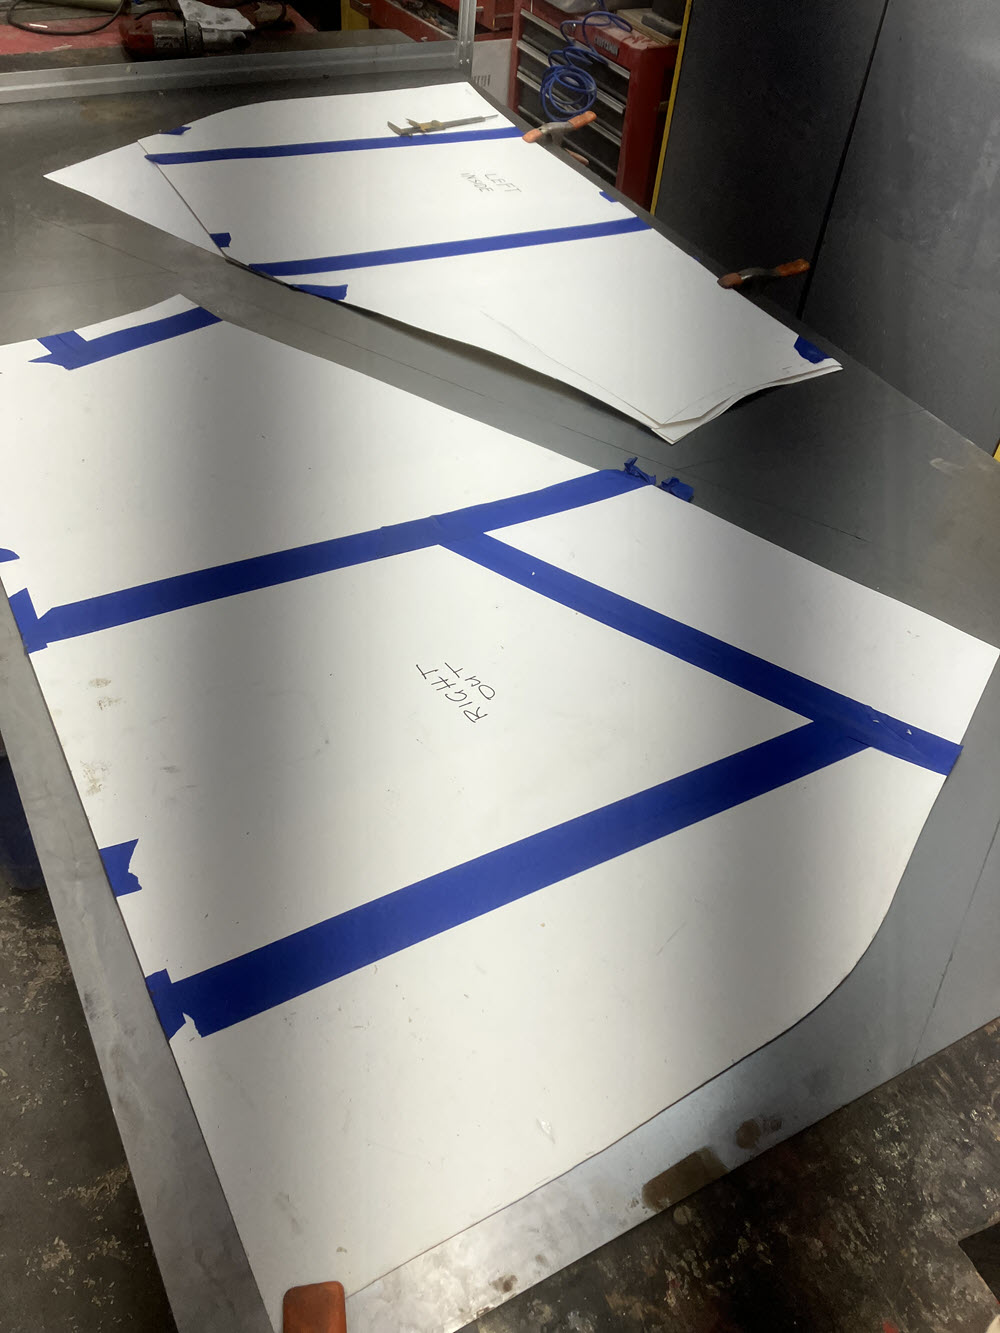
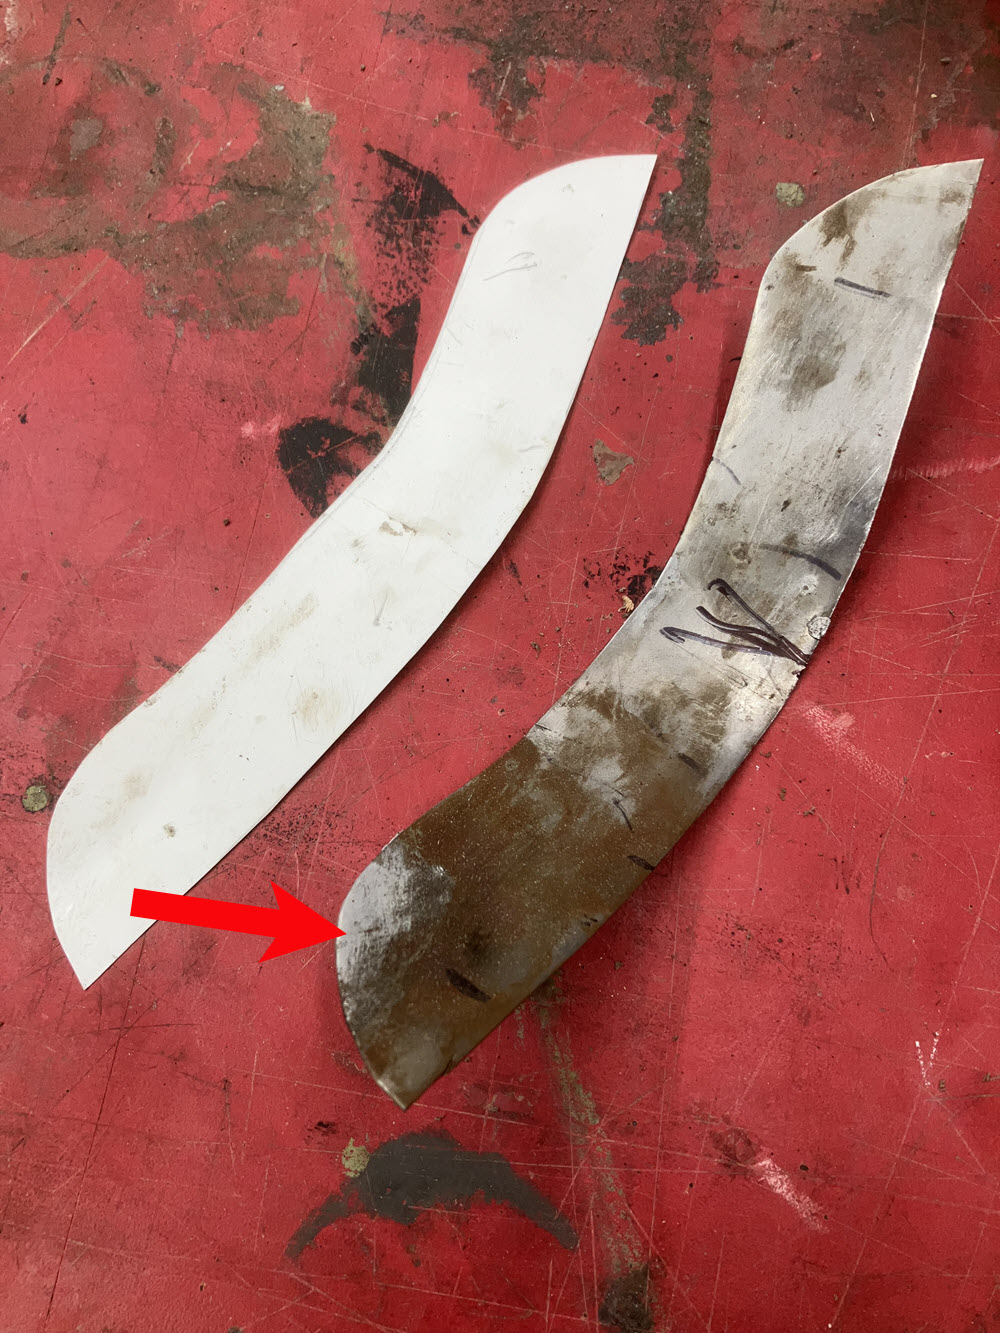
I cannot emphasise enough how important an accurate pattern is. As with most craft processes there is more than one way to do it. I use ‘poster board’, the heavy paper available from Arts & Crafts or Office supply stores.
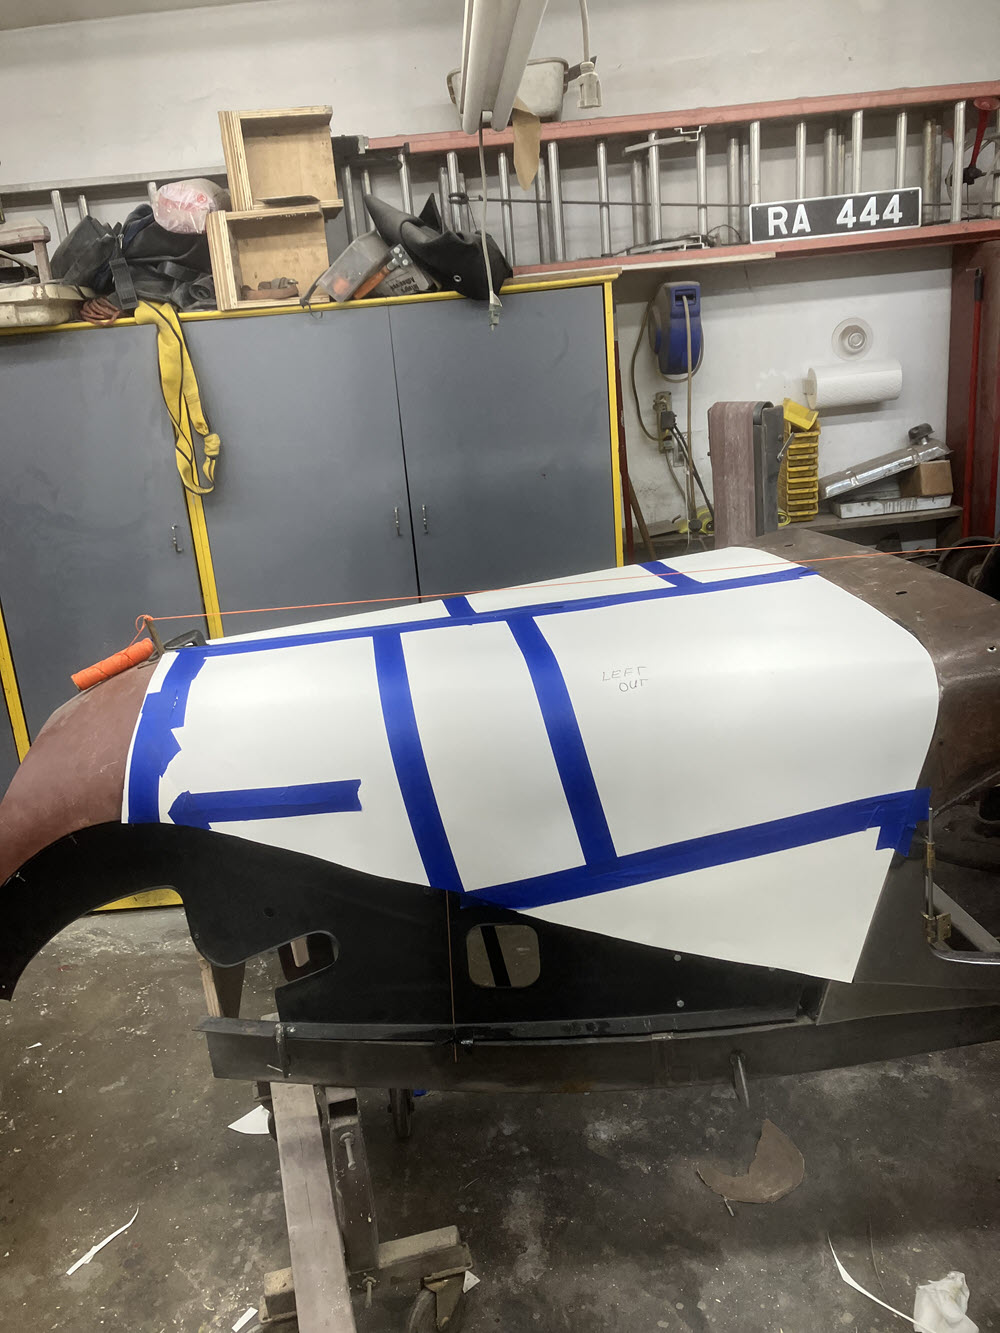
If you are replacing a bonnet that exists but is unuseable the paper can be cut to fit and taped together over the existing bonnet. Keep in mind that it is the car that you are matching not the bonnet.
If there is no existing bonnet you have to improvise. Here are two approaches I’ve used.

Step 2 The Fussy Part
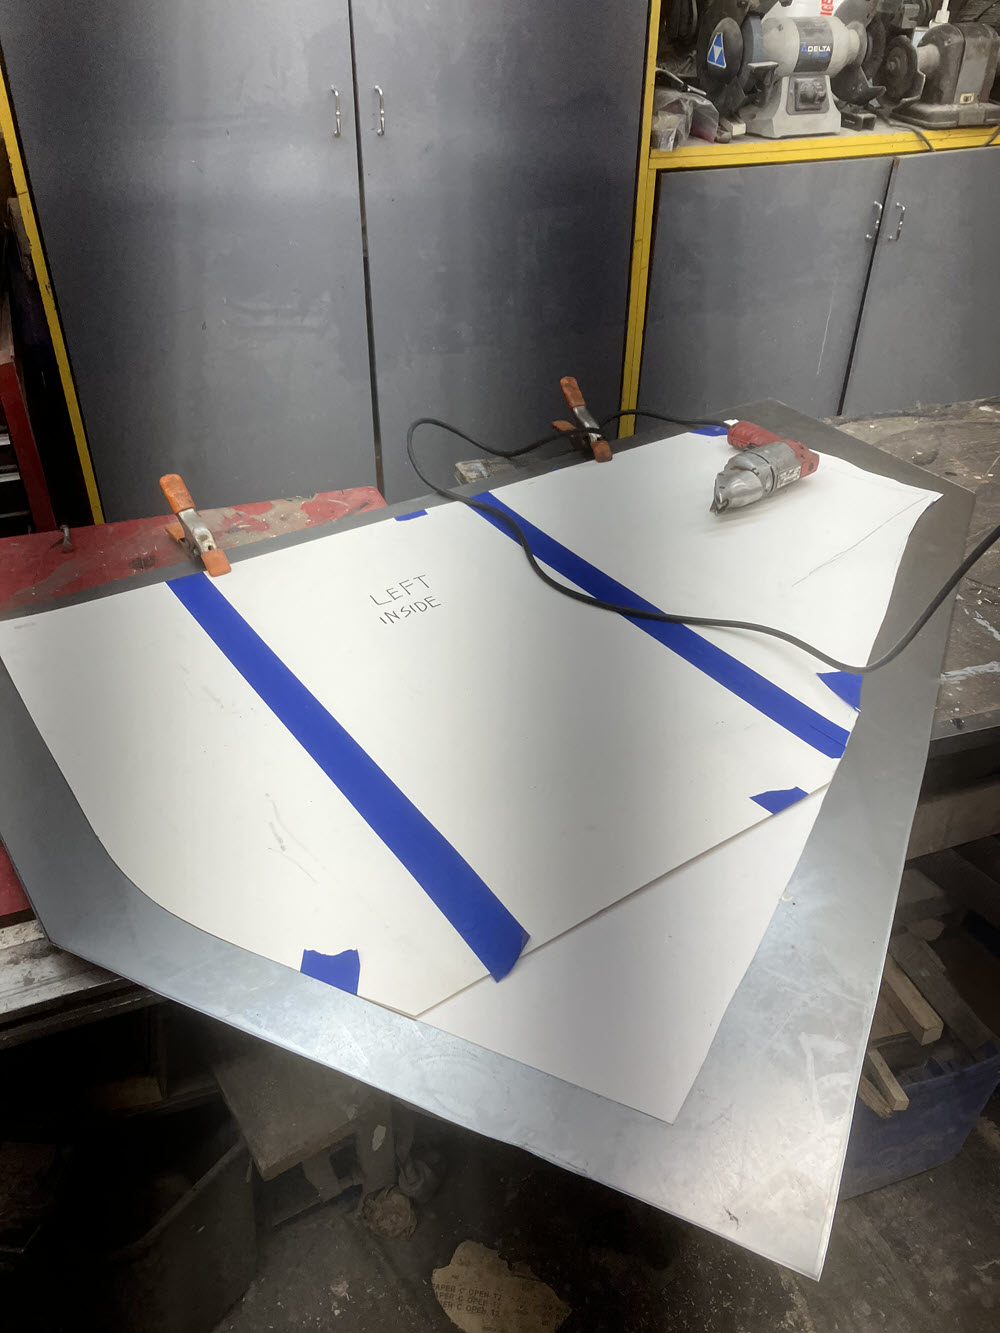
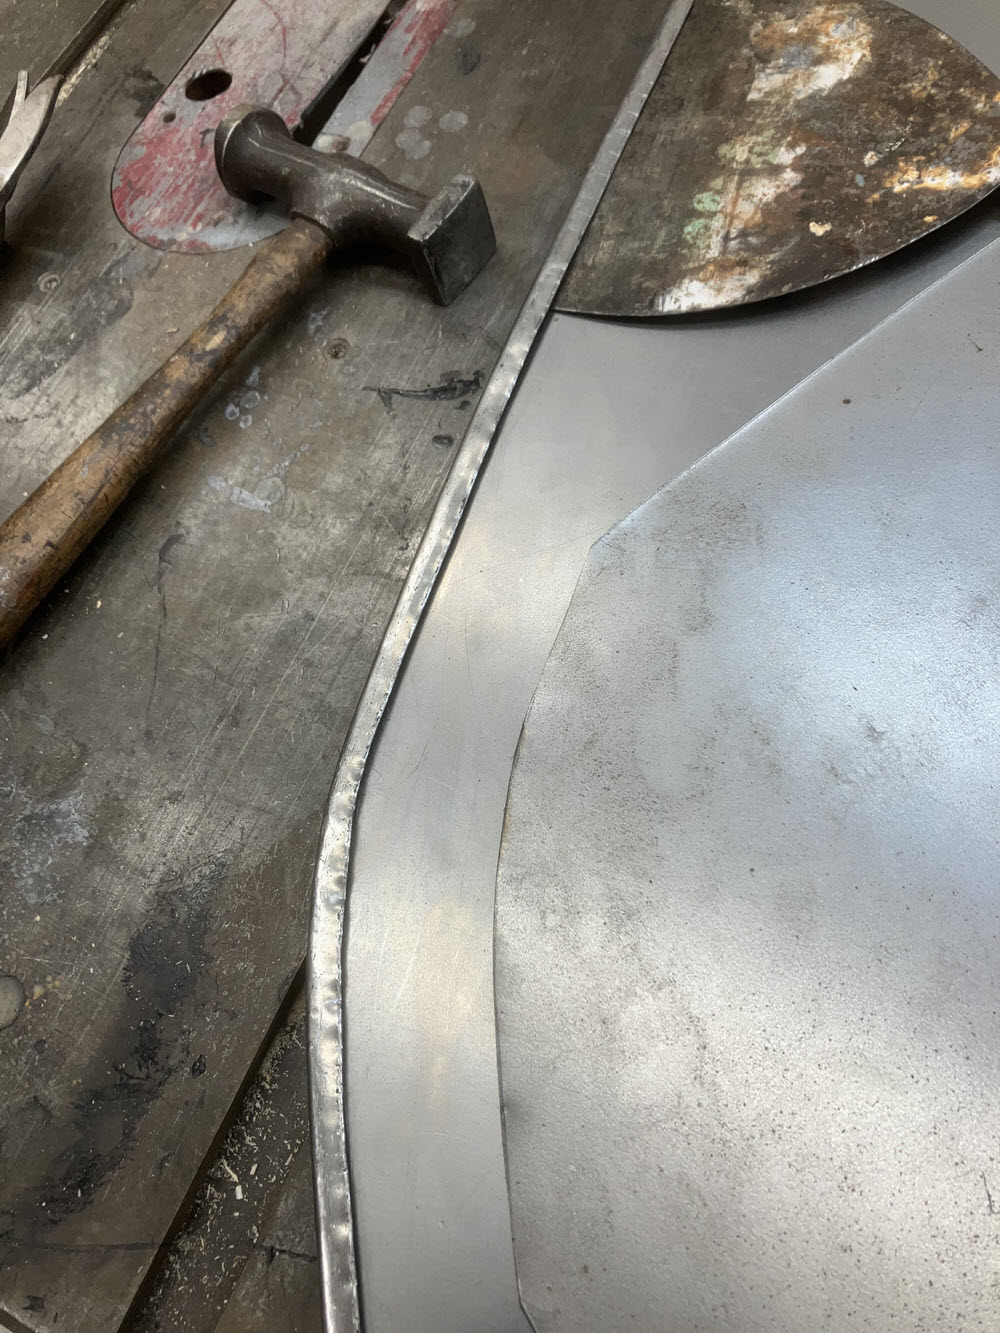
After making the patterns lay them out on 20ga CRS sheet and cut oversize blanks.
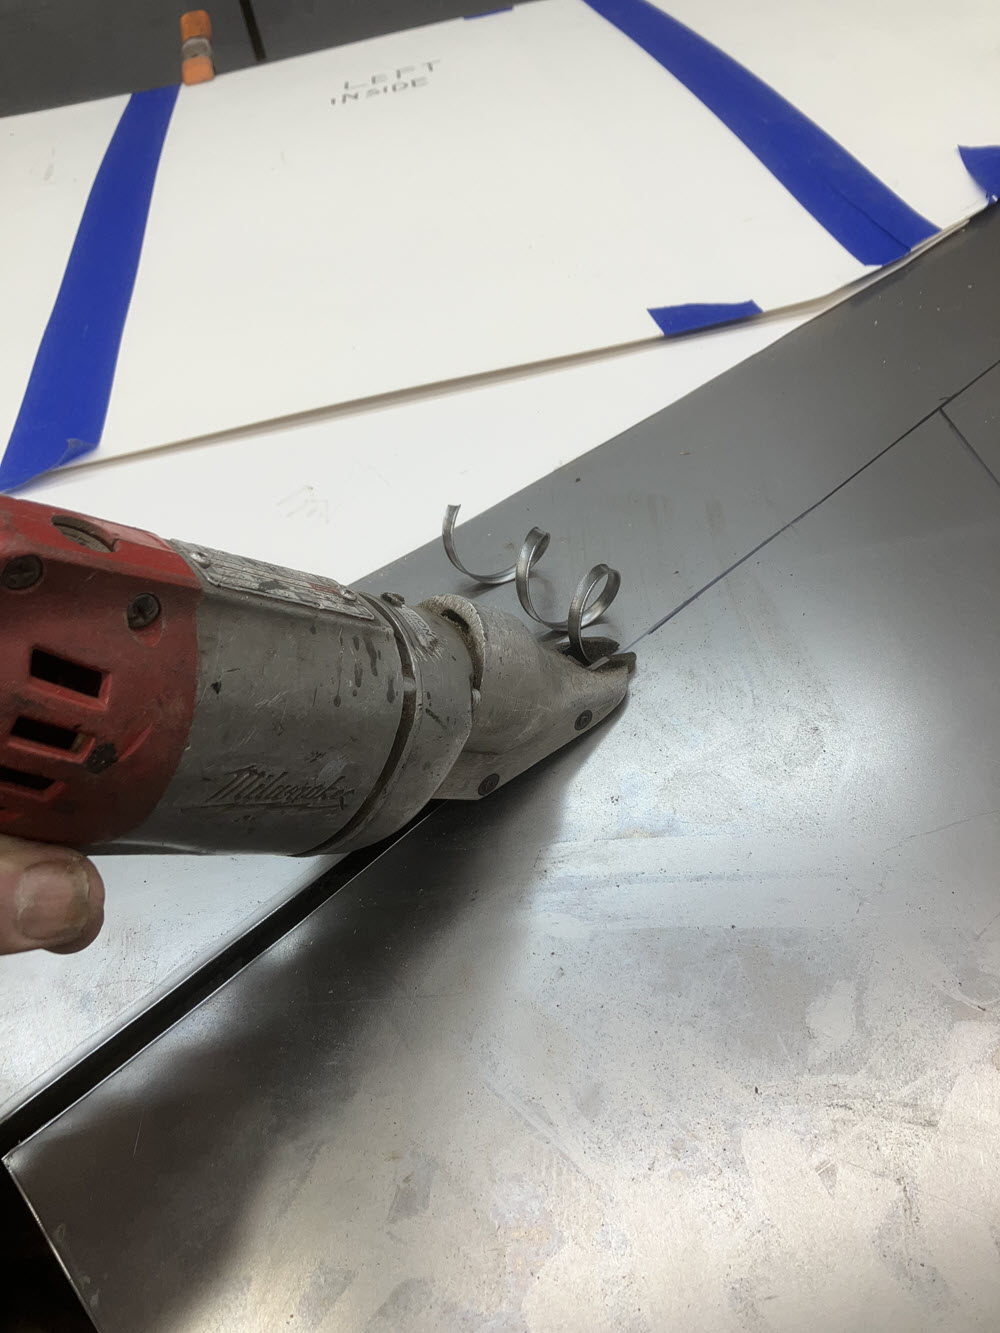
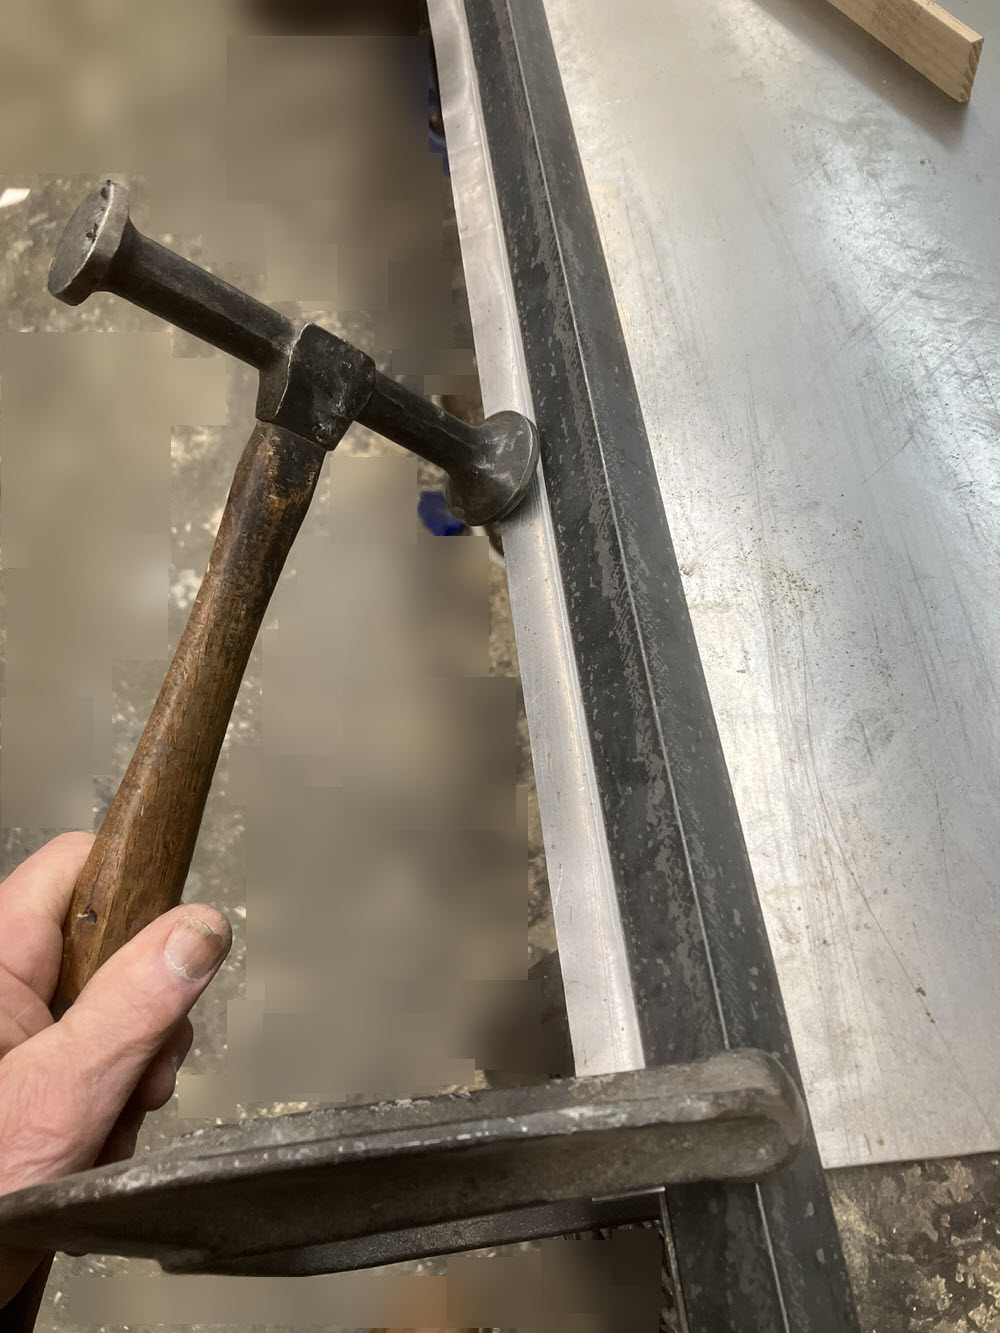
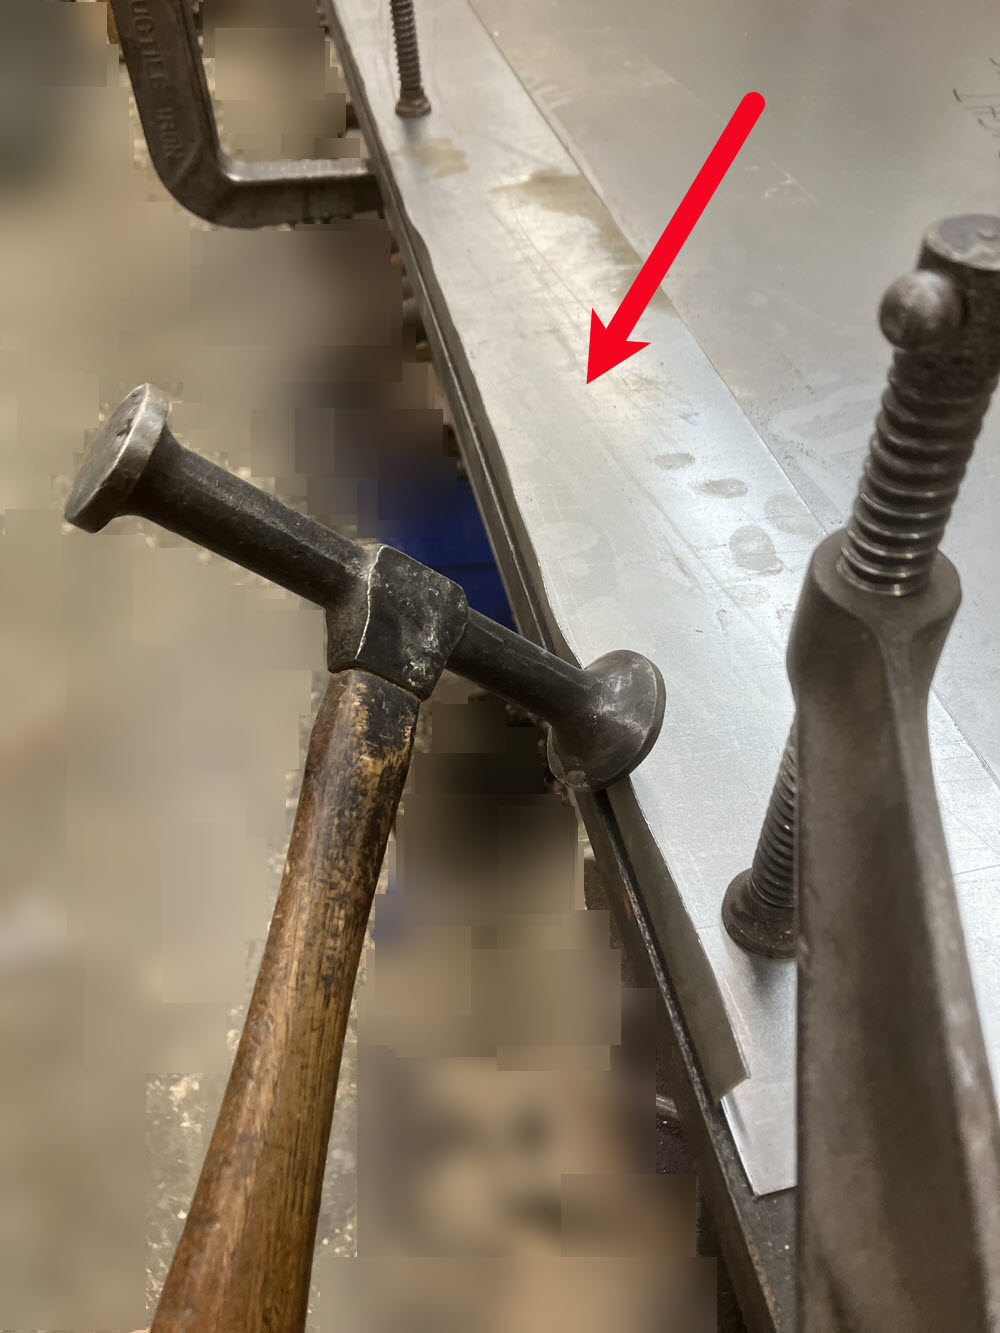
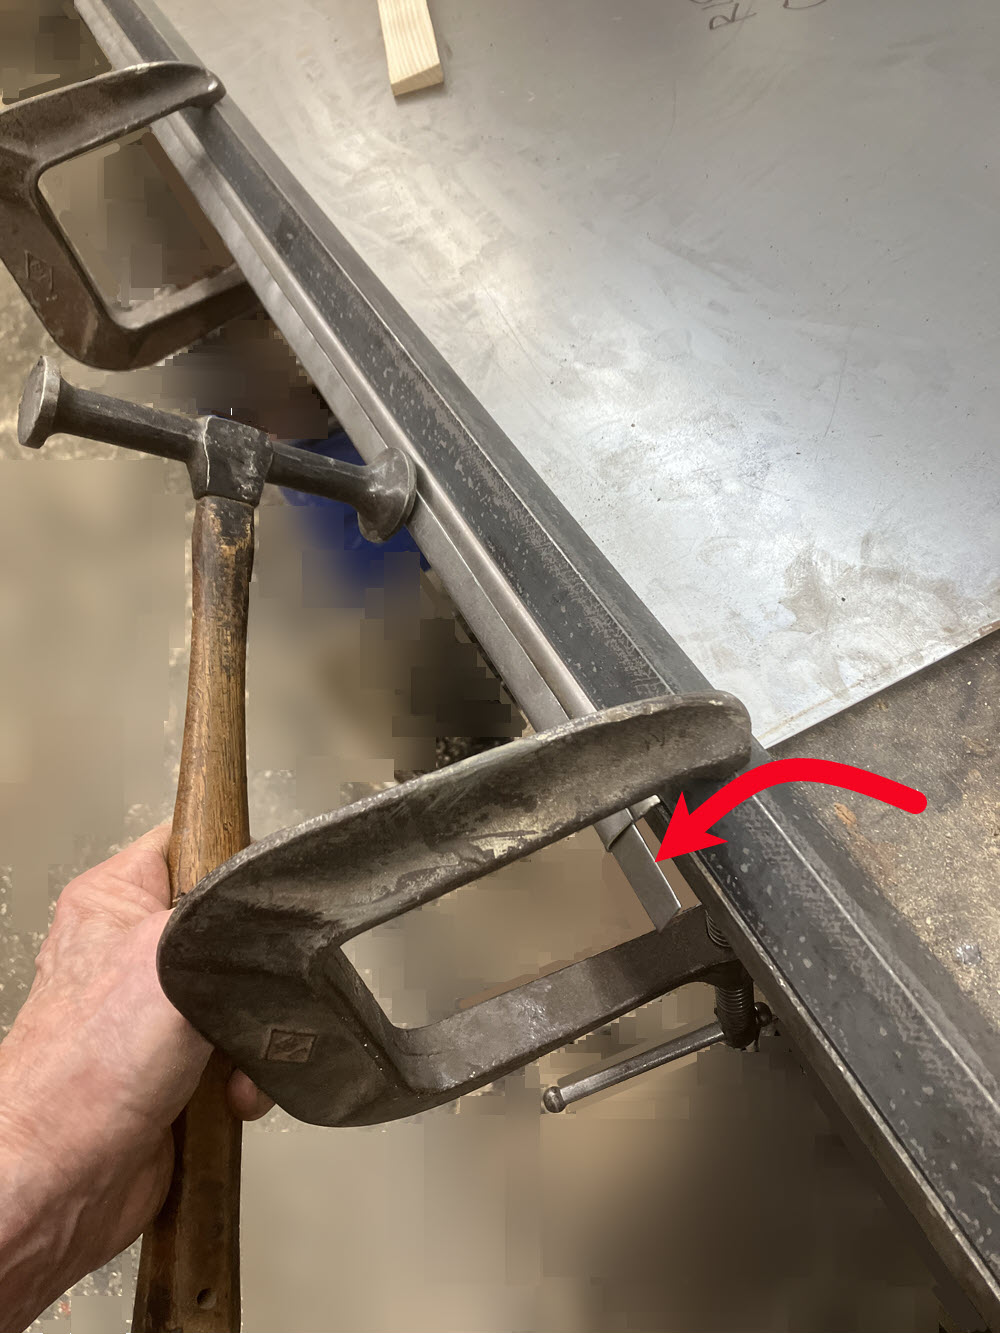
Next comes forming the slot/hem for the hinge. 1. Turn one edge down 90o. 2. Flip the sheet over and with a second straight piece of sheet metal (arrow) clamped in as a spacer, flatten the flap. 3. Make a thin strip of sheet metal (arrow) , insert it under the flap and hammer down the final bend.
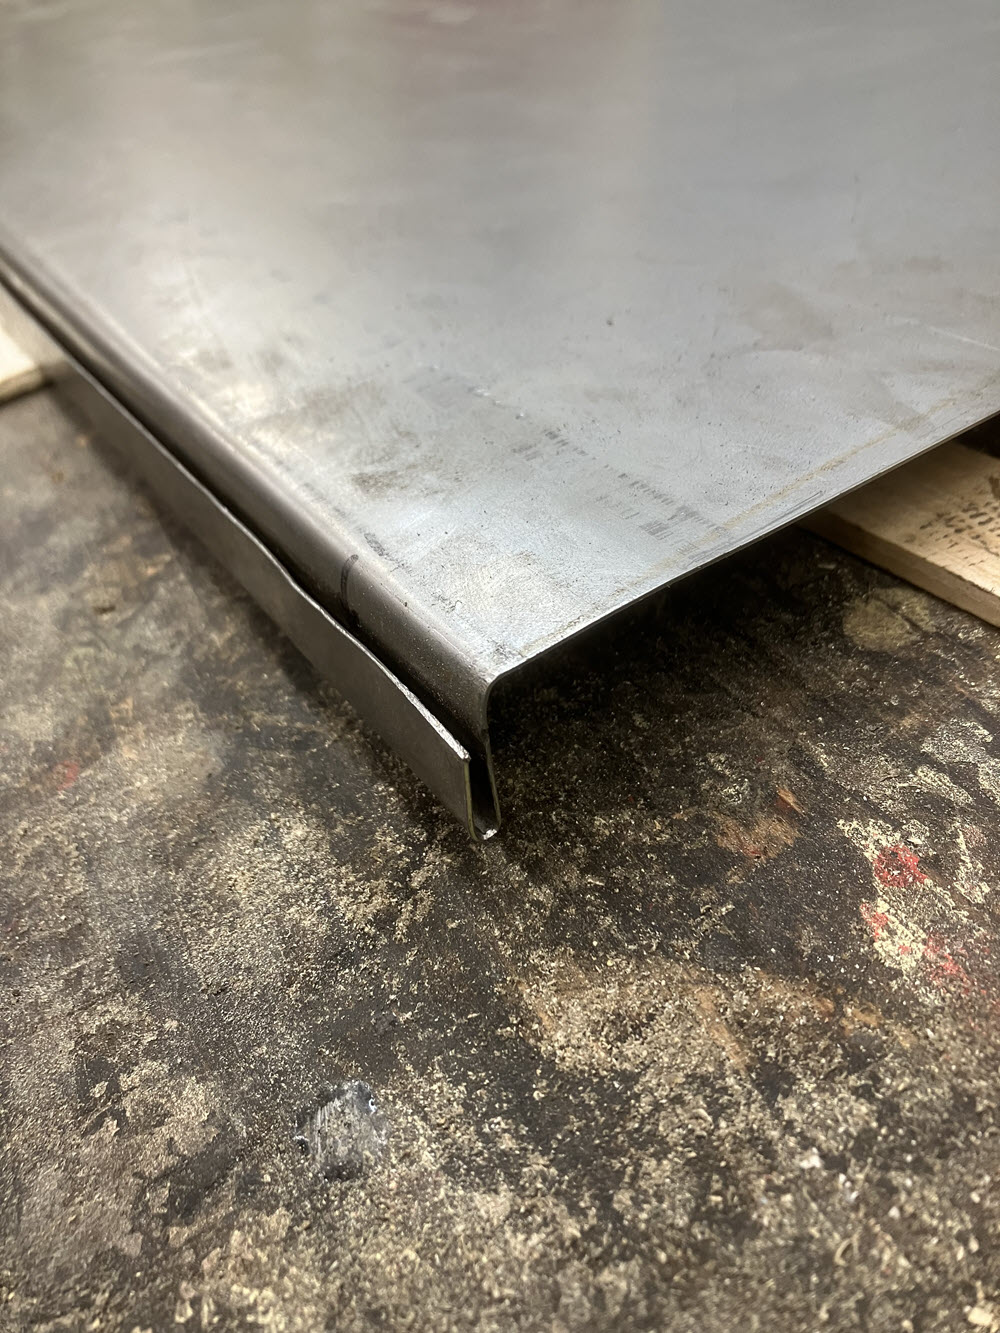
Make the double hem at the rear of the bonnet. 1. Trace the pattern 3/8″ oversize. 2. With pliers turn the edge up 90o. 3. with sheet metal scraps/paint scrapers/etc. as spacers, hammer the hem over.
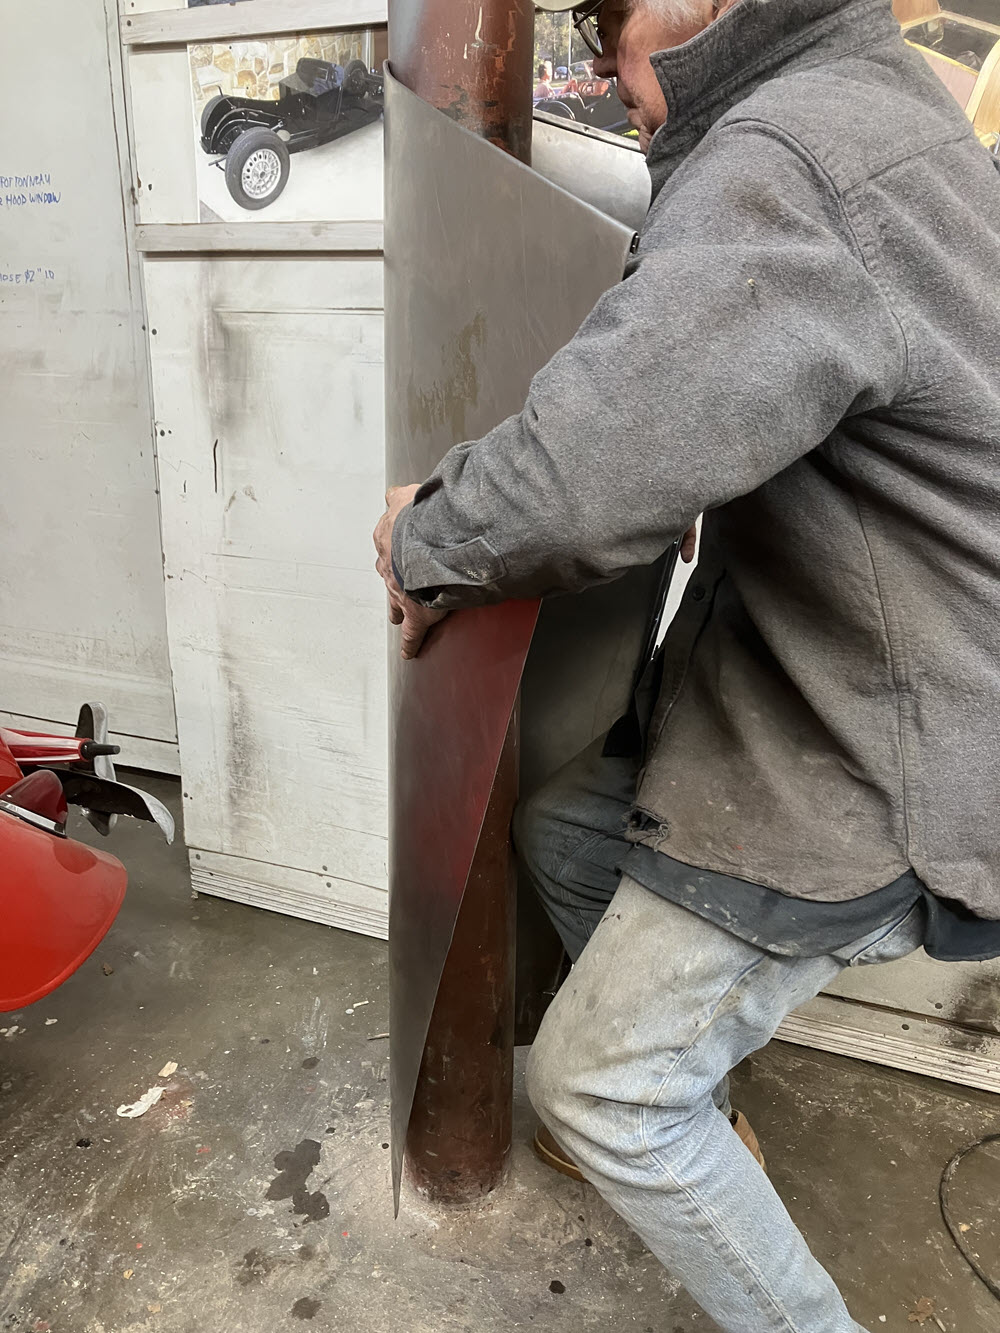
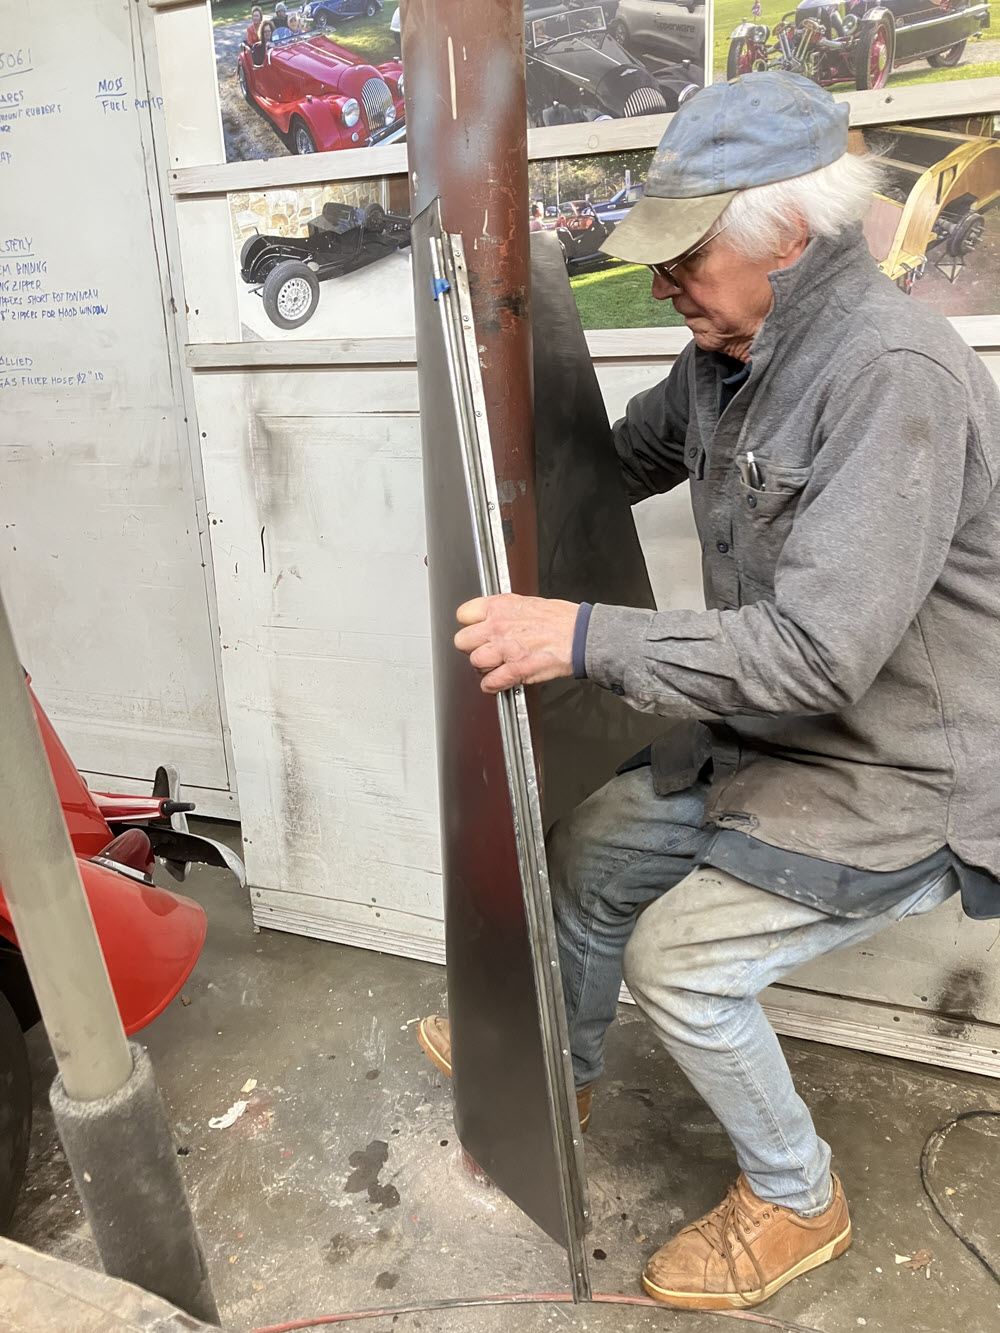
Making the filler strip for the double hem is similar to making the slot for the hinge. 1. Start with a 4′ or so straight piece of sheet metal and hammer a 3/8″ edge over 90o. 2. Flip the sheet over and with a scrap of sheet metal as a spacer hammer the hem over. 3. Flip the sheet back over and with the electric sheers trim the hem off so that it is a U 3/8″ on each side. 4. Estimate about where the bend needs to be to fit the bonnet and pre-bend the U by pressing and drawing it back and forth around a metal column or whatever you have. At the very top, where the hem will meet the hinge fold the inside of the U must be trimmed away for about 3/4″ (the U becomes and L) to allow the stiffener to slide under.
5. Install the U by tapping it in place with a hammer. 6. Lastly use a pointed tool and hammer to make punches in the hem to keep it from separating.
6. Here is that stiffener I mentioned. One at each end of the hinge strip. Trimming the U makes it possible to fit UNDER the double hem. Solder the corner nice and neat. The front is the same but without the fussiness of the double hem. While you have the lead out solder a few spots along the rear double hem to keep it from coming out.
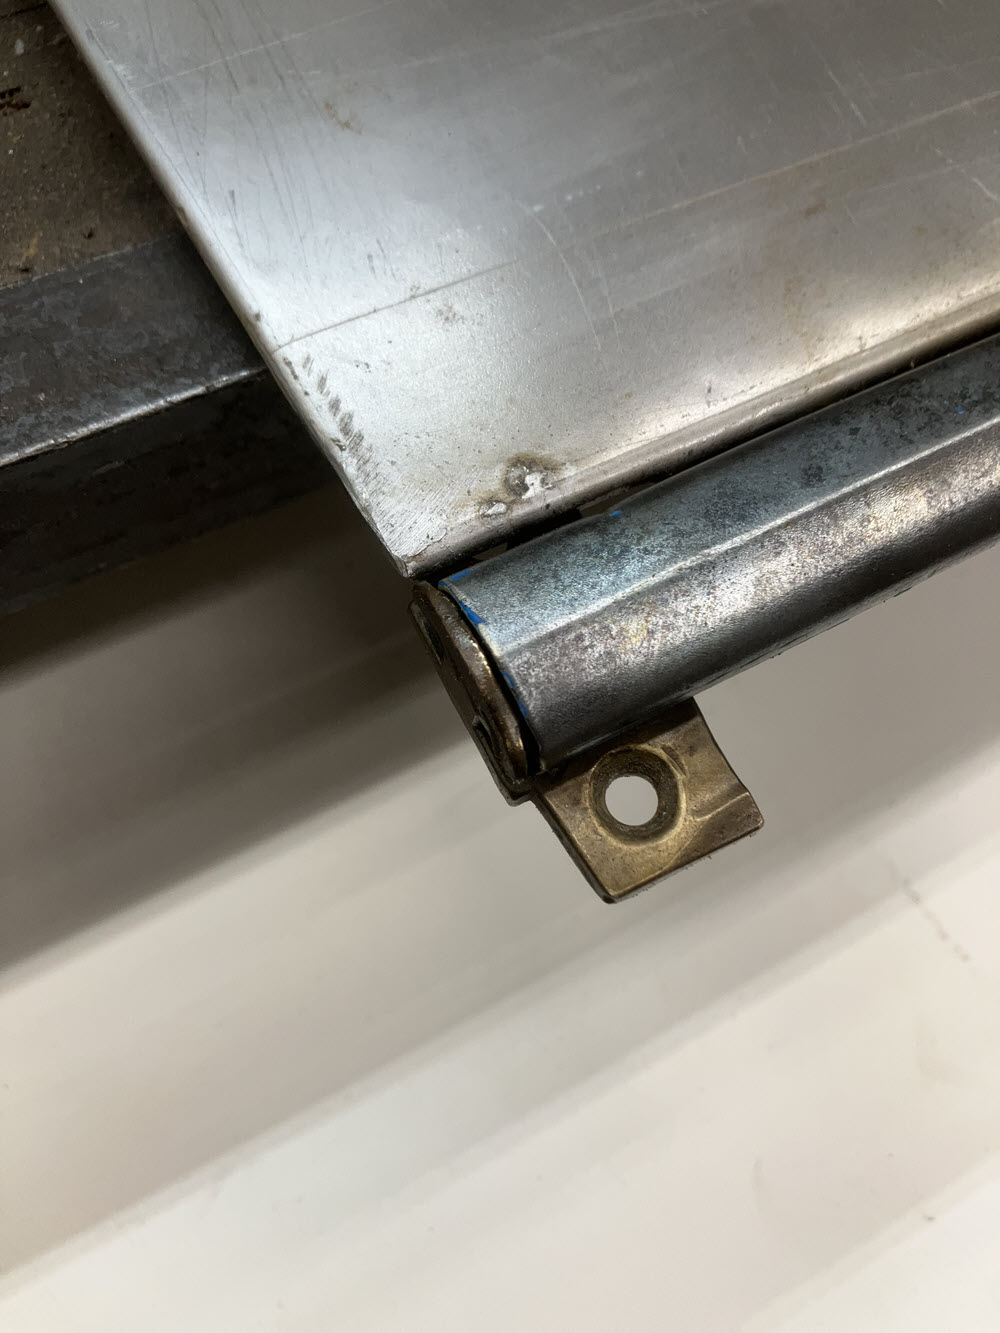
Install the hinge strip. Note: the Brass hinge end must fit with clearance under the double hem.


A Caveat: Sometimes I do these operations in a different order………..Six bonnets in 40+ years; It’s hardly a routine.

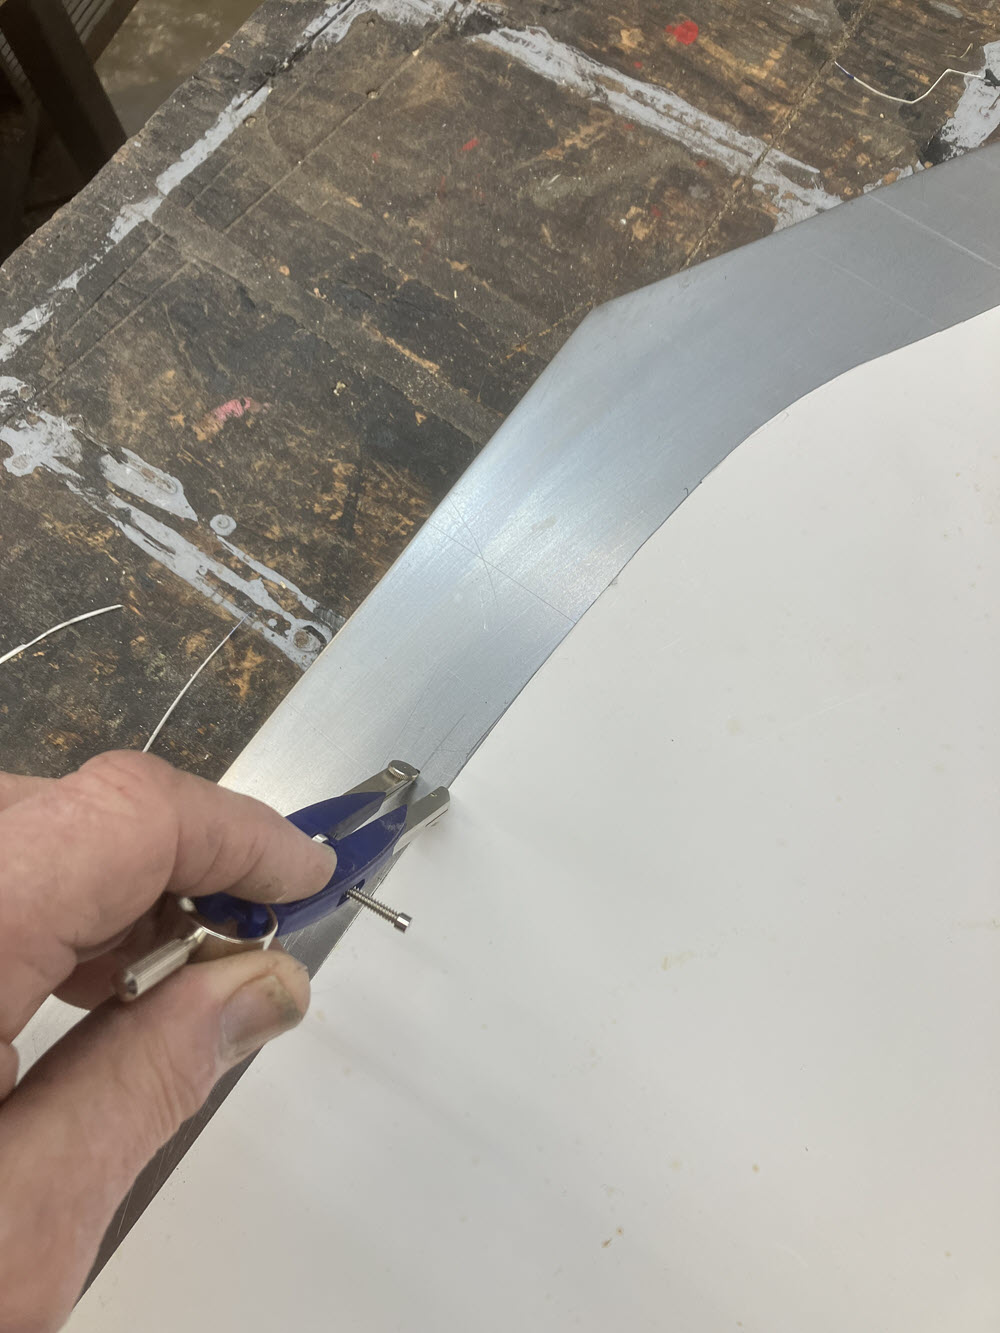
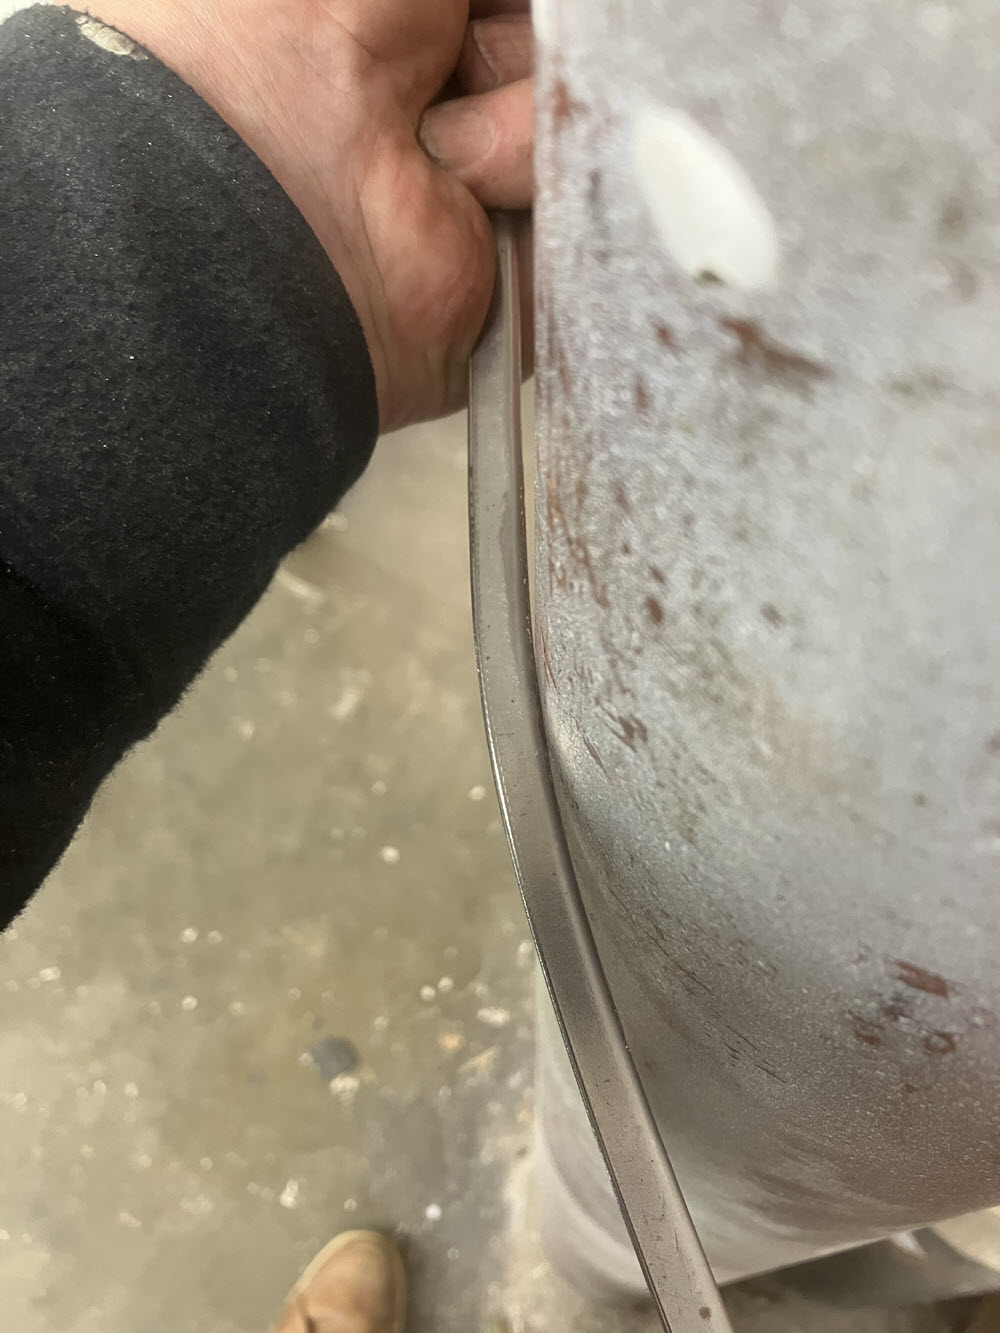
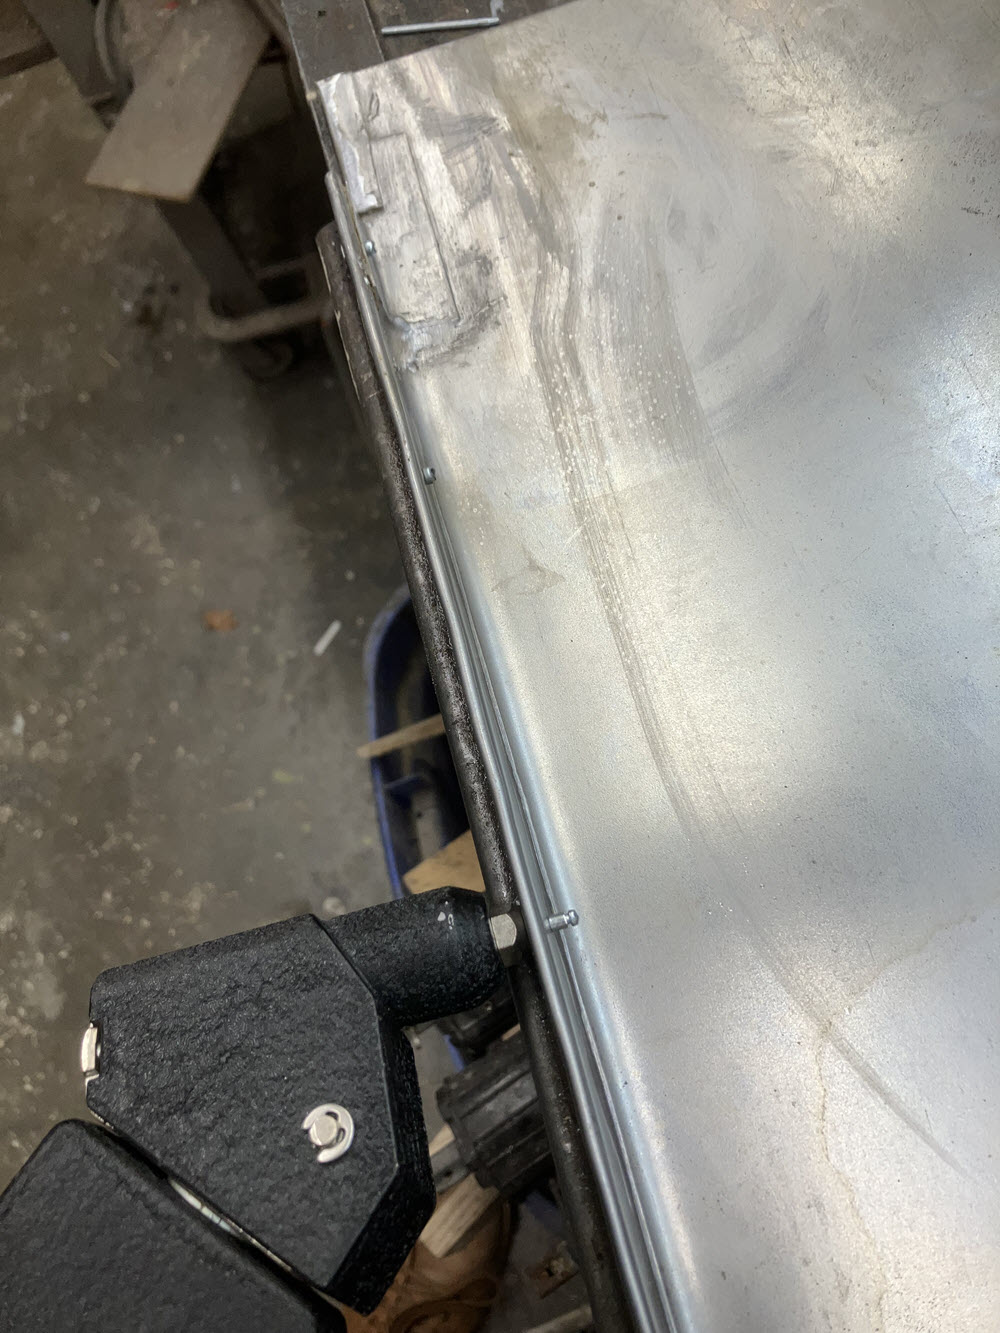
In general if the wings are on the car then do the rolled wire bottom first. If the wings are off, do the roll after. The wire is 1/8″ diameter. Using your pattern as a guide (you were very careful making it, remember?) mark the edge and trim the sheet 3/8″-7/16″ oversize. Turn the edge up 90o with pliers as you did with the rear edge hem. Pre-bend and place the wire into the turned up edge and lock it with vice grips or whatever you have. Use pliers to roll the edge over the wire bit at a time as far as you can. Finish the roll with with a hammer and cold-chisel. For a more detailed explanation see: https://madaboutmorgans.com/rolled-wire-sheet-metal-hems/
A “Detail”
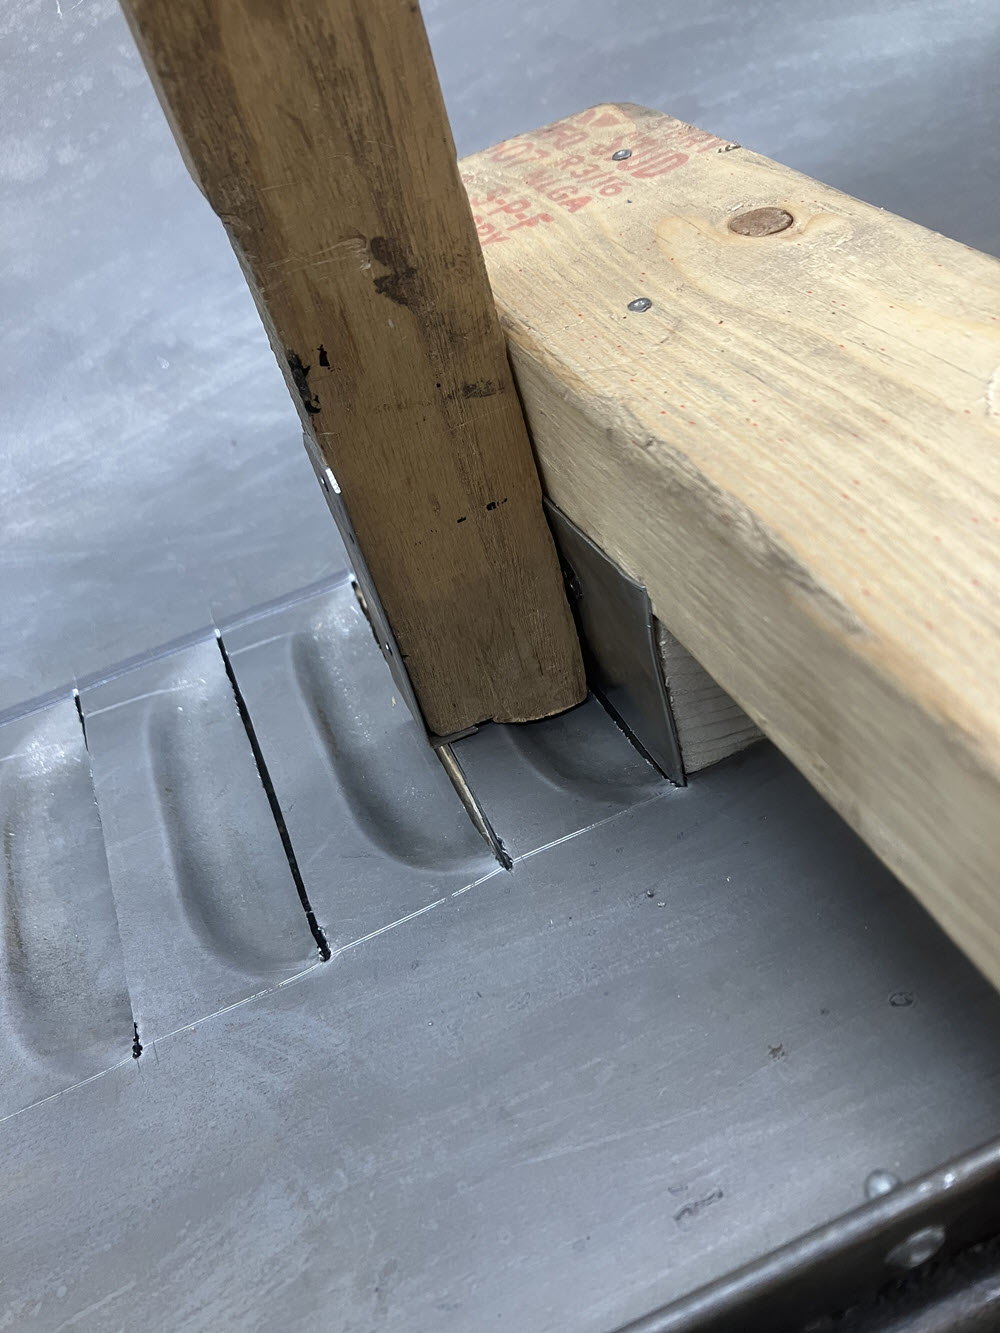
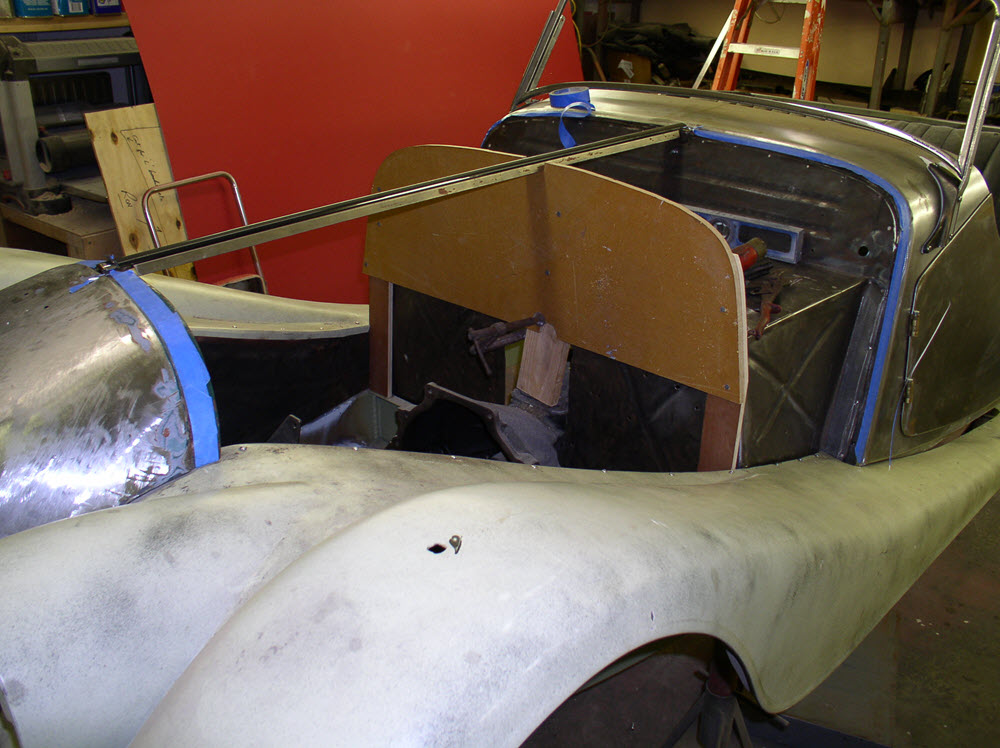
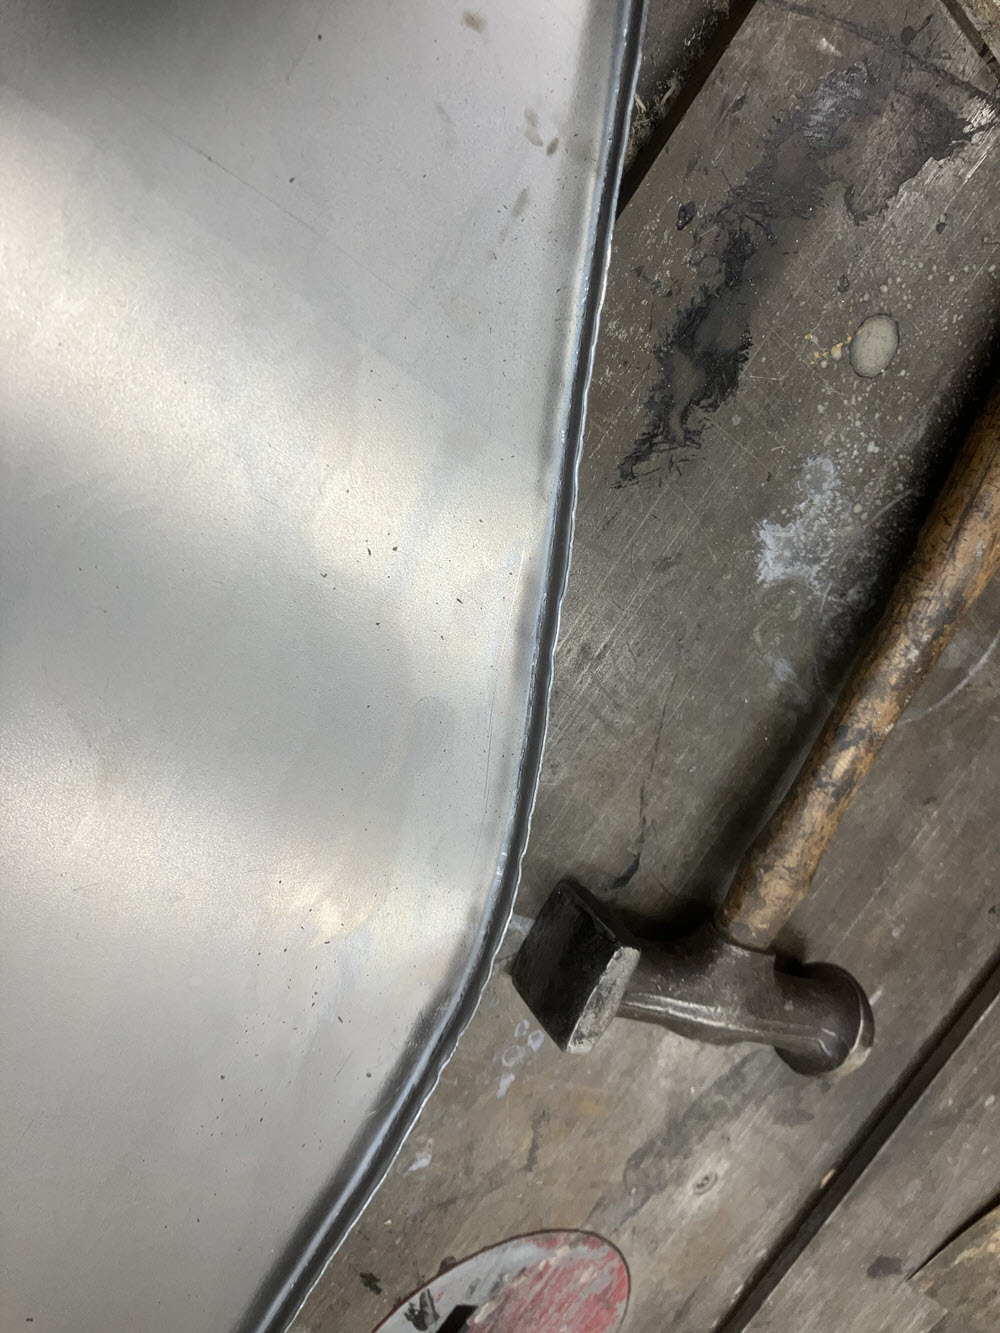
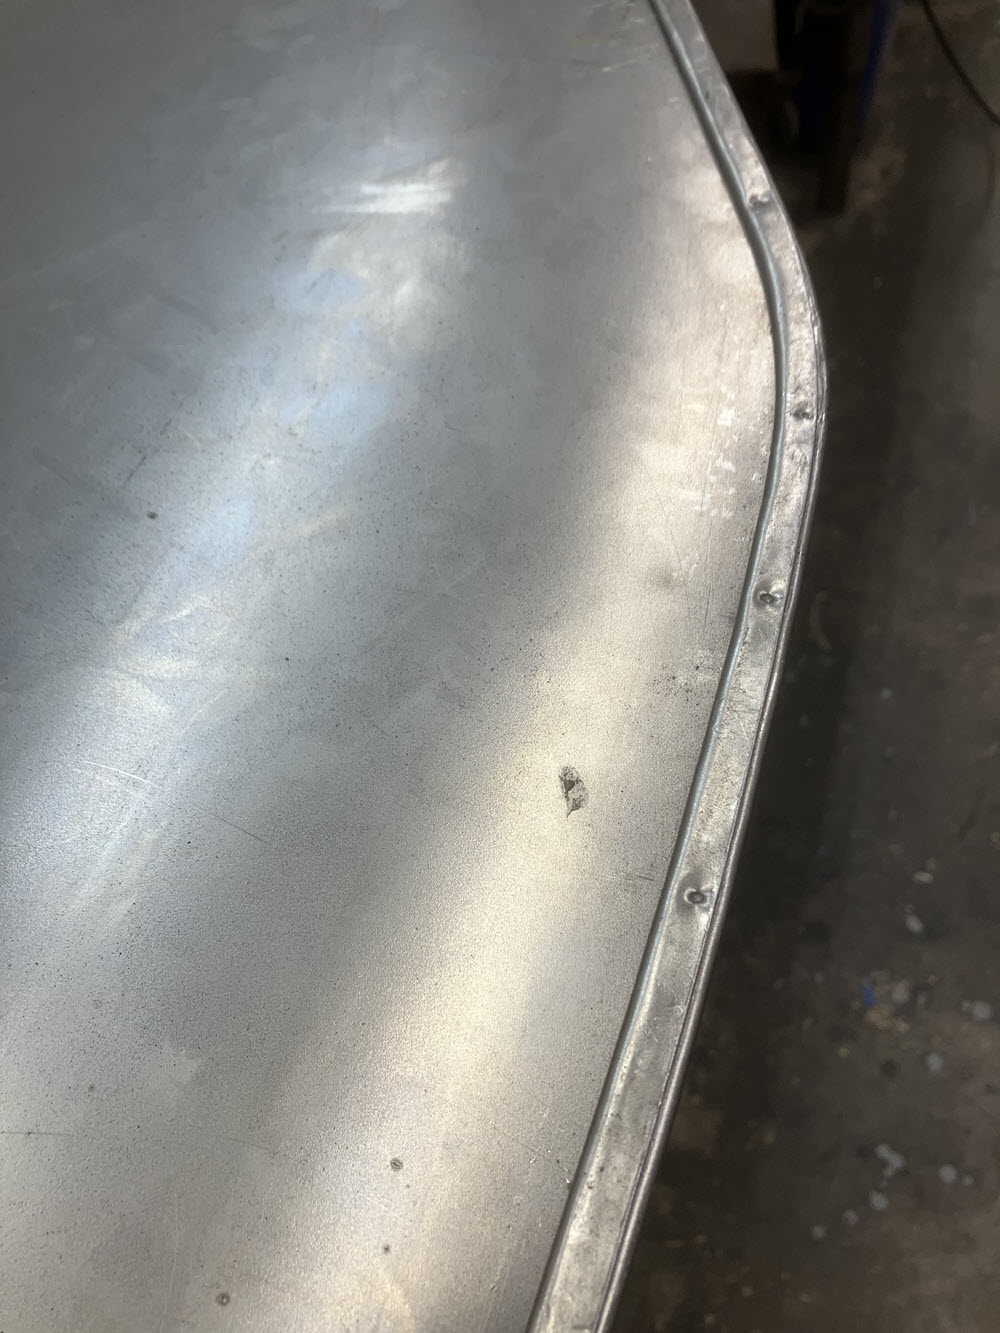
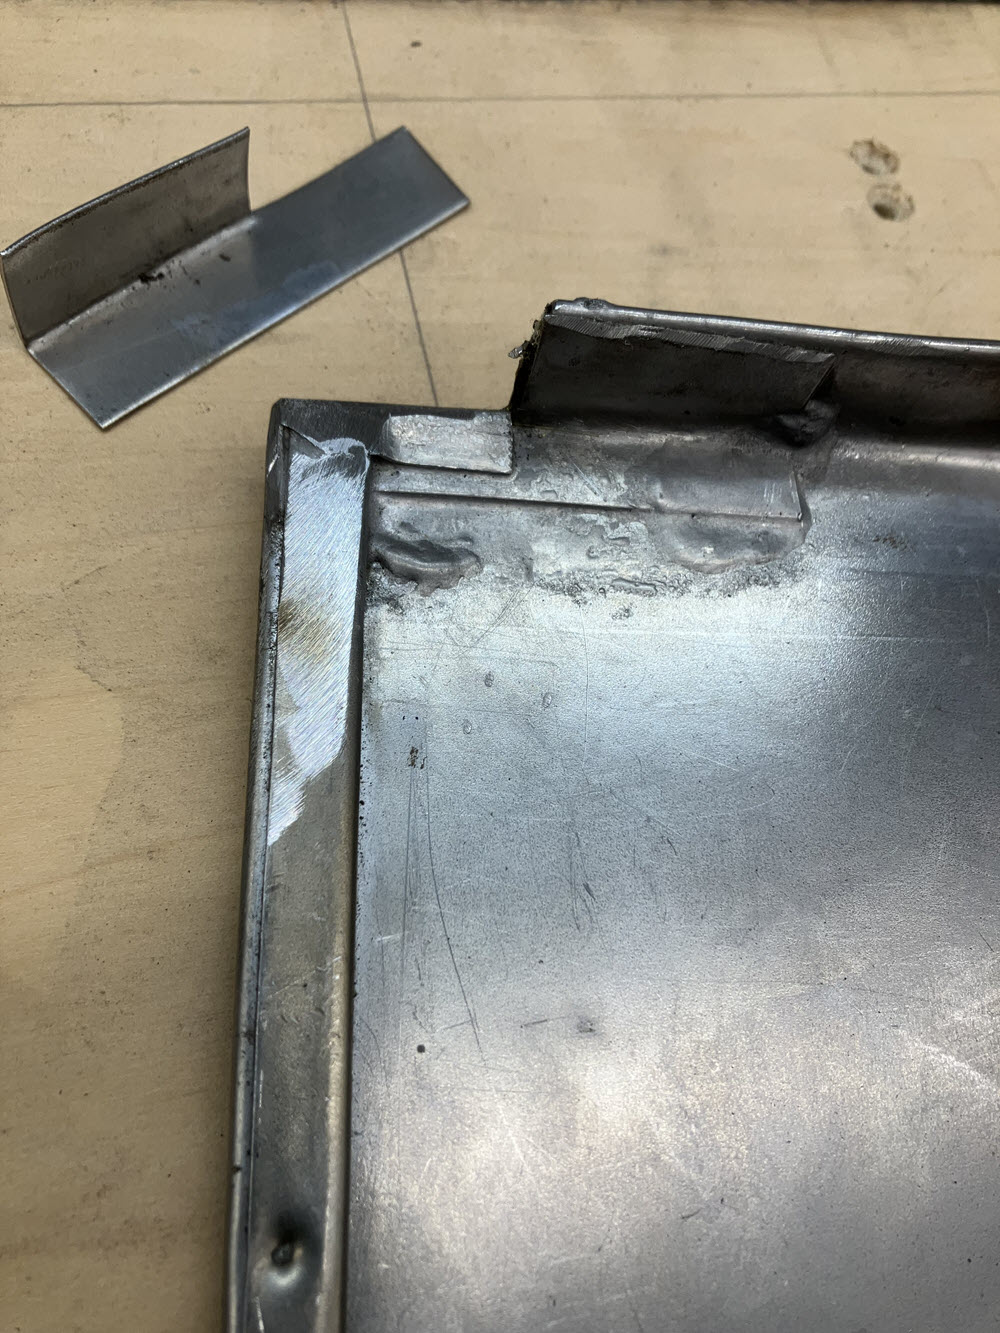
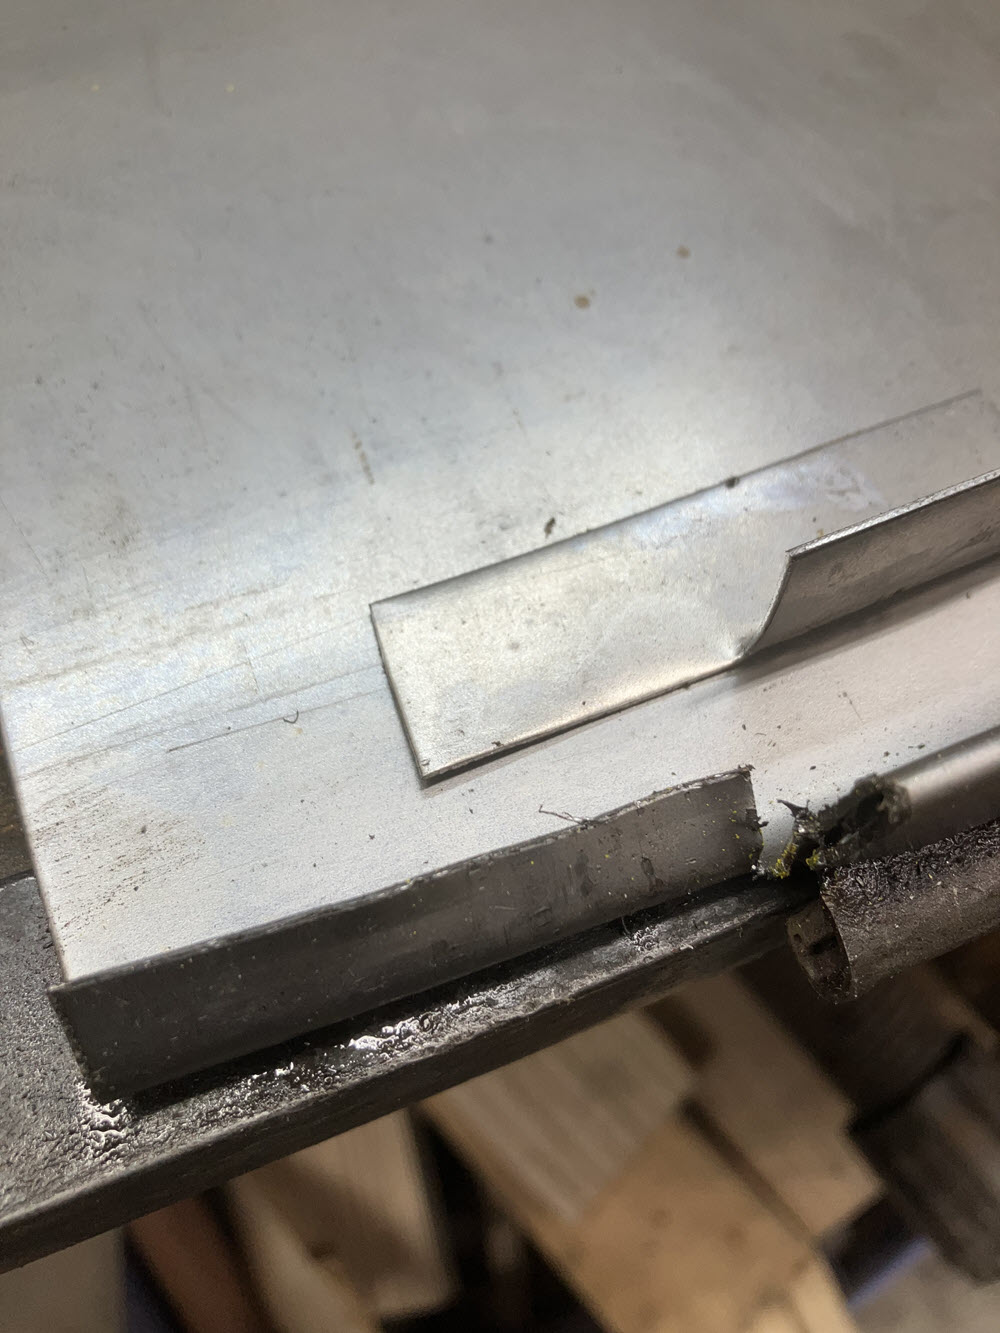
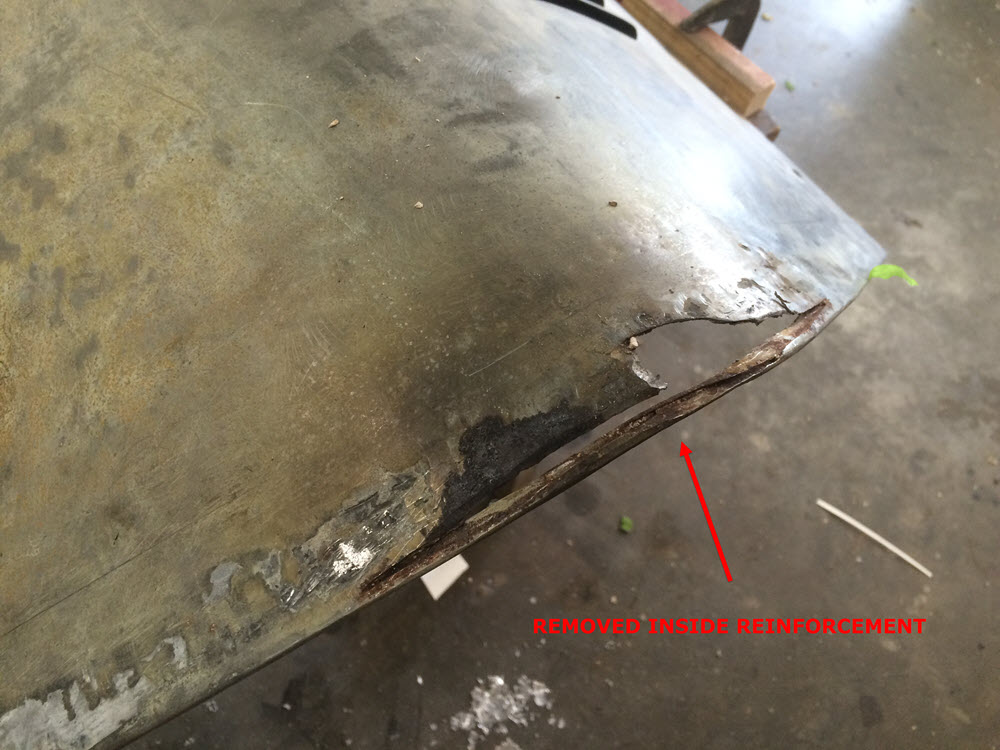
A ‘Reinforcement”? I don’t know what else to call it. Under every bonnet there is a small piece of sheet metal soldered at the rear bend. I don’t know for certain what it is for but Morgan does not do anything without a reason. I assume it is added so that as the flat bonnet goes through the rollers the added thickness near the double hem minimizes distortion. I’ve tried bending both with and without. On my first bonnet try I soldered the piece in just like the factory. Bending by hand was almost impossible. I do not have a rolling mill in the shop. If you have a rolling mill large enough to do a bonnet you do not need my instructions.
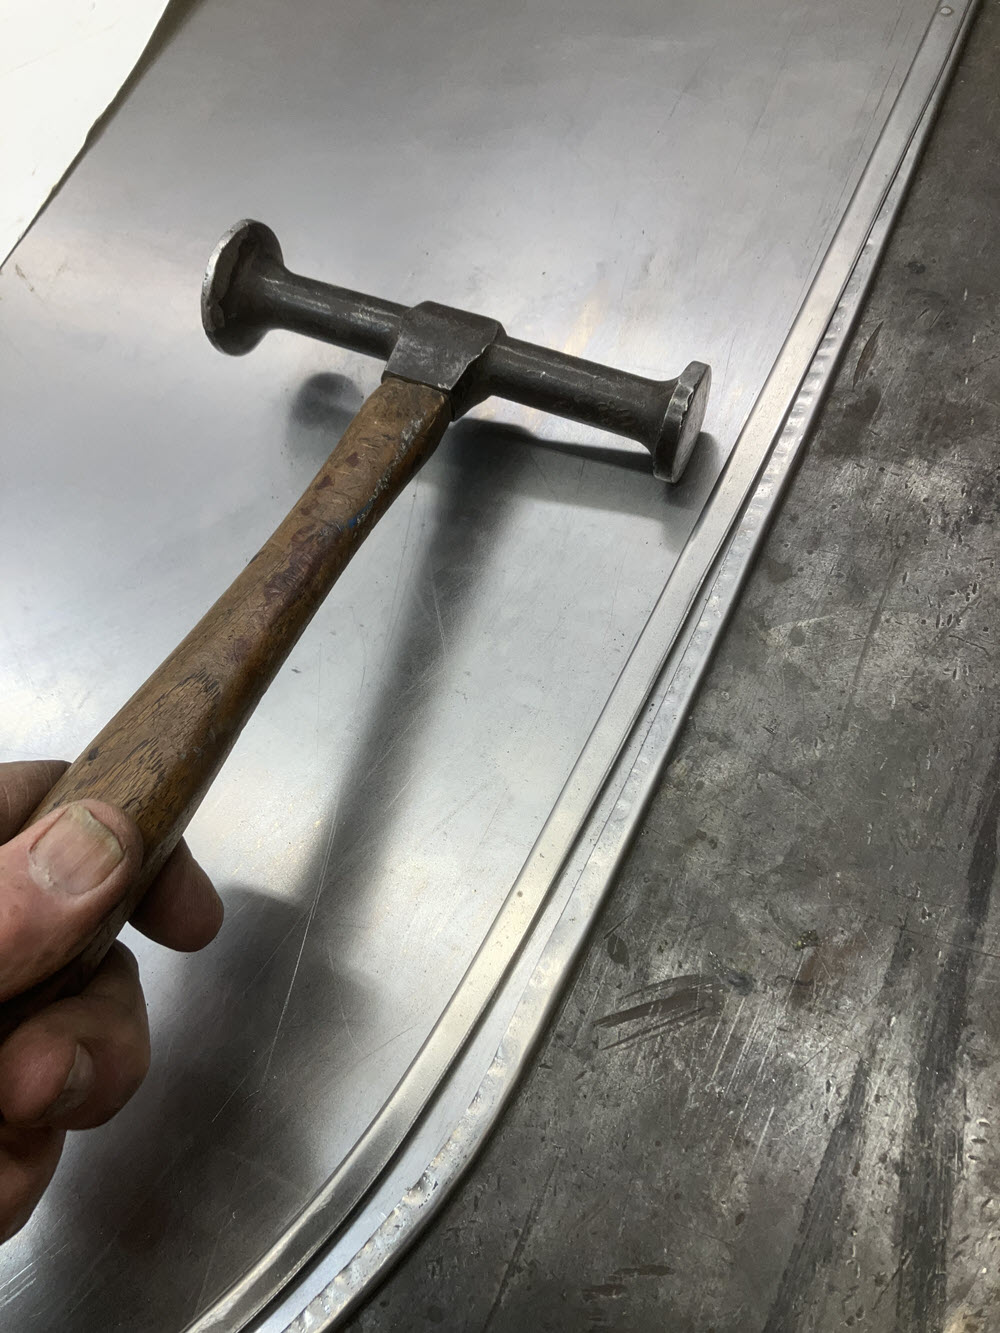
On the second try at making bonnets I l left it off. As expected after bending there was a significant depression at the bend. It was easy enough to hold the bonnet on the steel bed of my table saw (as an anvil) and use a round face hammer to raise the depressed area. The last few tries I have soldered the piece in place but only a small dab at one end. This significantly (not completely) reduced the distortion. I do not put the piece in permanently. Water gets under it and, guess what happens…
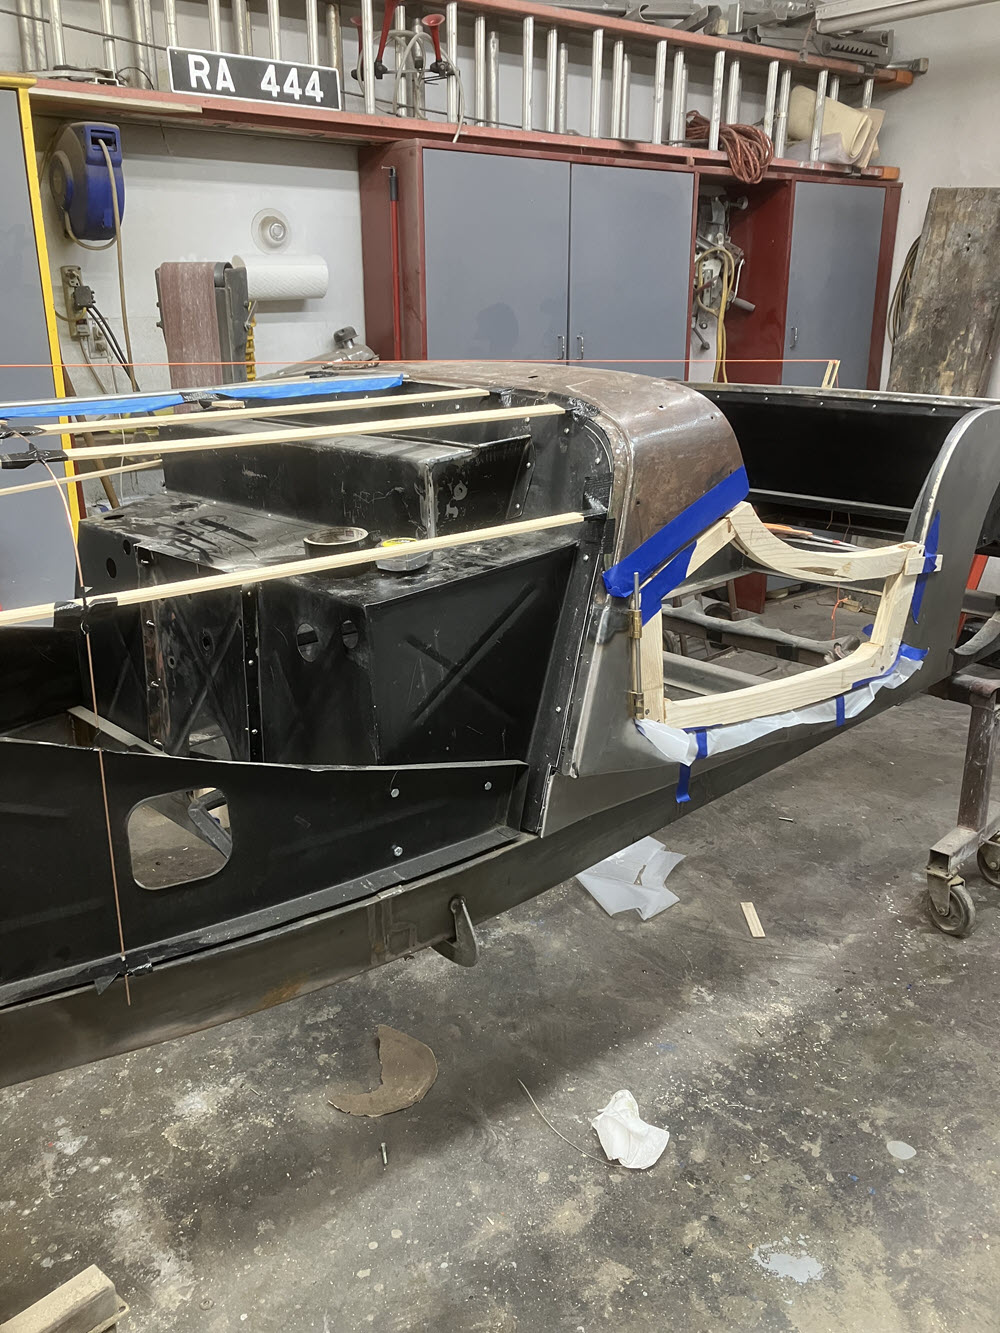
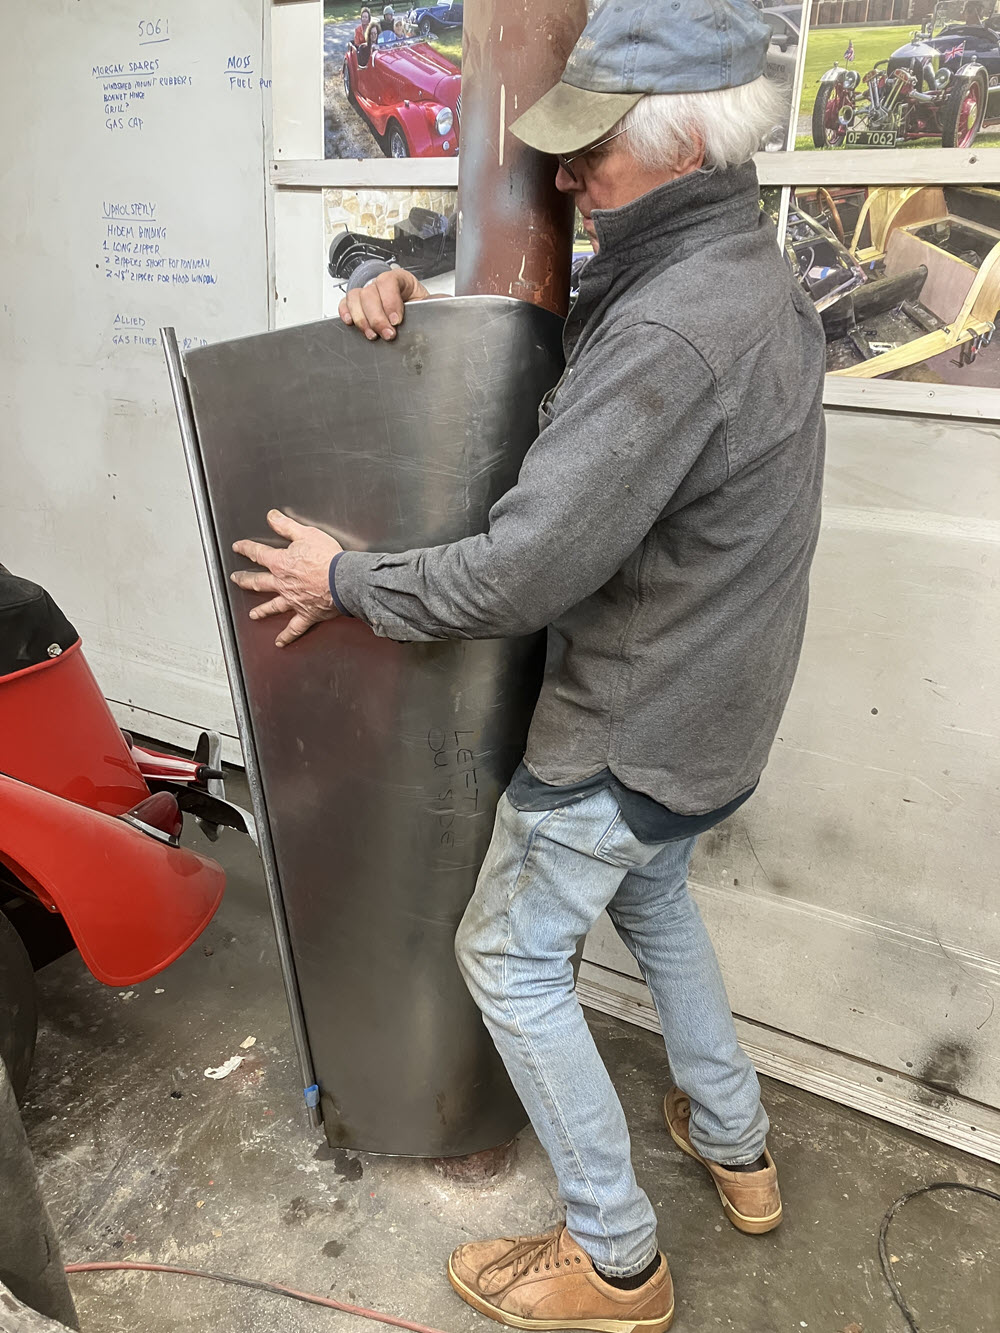
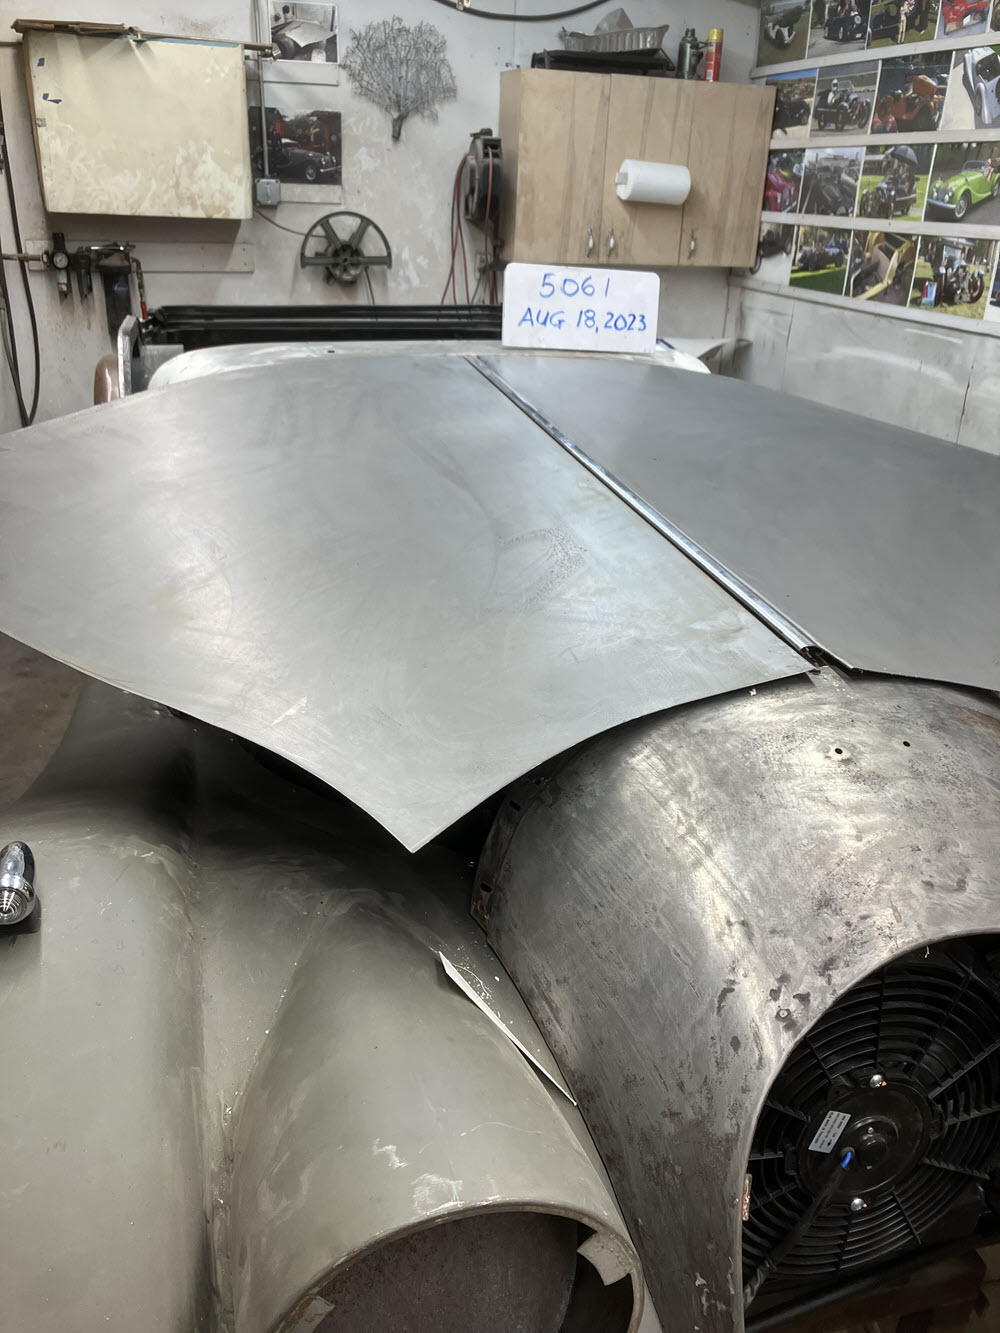
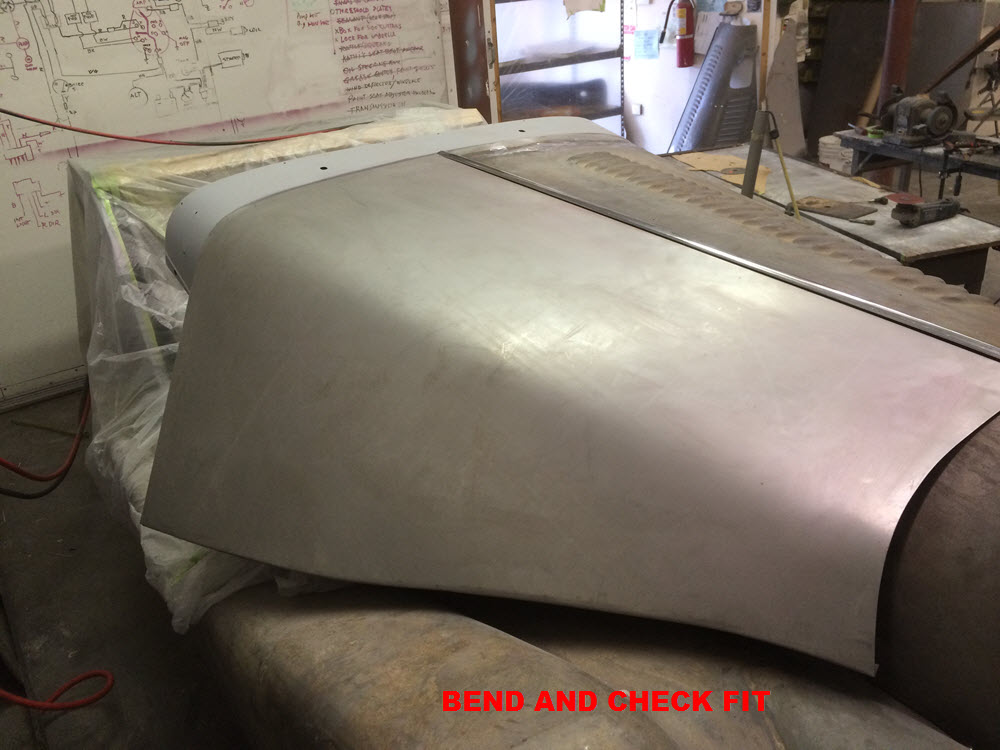
Bending
This should be in the cartoon section of the website. There are steel columns in my shop. I take the flat bonnet and obscenely make love with it around a column. It’s not just a bending motion, it’s pull or push and slide a bit. Anyway it’s not easy.
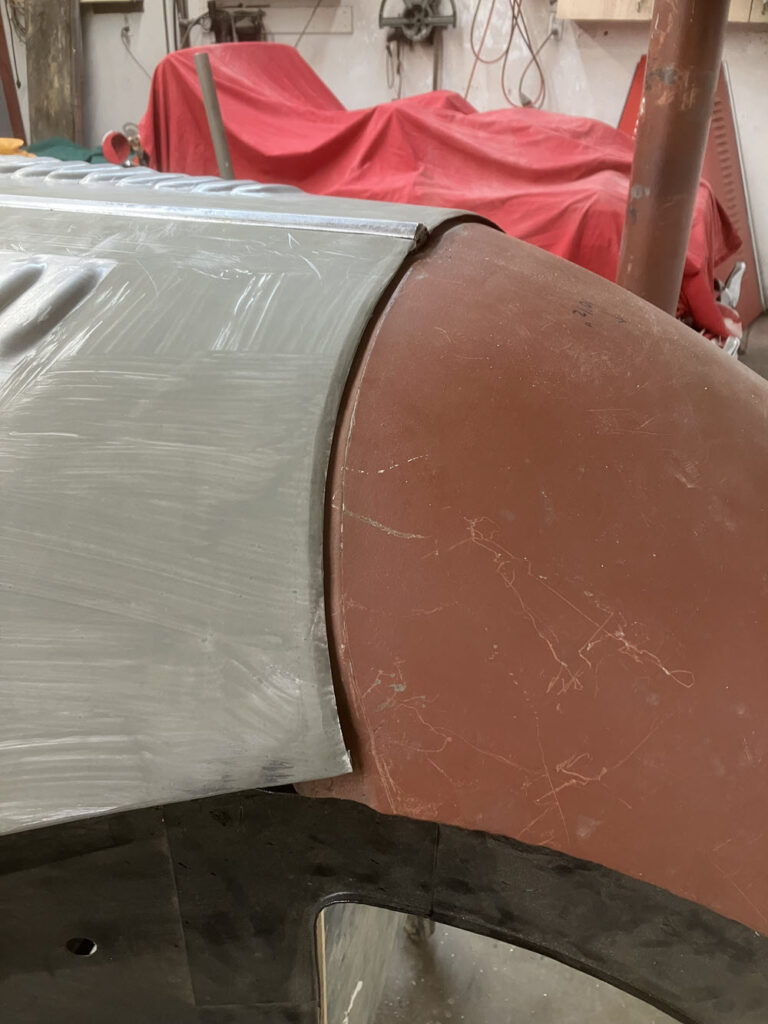
Often during the bending process I take a break and test fit to be sure the bend is where it has to be and is the right radius. Fun huh?
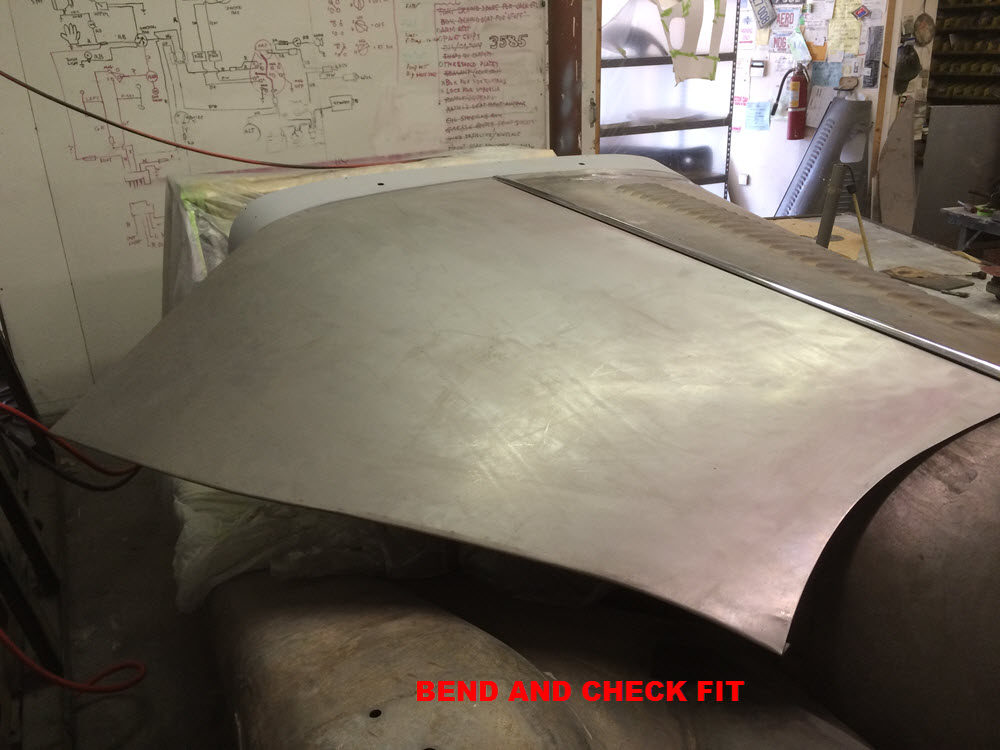
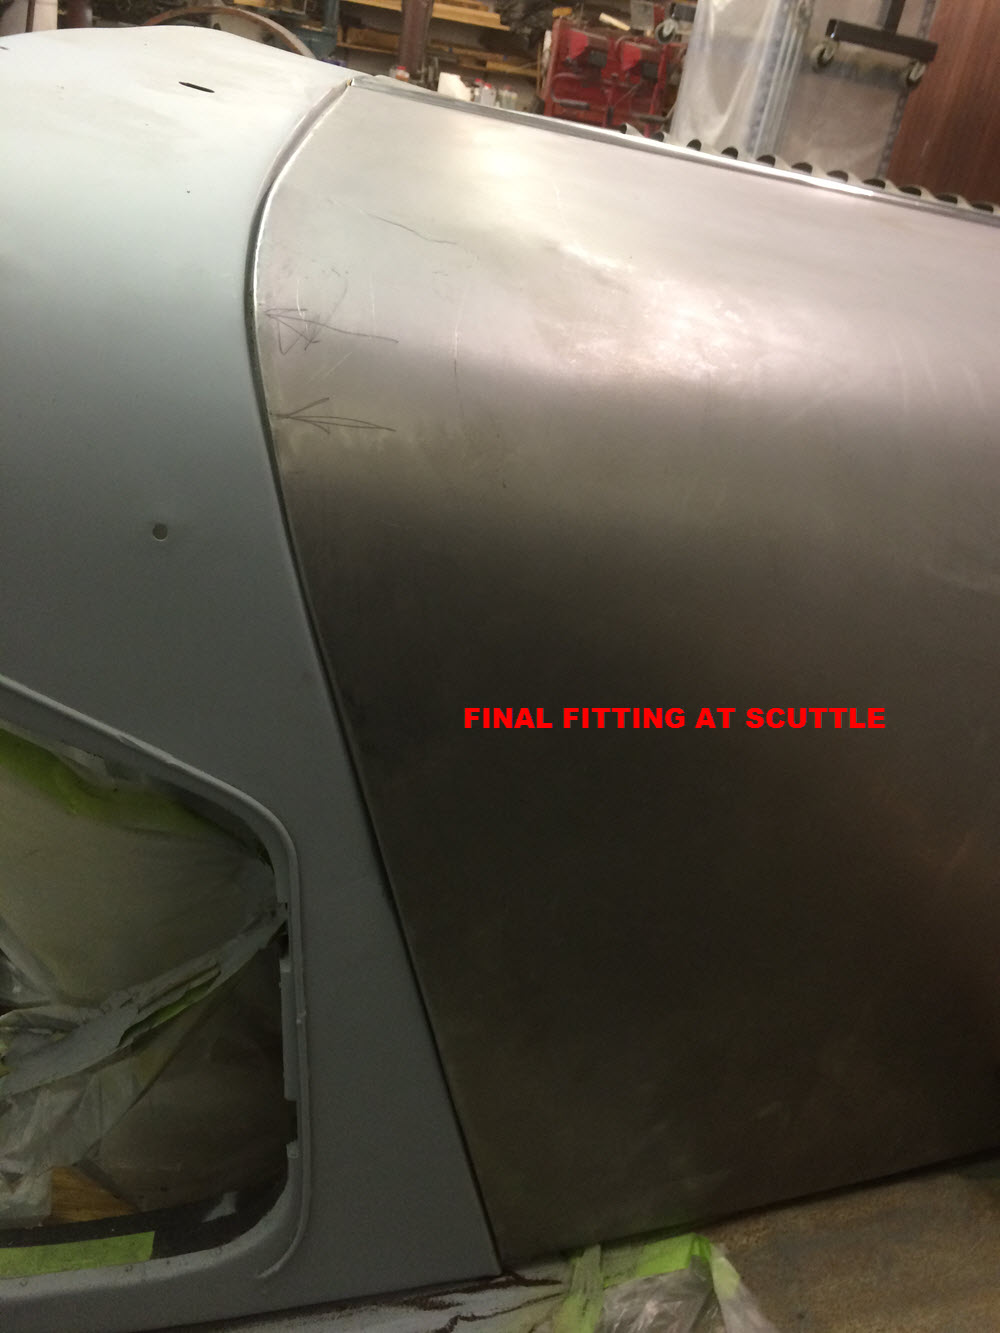
At the Front
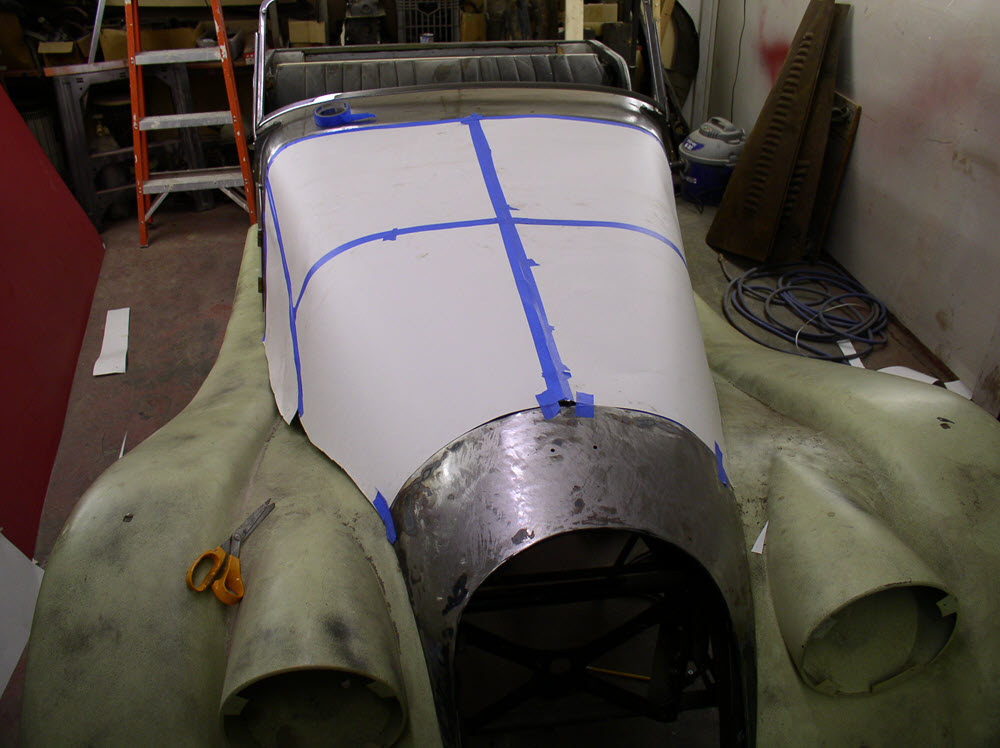
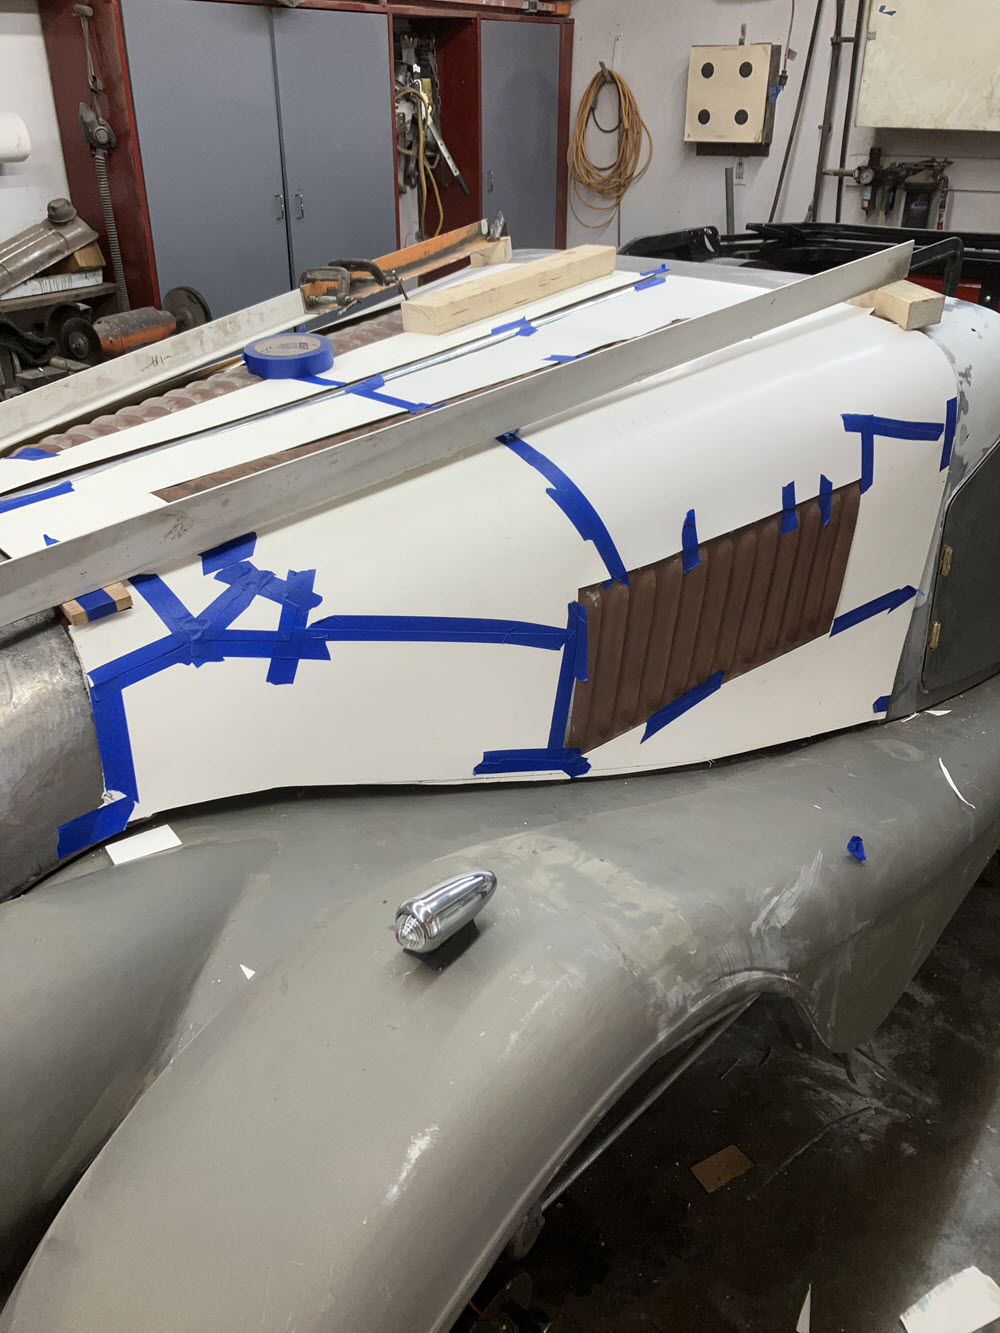
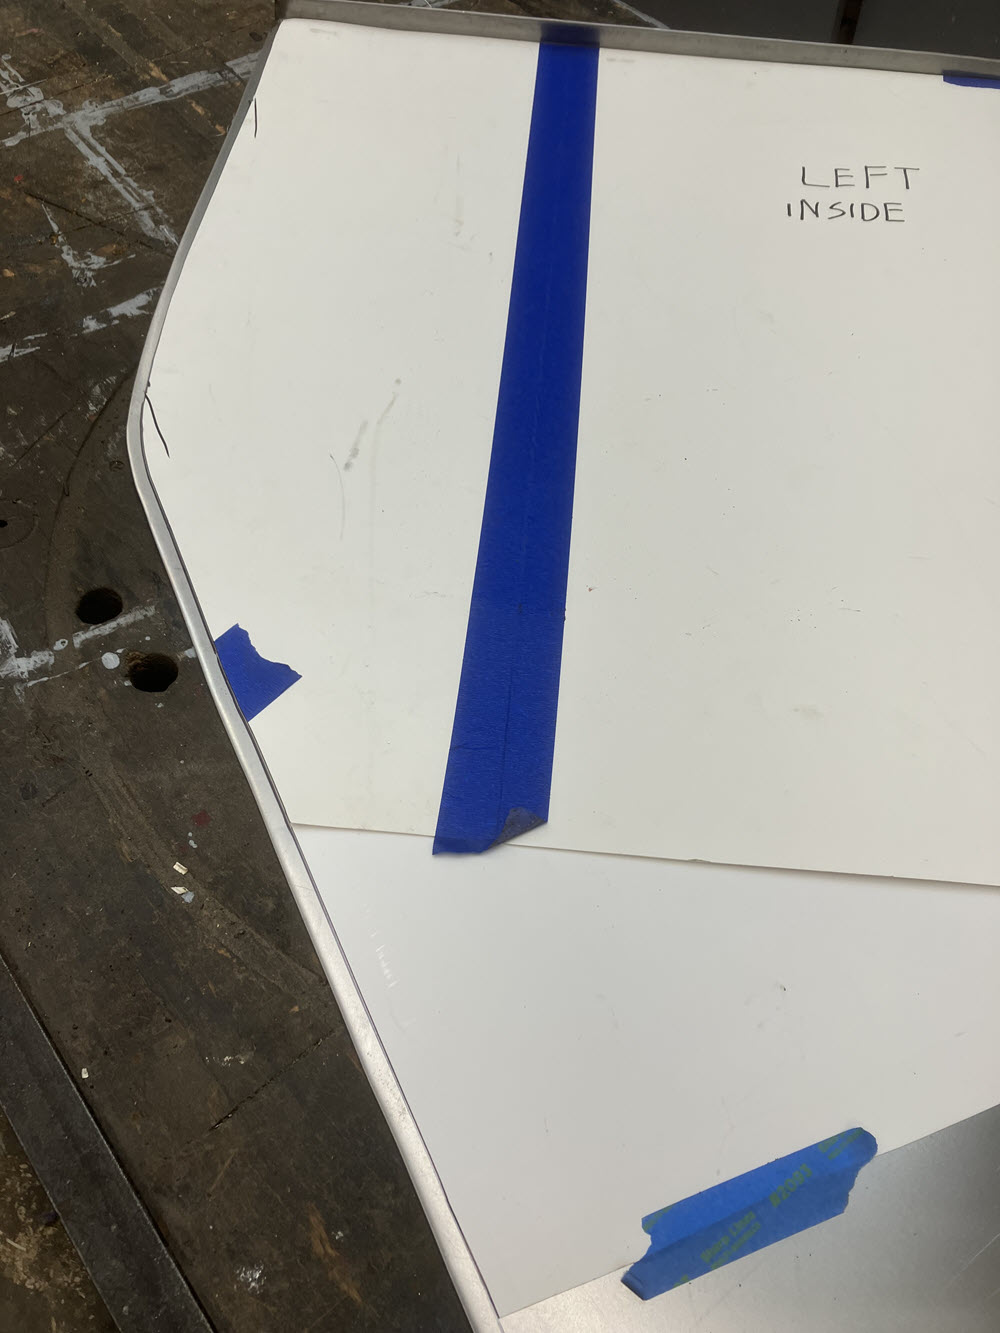
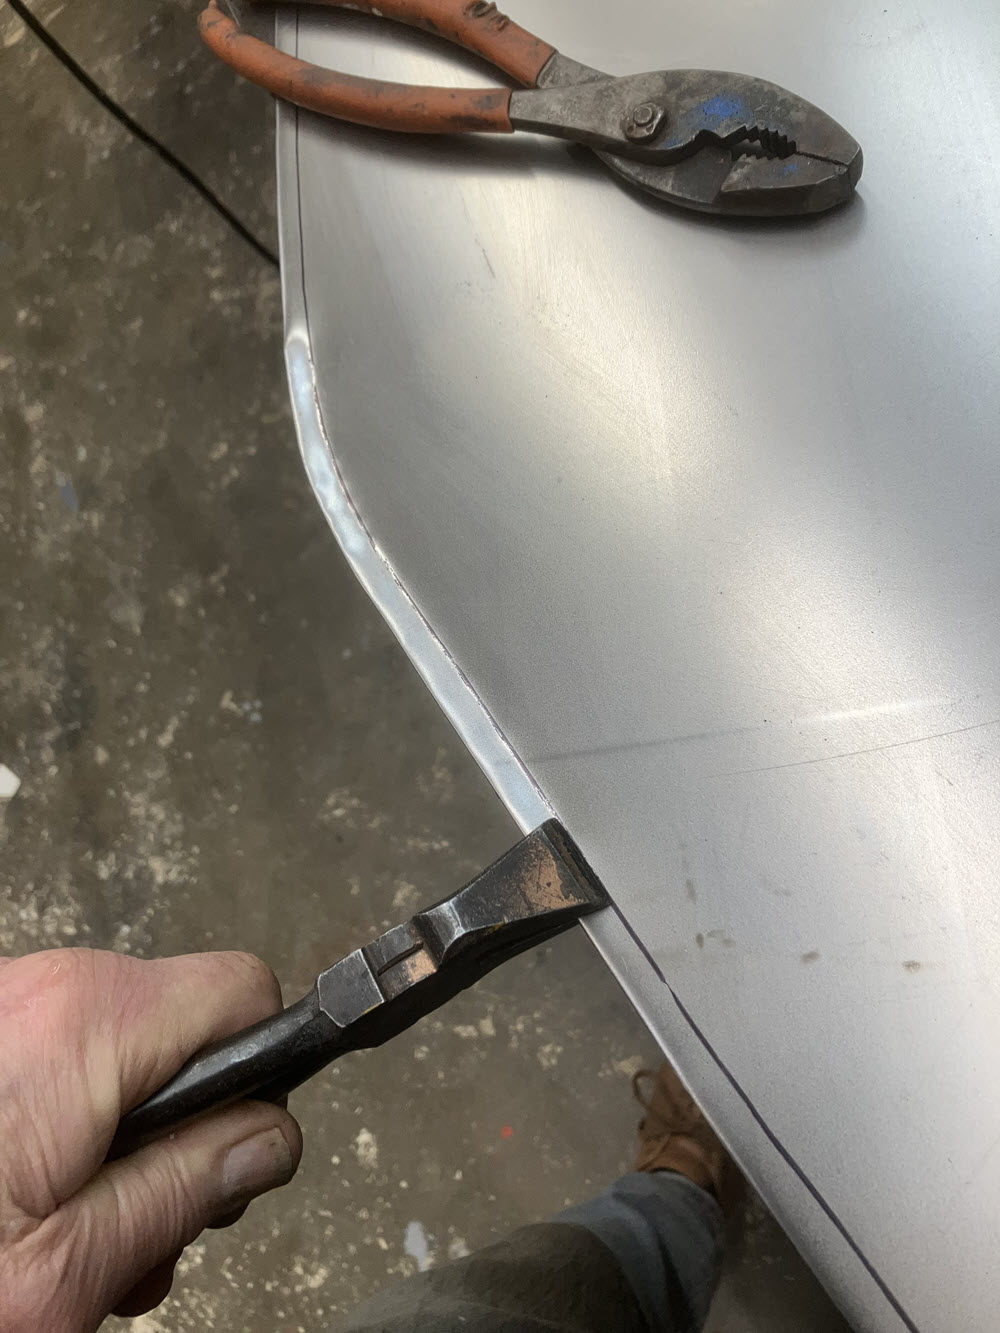
The front of the bonnets on early cars was just a raw edge trimmed to match the cowl. Later cars had the leading edge bent in slightly. I much prefer the bent in solution. I do it with pliers just the same way I make hems. Because it is turning the metal in there is a tendency to flatten the bend you just struggled to make. Some duct tape tight around the bonnet as you form the front will prevent it.
Fit at front showing bent down leading edge.
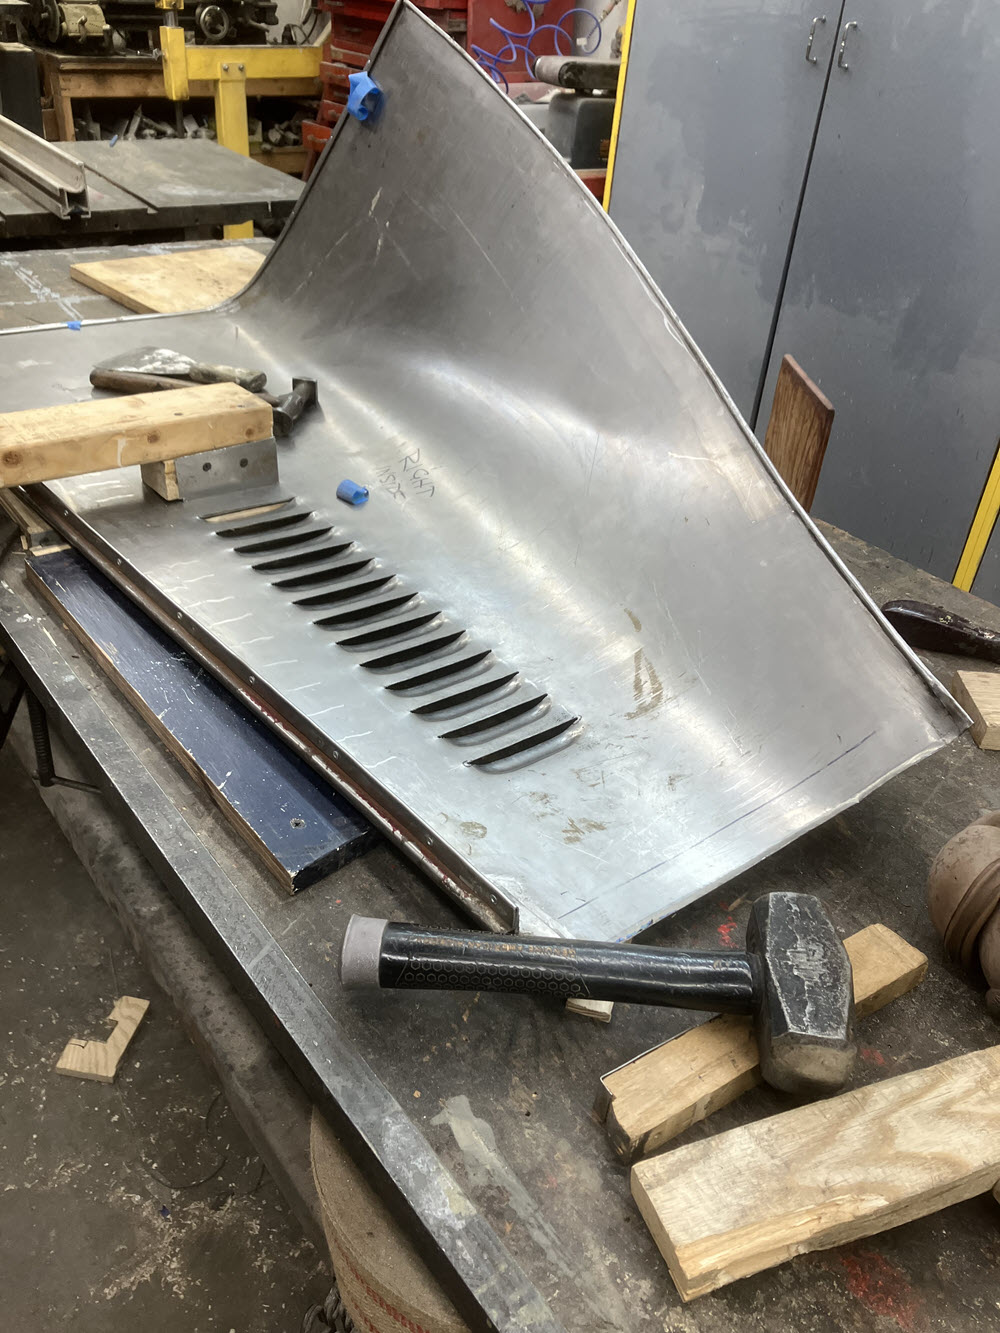
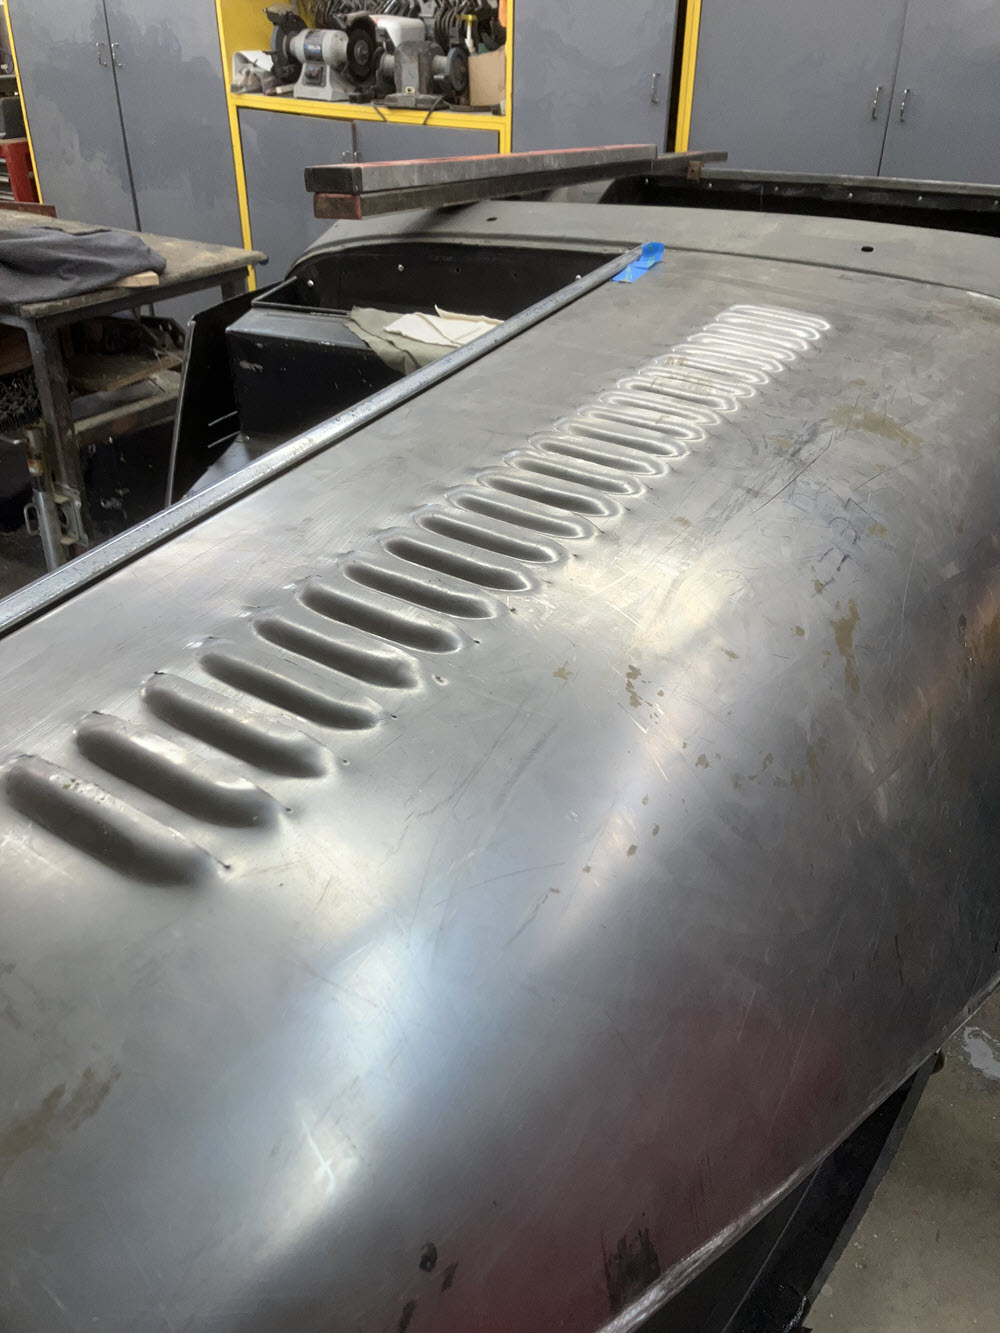
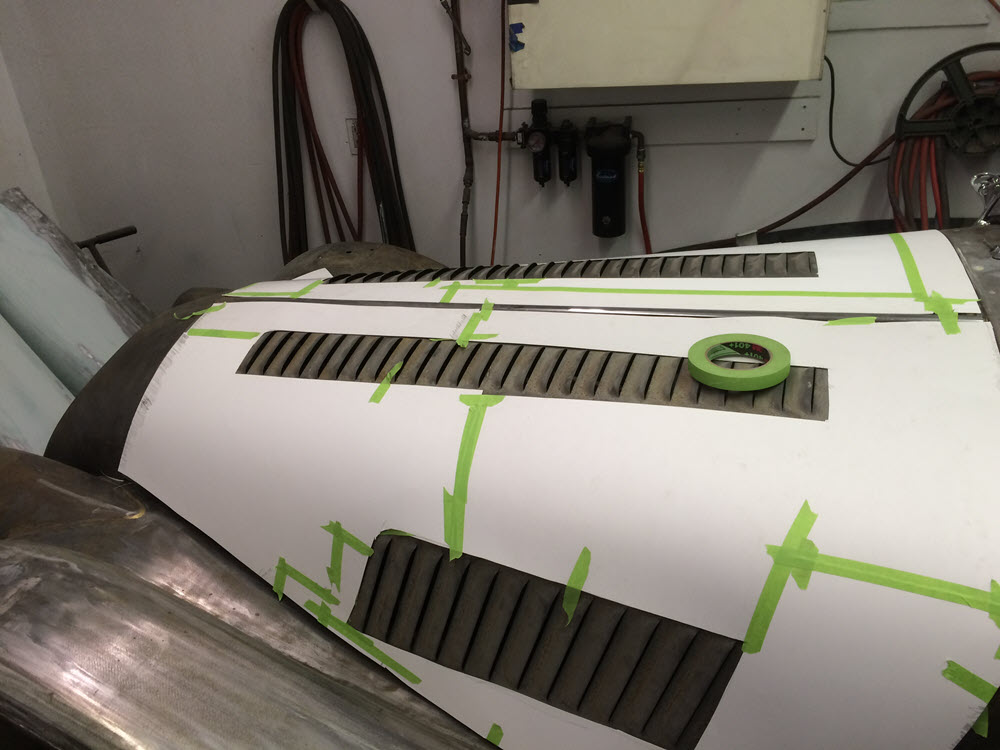
Louvers
I hope there is a special place in Hades for whomever invented louvers. Lucky are those with Dropheads or 4/4s; fewer louvers. Best solution is to find someone that has a proper press with the right shape dies. Second best is to hand form the louvers. Remember I said this is a job you REALLY don’t want to do. See: https://madaboutmorgans.com/handmade_louvers-html/ for more info.