Anything that one craftsperson can make by hand another can copy. BUT experience counts. The first try is usually not great but is useable. The second try will be better. The third time: perfect! The fourth try is often a disaster because of overconfidence. It’s a different matter when machines are involved. Most home craft workers have basic woodworking tools, table saw, band saw, planner etc. Metal working tools are not so common. Hand shears and hammers, sure. The jobs done by bead rollers, welders, rolling mills, breaks and presses are more difficult, not impossible, to fake. For wing valences you need a bead roller, welder (preferably oxy/act) and a shrinker/stretcher is very helpful.
Make the pattern and cut
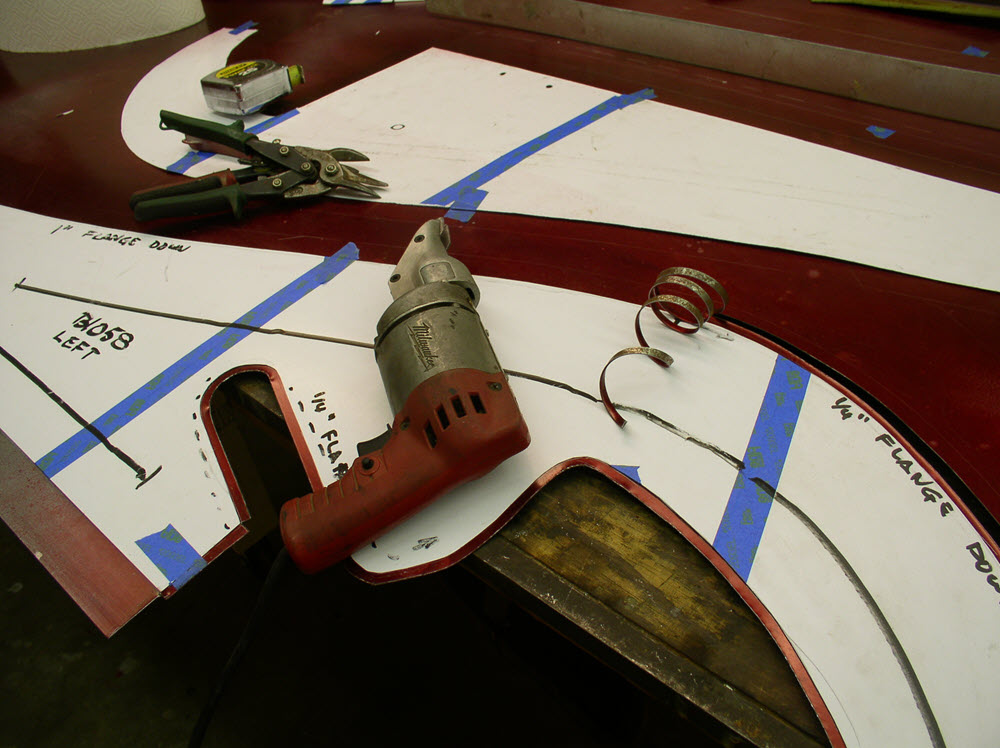

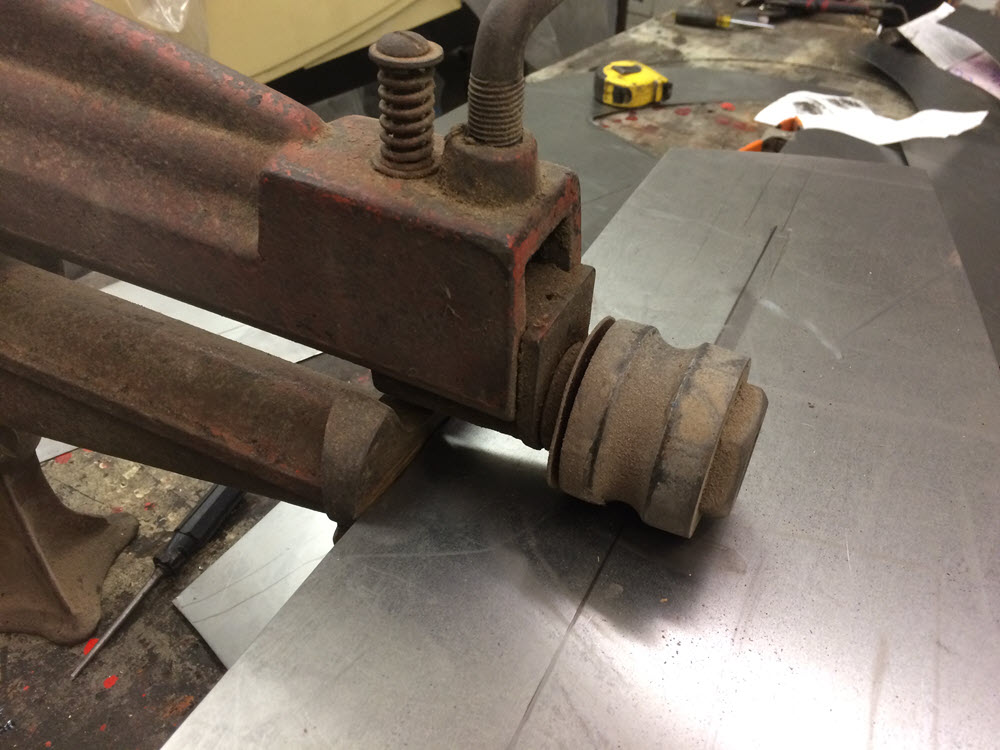
Trace and roll the beads (my bead roller is an antique. Modern ones are available from Harbor Freight and Eastwood.)
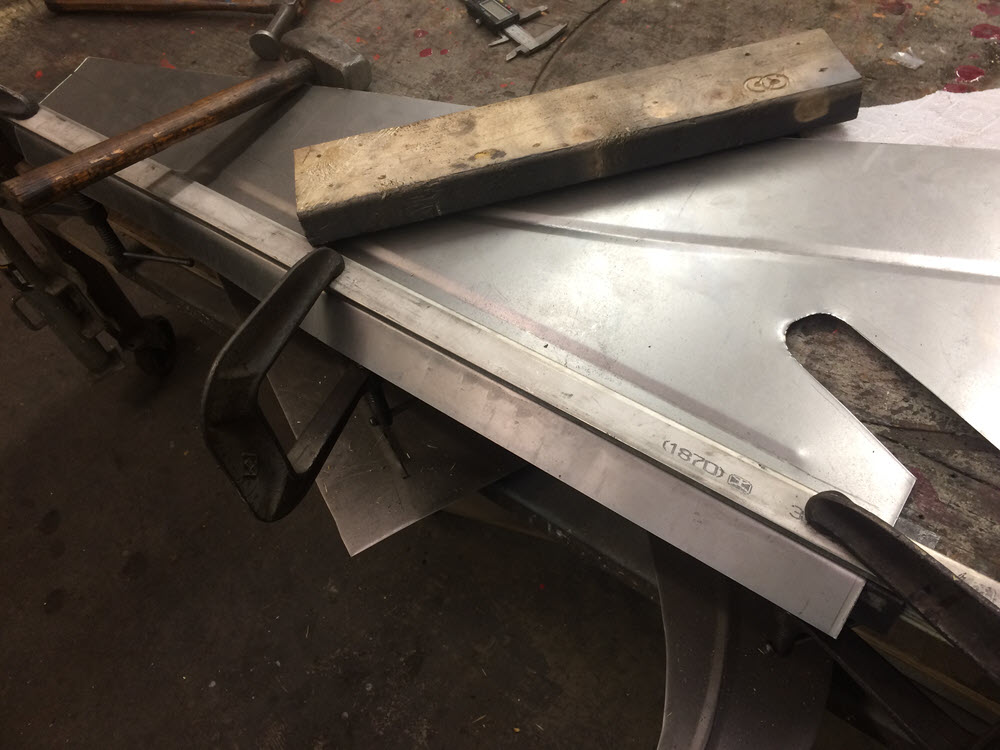
Bend the bottom flange. A piece of angle iron clamped to the workbench and a steel bar to clamp the workpiece is my substitute for a sheet metal break. A hammer pounded on the block of wood completes the job.
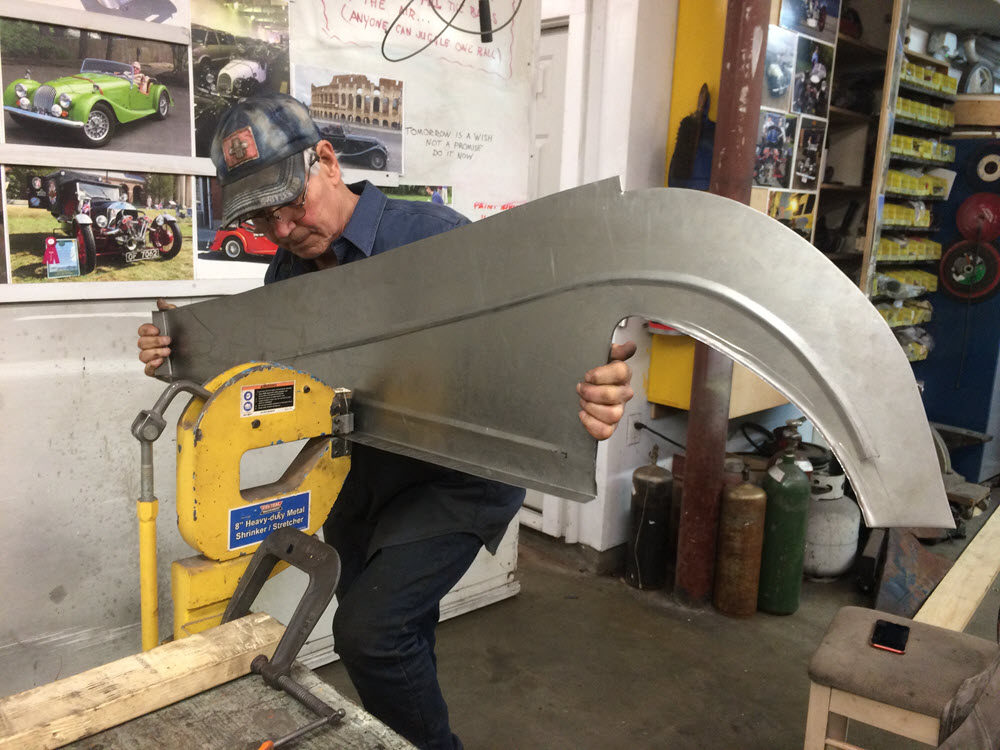
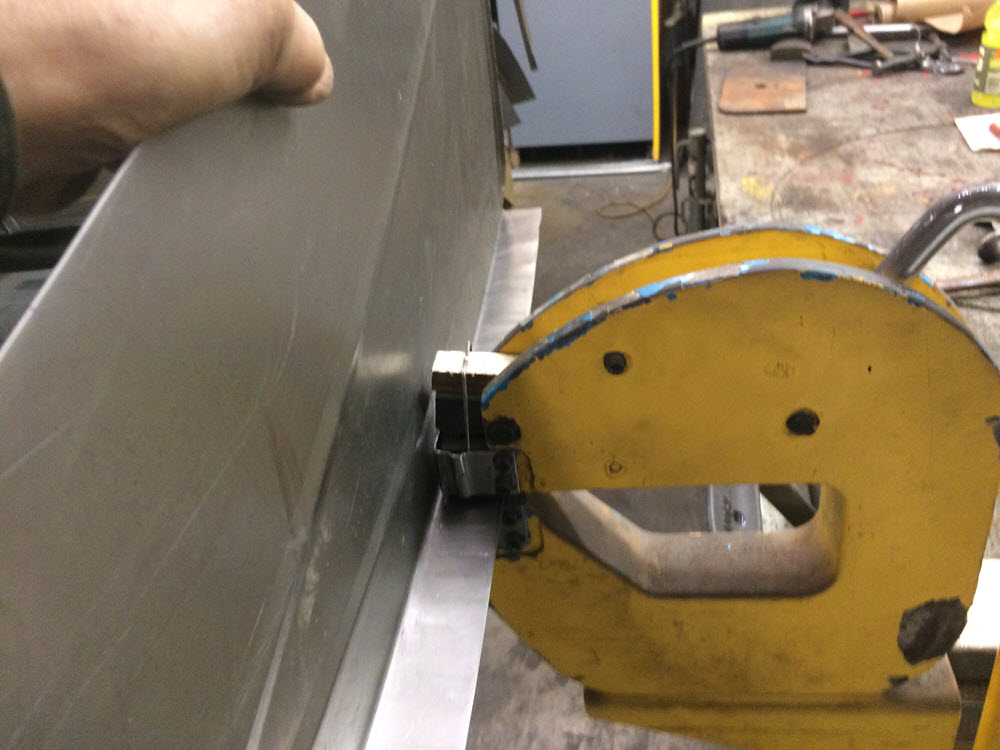
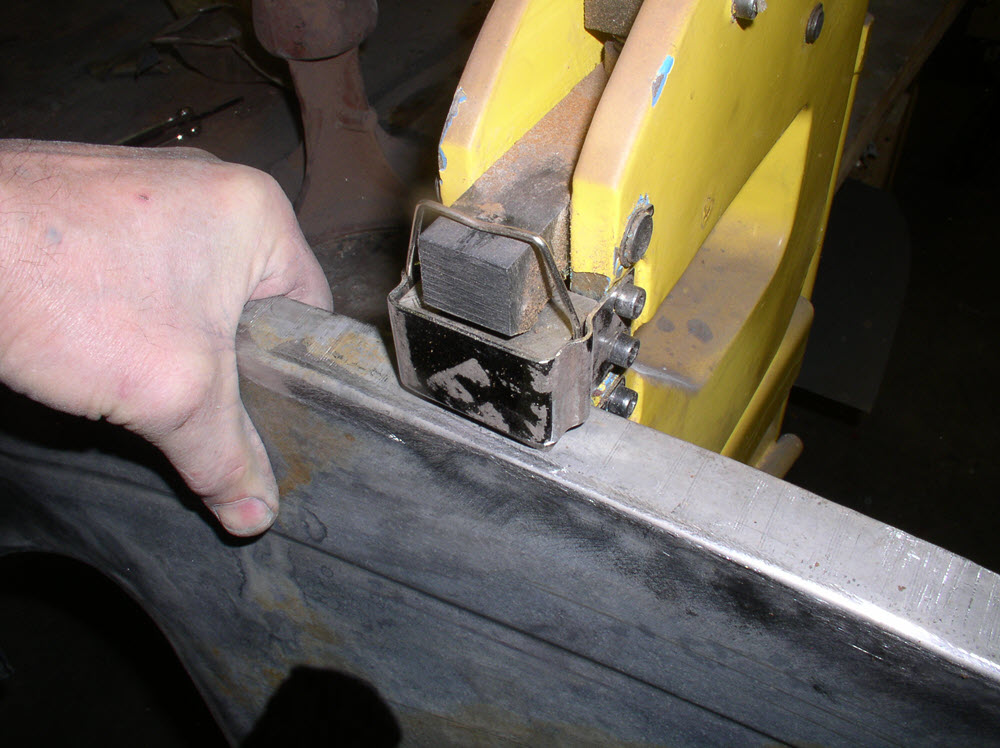
Use a stretcher to expand the flange (bending the sheet) to match the chassis bend. Before I bought the stretcher/shrinker I did this by heating with an Oxy/Act torch. Worked OK but took a bit more skill. Stretcher is easier.
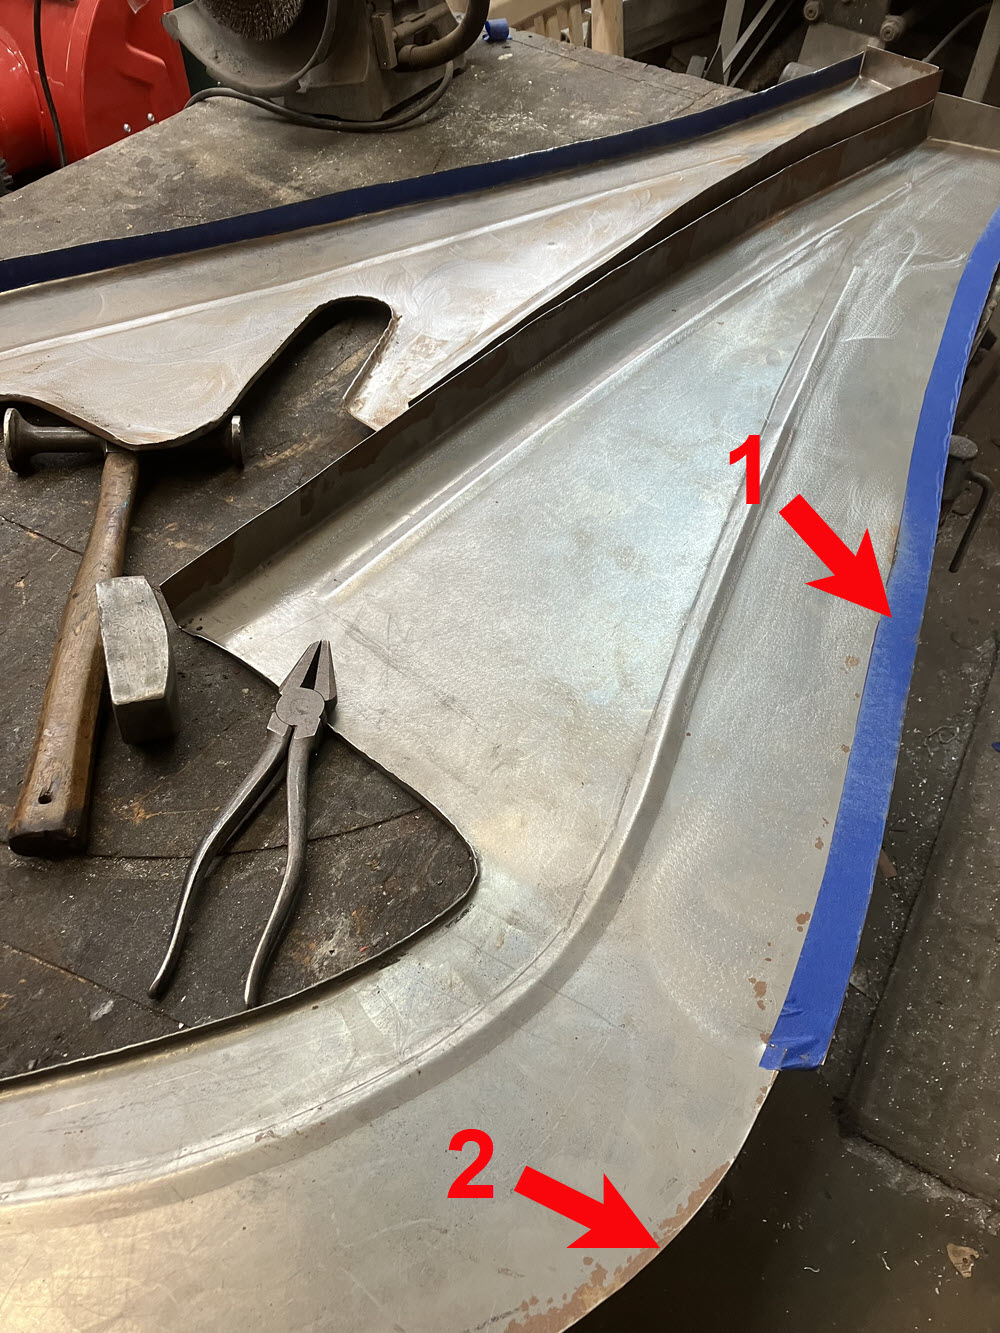
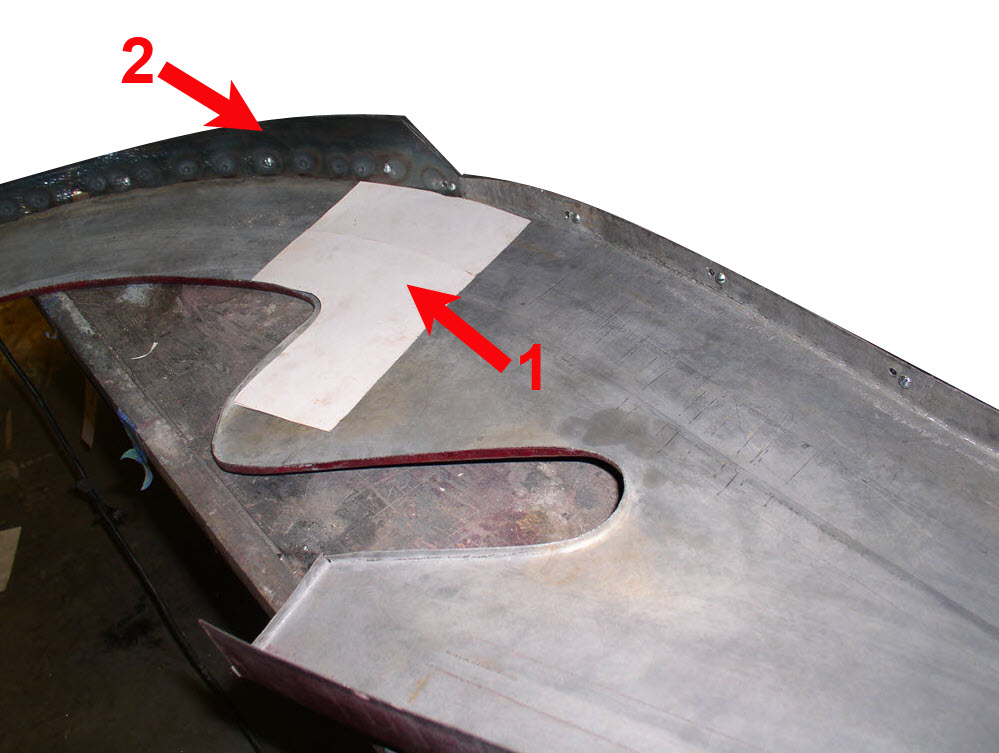
Clamp the rear between two blocks or pieces of angle iron and hammer the rear flange (1) to 90o. Use pliers to turn the 1/4″ flange around the lower front (2).
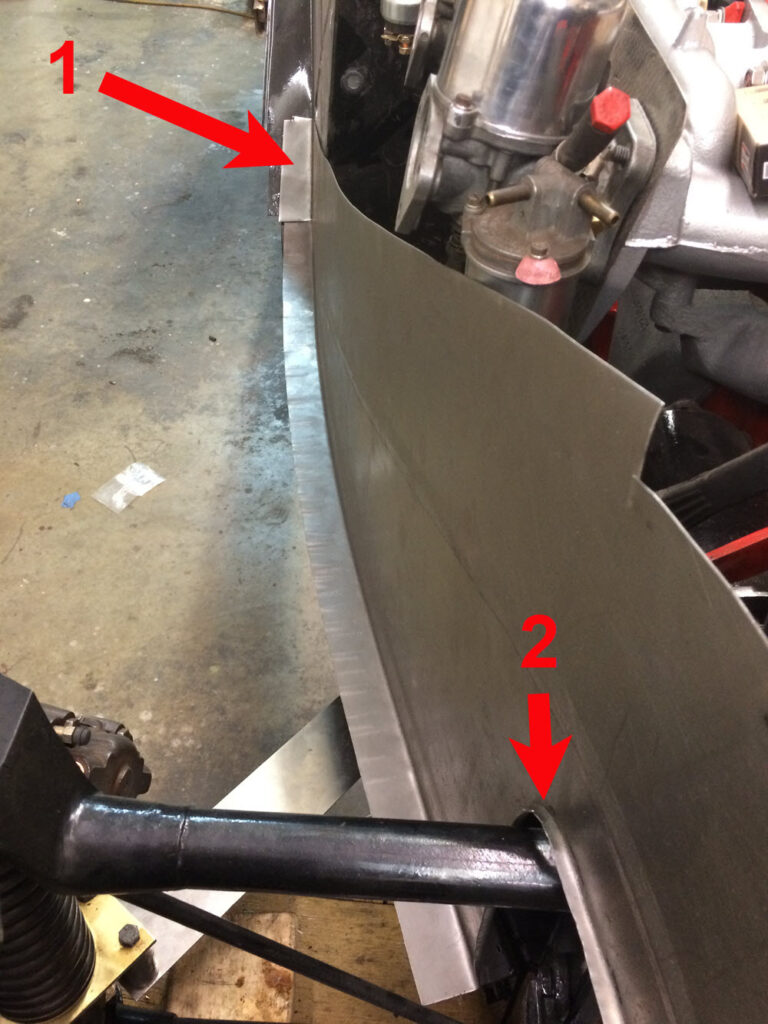
Use pliers to turn the top flange (1) and the 1/4″ front flange (2) to 90o. It is more difficult because it is curved. Note: Sometimes I make both flanges before doing any stretching. It is arguably easier to do all the flanges while the part is flat.
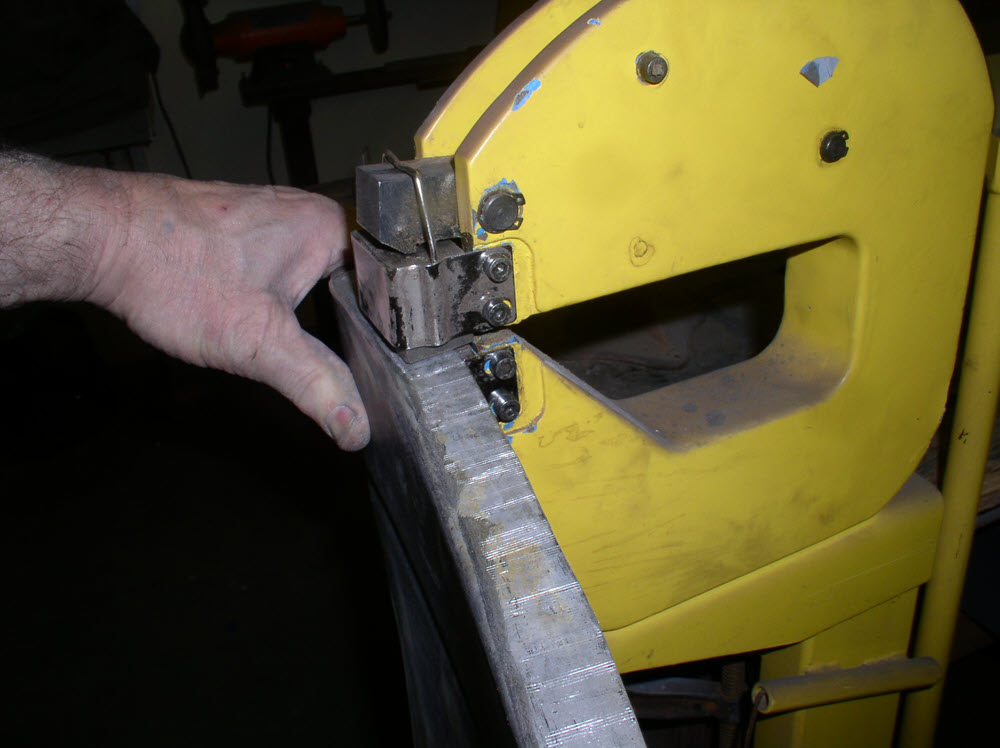
Stretch/bend the top flange.
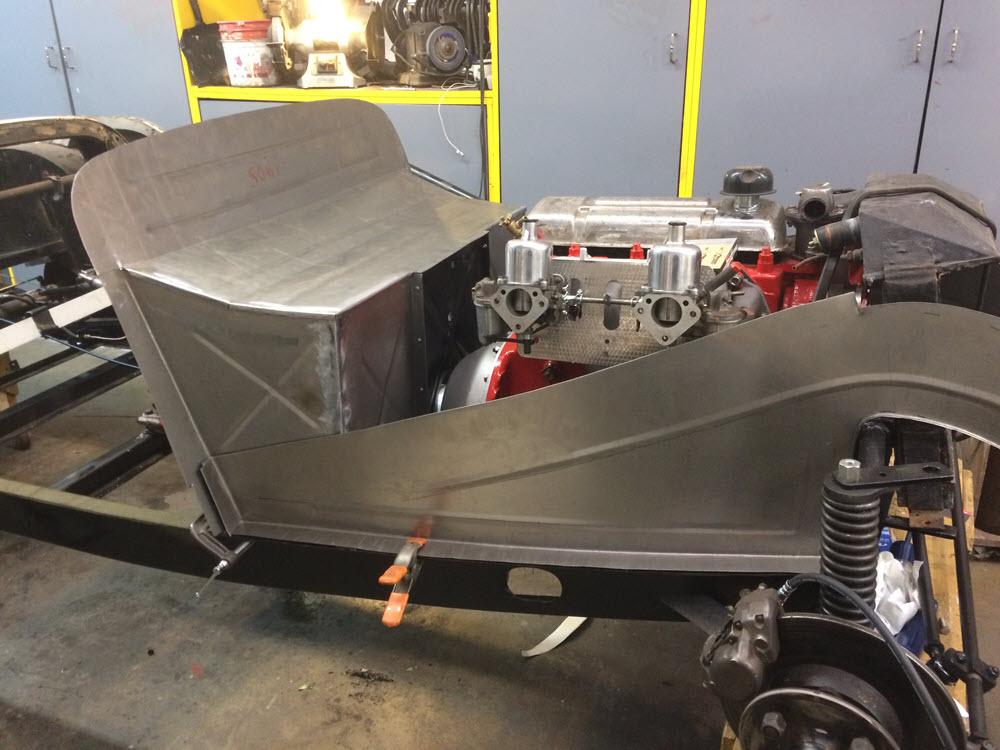
Bend the front of the valence (where the cowl will fit) outboard. Make a pattern for the stiffener (1), cut it from sheet metal and weld it in place. Make a strip of sheet metal and weld it to the front flange (2) for mounting the cowl.
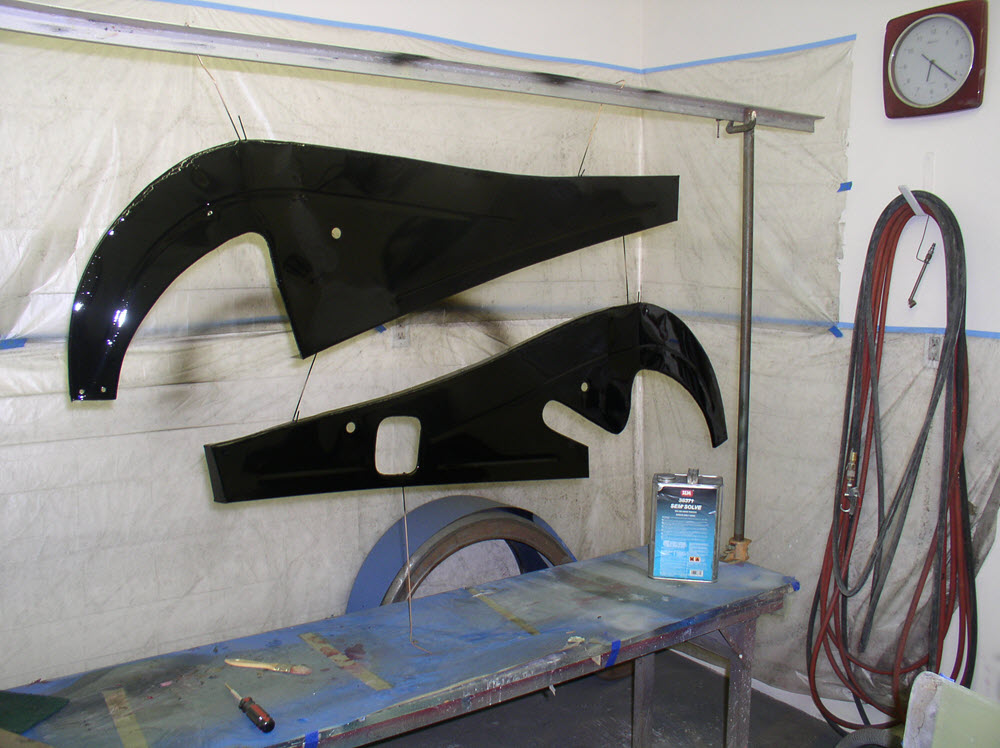
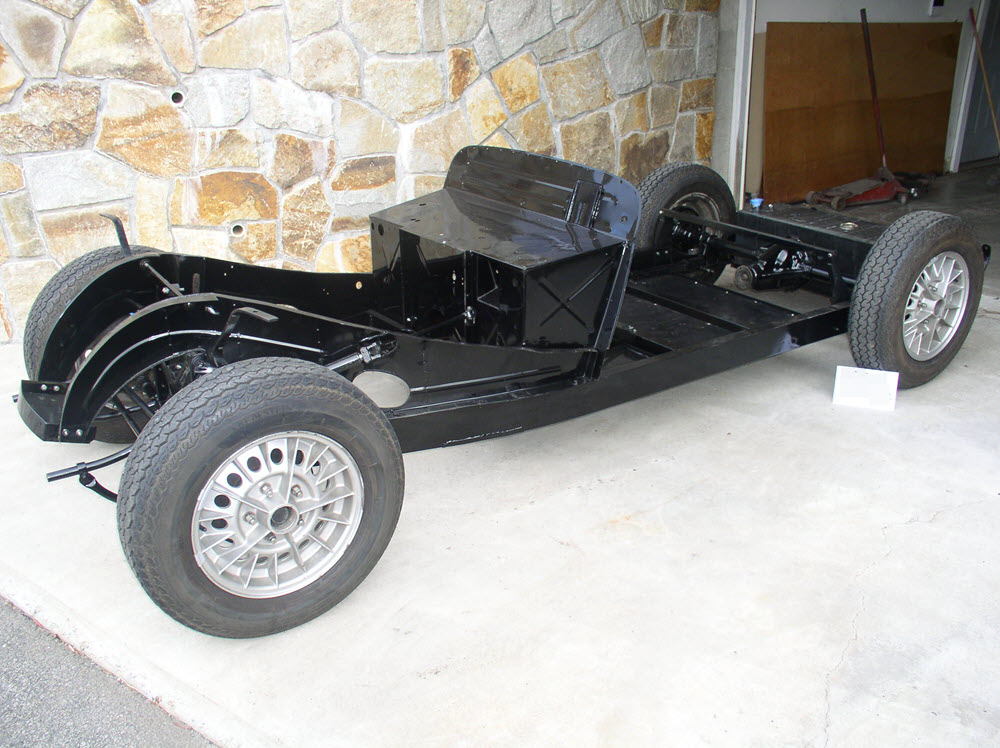
Prime, paint, and install.