This is a follow up to the first Chassis Fabrication article in the MADABOUTMORGANS.COM website.
As of this writing I’m 80 years old and have been mucking about with Morgans for over 50 years. I’m hanging up the hammers this year (enough is enough; right?). In the brief period when I was trying to make my living doing Morgan restoration I never shared “how to” information. Why undercut one’s livelyhood? After returning to mechanical engineering to pay the bills the additude changed. Daughter Robin convinced me that I should share my thoughts and she built, and still maintains, the Madaboutmorgans website. So consider this my swan-song: HOW TO build an old Moggie chassis.
In bocca al lupo!
Tools
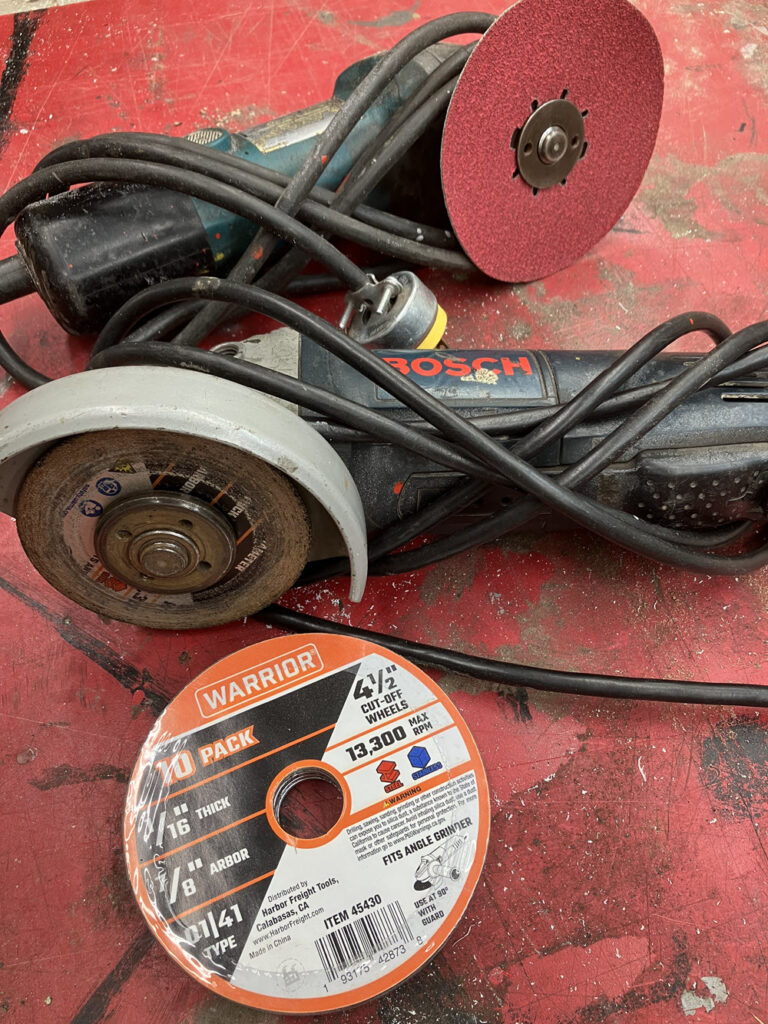
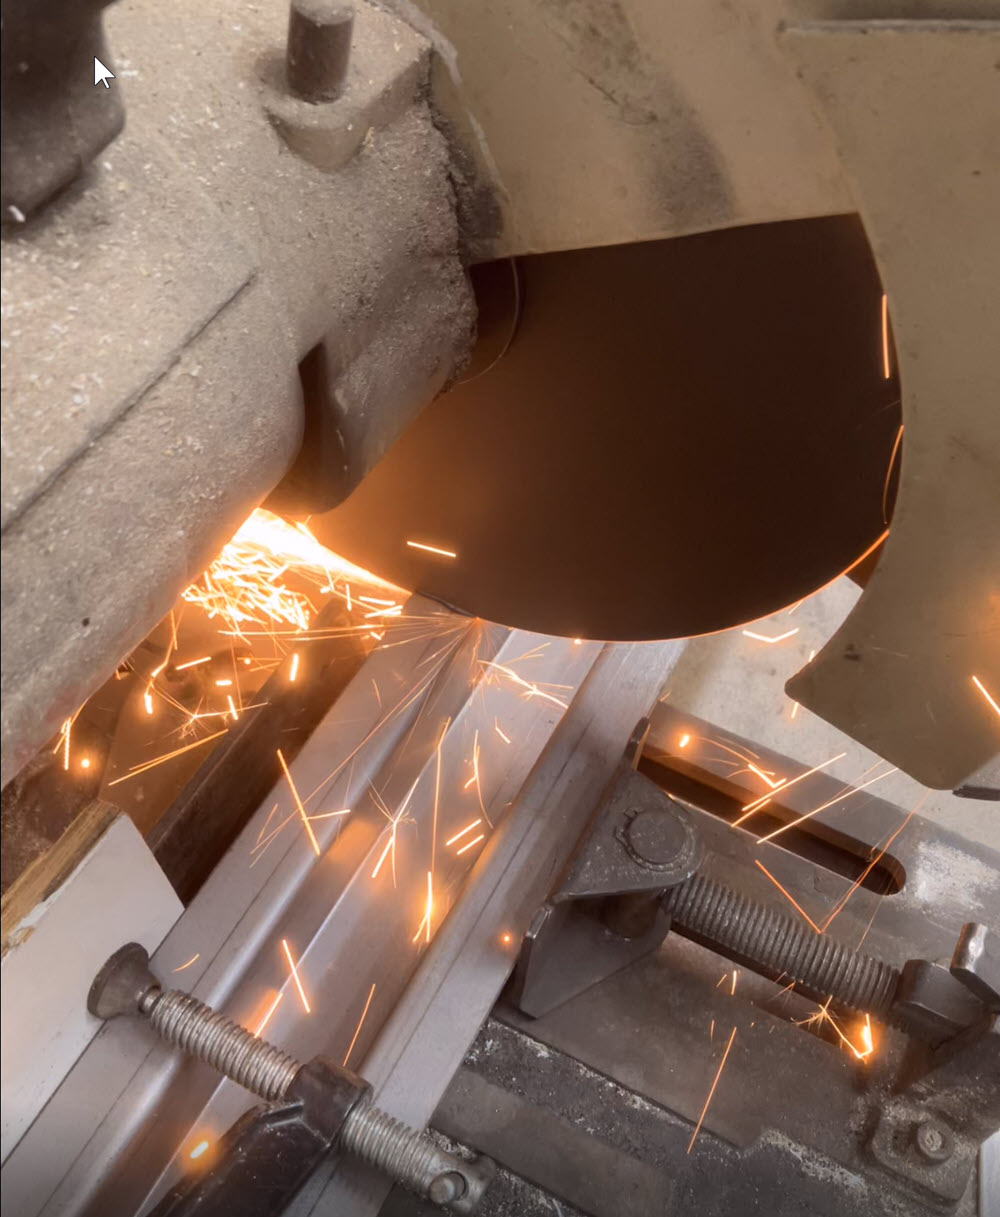
ANGLE HEAD GRINDER I have two but one will do. Consider it essential. I use the Bosch (best choice) with cutoff discs I buy from Harbor Frieght. Super versatile! You can do all the general cutting for this project with this tool and if it’s the only angle head in your box you can use it with grinding discs also. The second is a Makita. I don’t like it as well. I use it exclusively for grinding. It is shown without the guard in place. Bad idea! Always keep the guards in place.
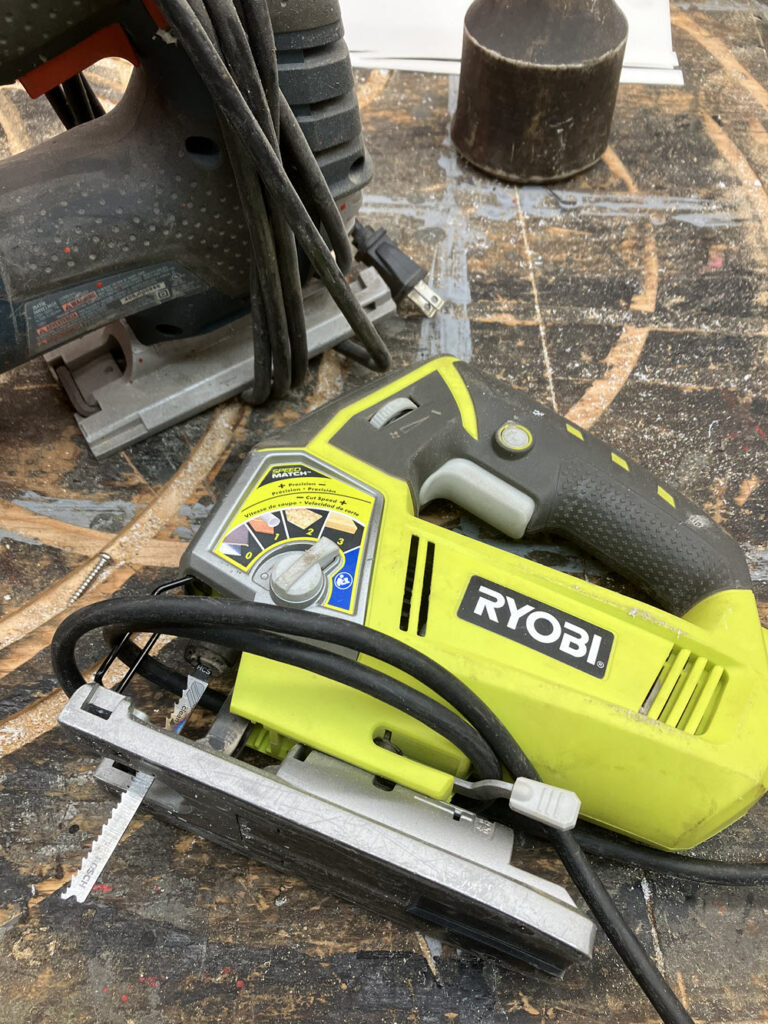
Jig Saw Use with a fine tooth metal cutting blade to make the axle cut-outs and the rear turn-up. The RYOBI is relatively inexpensive and satisfactory. It does the job as will any jig saw. I’ve gone through two BOSCH jig saws. They are more expensive, have a nice feel, but both broke internally at the blade retainer. Repair parts are not available and sending the tool off for repair costs more than a new one. Stick to the cheaper saws.
If you had only these two power tools you still could build chassis.
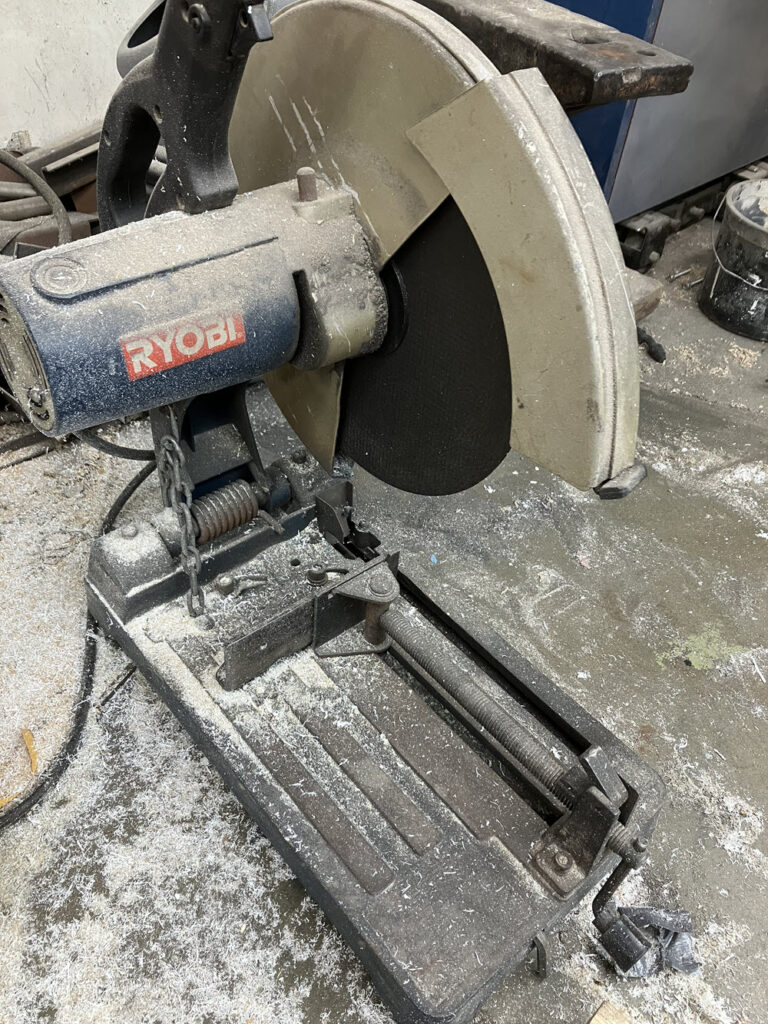
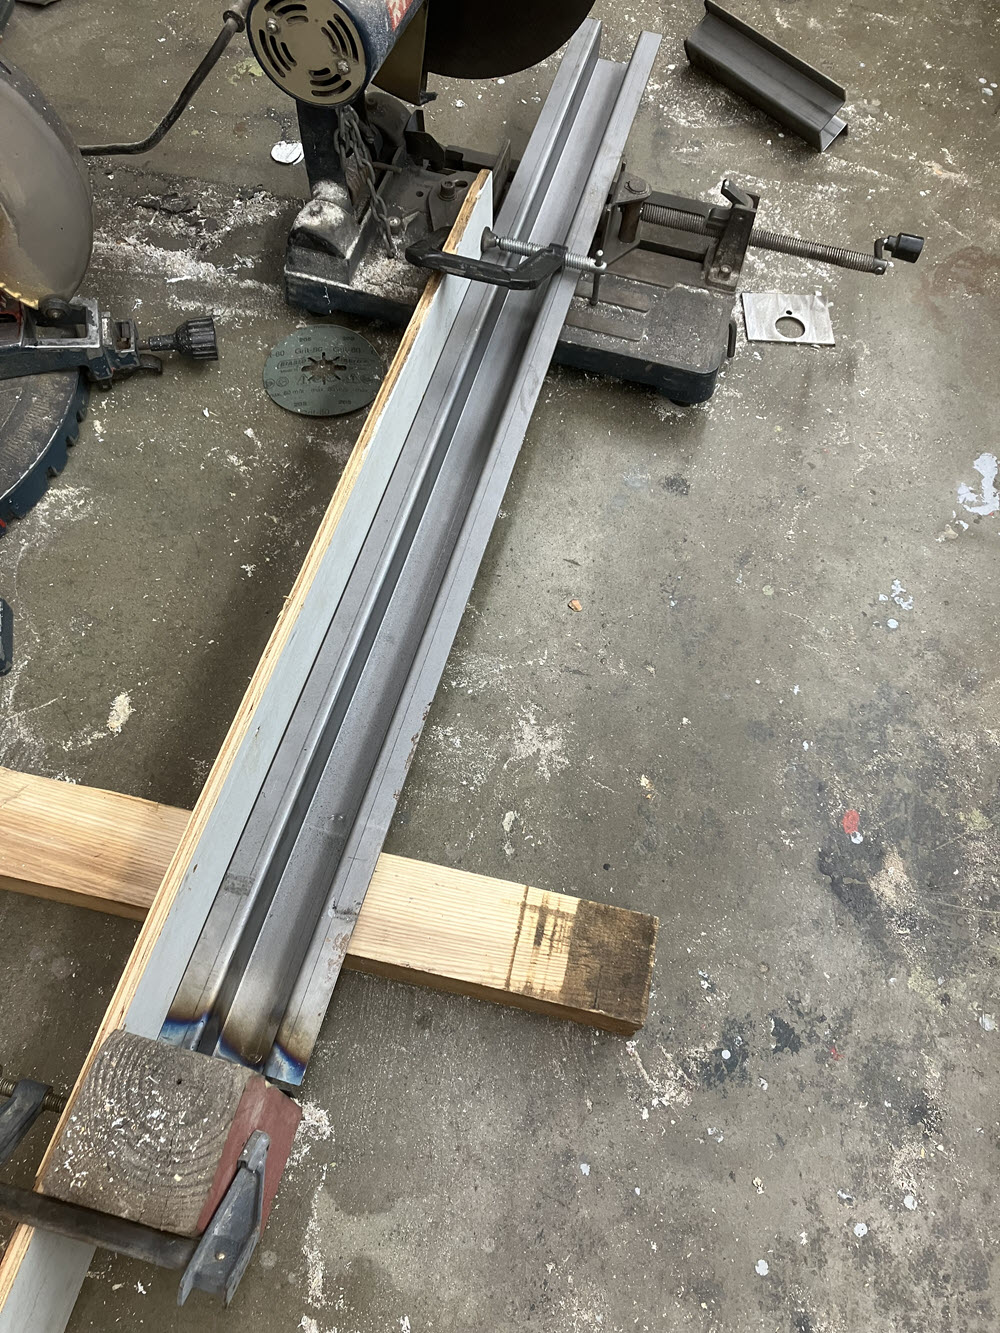
Metal Cut-Off Saw Certainly not a machine found in the typical hobbiest’s shop. Very versatile; great for cutting crossmembers to length. Nice to have but not essential
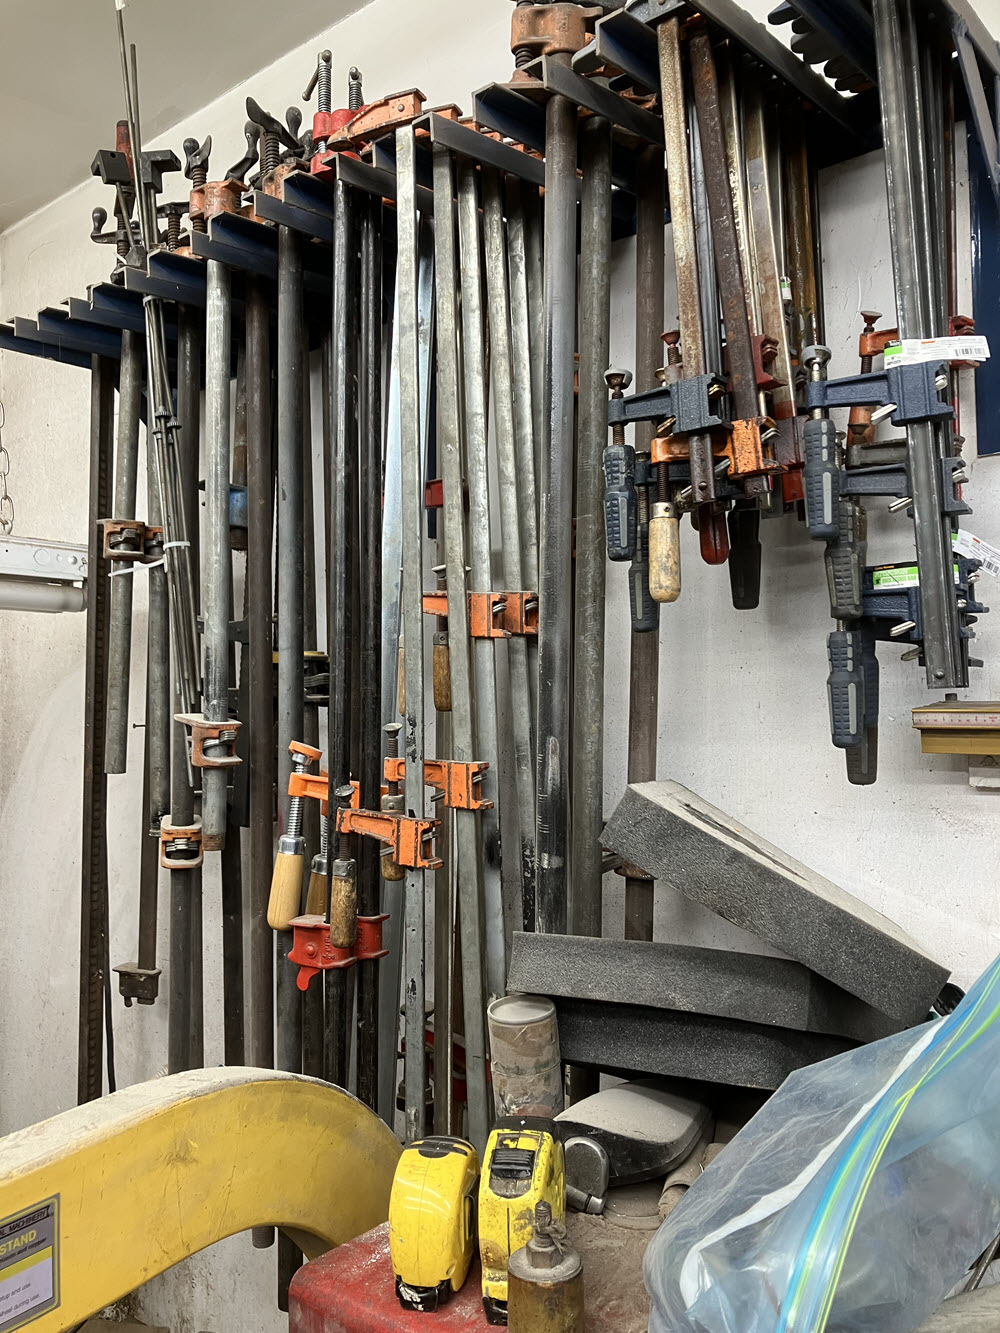
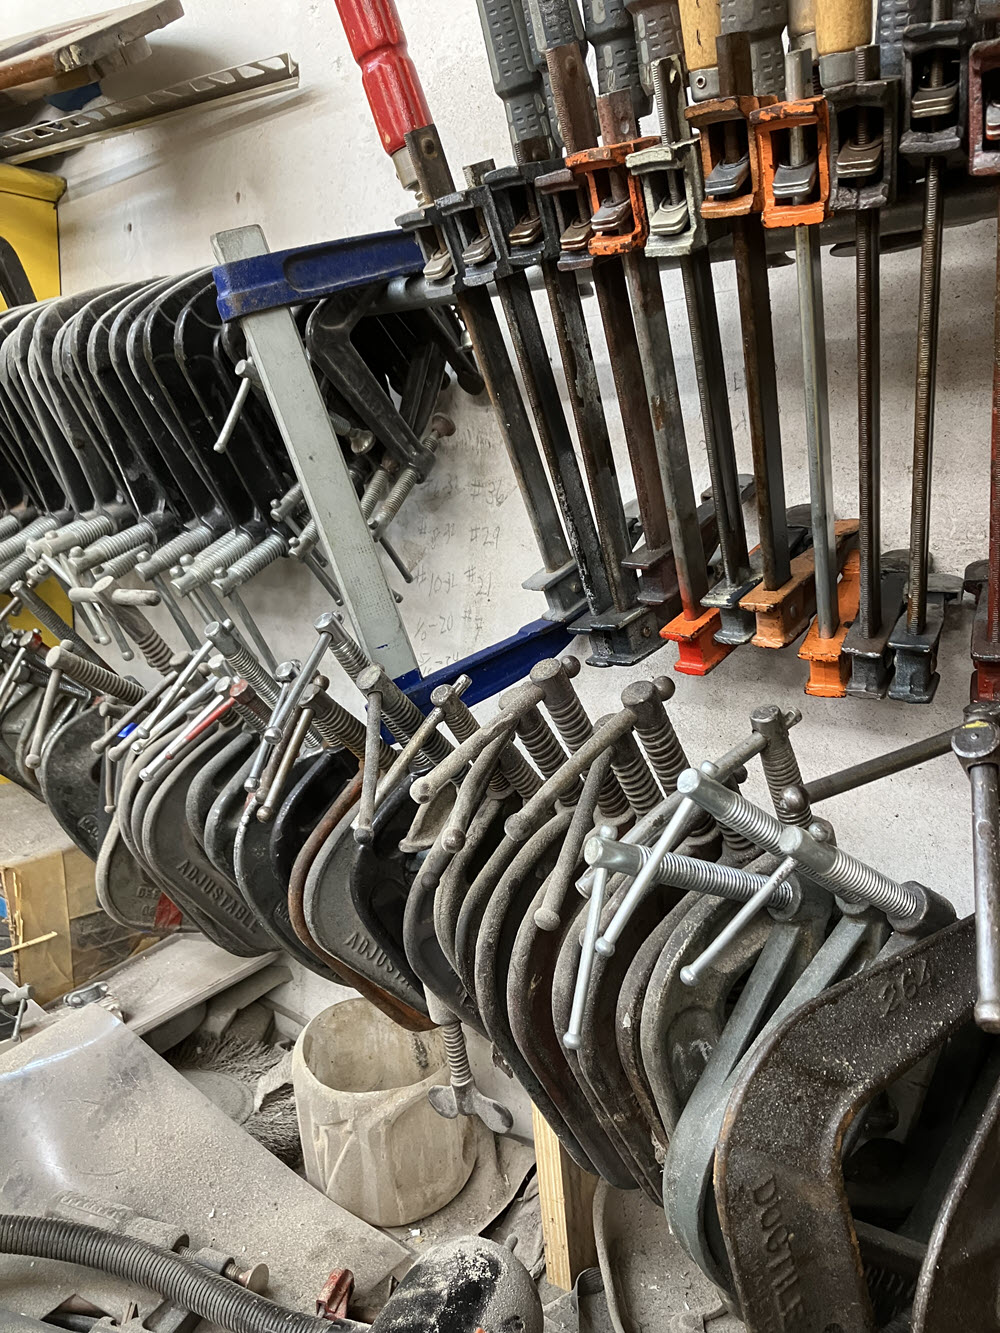
Clamps I’m one of those people that believe you cannot have enough clamps. When you work alone as I do clamps are your second set of hands. Obviously you don’t need this many but you do need three or more 4′ pipe type bar clamps to hold the rails and some C (G in the UK) clamps to hold all the other bits in place for welding.
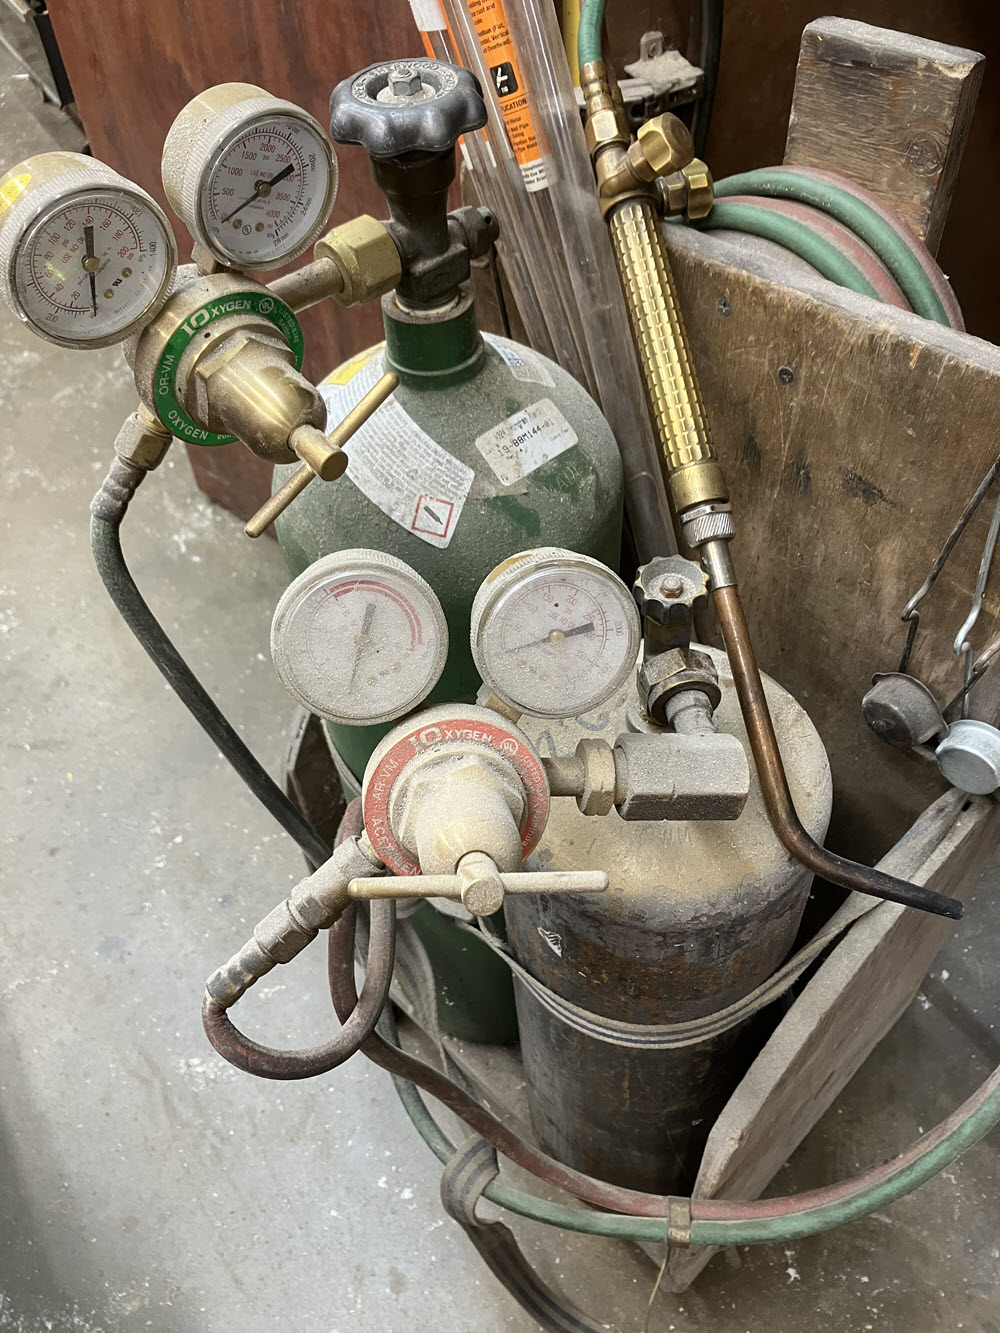
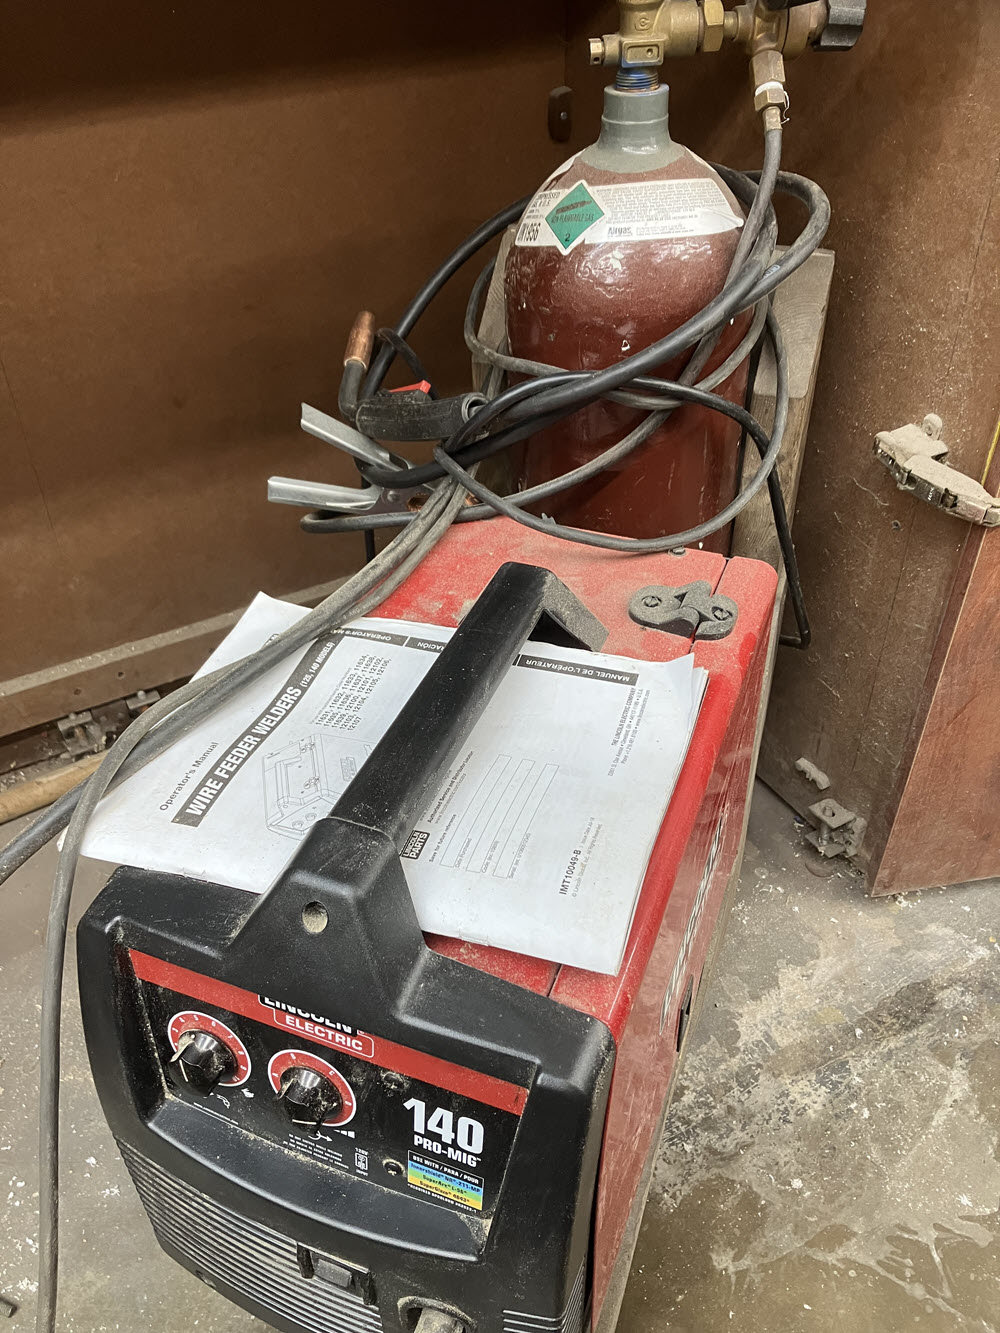
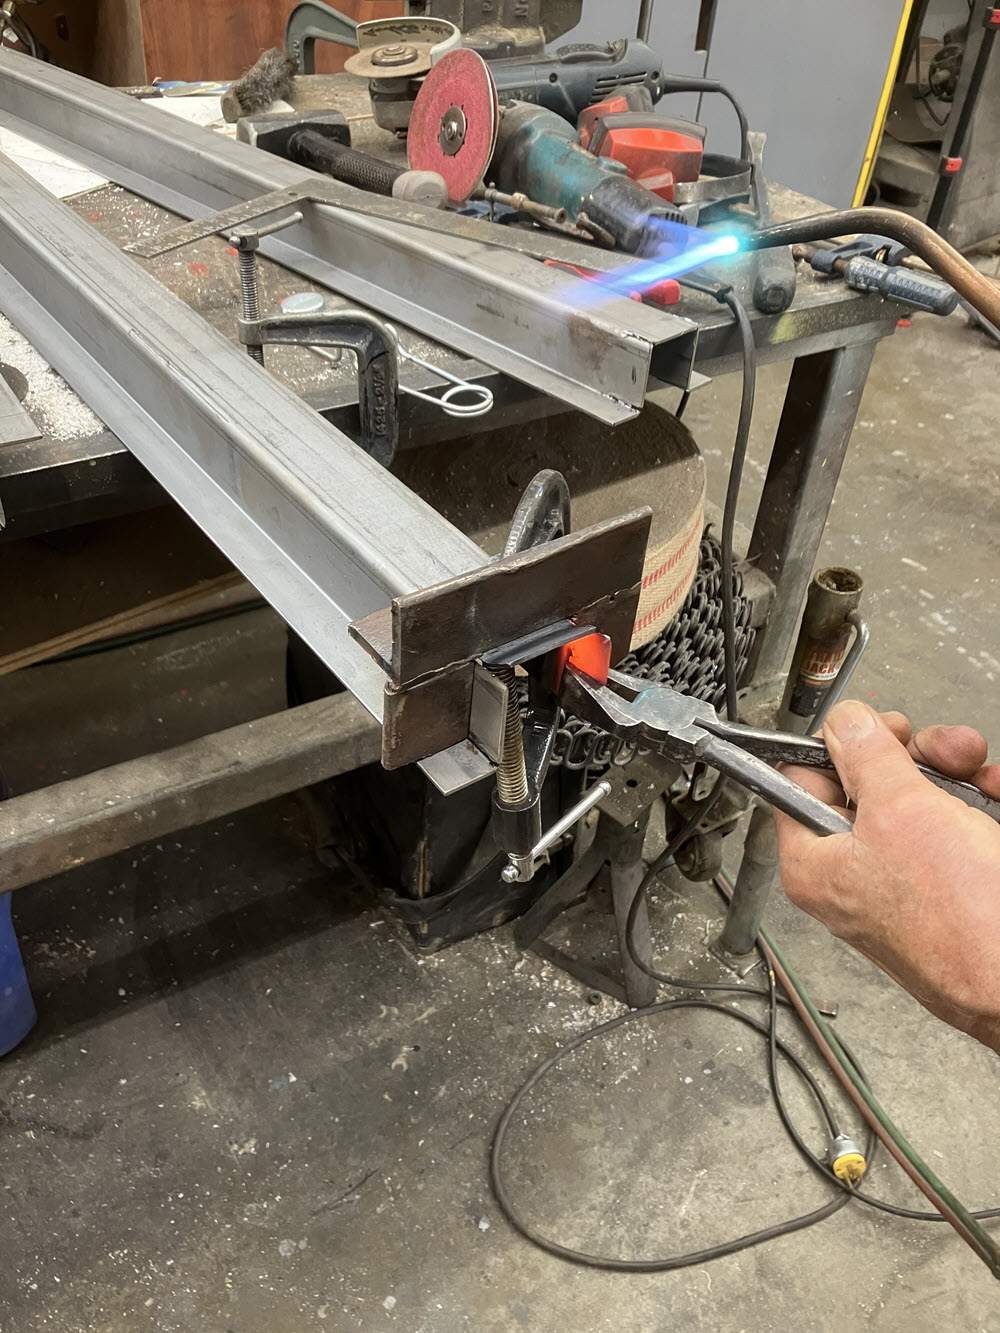
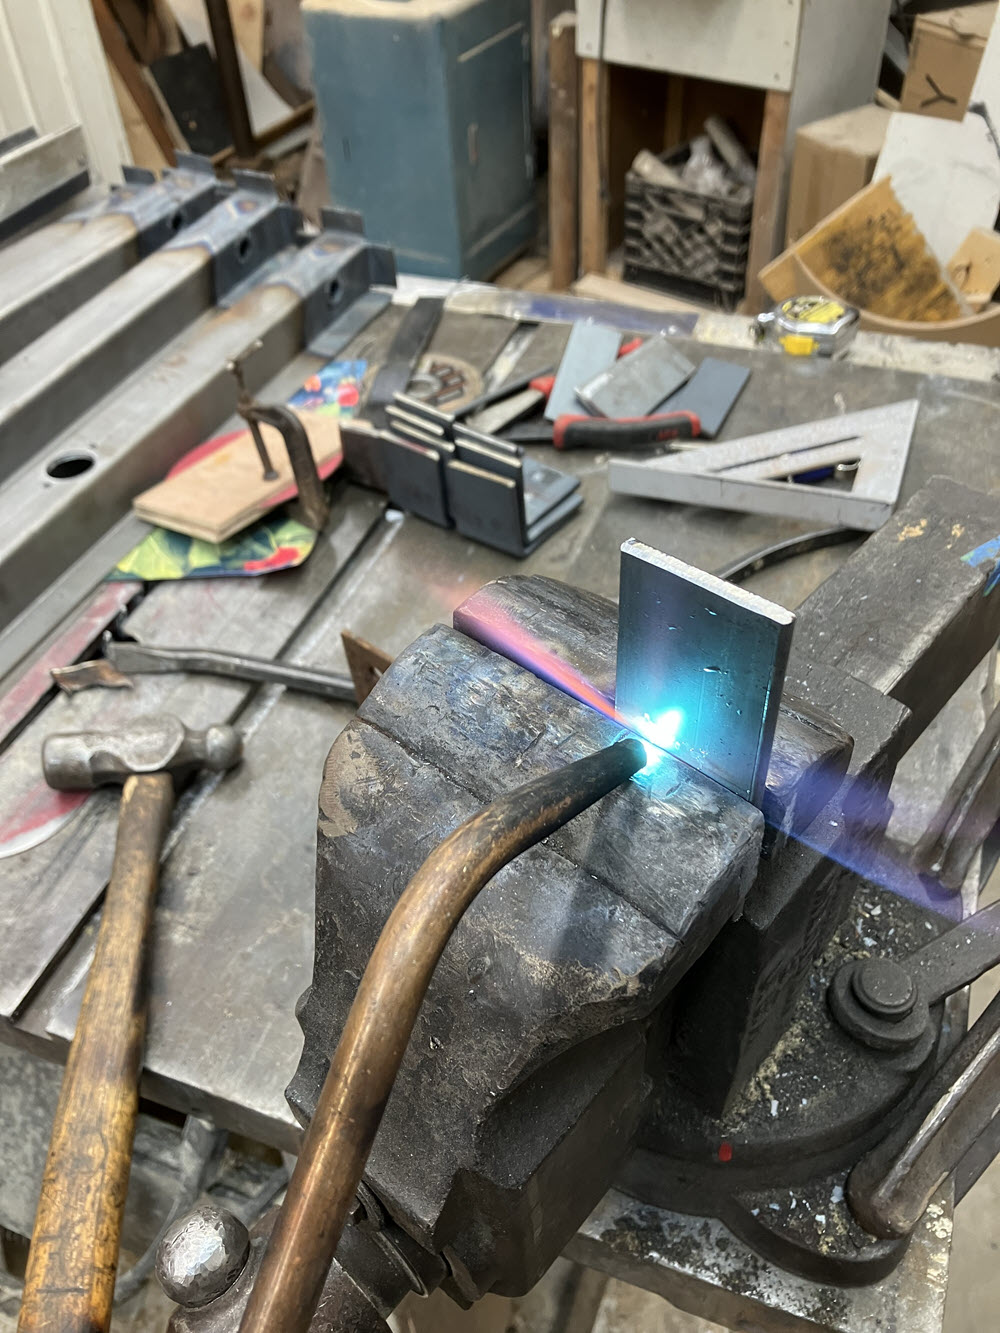
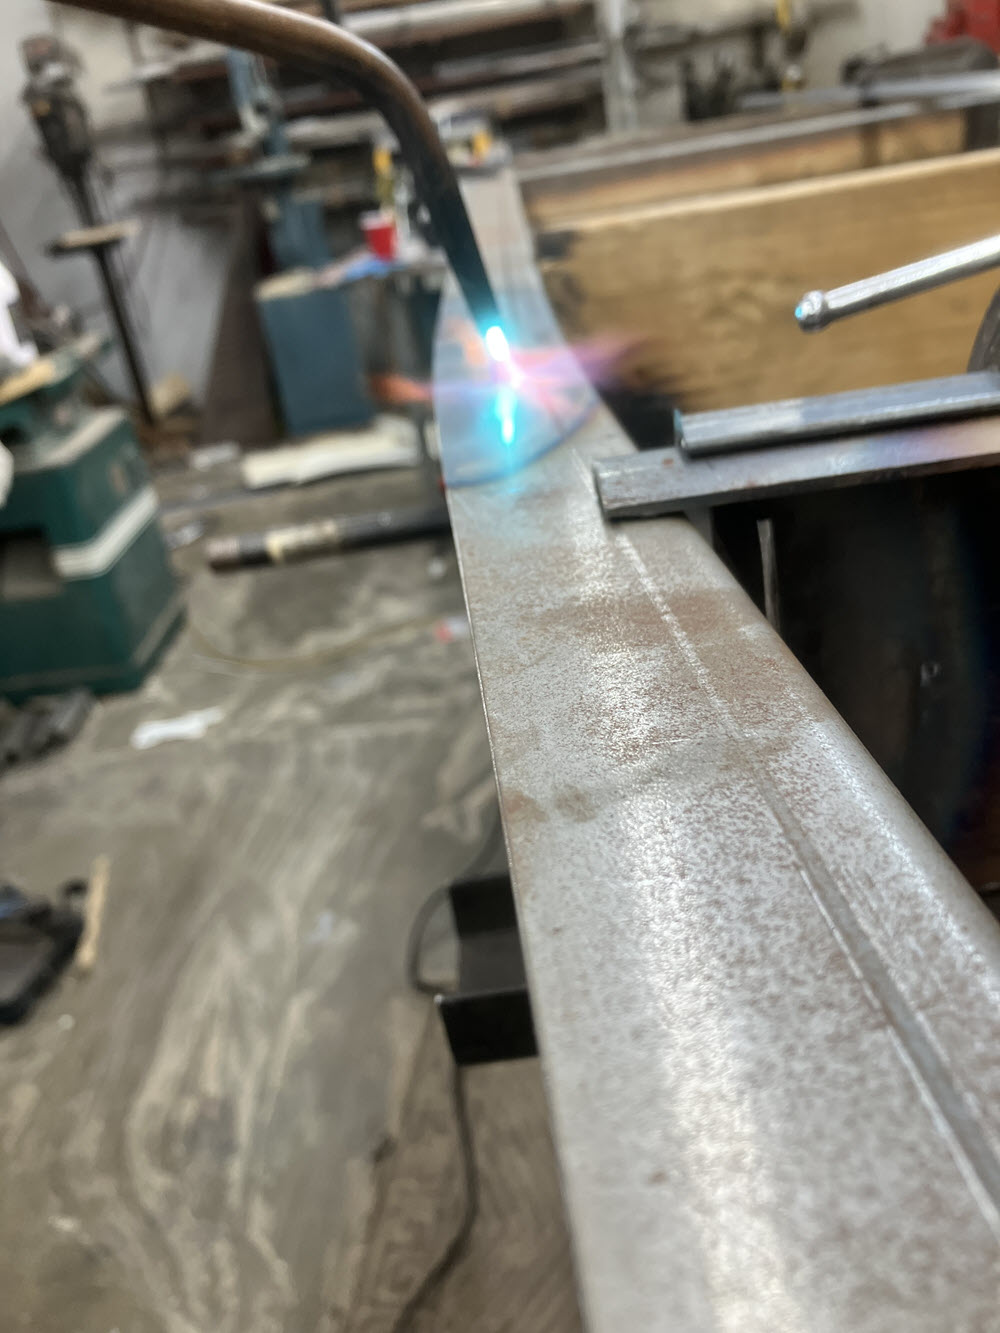
Welders An Oxy/Act welding set with a large tip is essential for bending the rails. Years ago it was all I had and I made several chassis using Oxy/Act only. So yes it can be done but I don’t recommend it. It is slower and puts more heat into the metal than I like. A MIG wire feed welder (Metalic Inert Gas) is the preferred solution for welding crossmembers etc. I currently use the Lincoln shown. It is moderatly priced, easy to use (think glue-gun) and does the job. I have also used MIller welders. Much higher end machines with supurb capabilites but not necessary for the kind of work I do. A 70/30 Argon/CO2 mix gas works fine for all my stainless steel projects as well as carbon steel. I’m not a welding professional so consult with your gas supplier (AIRGAS is local to me) for recommendations.
Squares Metal moves around when you heat it. Keeping everything in place (clamps) and square is critical. I weld-check-weld some more-check again ad infinitum. Among my many squares I have this one framing square with a notch I cut in the corner. The chassis crossmembers are flanged. The notch clears the flange so the crossmember to side rails can be checked/set/kept at 90 degrees.
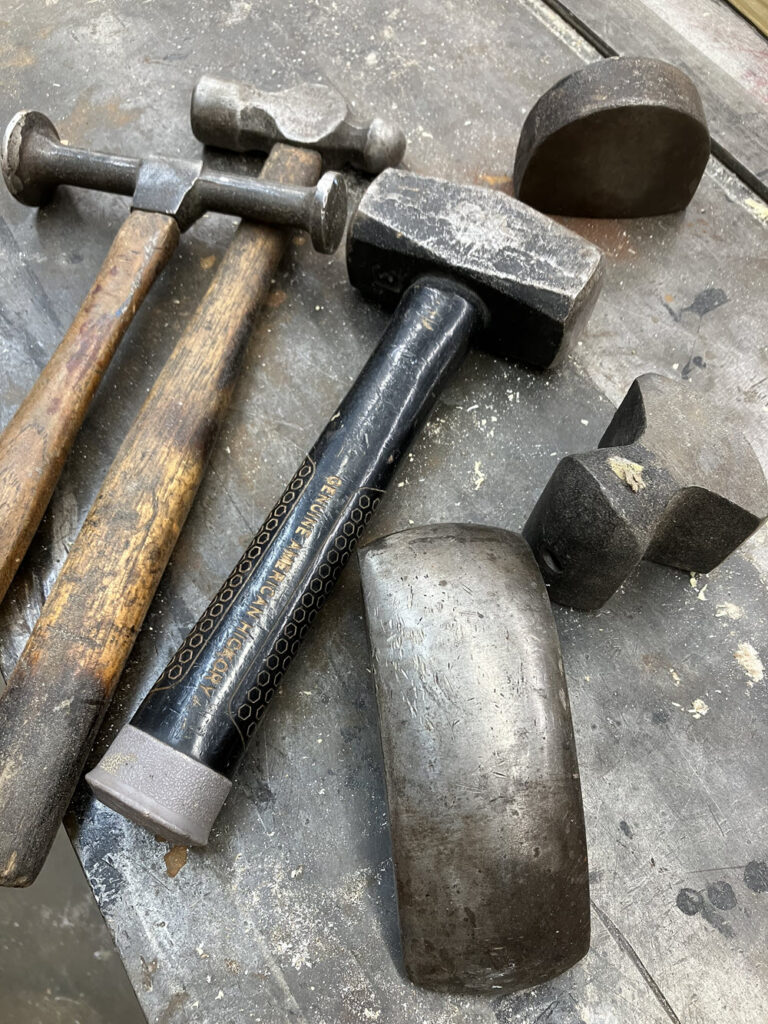
Hammers Like clamps you cannot have too many. A ball peen is the minimum for chassis building. A Dolly; a lump of steel to use as an anvil when shrinking or straightening is certainly helpful although a second hammer can also be used for the job.
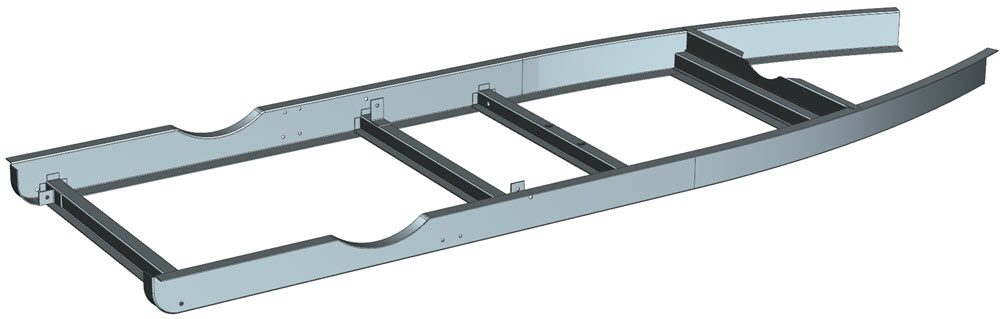
Rails
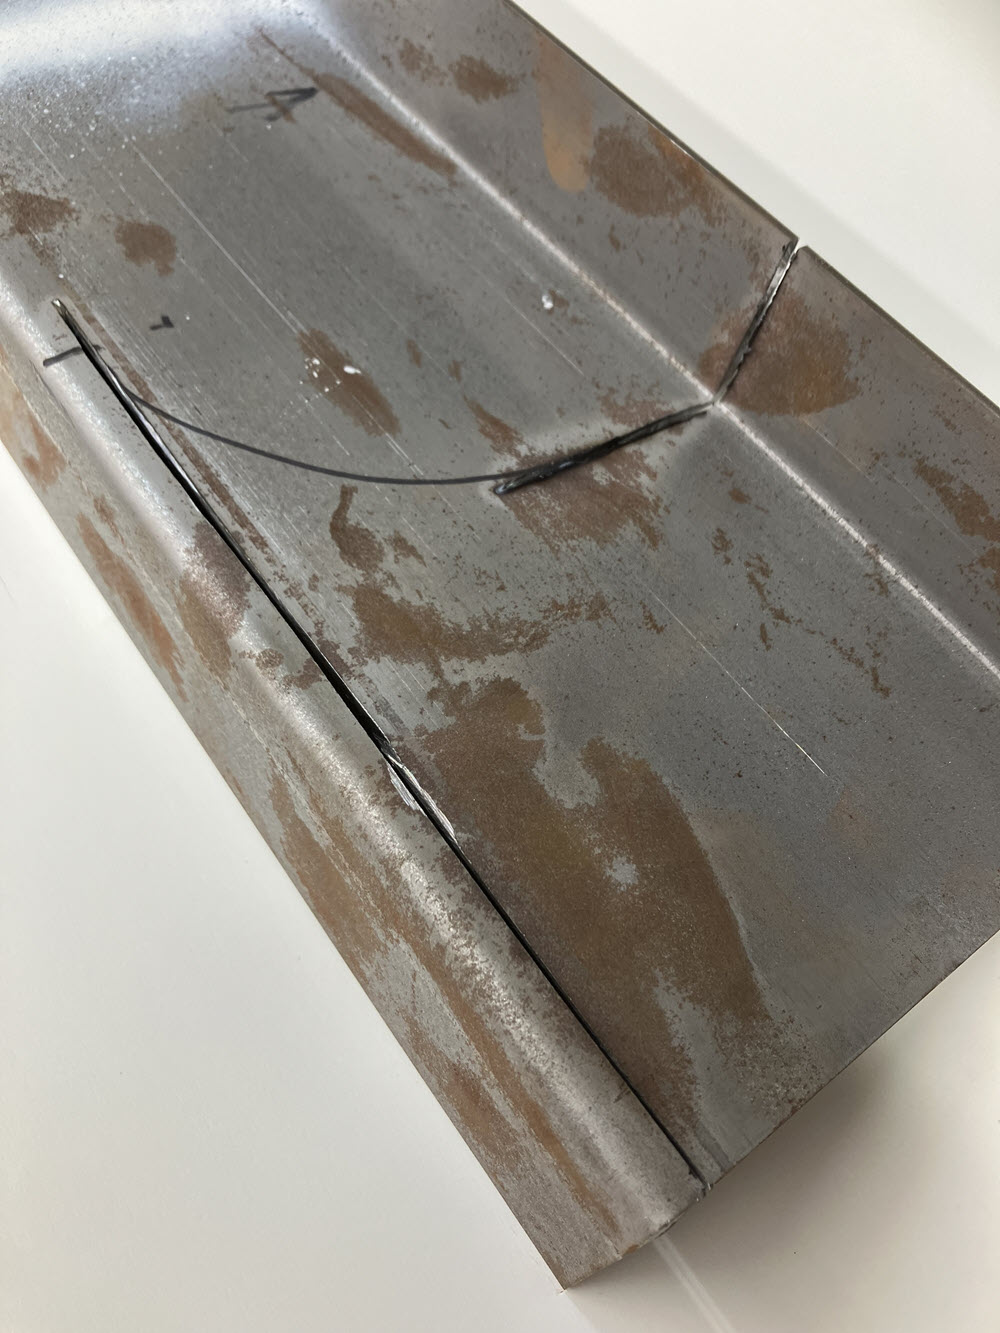
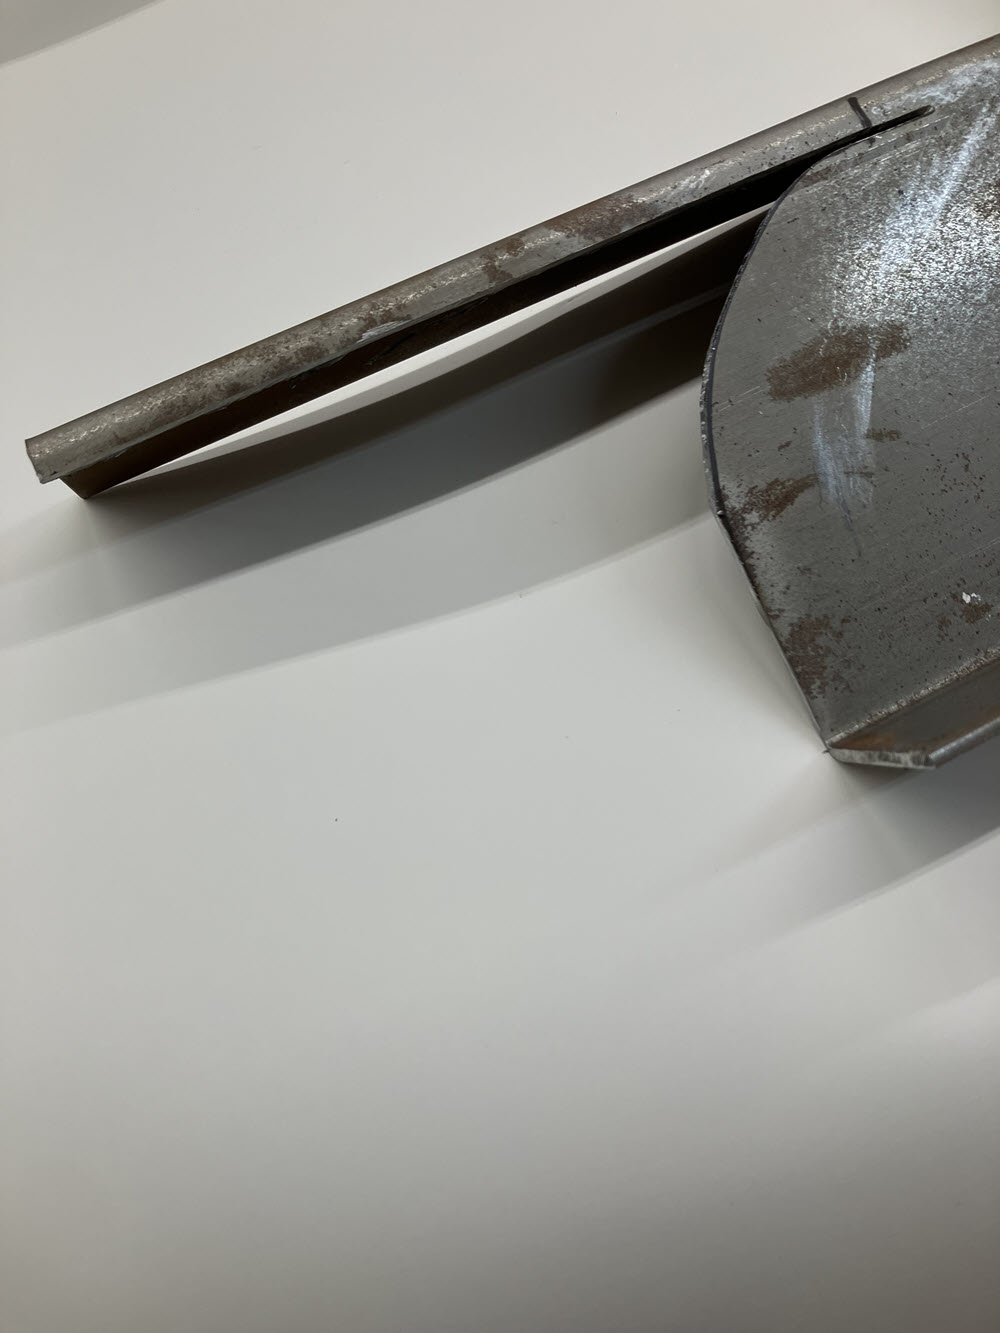
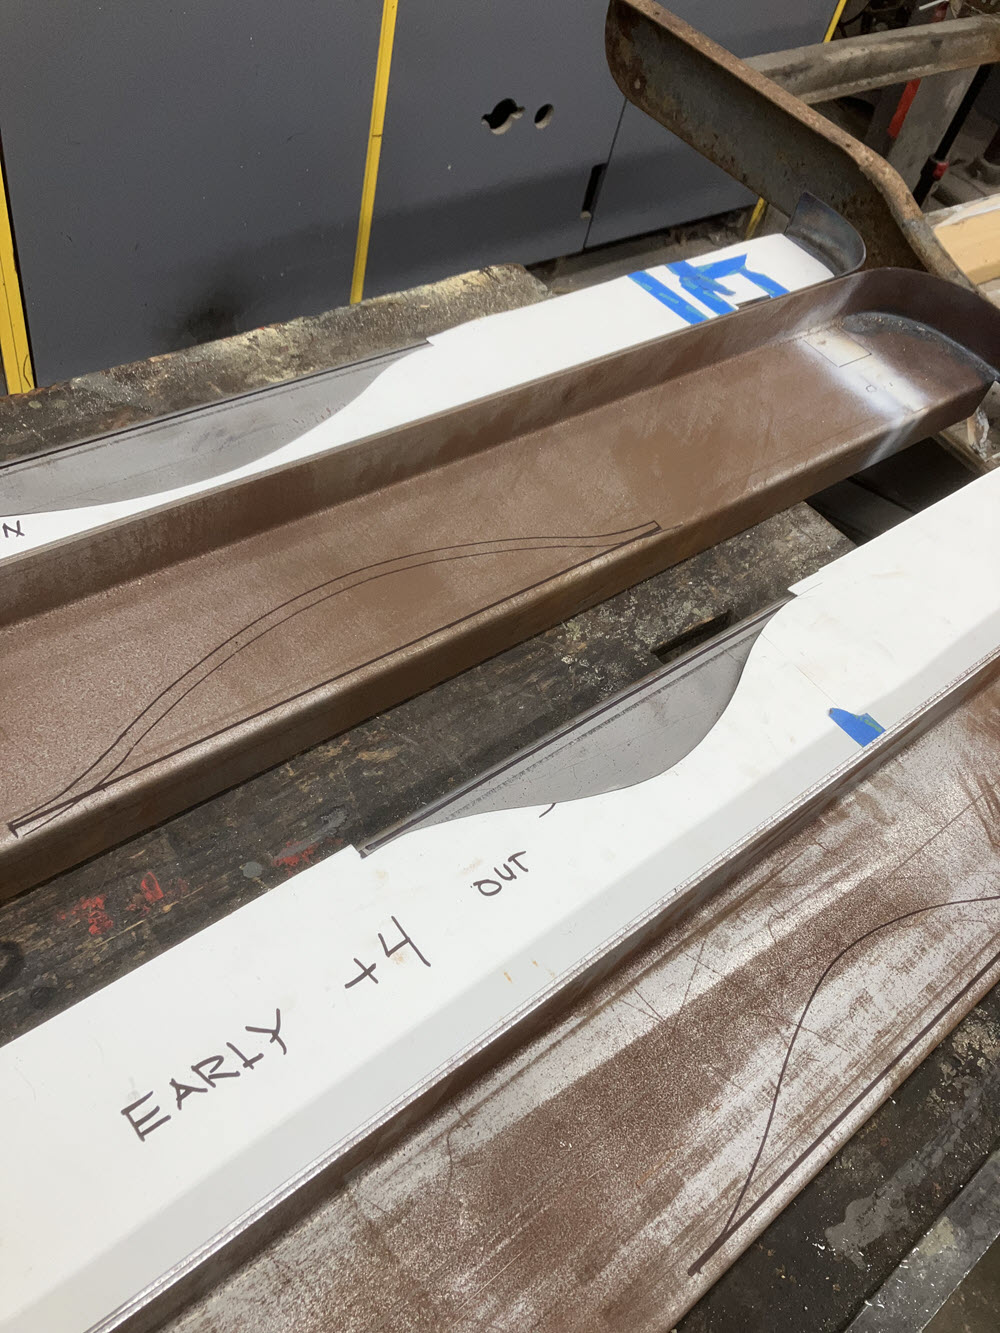
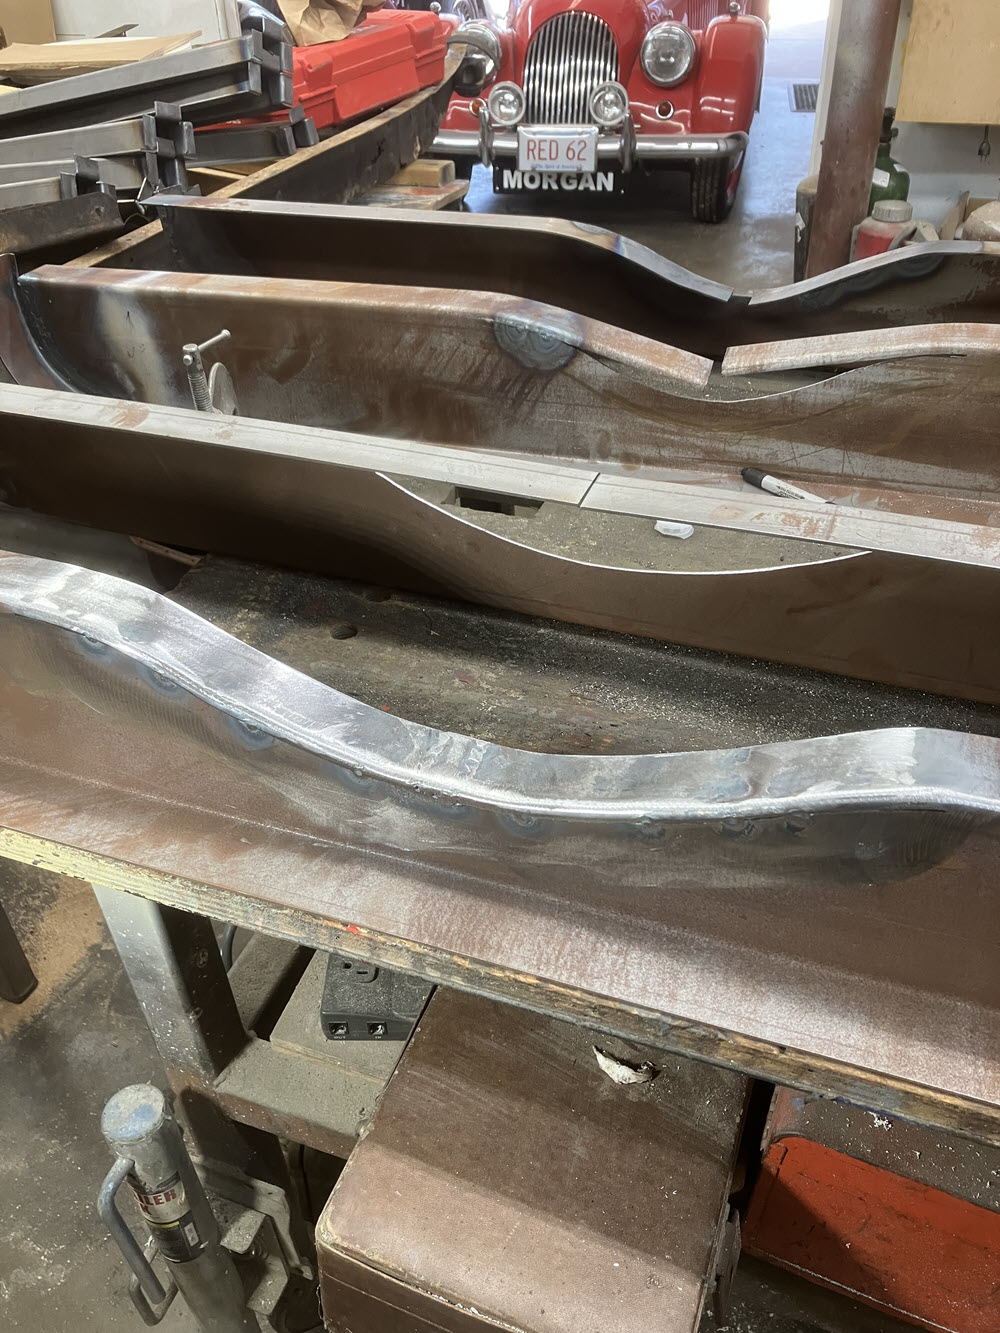
Idealy you will have a sheet metal shop bend up two 12′ “Z” sections of 12GA CRS for the rails. Not all shops have 12′ press-breaks. Second best, but still entirely acceptable, is getting three 10′ sections. In this case, one rail gets cut in half and each half welded to a 10′ section. When doing the layout for the finished rail locate the weld at the lowest point of the axle cutout. This section will get reinforced anyway so no structure is compromised.
Start by making a pattern from an original chassis. There’s always a choice: make patterns or make scrap.
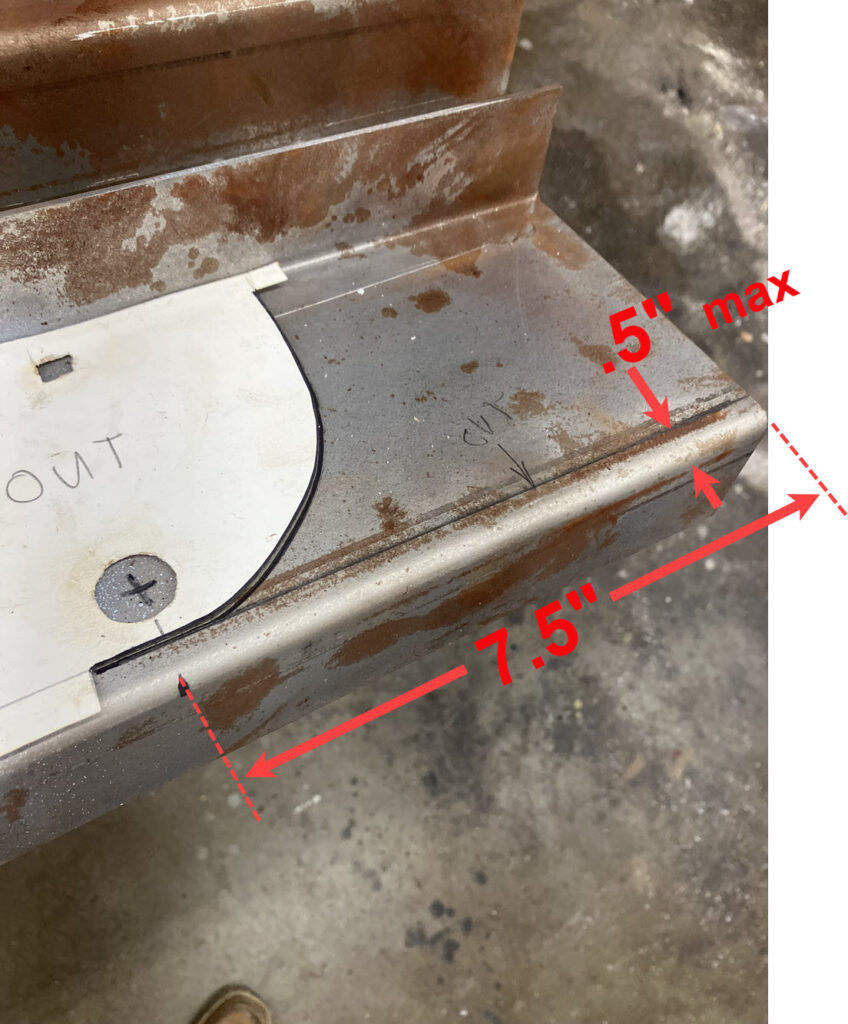
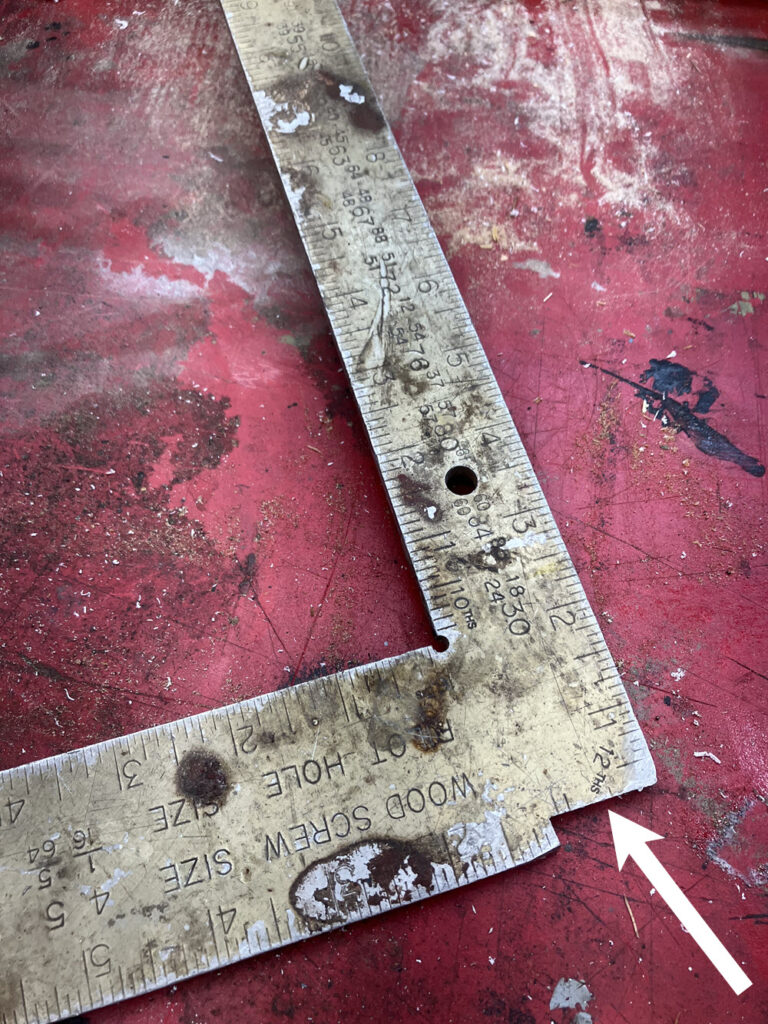
Trim the pattern not more than 1/2″. Locate the tangent point 7.5″ from the end and trace with a magic marker. Make a line on the bottom bend line as shown. Again not more than 1/2″ up.
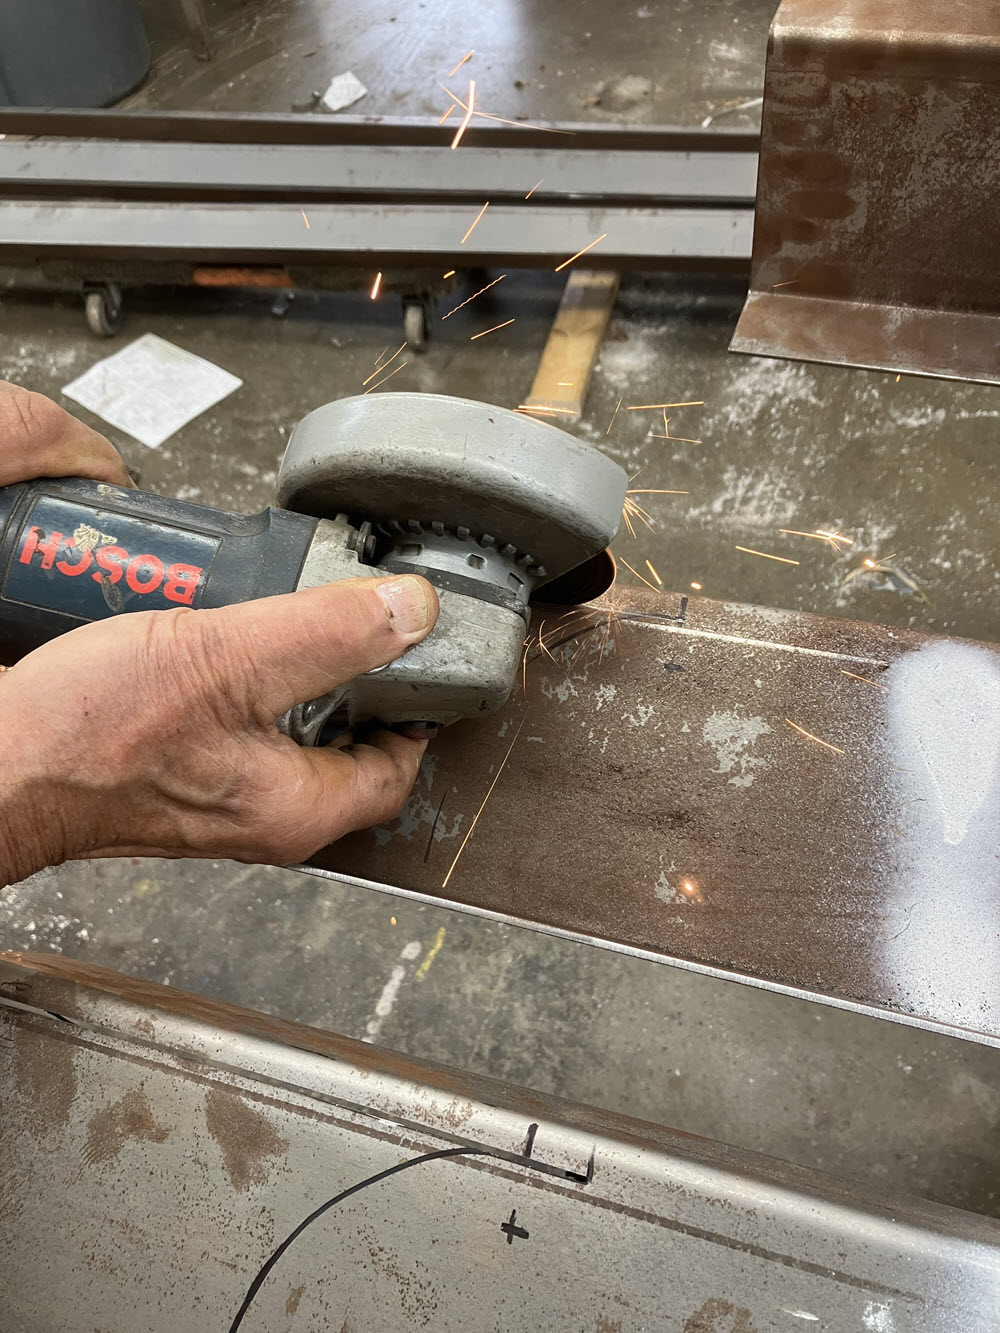
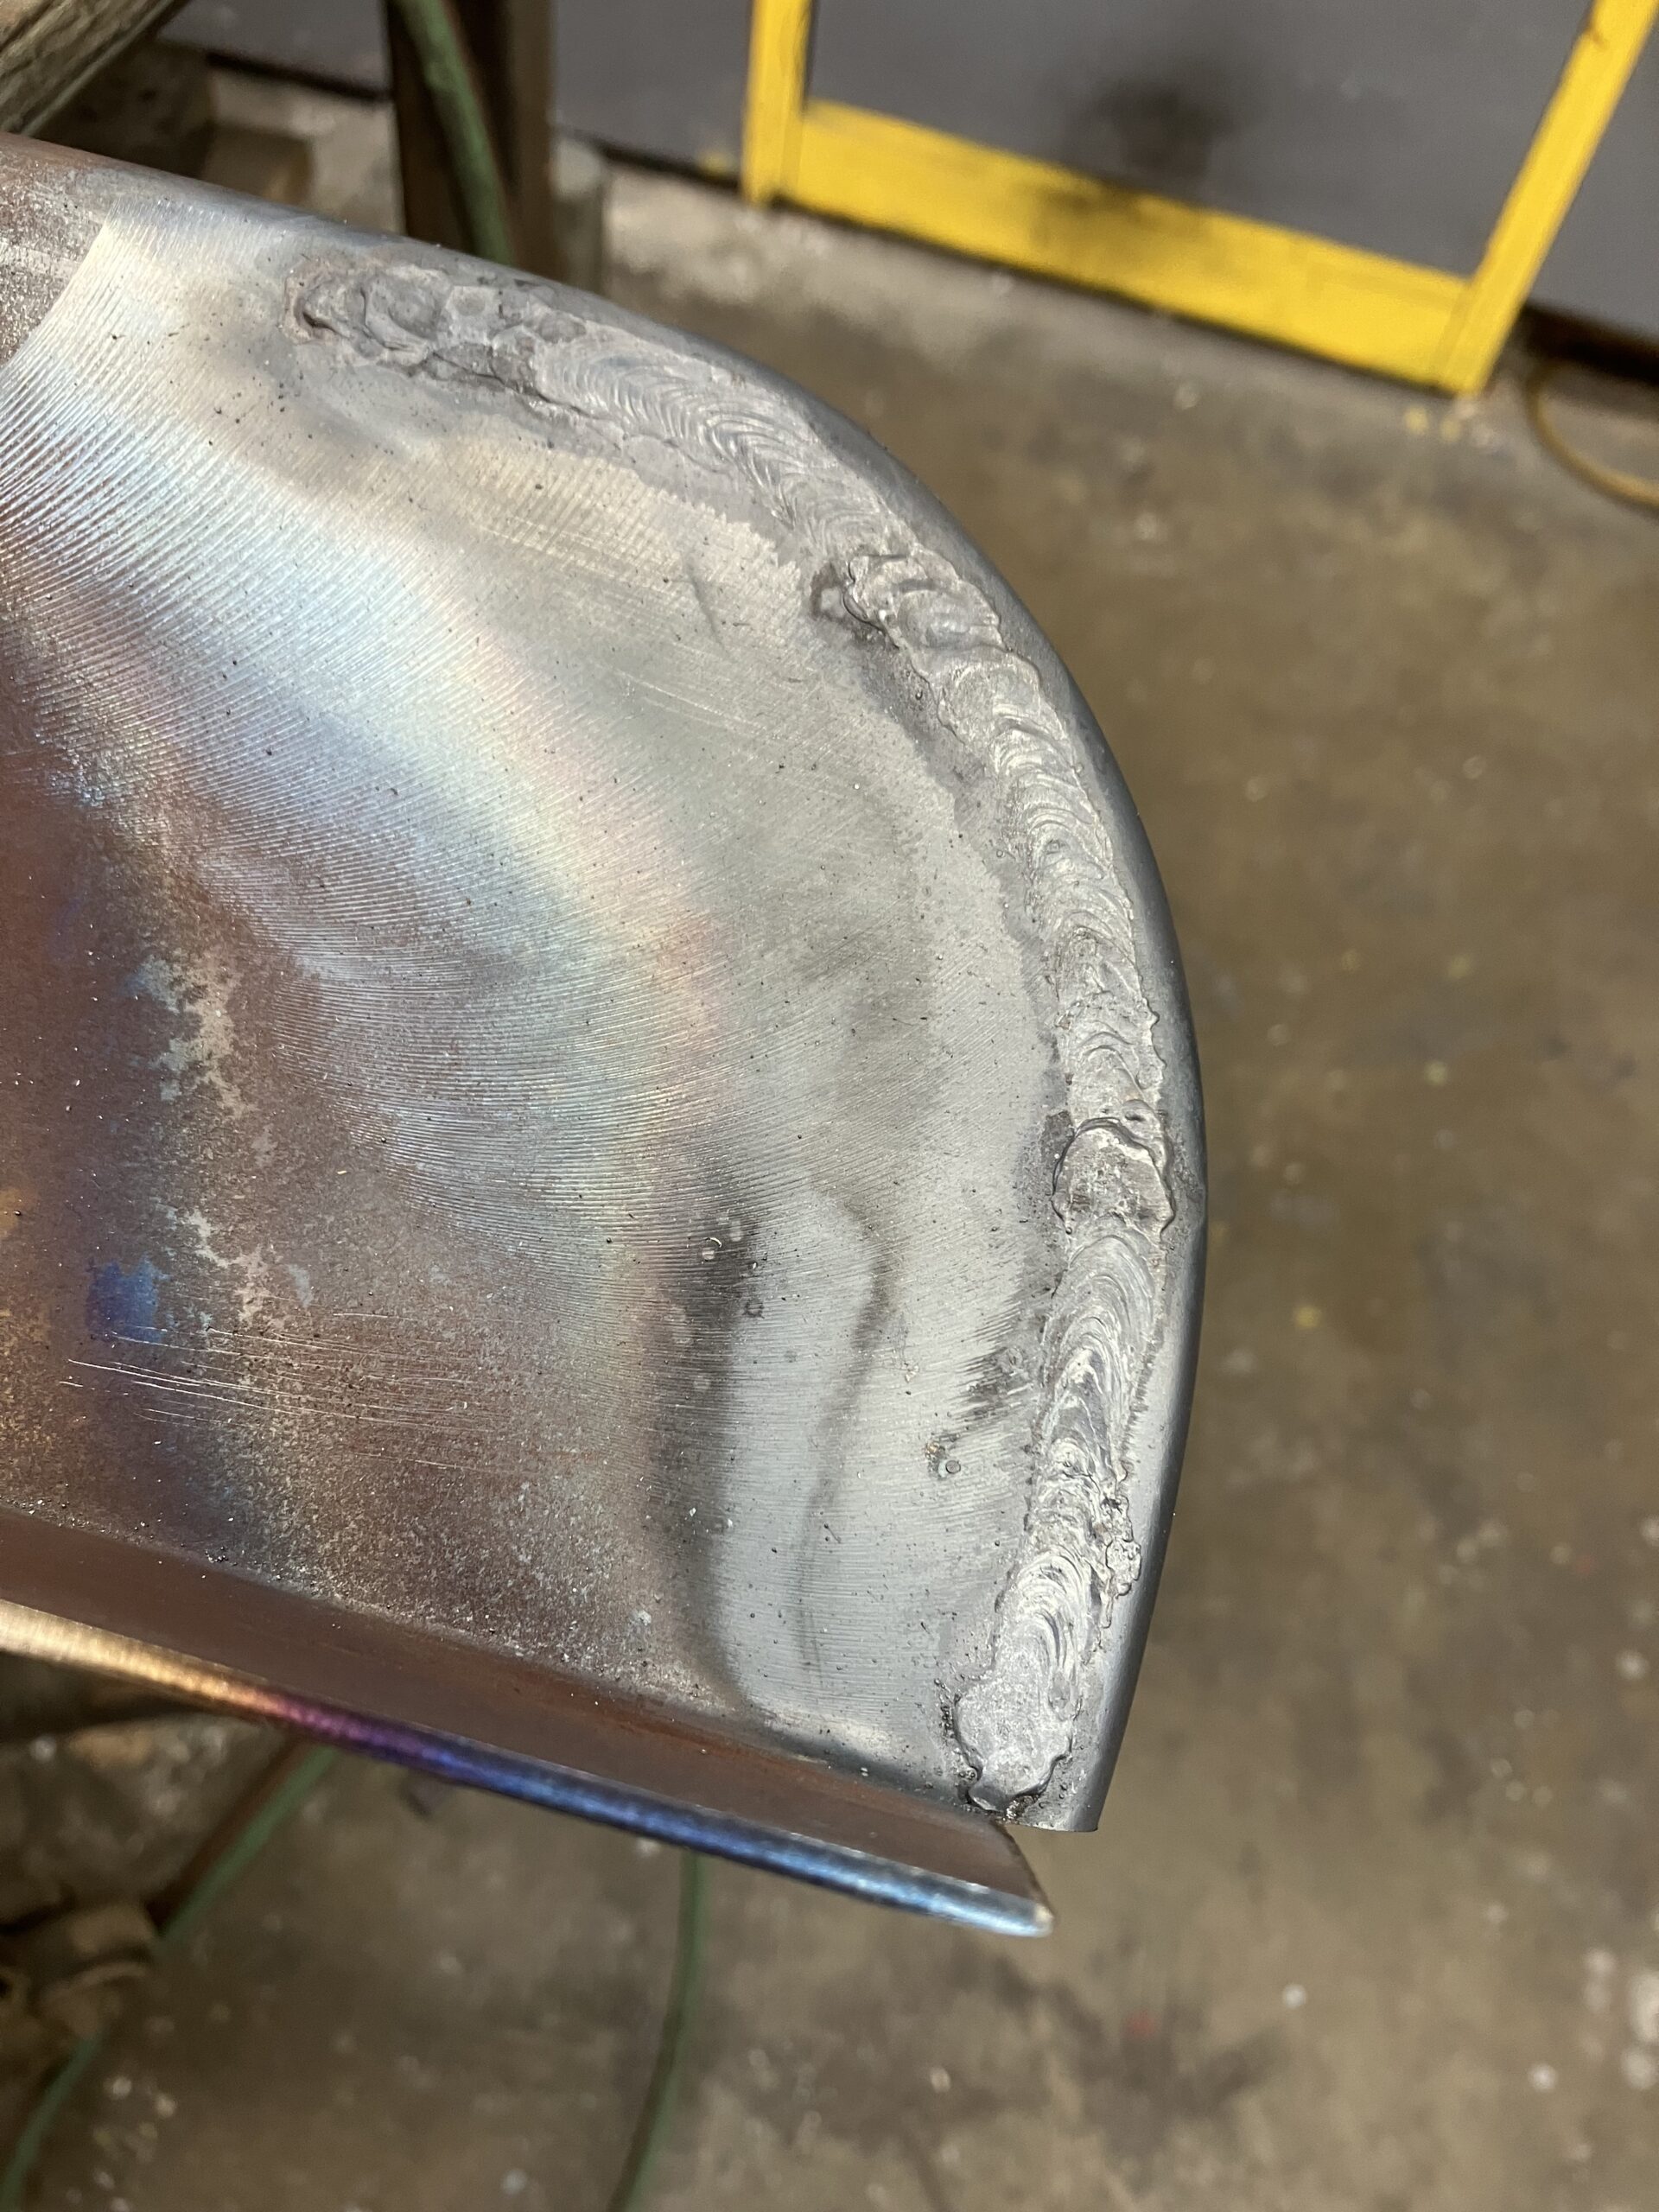
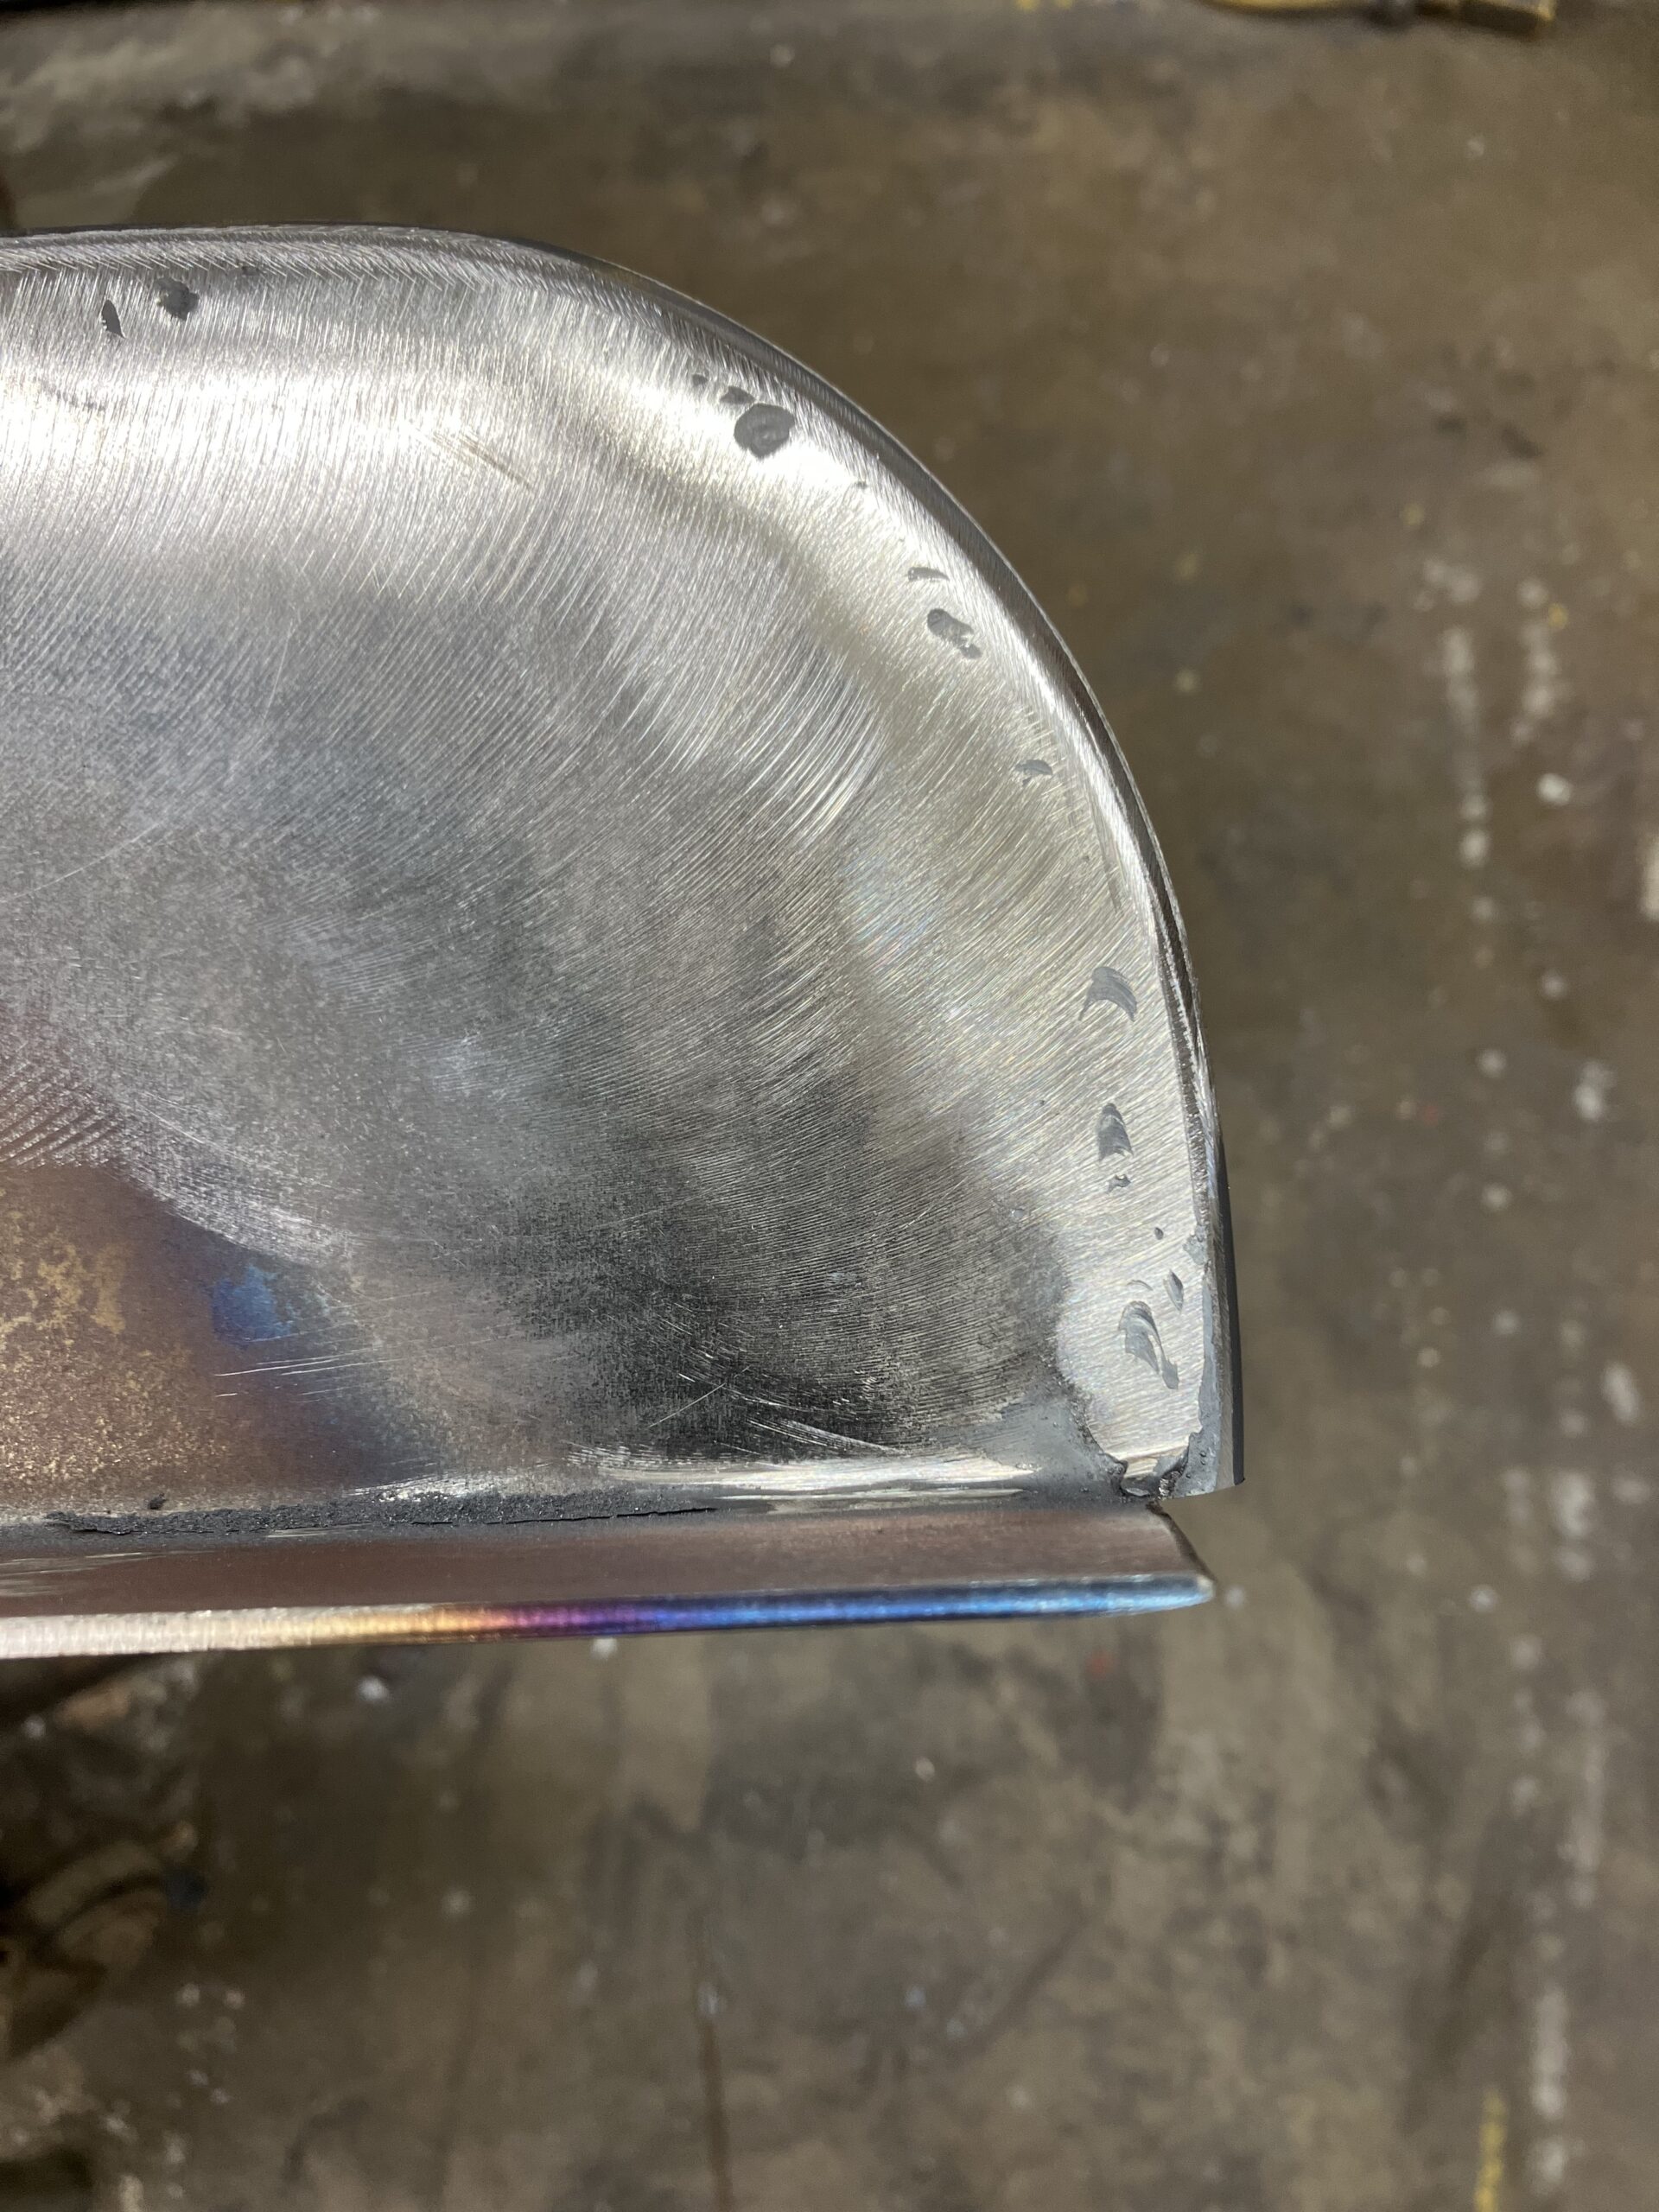
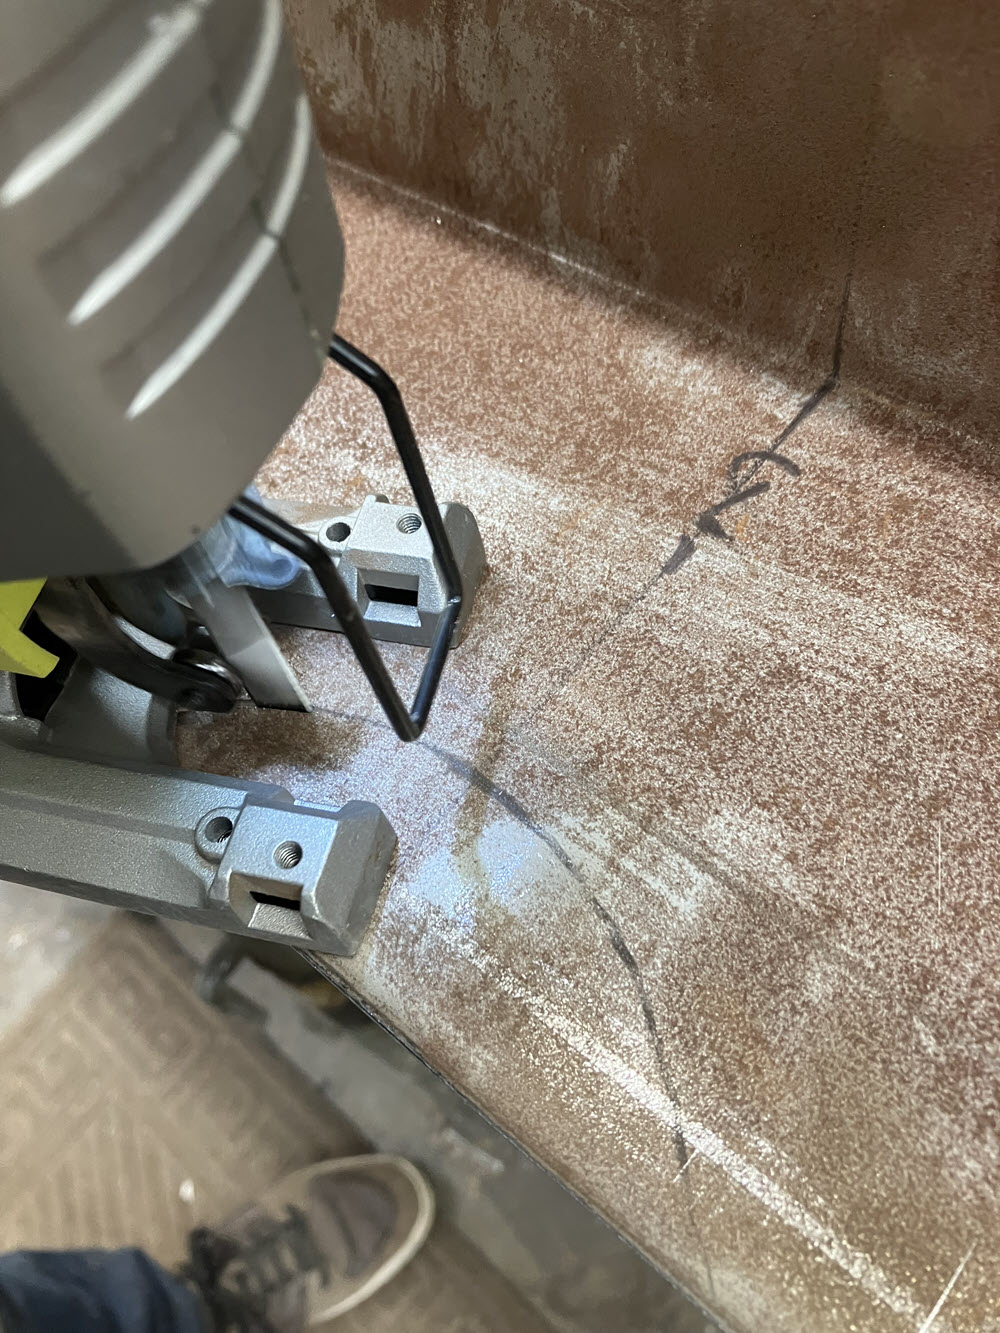
I do most of the cutting with cut-off disc mounted in a 4.5″ grinder and finish the radius portion with a jig saw (16tpi blade works best). Save the scrap; some of it will be used on the axle cut-out.
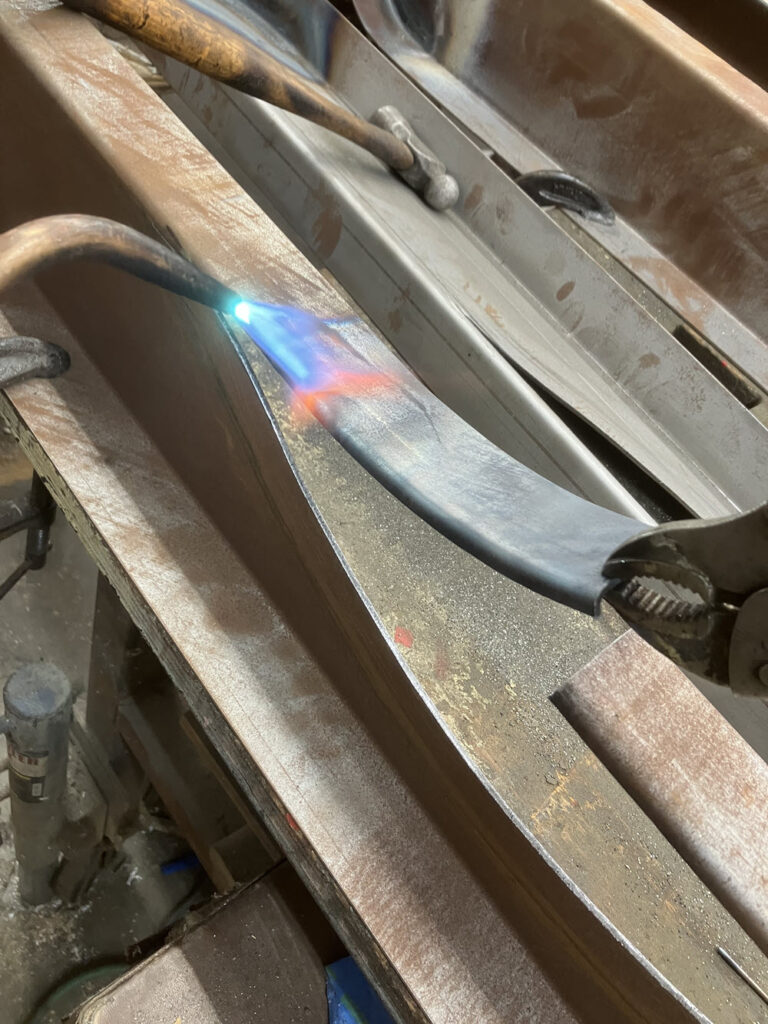
Bending: clamp the rail firmly on workbench. Use a LARGE C-clamp at the very end and close to the bend of the lower flange. PUSH DOWN- twist as neccessary to keep bottom flange following the previously cut radius.
When you get to the end of the bend either have a helper hold it in place while you tack weld it OR before you start set up some clamps that you can engage to do the holding while you tack weld.
So here is the same thing in video:
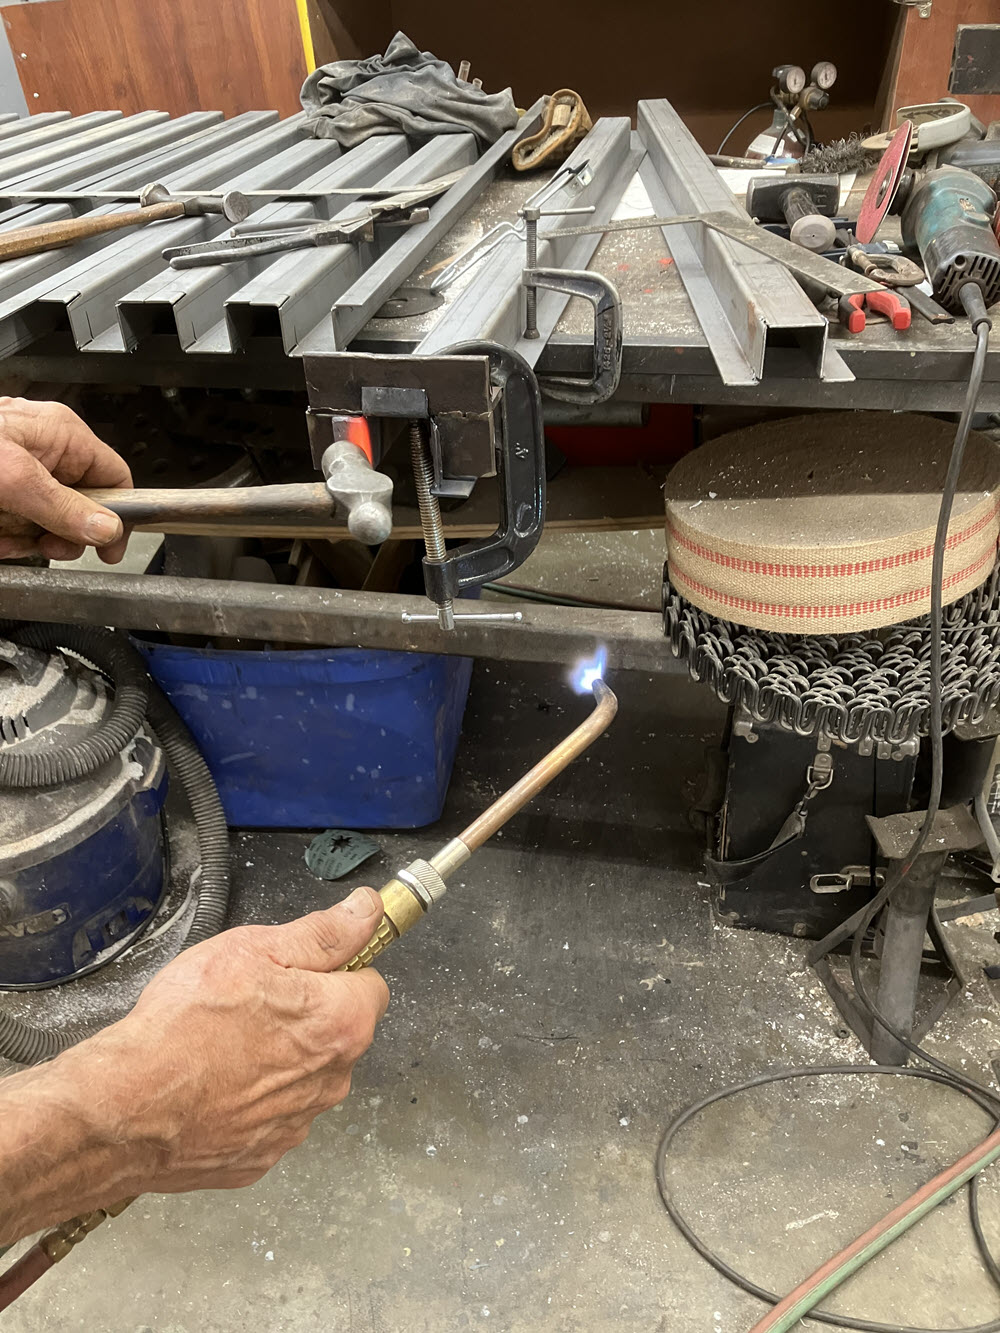
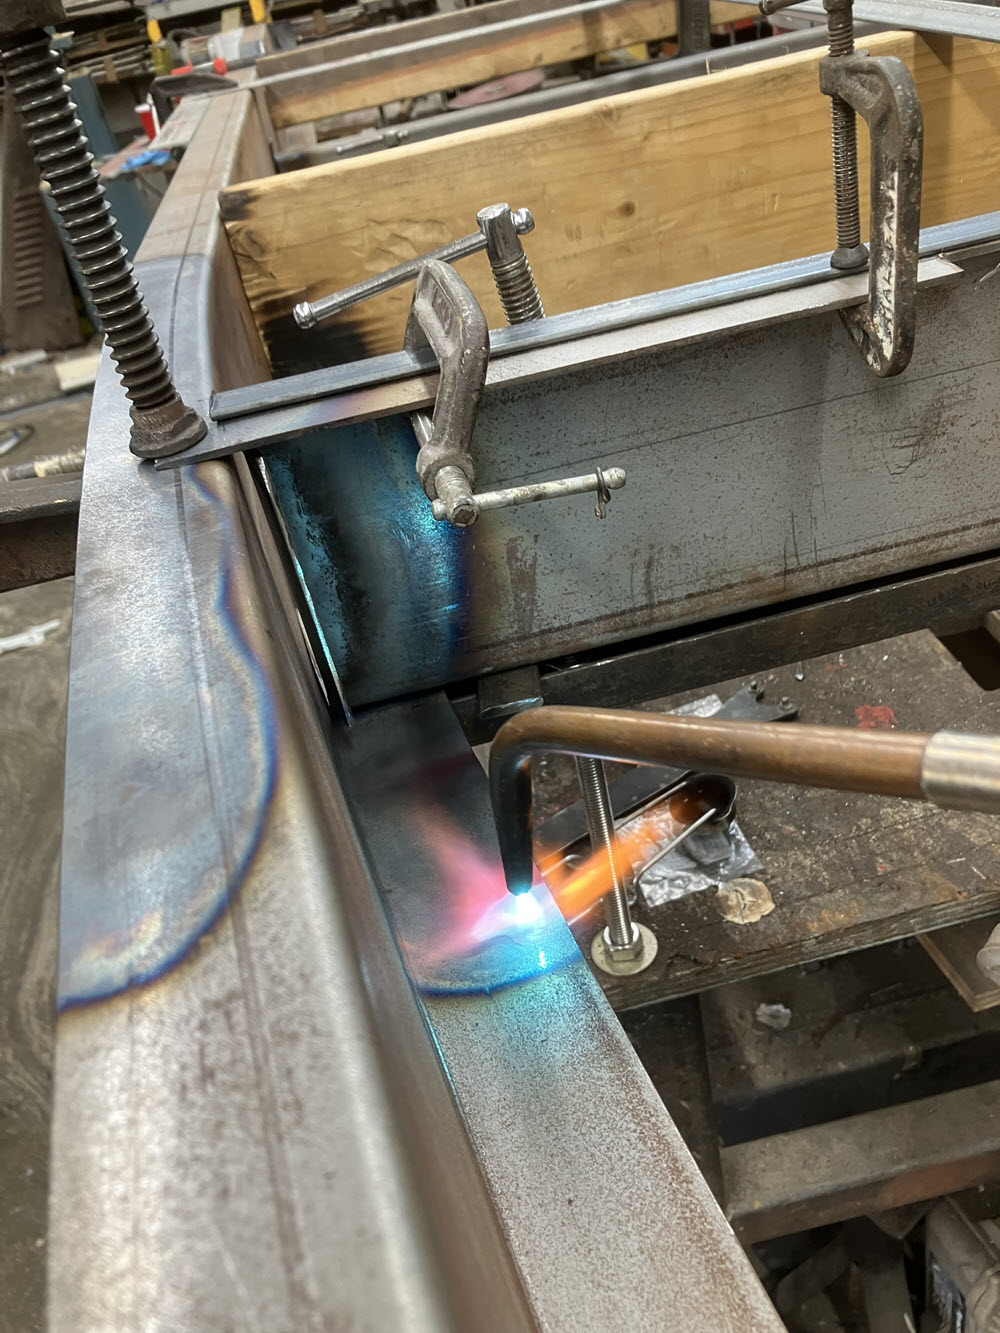
Welding: Sometimes I use MIG sometimes I use OXY/ACT. Either will do the job. This time it’s OXY.
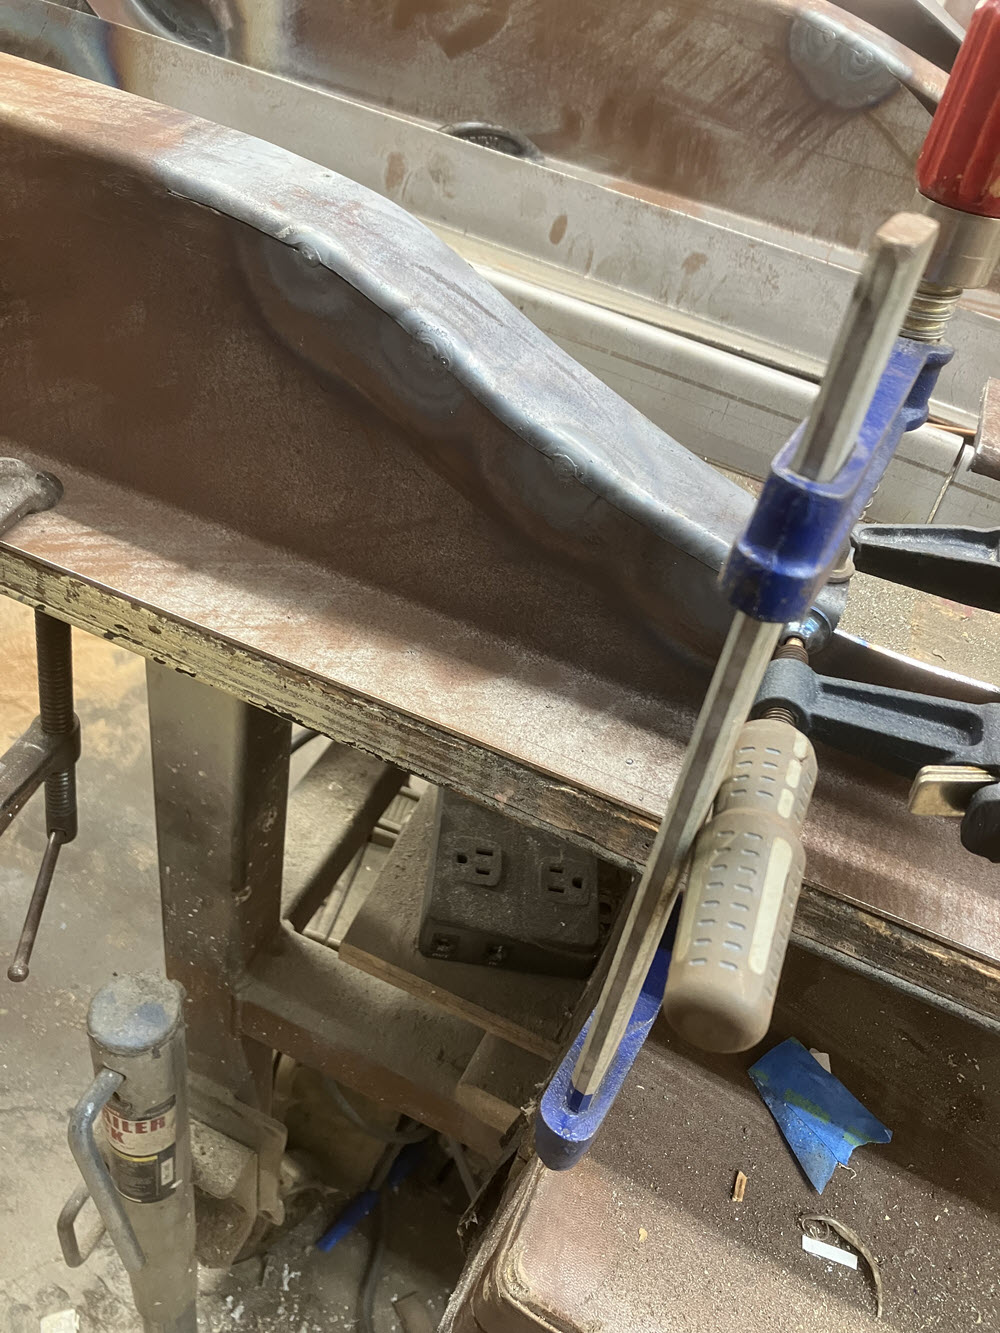
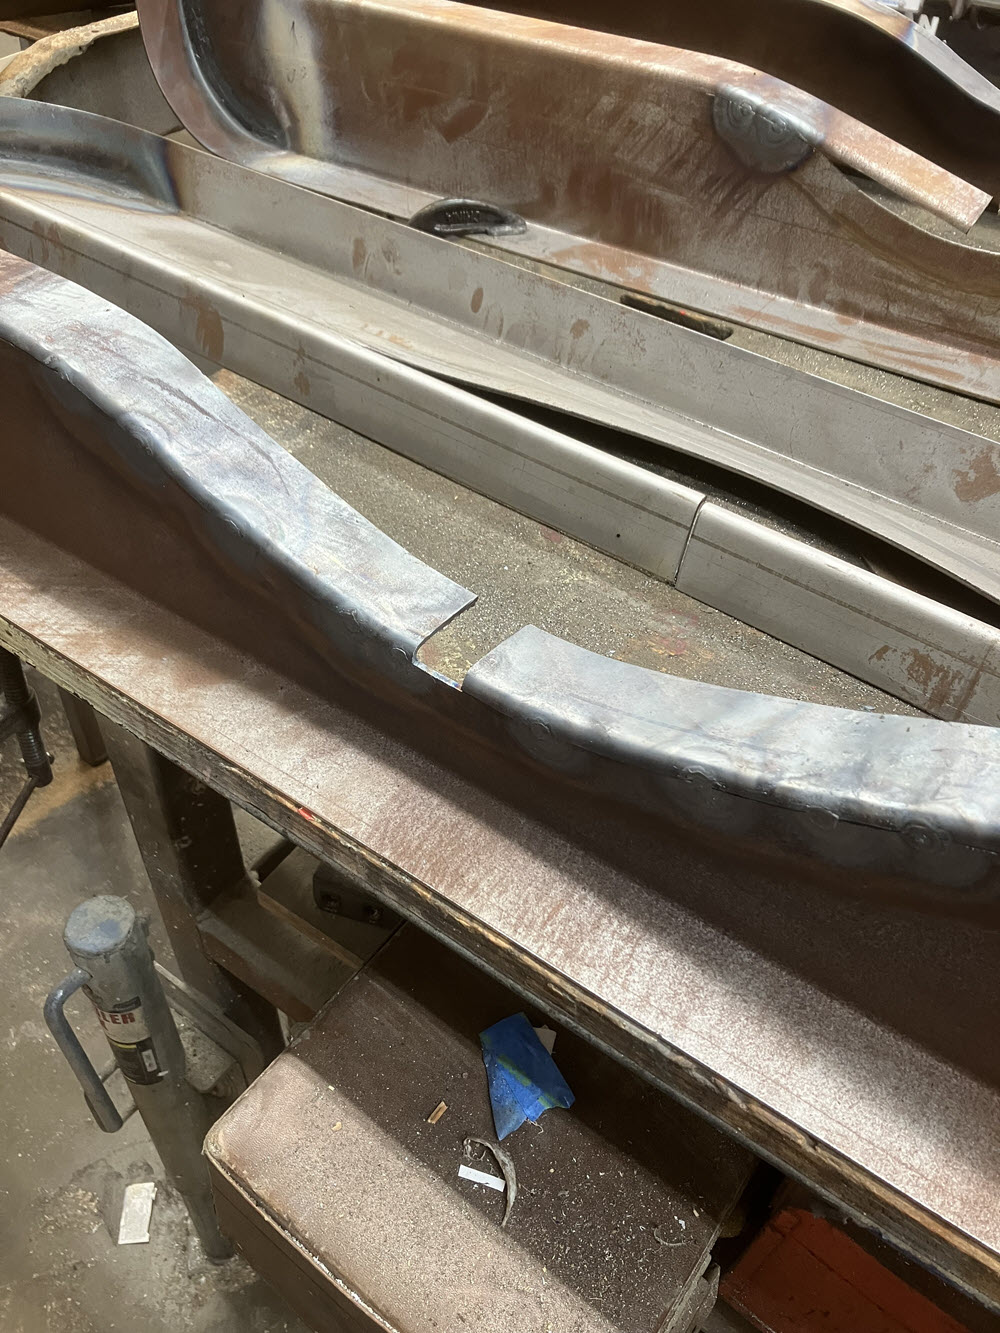
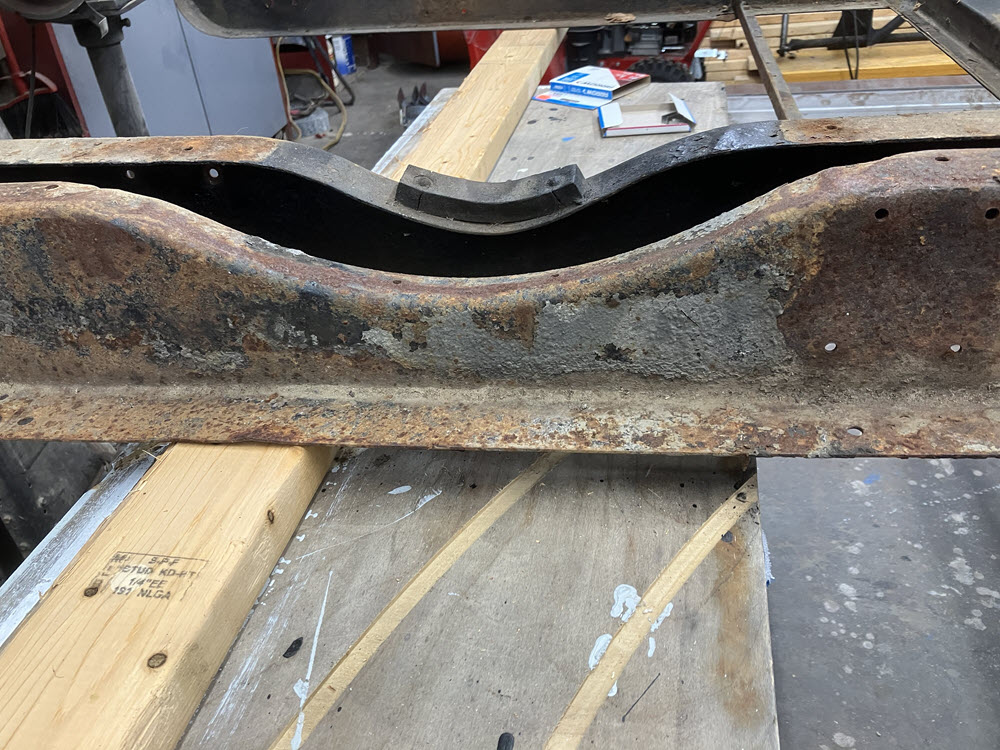
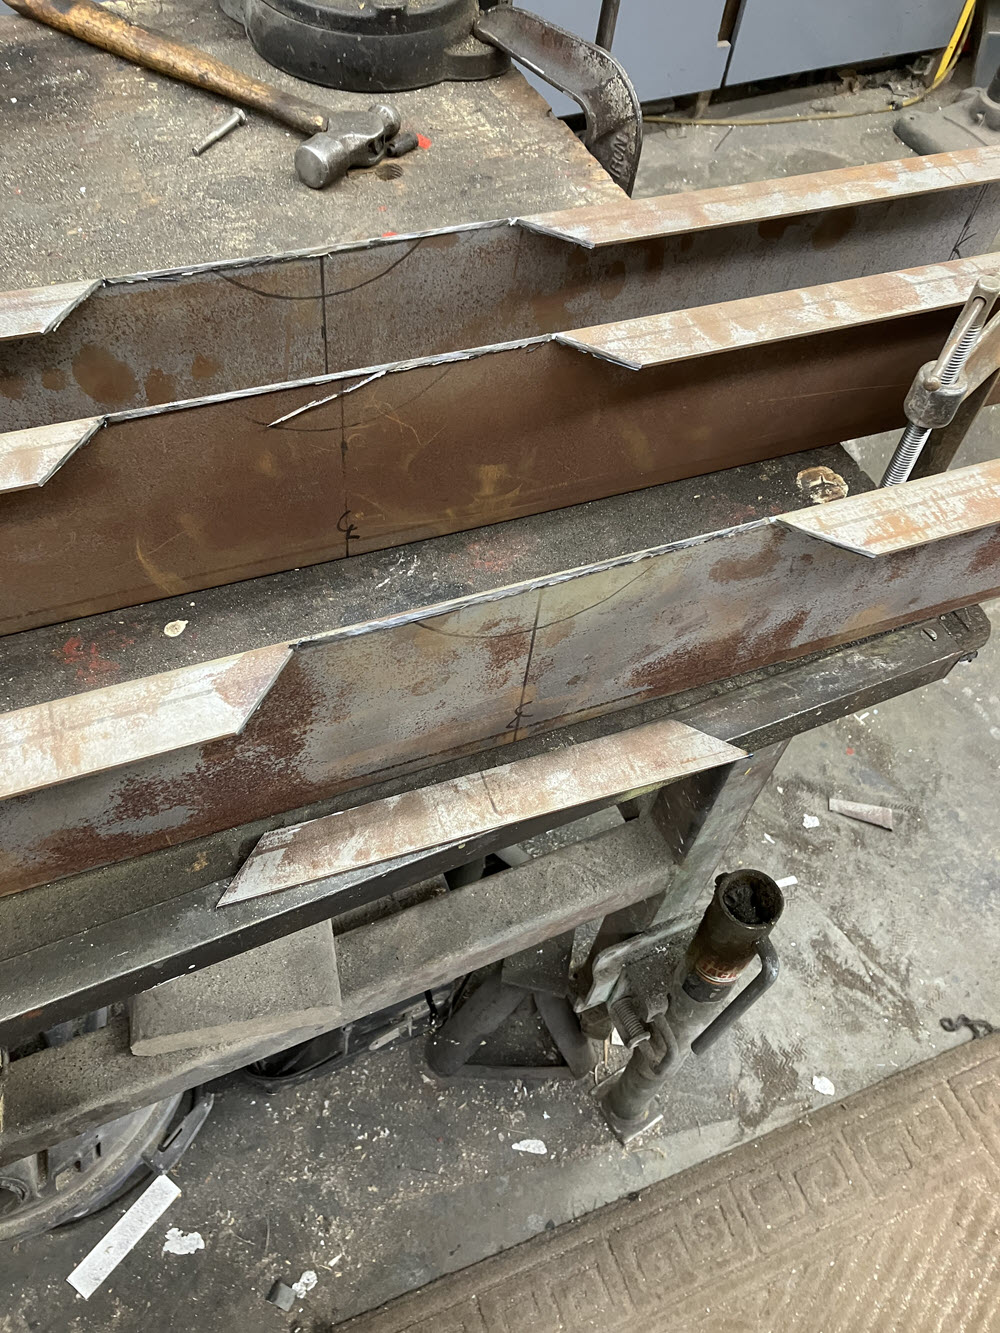
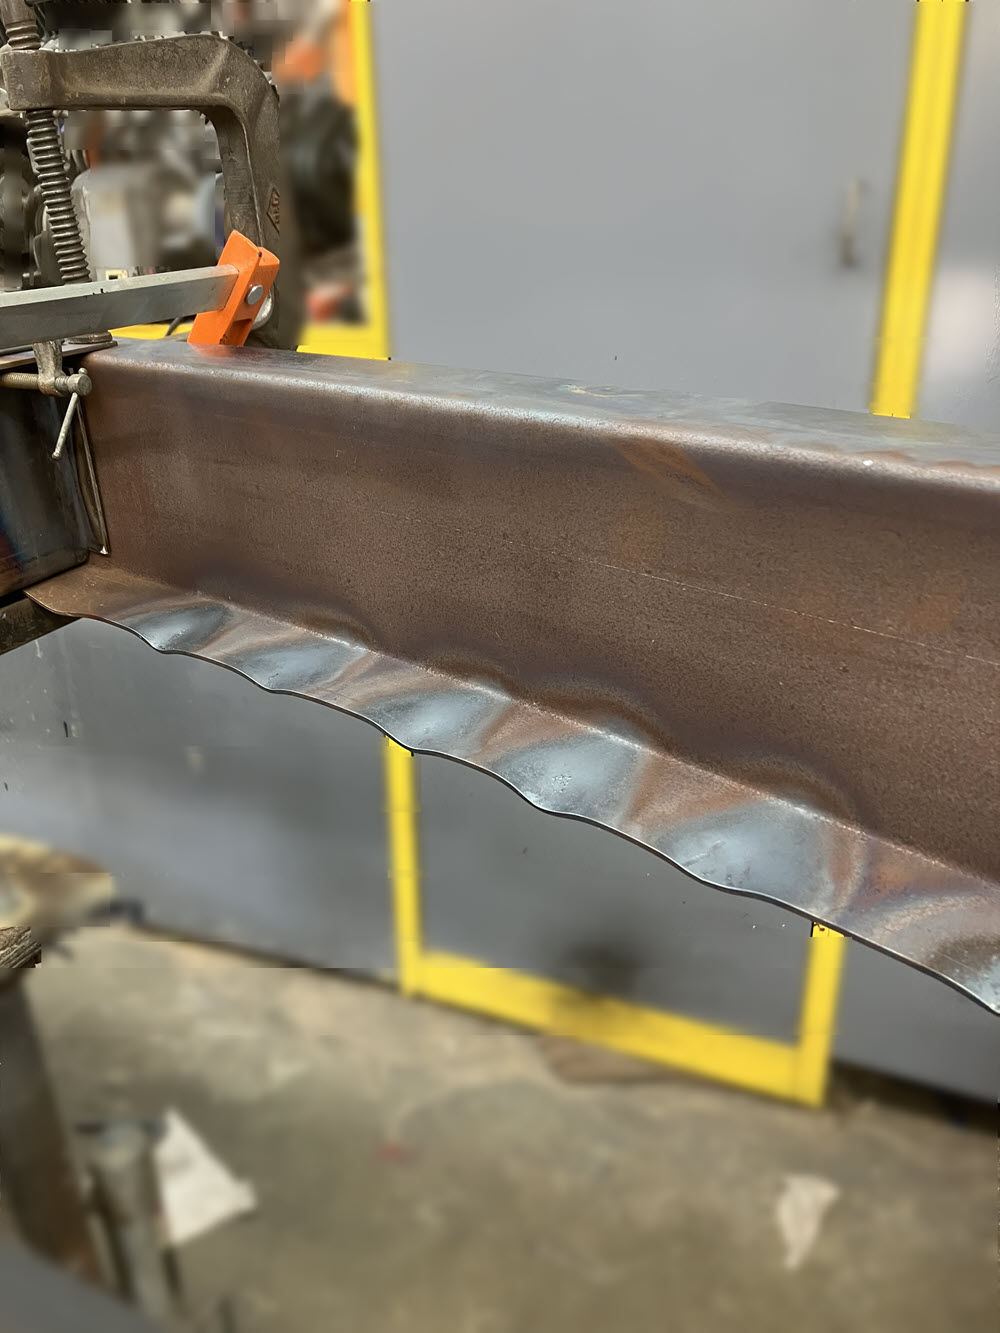
Rail Axle Cut-Outs
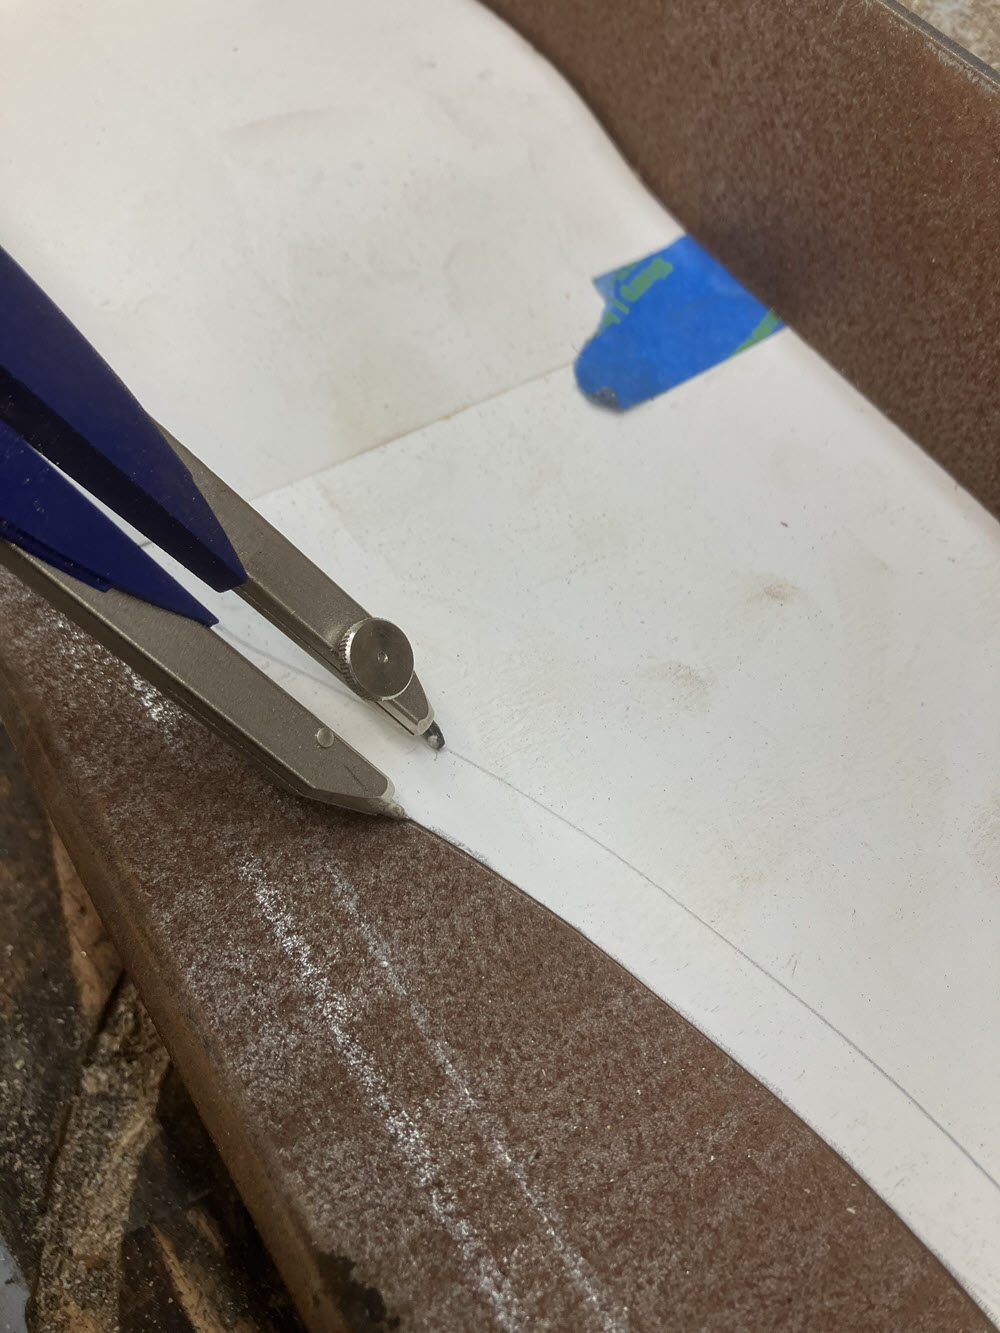
Your finished part will be no better than the pattern you use to shape it; so be fussy making the pattern:

Measure and cut the top flange at the midpoint of the axel cut-out.
This is the ‘artsy’ part. Clamp one end of the flange with vice grips and pull up while heating along the bend and across the flange. Start near the vice grip and “by eye” approximate the curvature of the lower axle cut-out. Note; unlike the rear most bend this cannot be done cold. The concave part of the bend must be done first and then the whole is pushed down into the final curvature. Let the heat do the work. More bend is better than not enough.
And the Video….
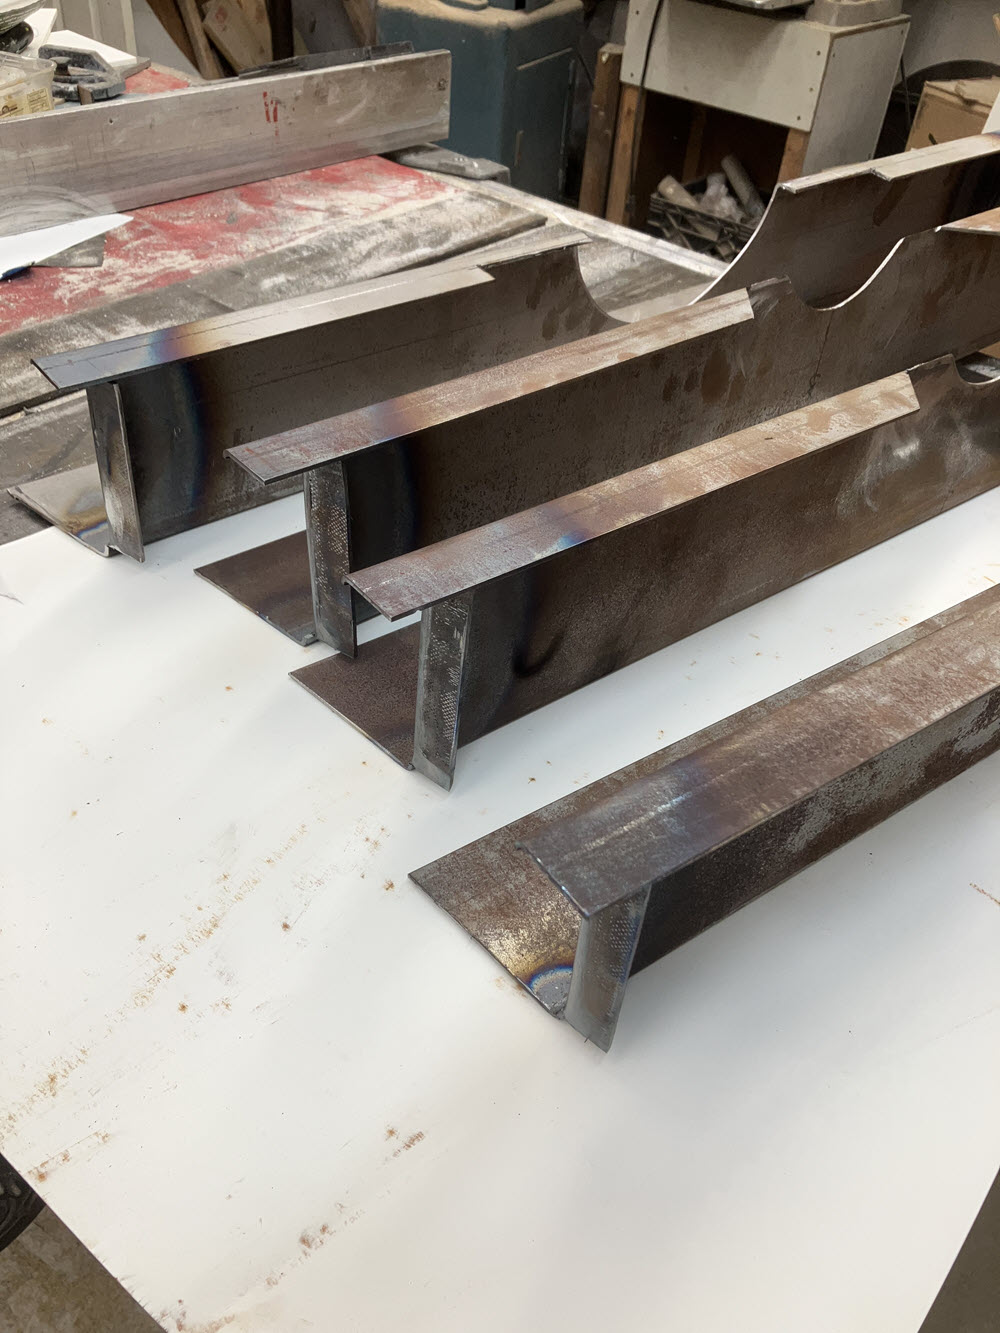
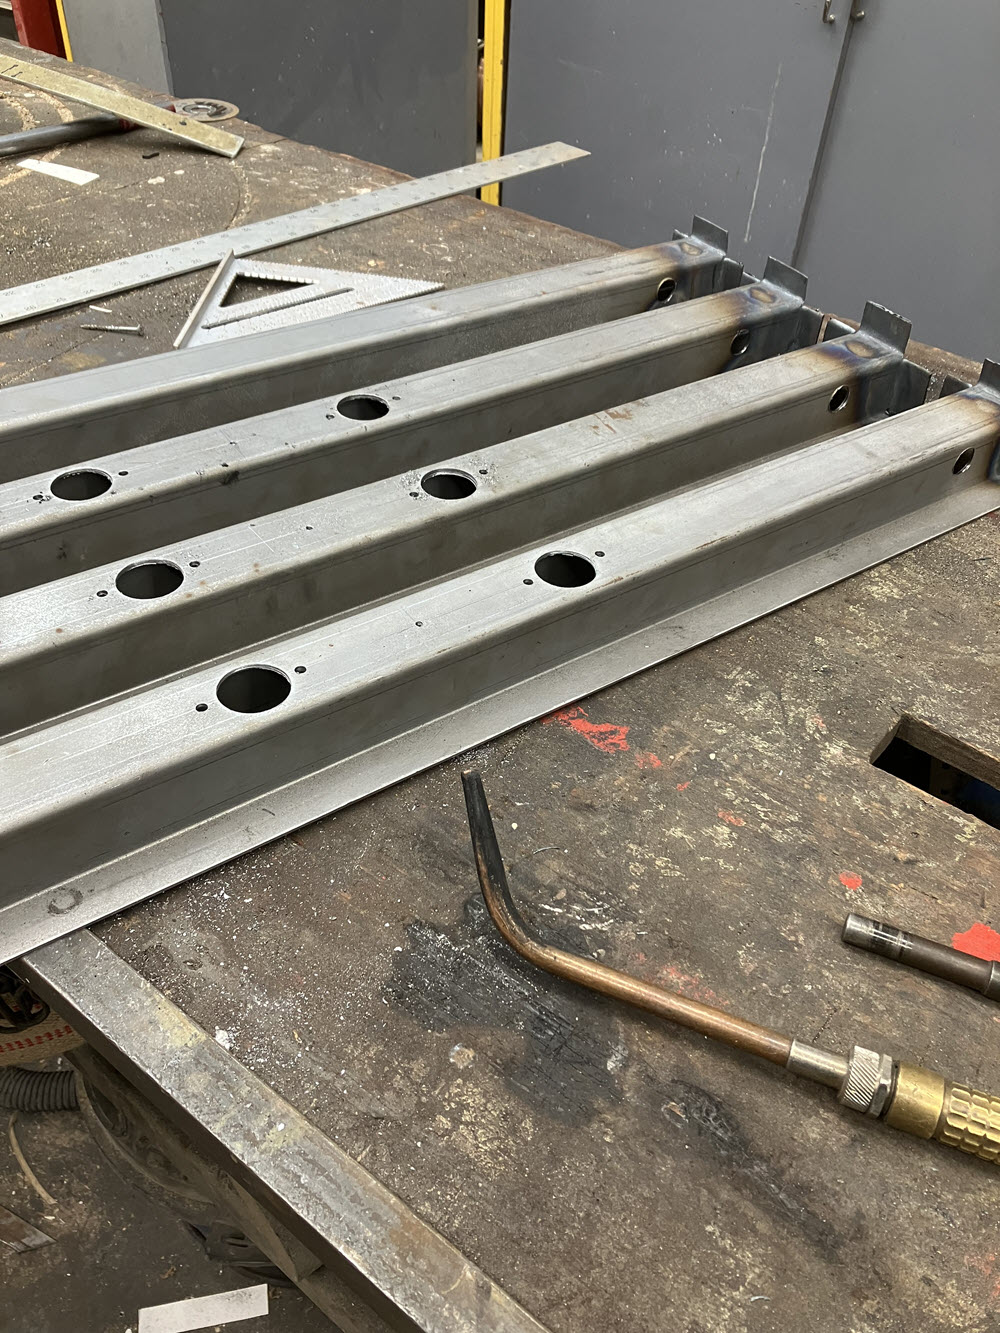
Basic Crossmembers
A reality check:
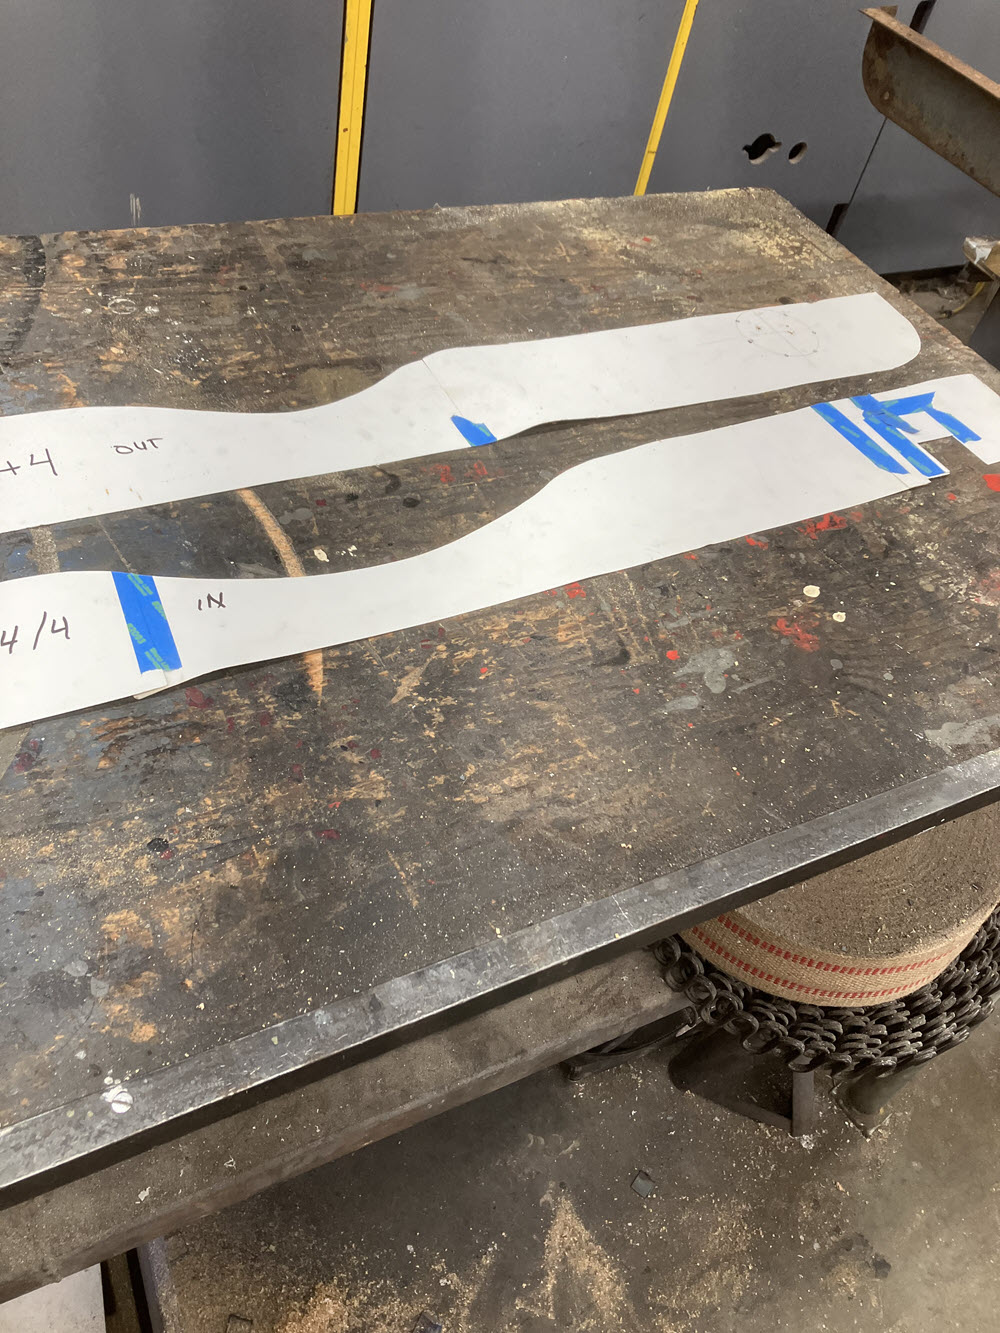
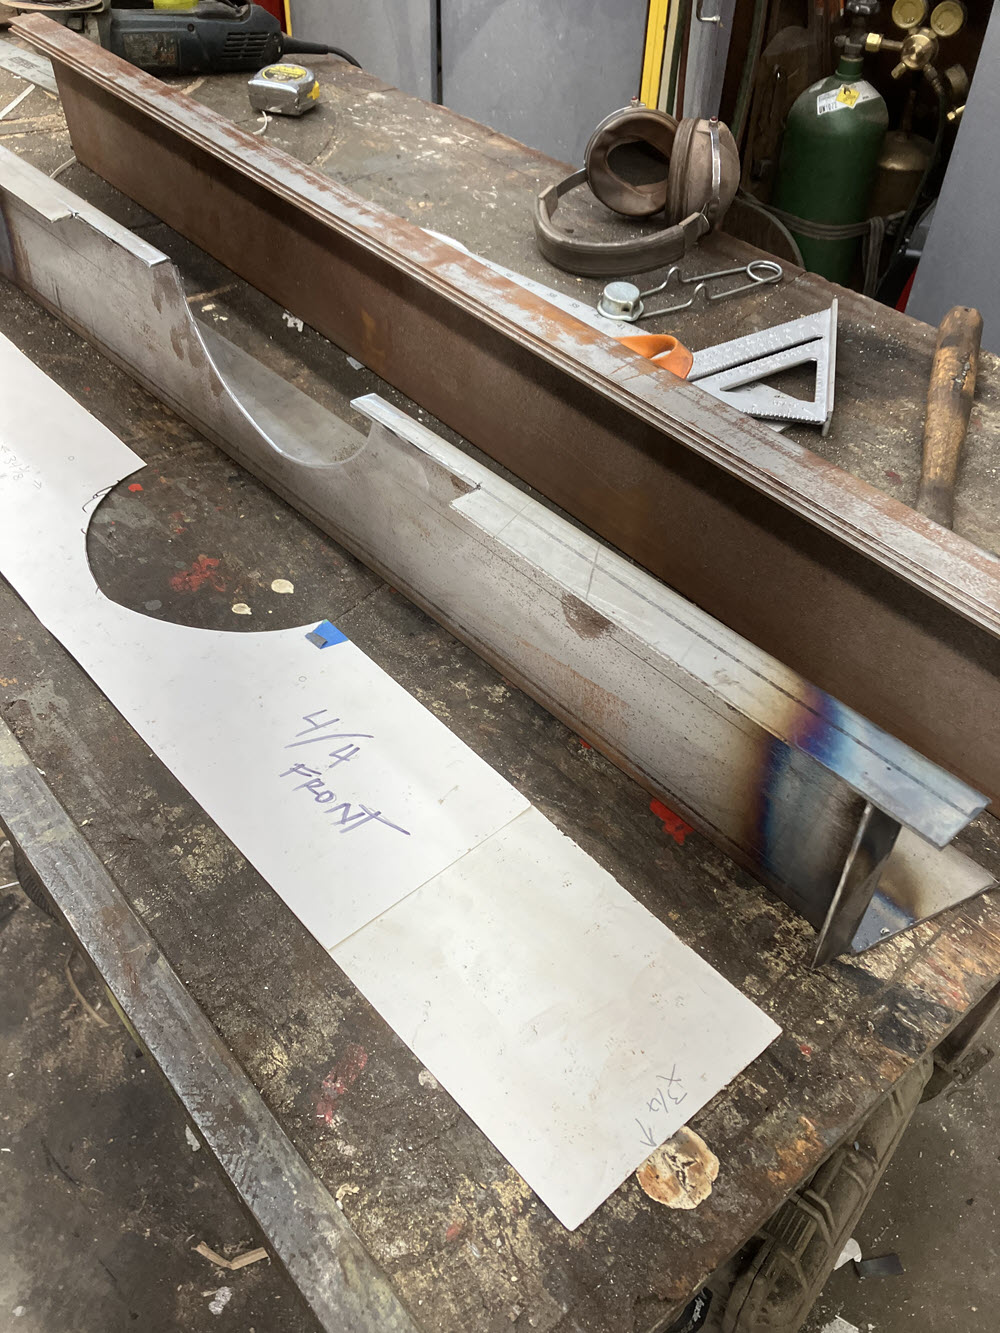
Let’s take a look at the differnence between +4 and 4/4 chassis. The +8 is not shown and is obviously different: a bit wider and, in some cases with metal floors (see the write up: https://madaboutmorgans.com/1971-8-r7347/).
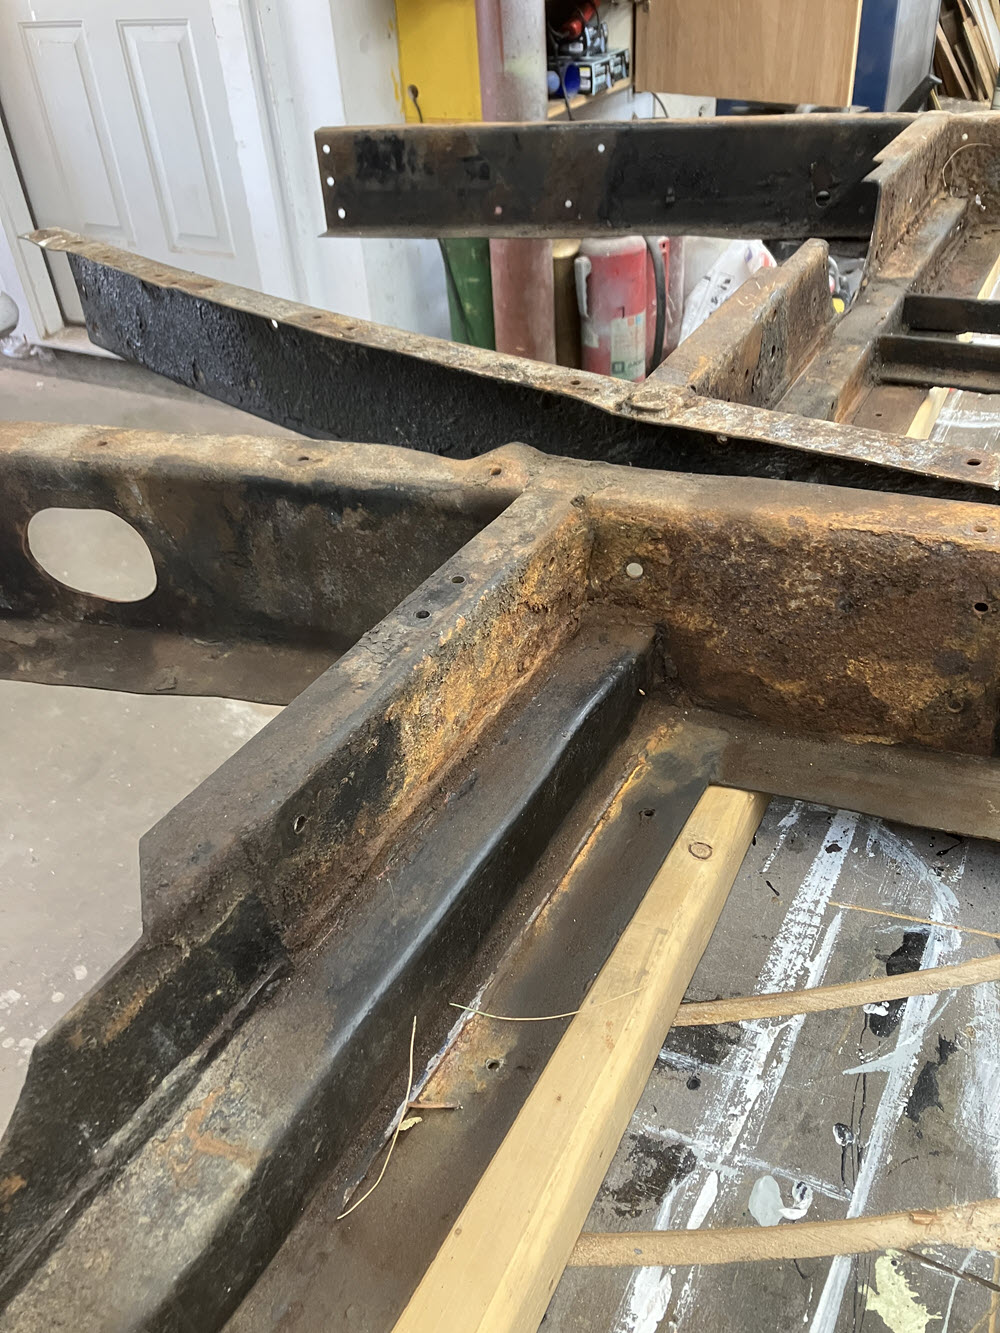
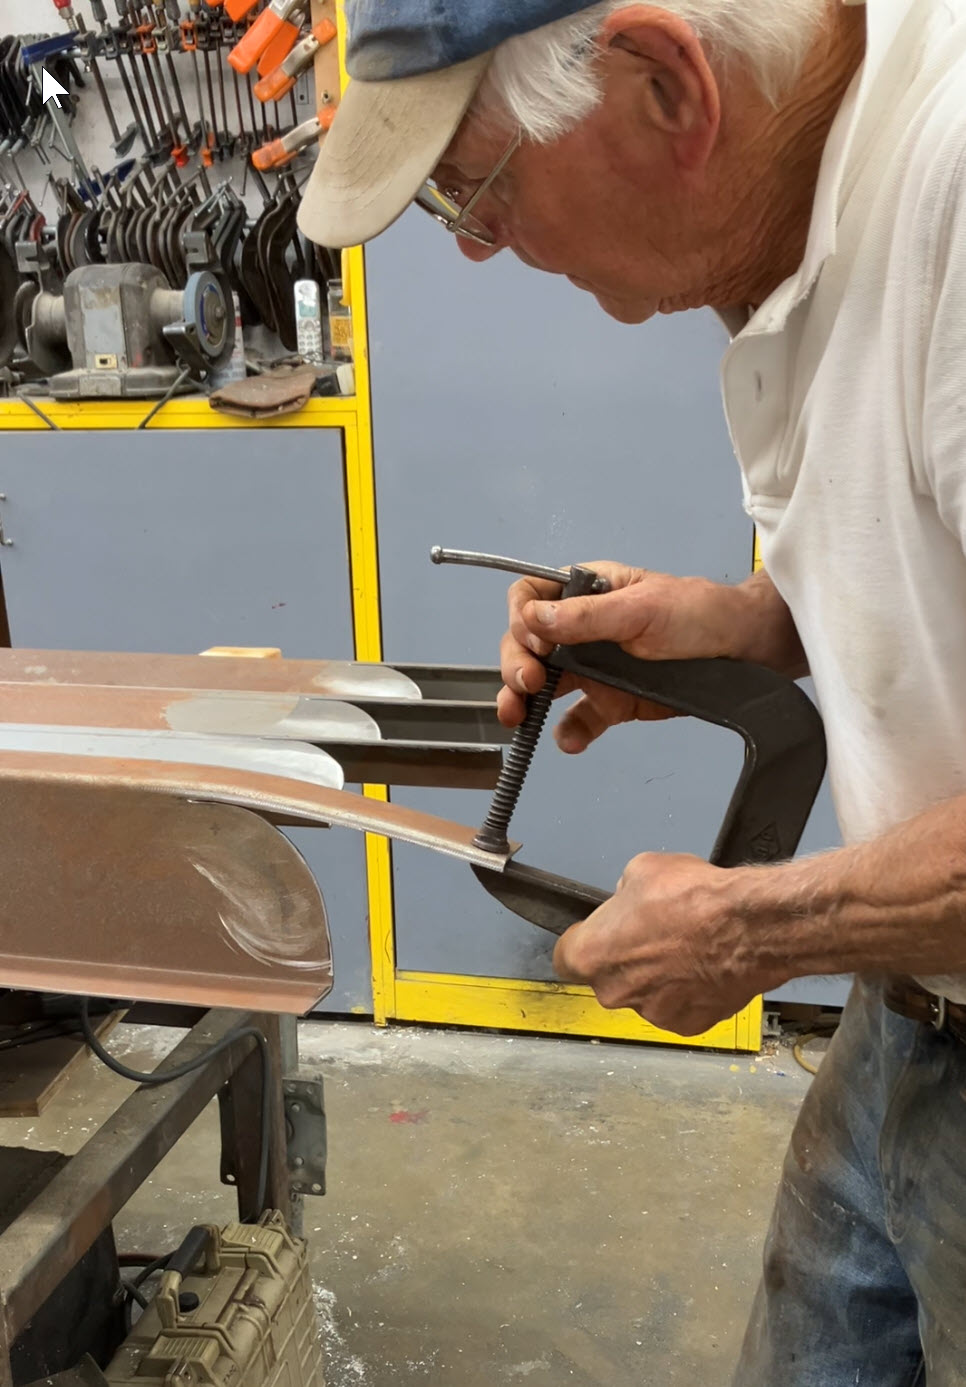
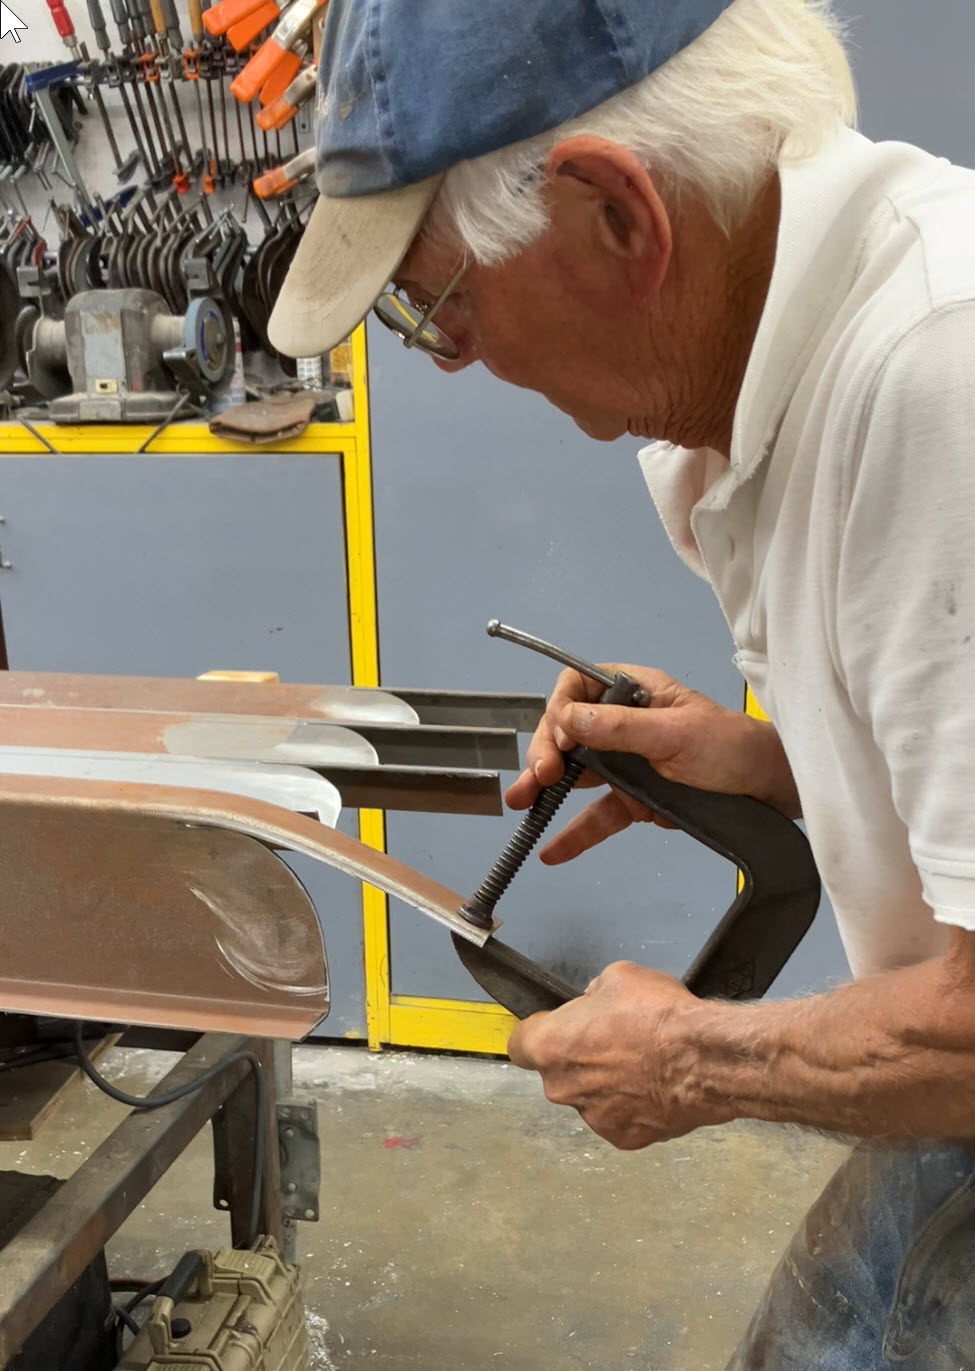
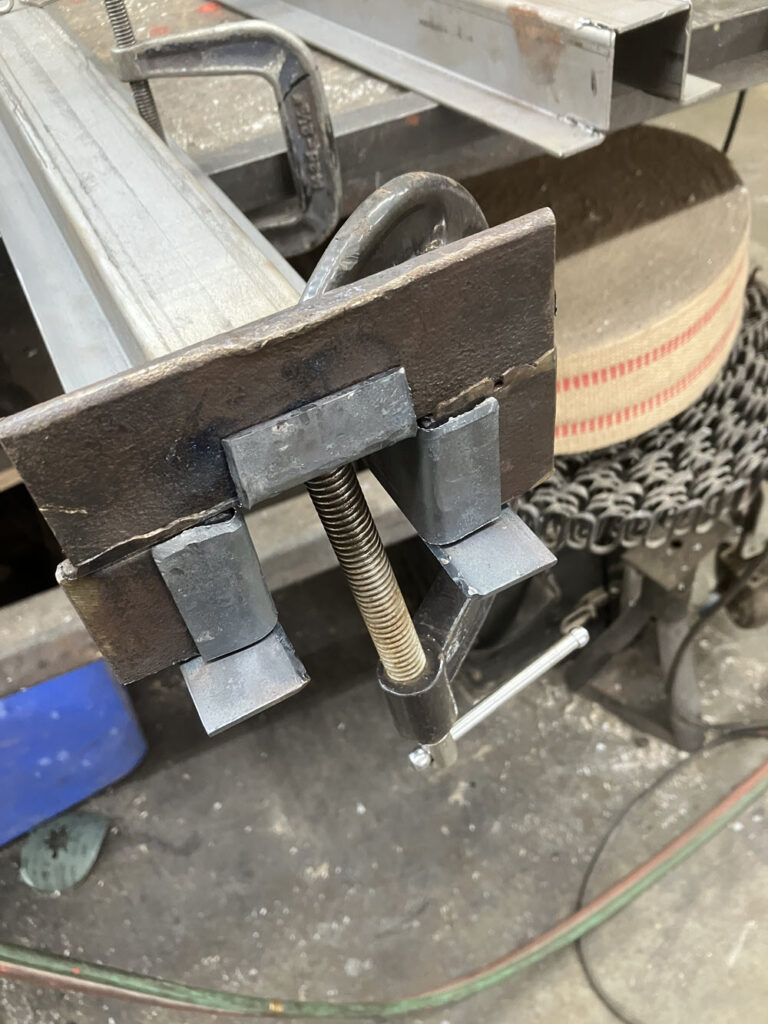
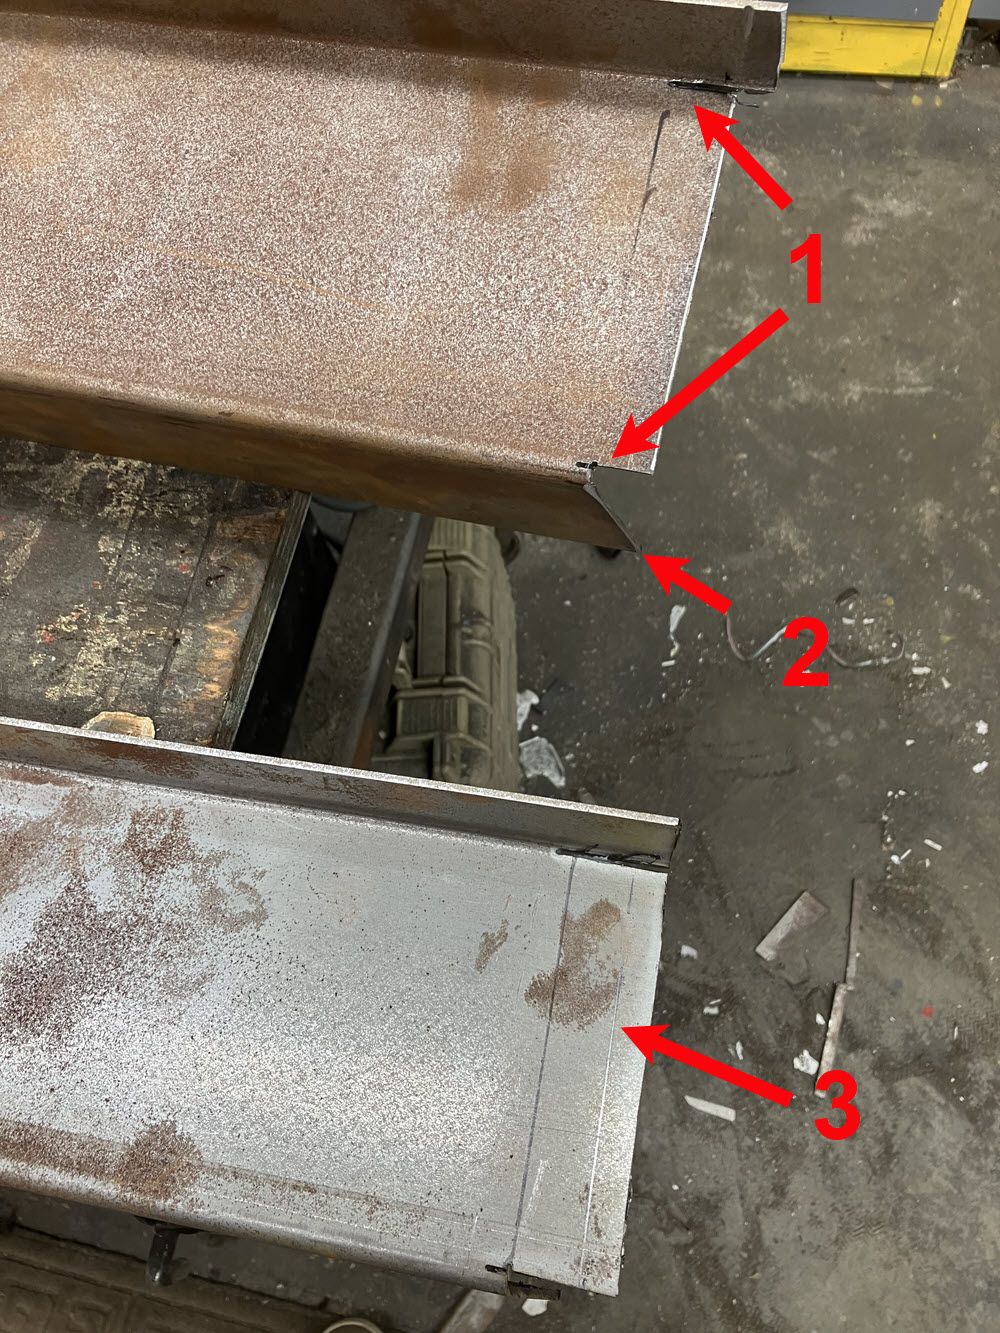
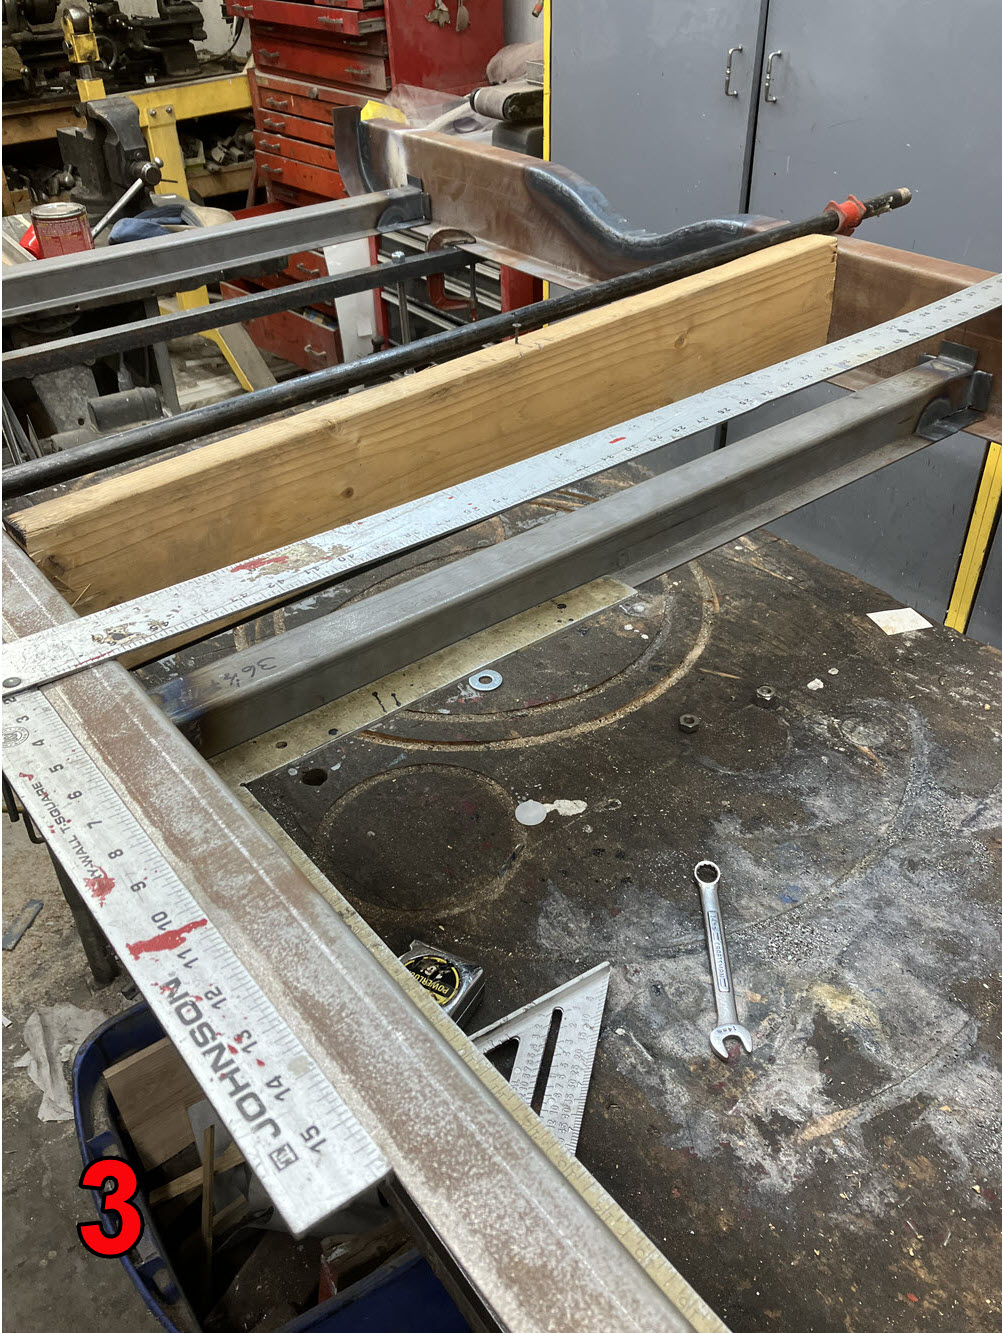
Making the flanges at the end at each end of the crossmembers is a repetative task and it can be a bit fussy. Years ago I made a quickie one-time fixture to help. Been using it ever since. Three pieces of 1 1/2″ angle iron cut to fit snuggly over the crossmember and welded together.
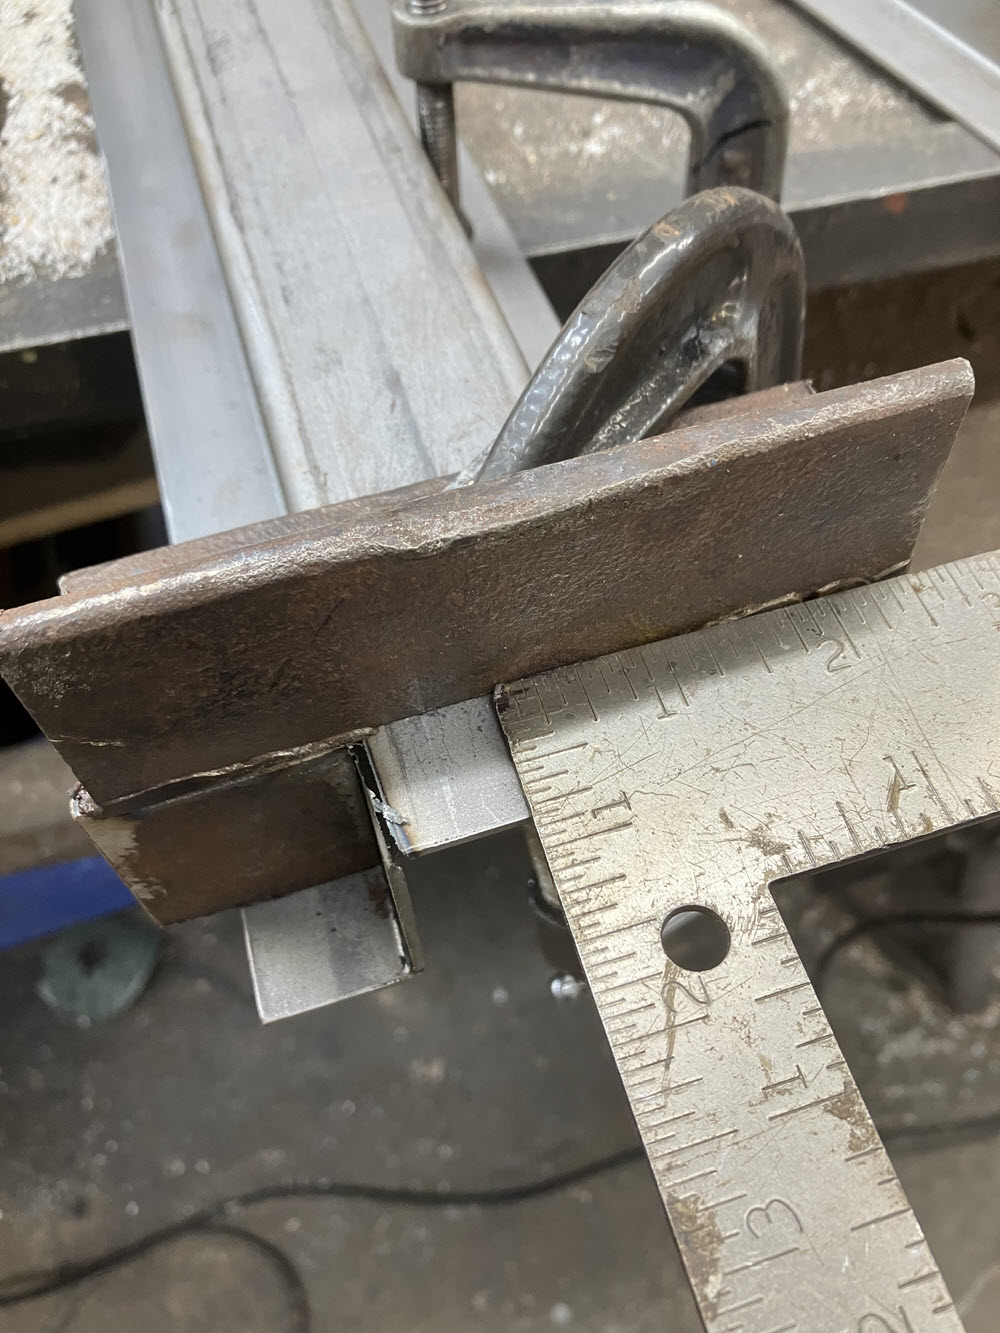
Finished End Flanges. Bottom Tabs get trimmed to inside of flange bends.
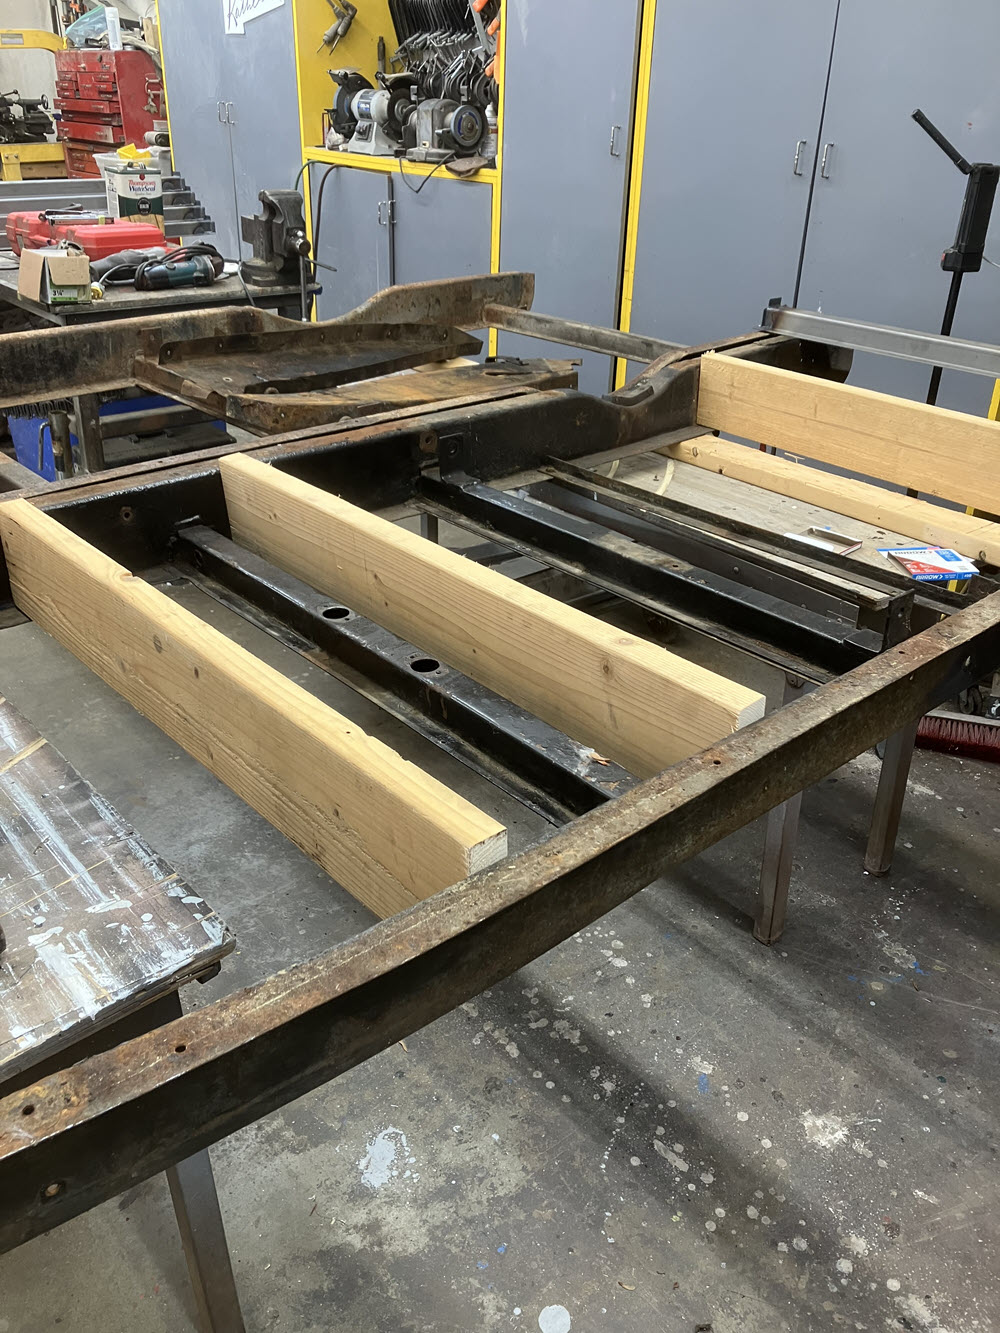
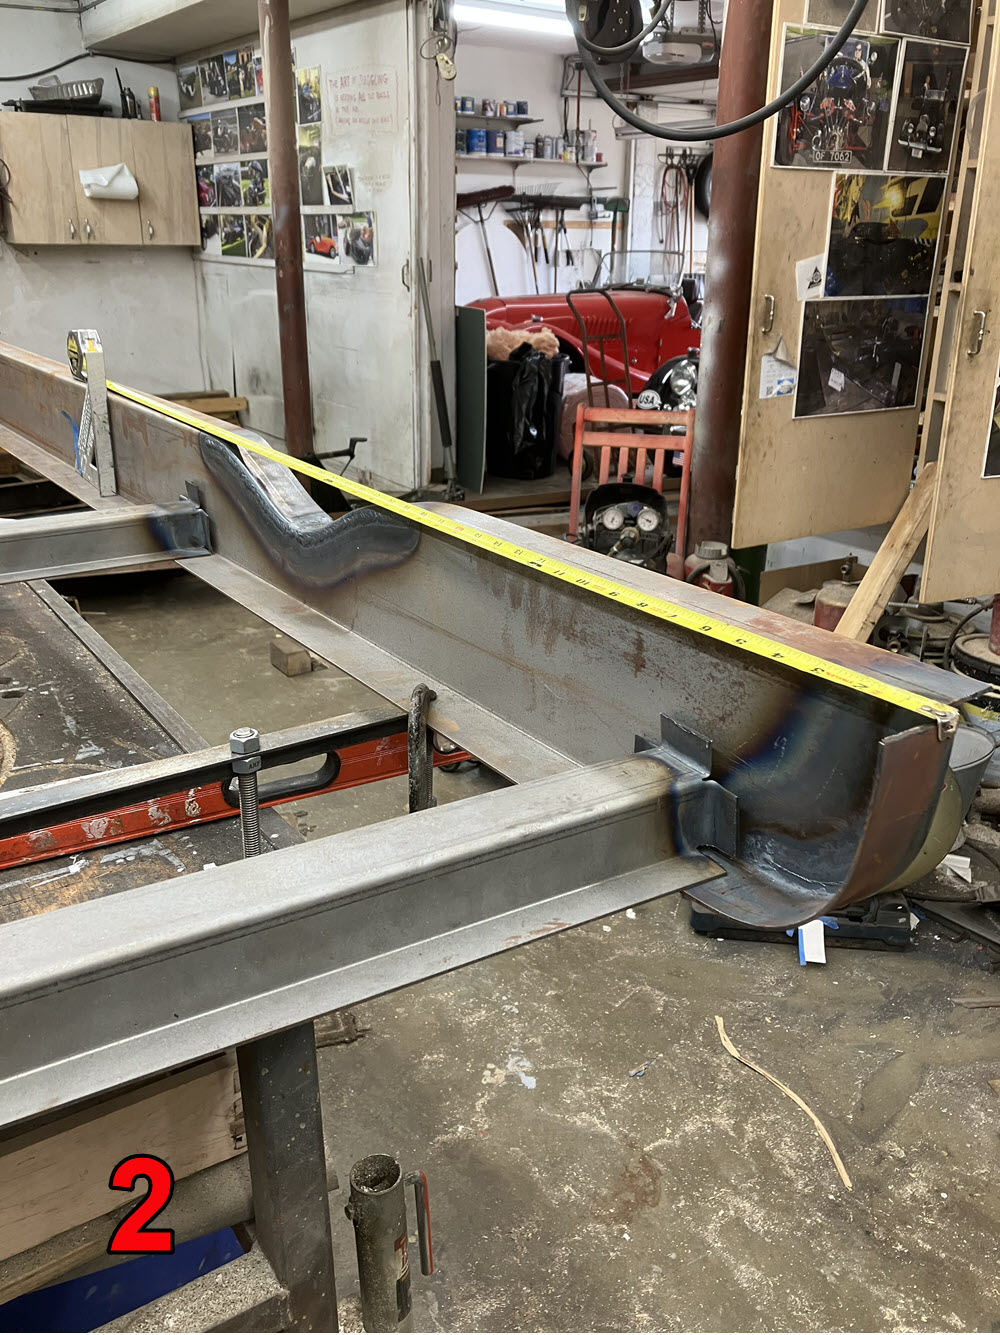
And then you have to make the other end….. I’ve measured several chassis and my best guess is that the inside distance between the rails is 36 1/2″. Obviously if you are making a replacement chassis you will measure what you are trying to duplicate. First step is to make three (preferably) 2″x6″X36 1/2″ wood spacers. These will serve as fixtures when you weld everything together. After flanging one end cut the crossmembers to approximately 37 1/2″. I say approximately because you will need verify and possibly refine the cut length after making the first flange. A ‘little short‘ of the 36 1/2″ finished length is ok.
This is where the big cut off machine is helpful. The job can be done with the 4.5″ grinder/cut-off or even a hacksaw but ooooh how much easier it is to set-up a length fixture and just chop!
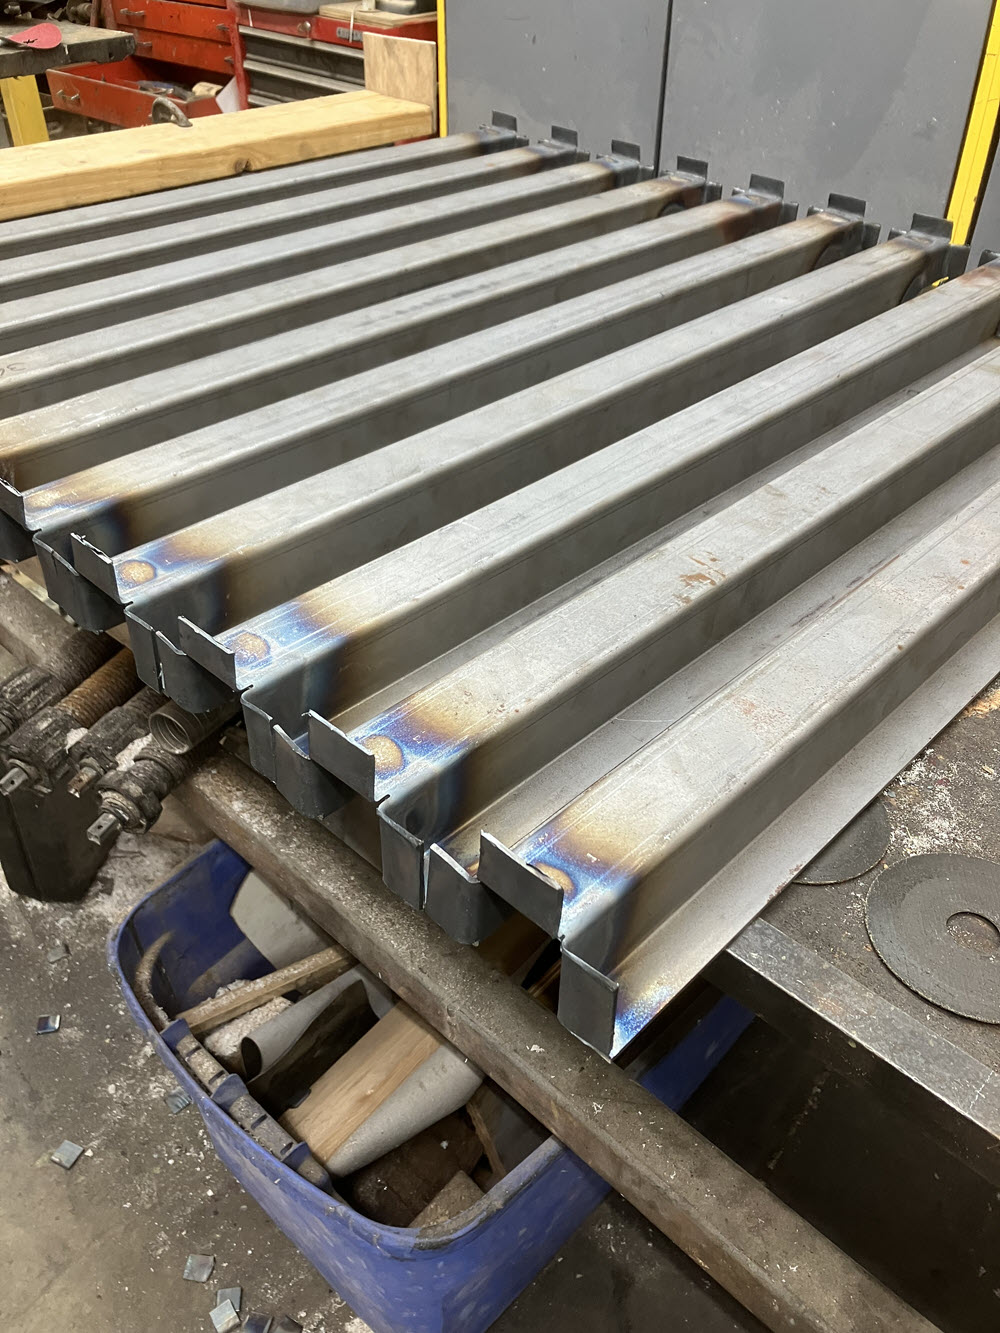
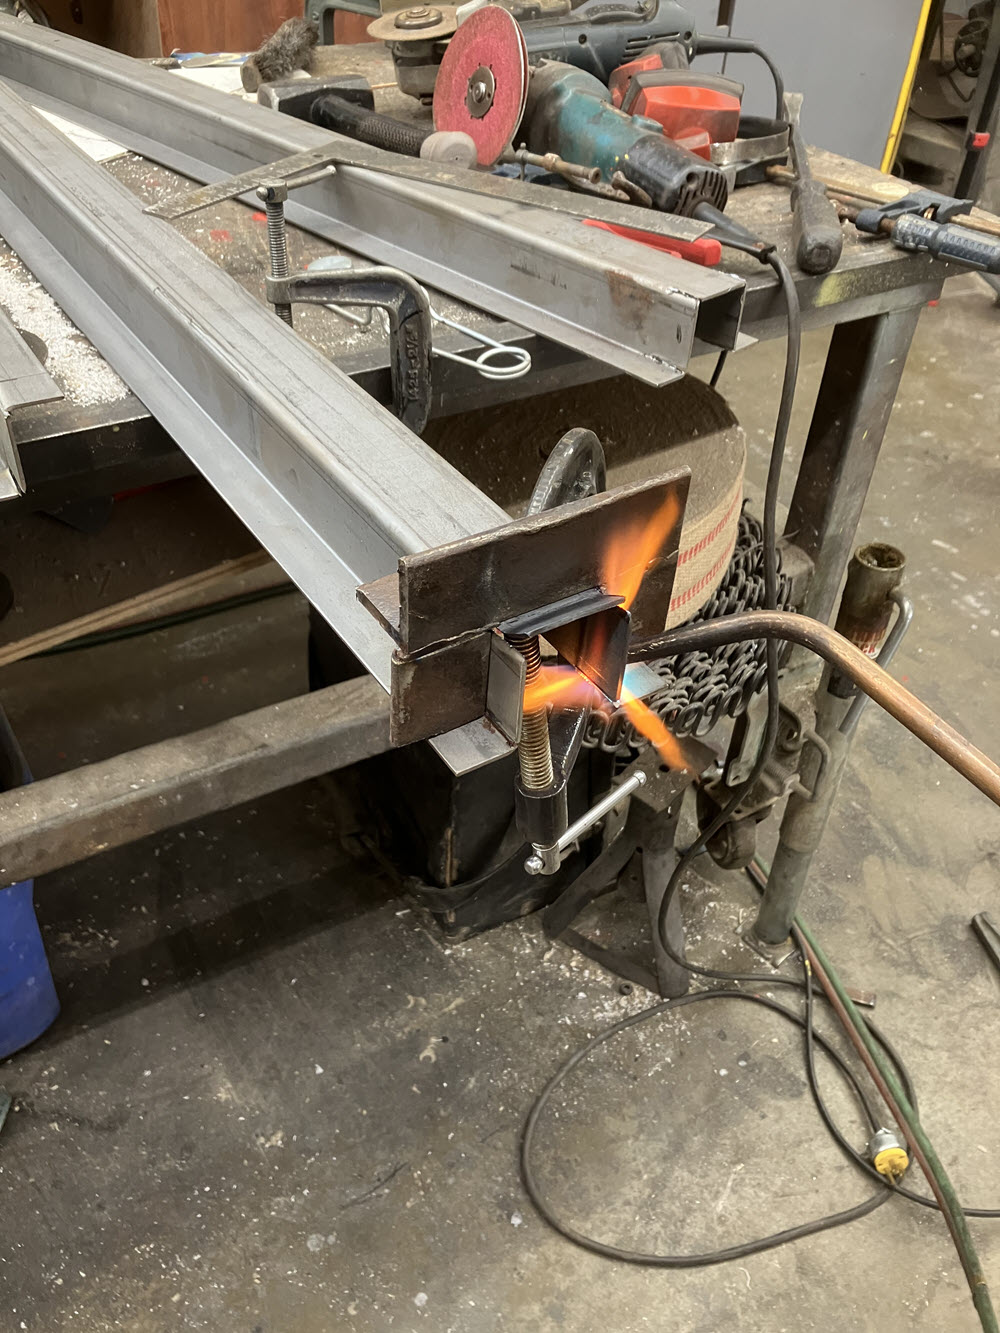
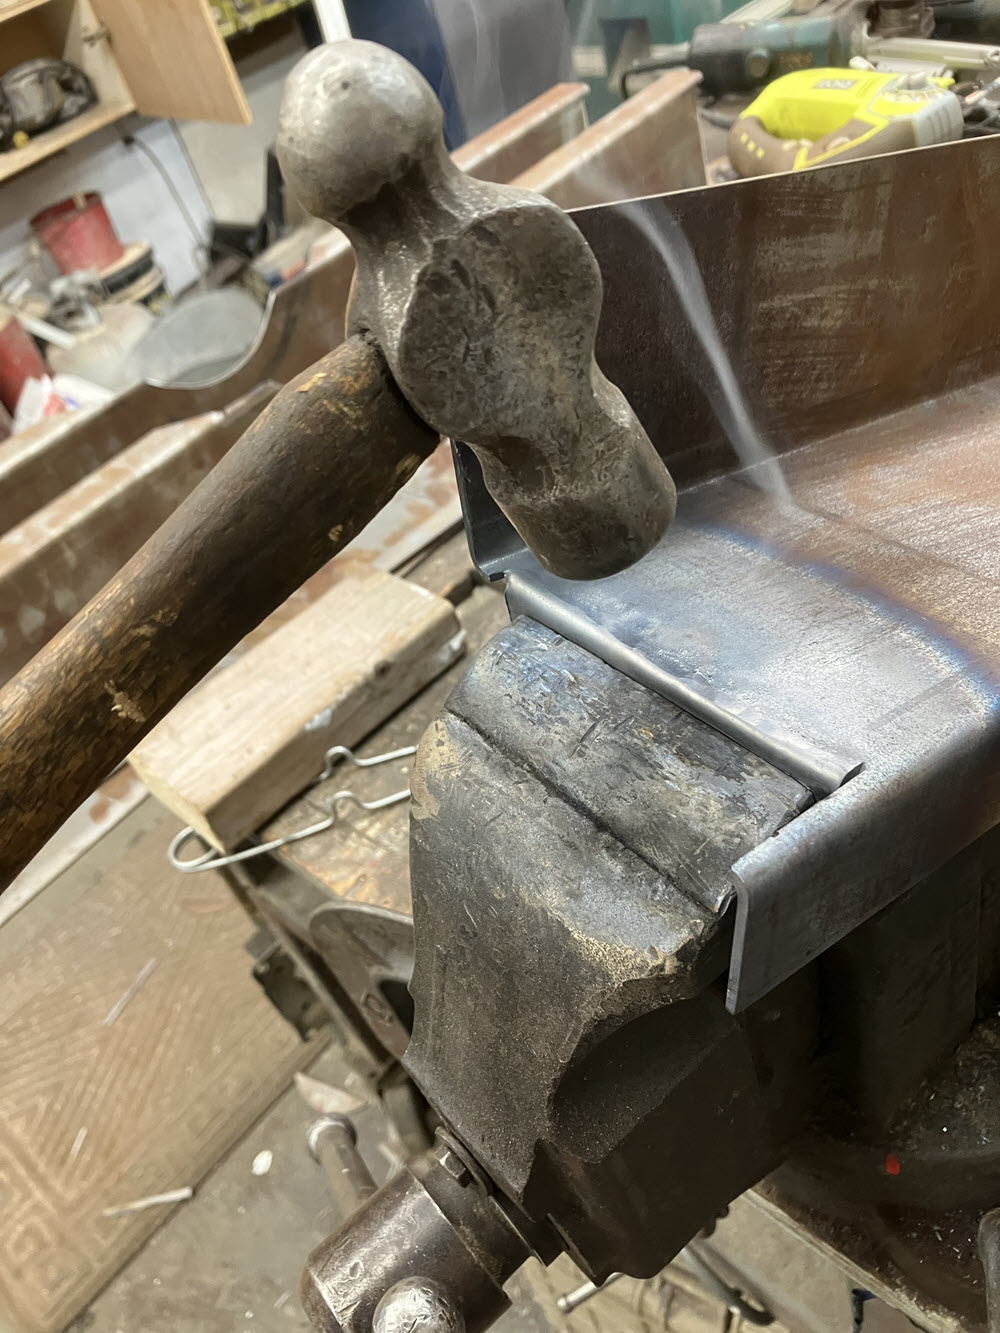
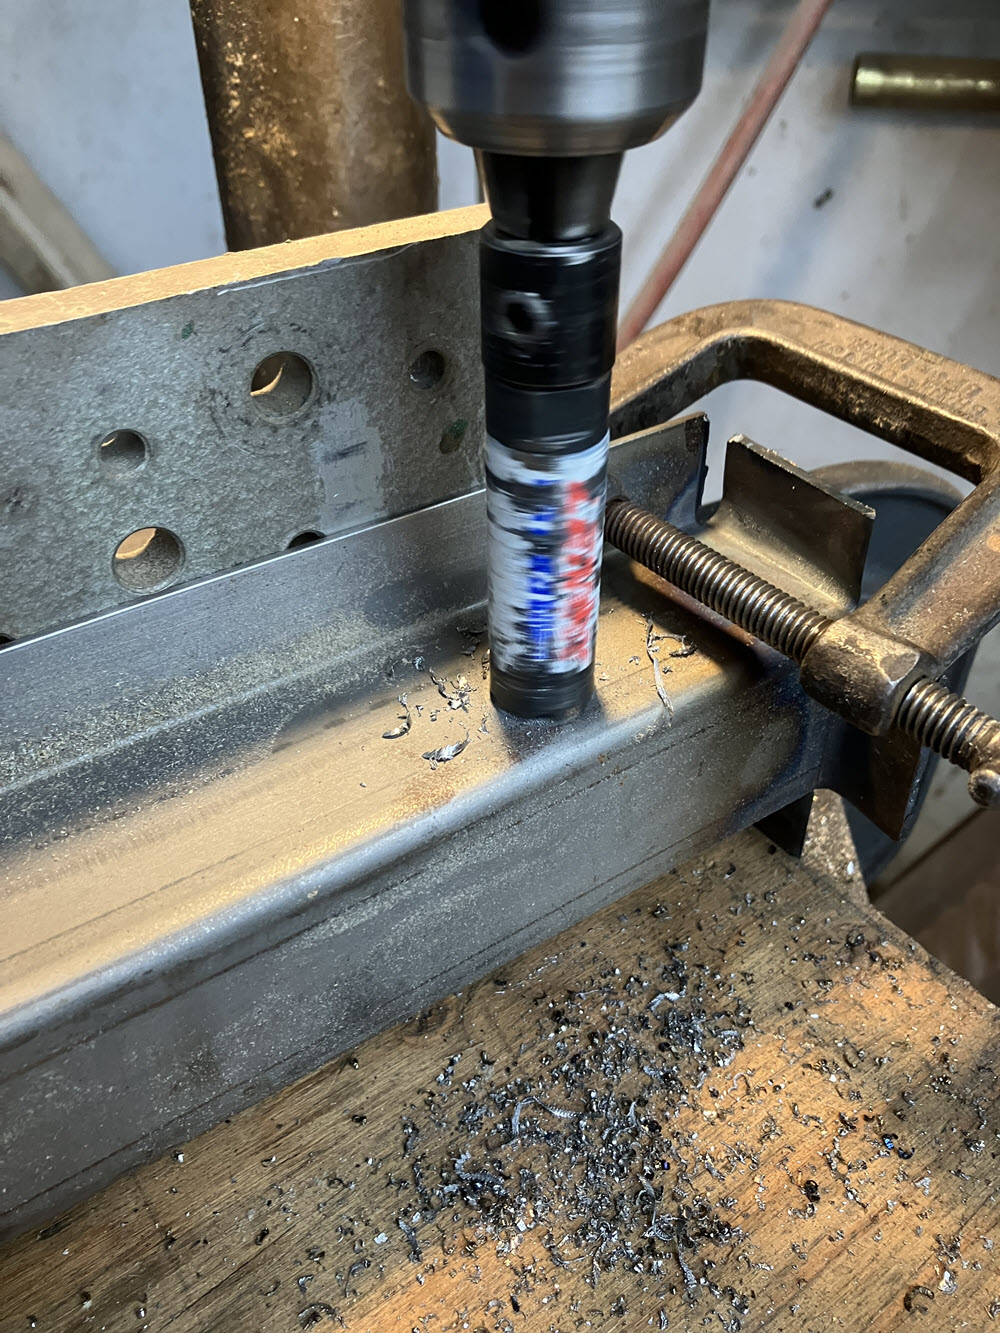
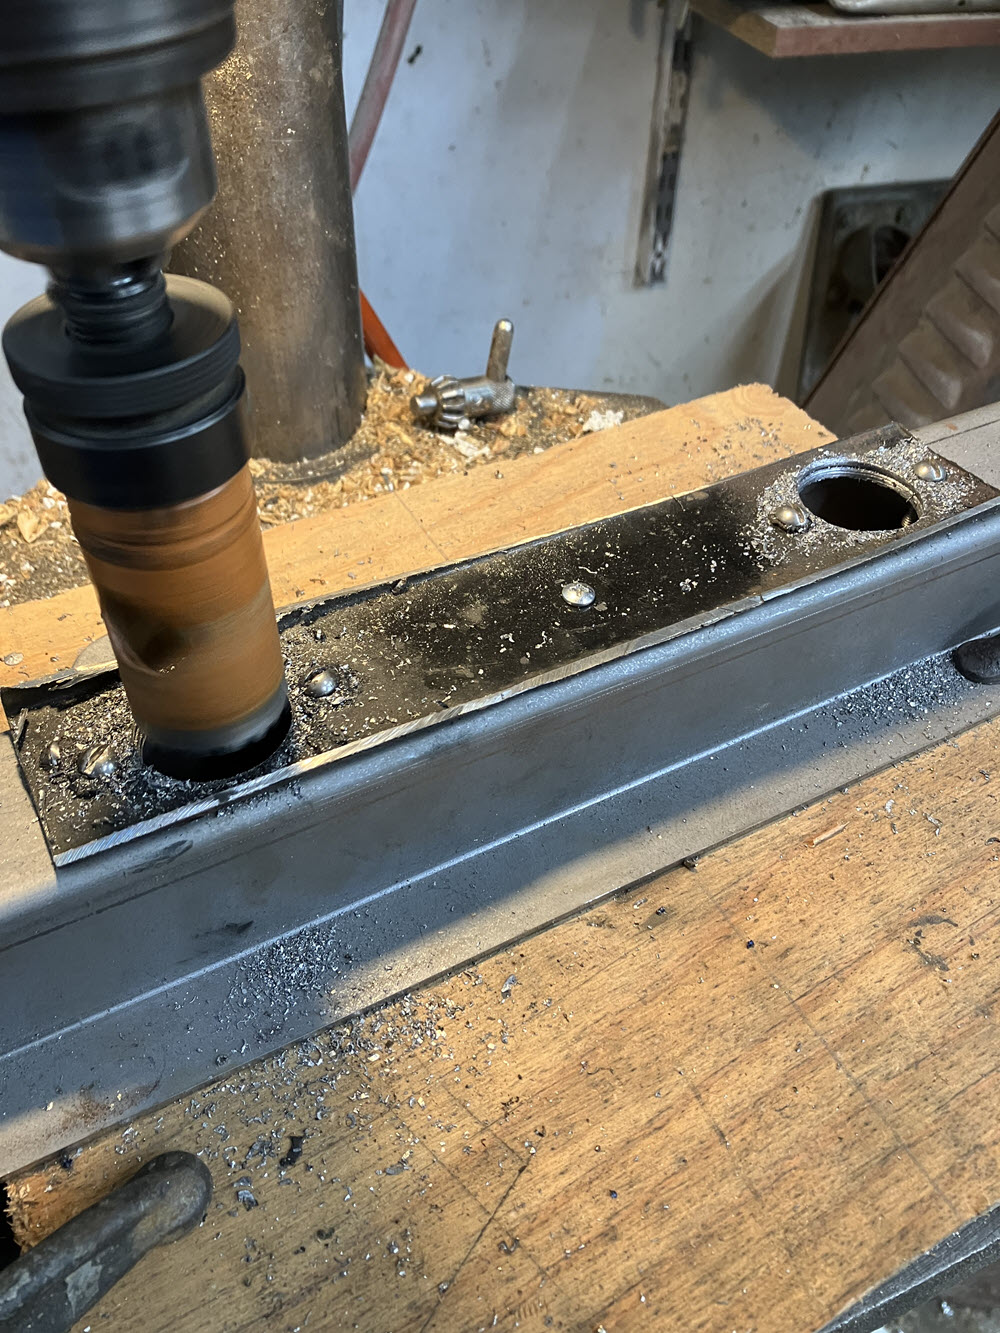
After cutting to length repeat flanging operation: cut slots with cut-off grinder, clamp flanging fixture 3/4″ from end, heat, and bend. Basic crossmembers are ready for final configurations.
Front Crossmember
A pattern comes first. There are a lot of different cuts required and the order is important.

Second Crossmember
+4 and 4/4 are different. Both have tubes for a jack; the +4 has holes on top for the Moss Gearbox.
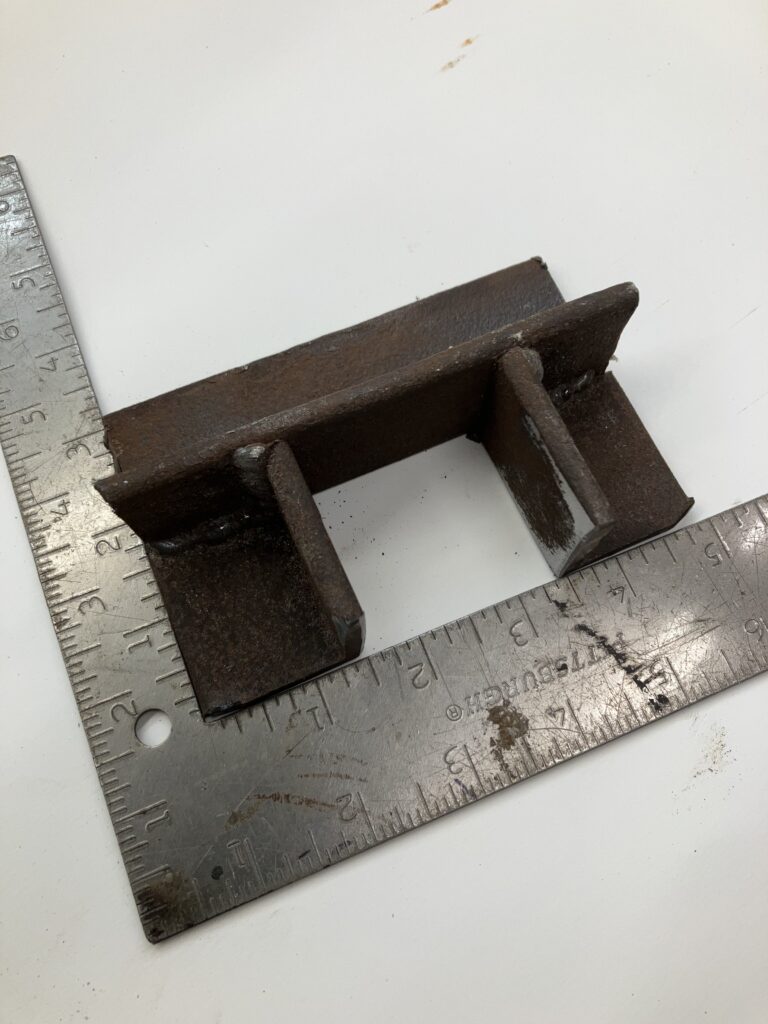
Third Crossmember
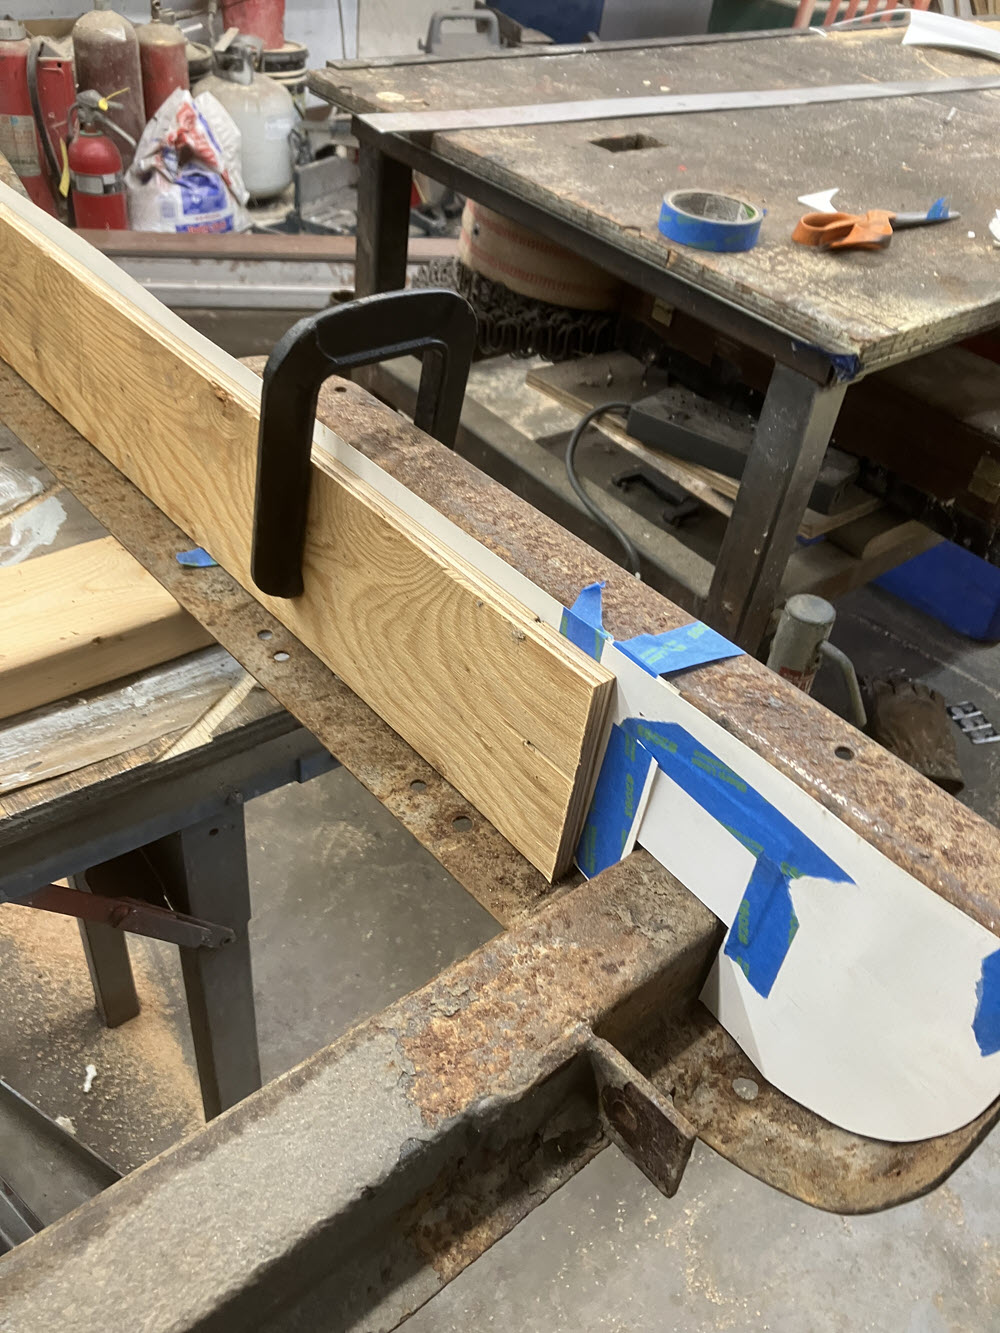
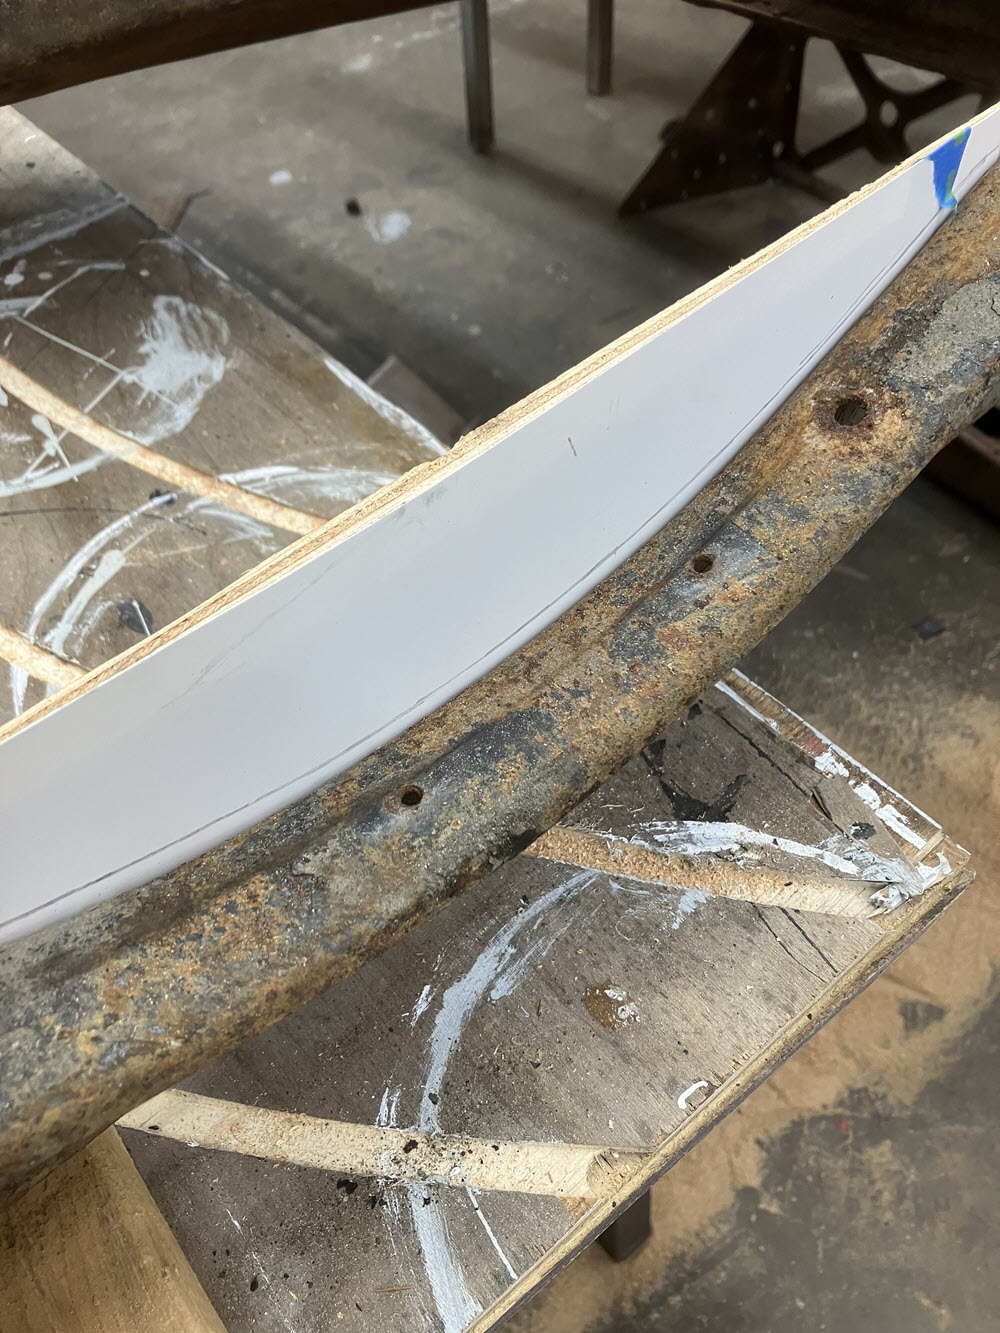
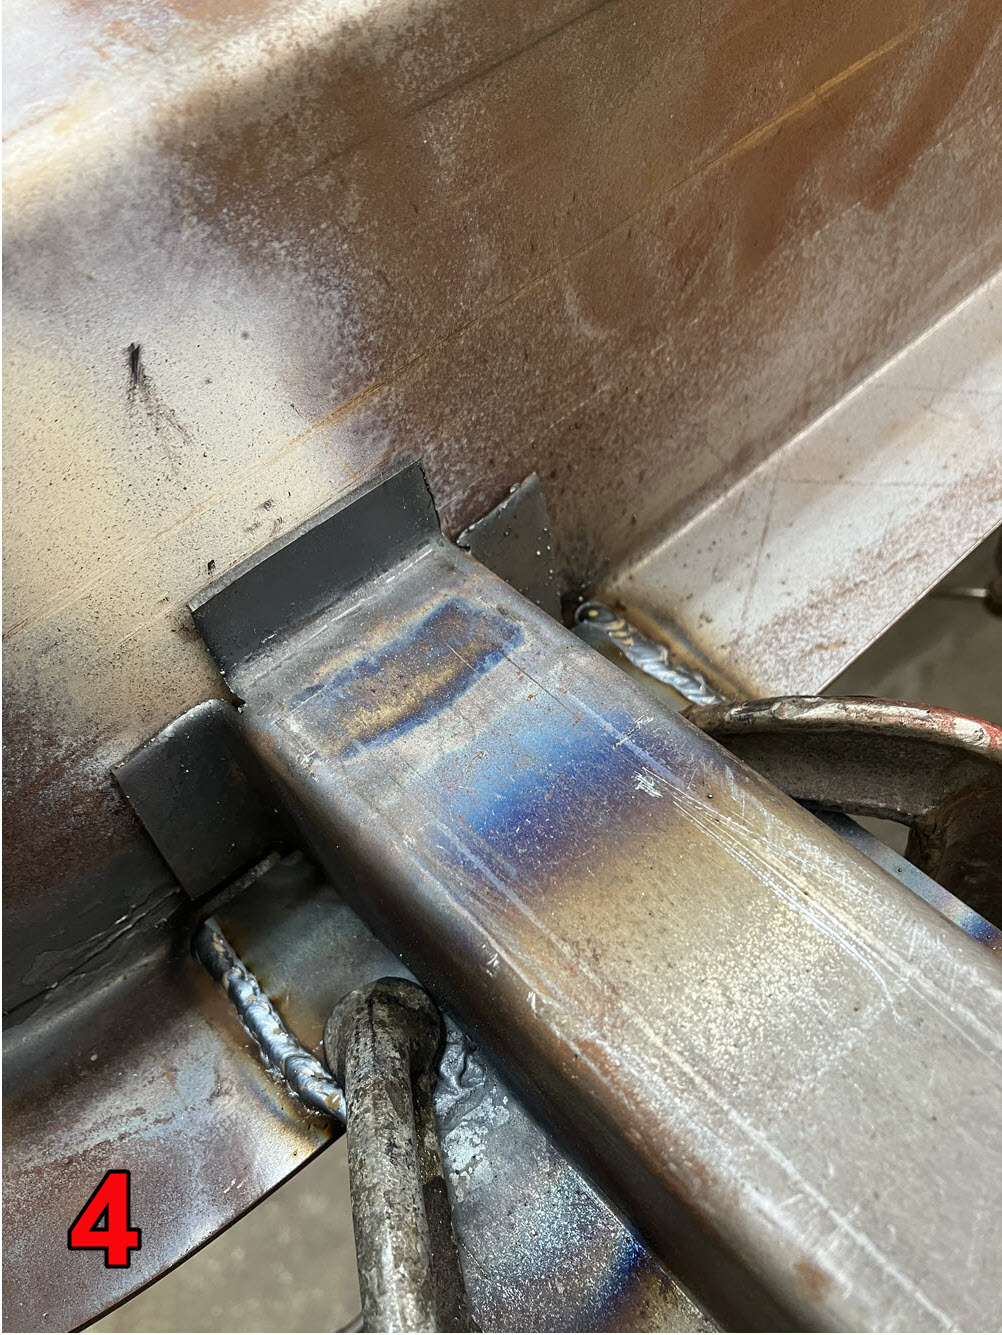
This is the one with the brackets for the front spring bolts. The brackets can be installed prior to chassis assembly but I think it is better to do them affer the crossmembers are welded in place.
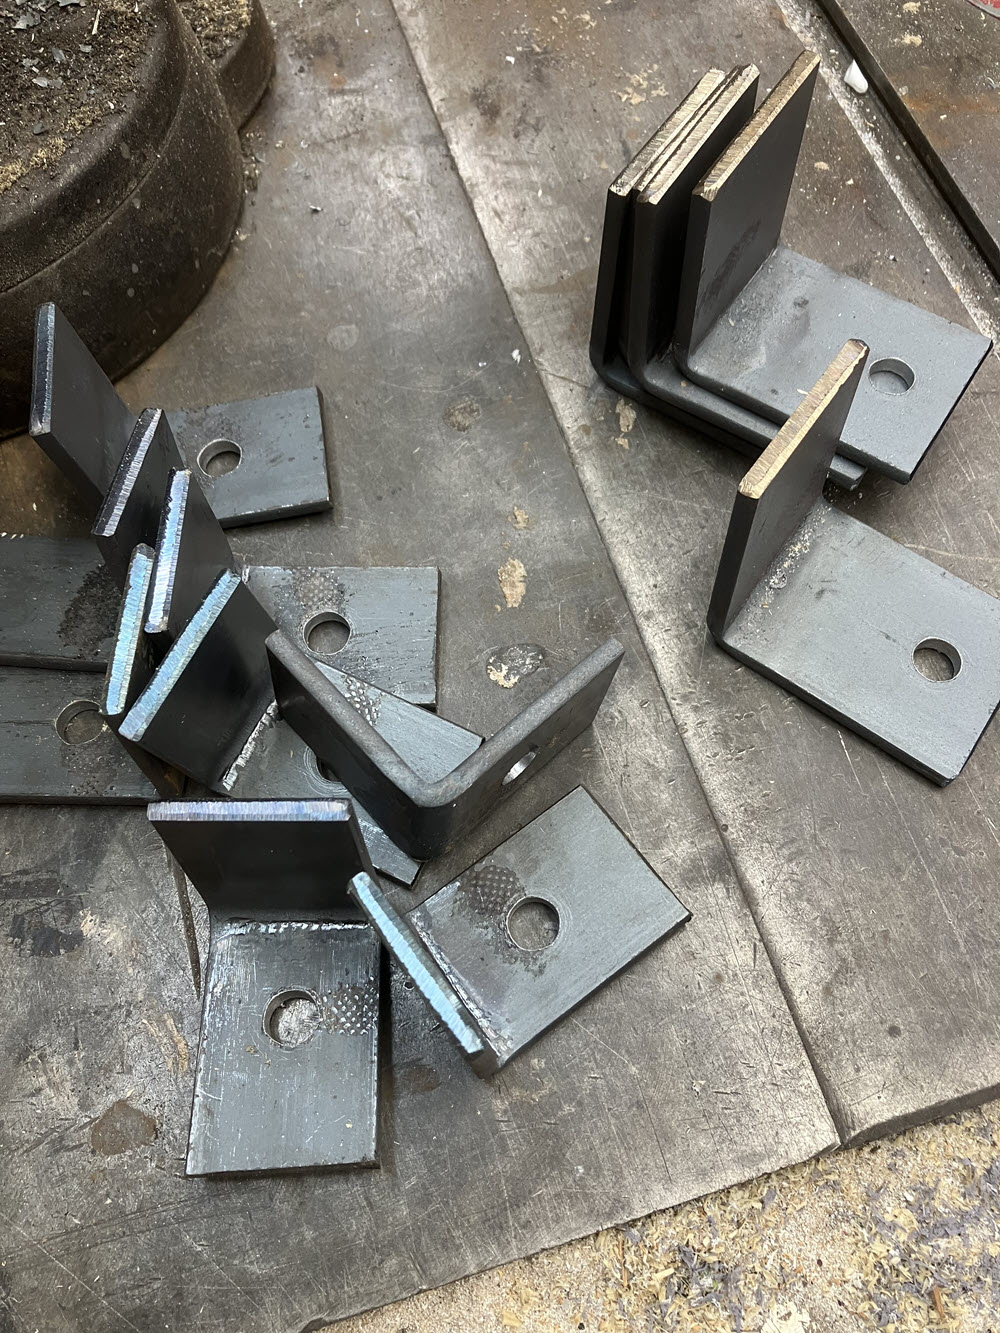
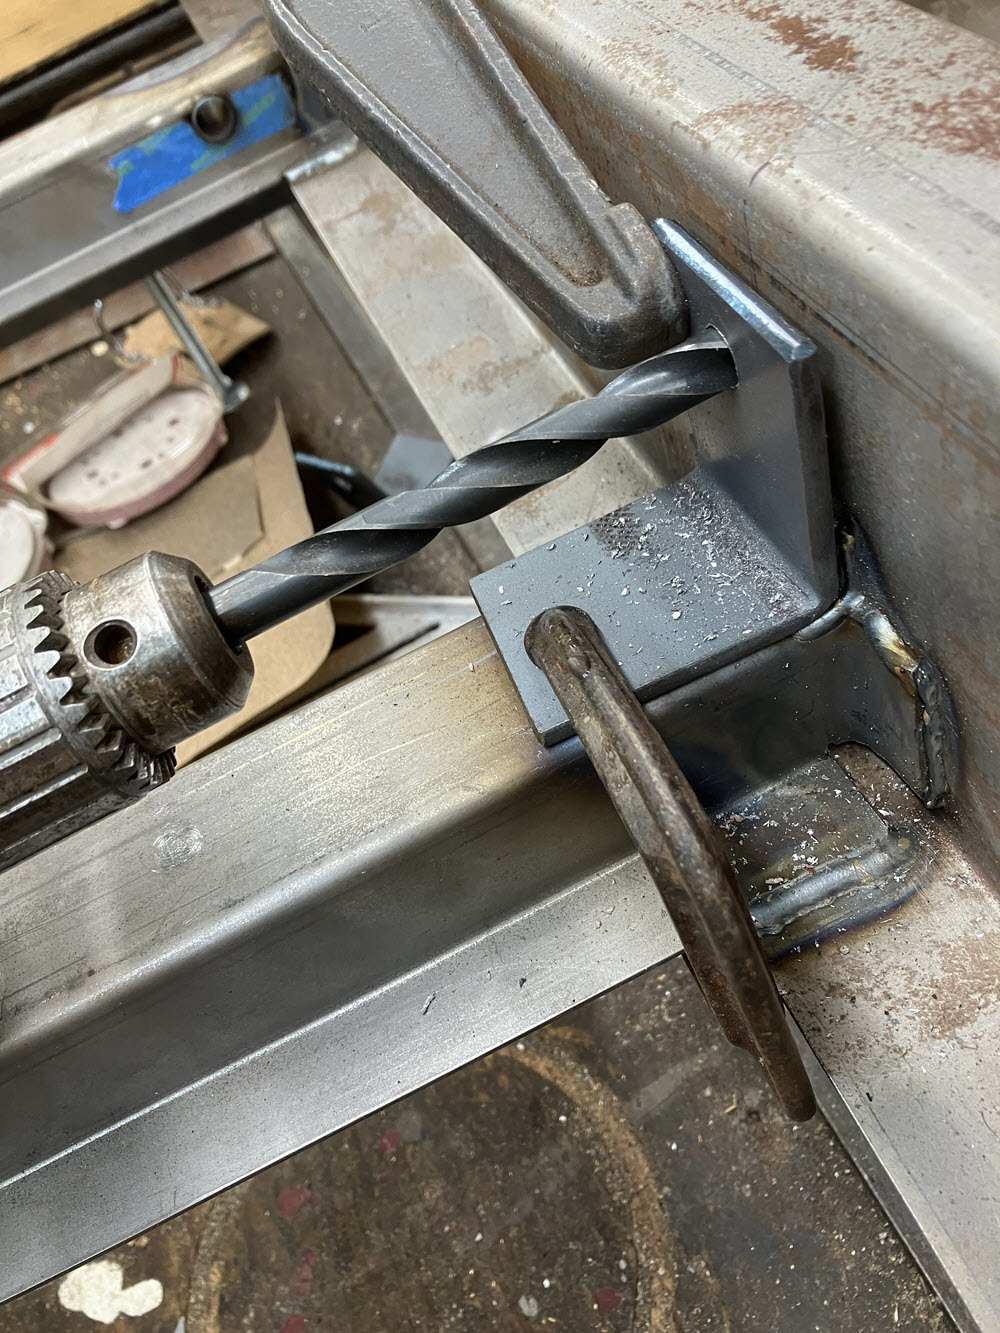
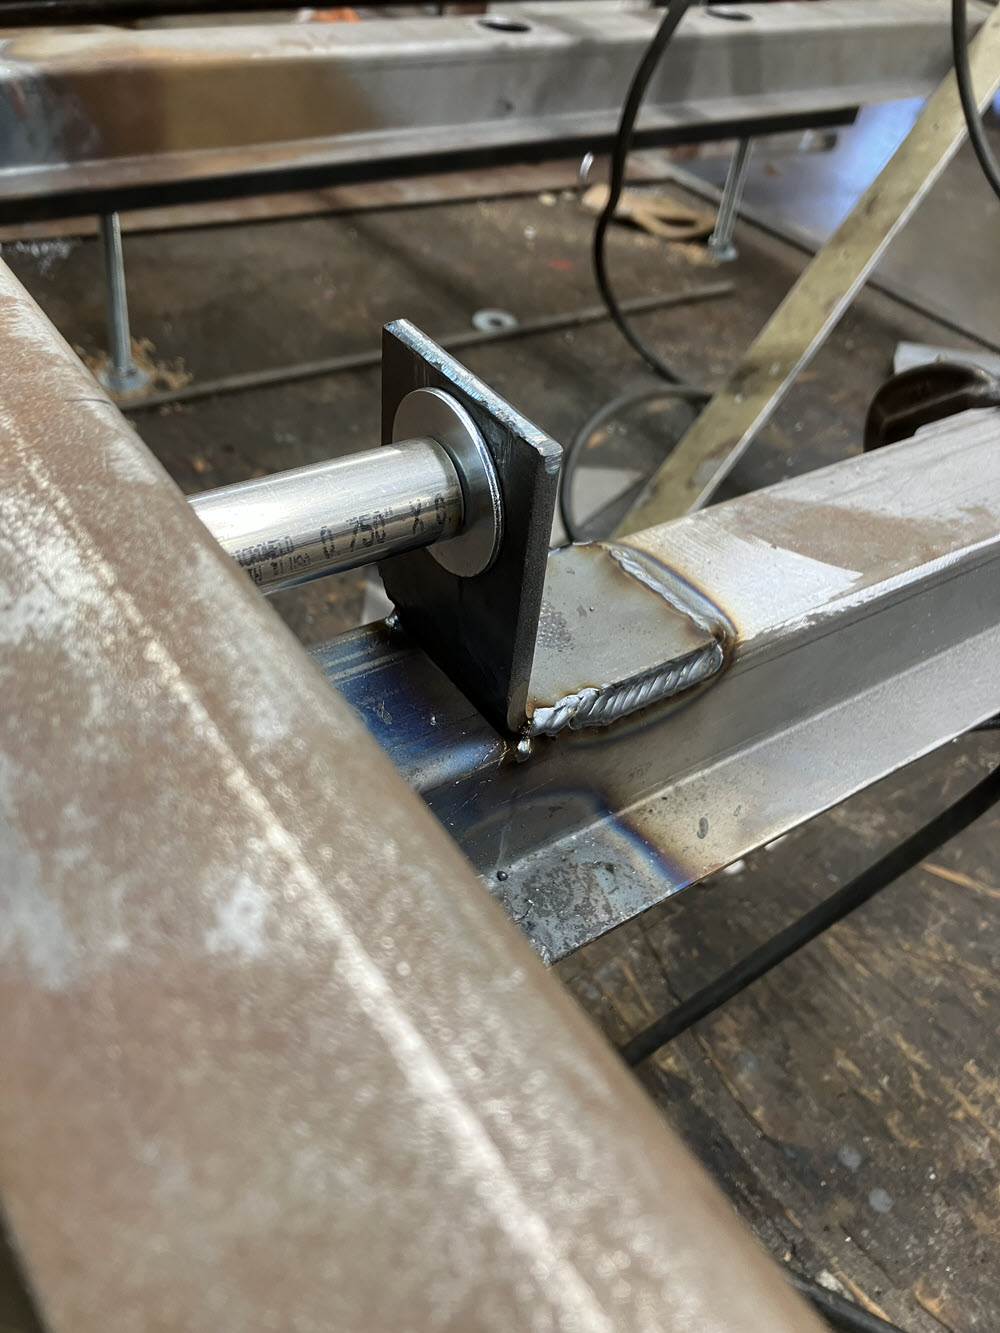
The front eye of the leaf spring locates the axle which needs to be square to the chassis rails. I take particular care to locate the bracket holes accurately. Ultimately the front subframe will be located referencing the holes in these brackets.
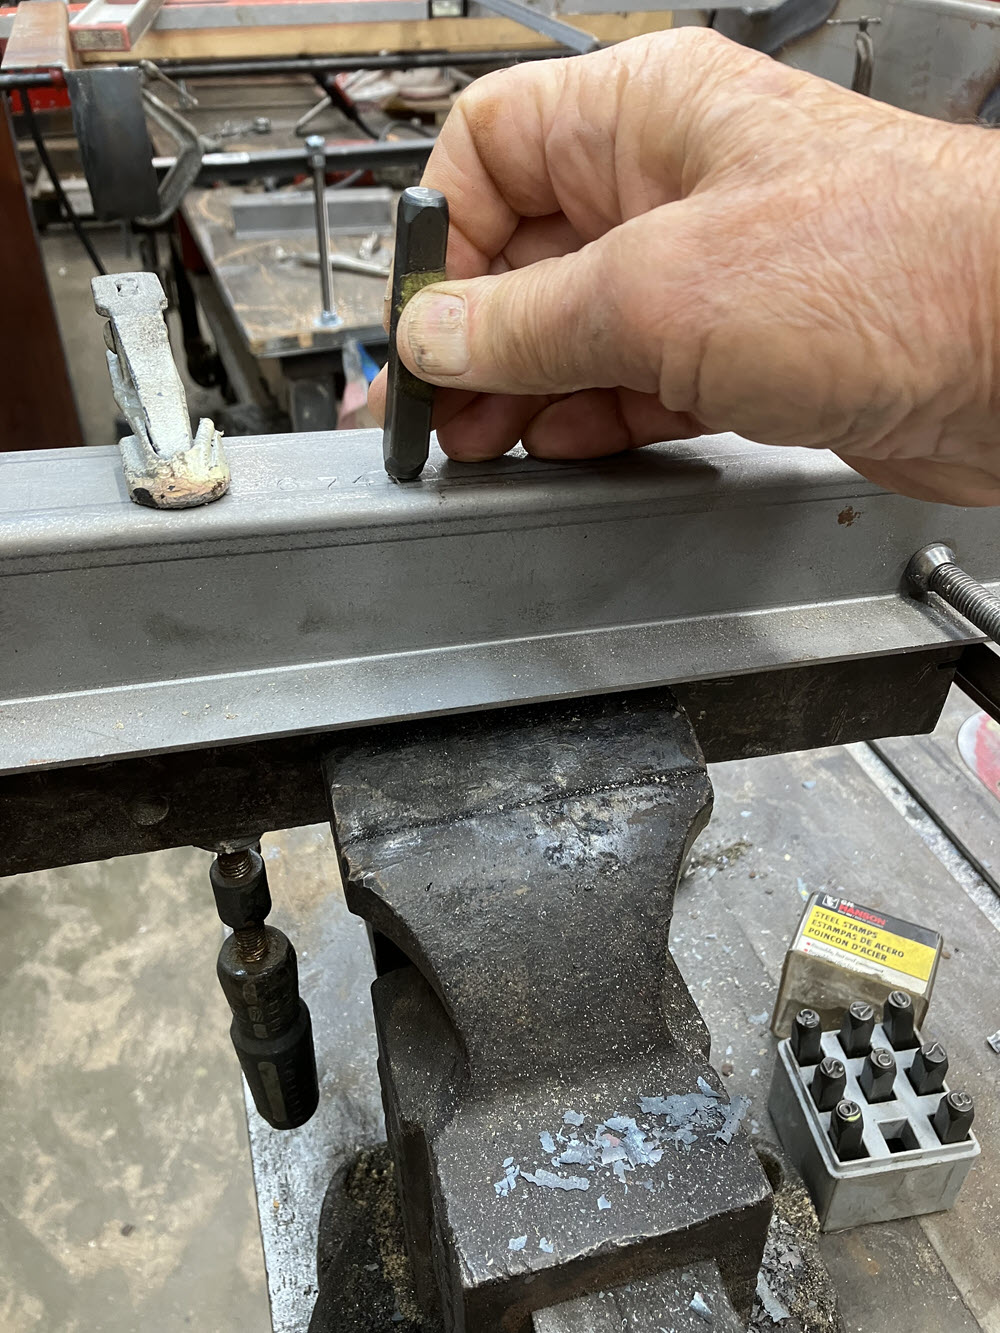
Chassis Number
The chassis number was hand stamped on either the second or third crossmember depending on whether the car is a two or four seater. I prefer to do the stamping before assembly. I have a large chunk of iron that I put in a vice. The crossmember is placed on it and clamped. The number die has a firm anvil to hit against making a sharp impression without a dent.
Final Assembly
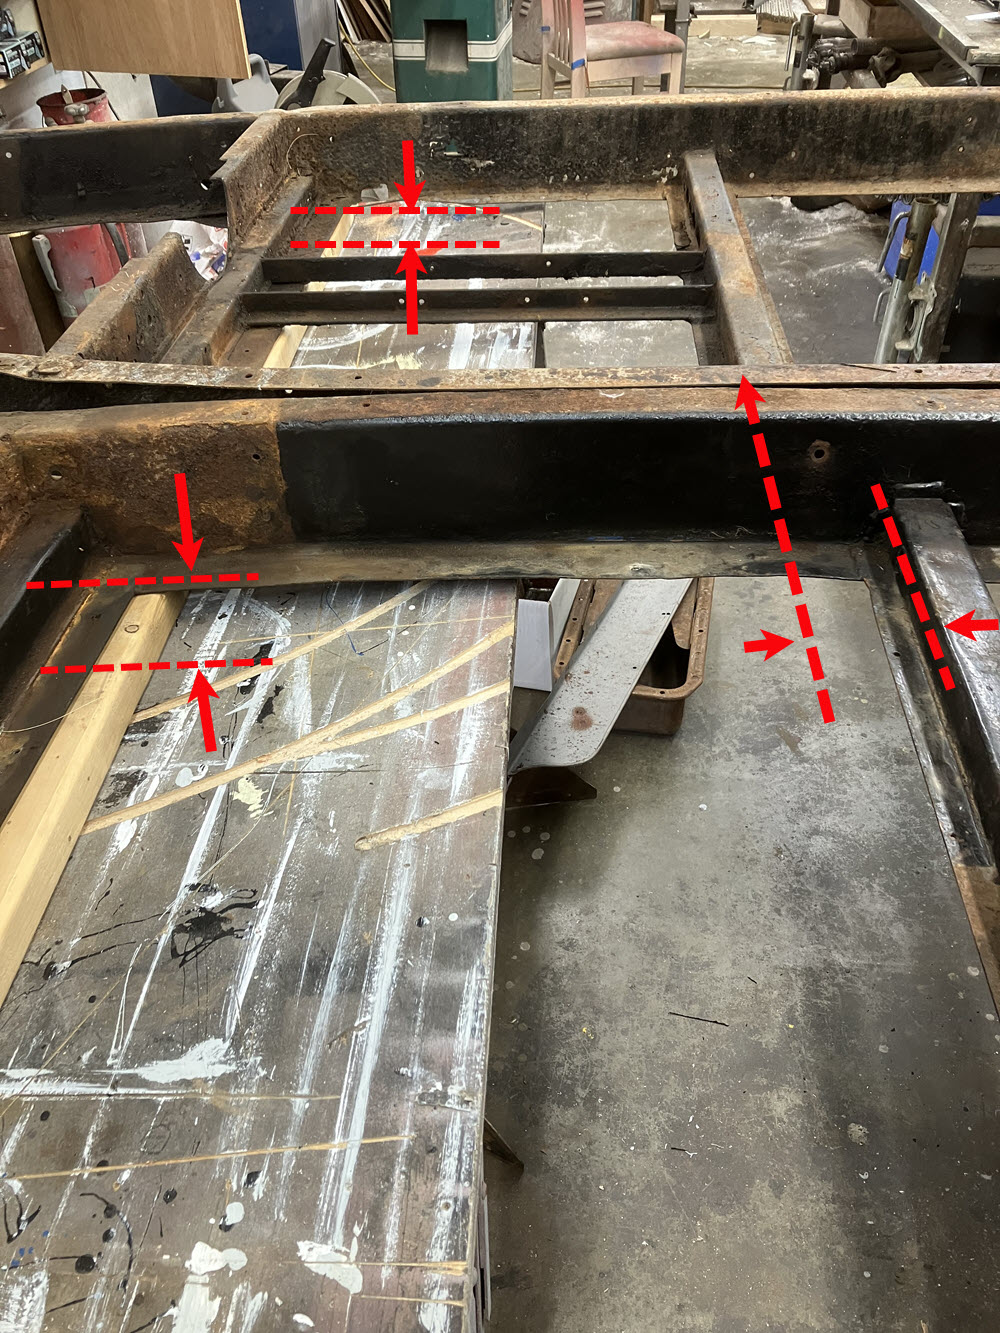
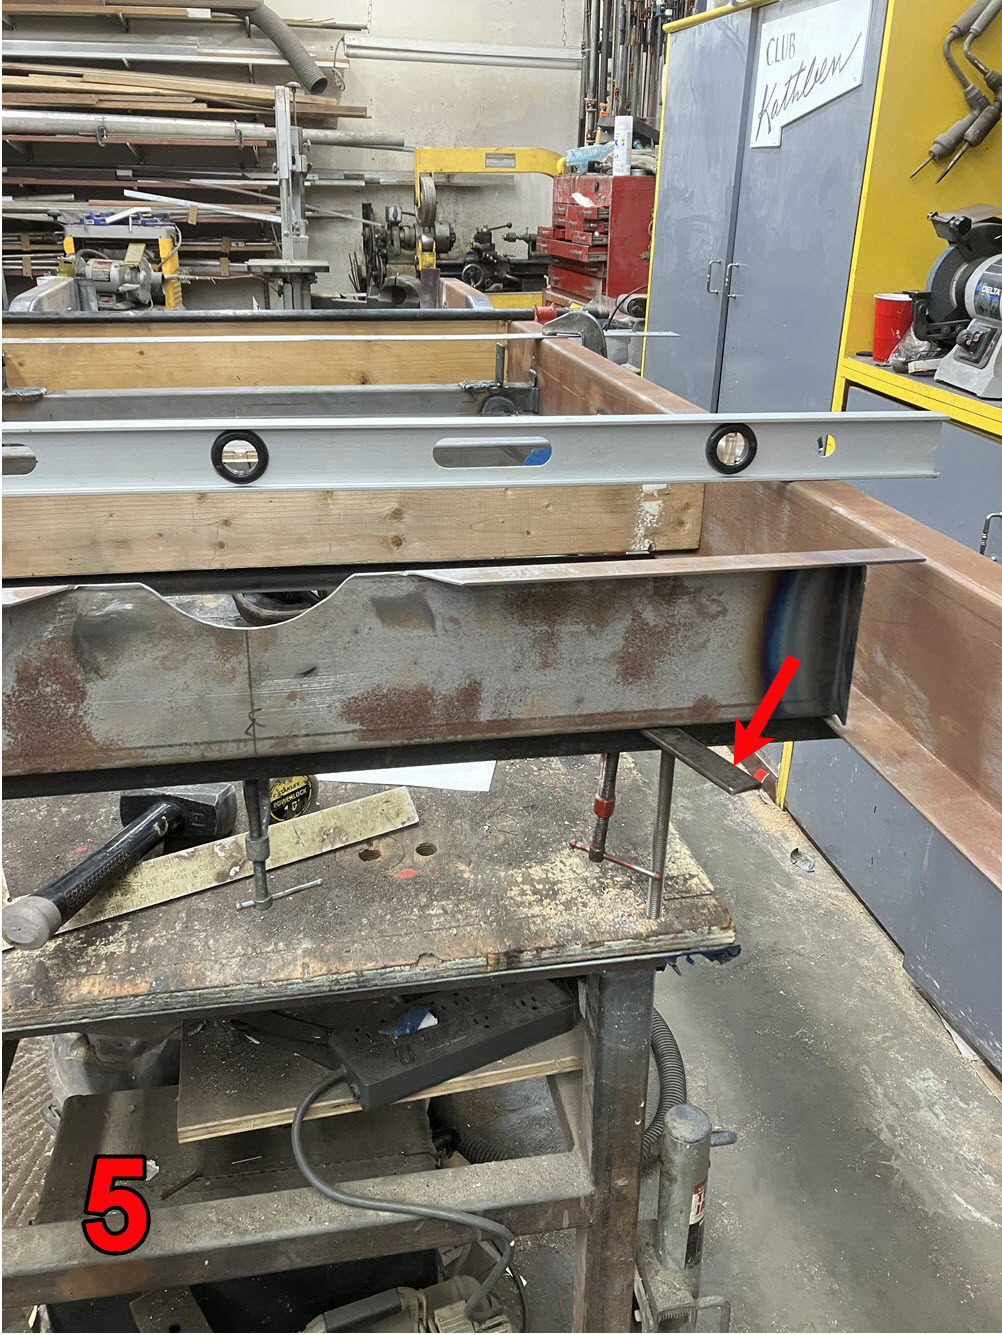
I’ve been doing this for years; usually it is a one-off chassis for a one-off restoration. Occasionally I’ve done batches which is a bit more ecconomical both in material and time. Whether a one-off or a batch I always rig some sort of support that can hold the bits in position and be leveled to keep everything straight and square.

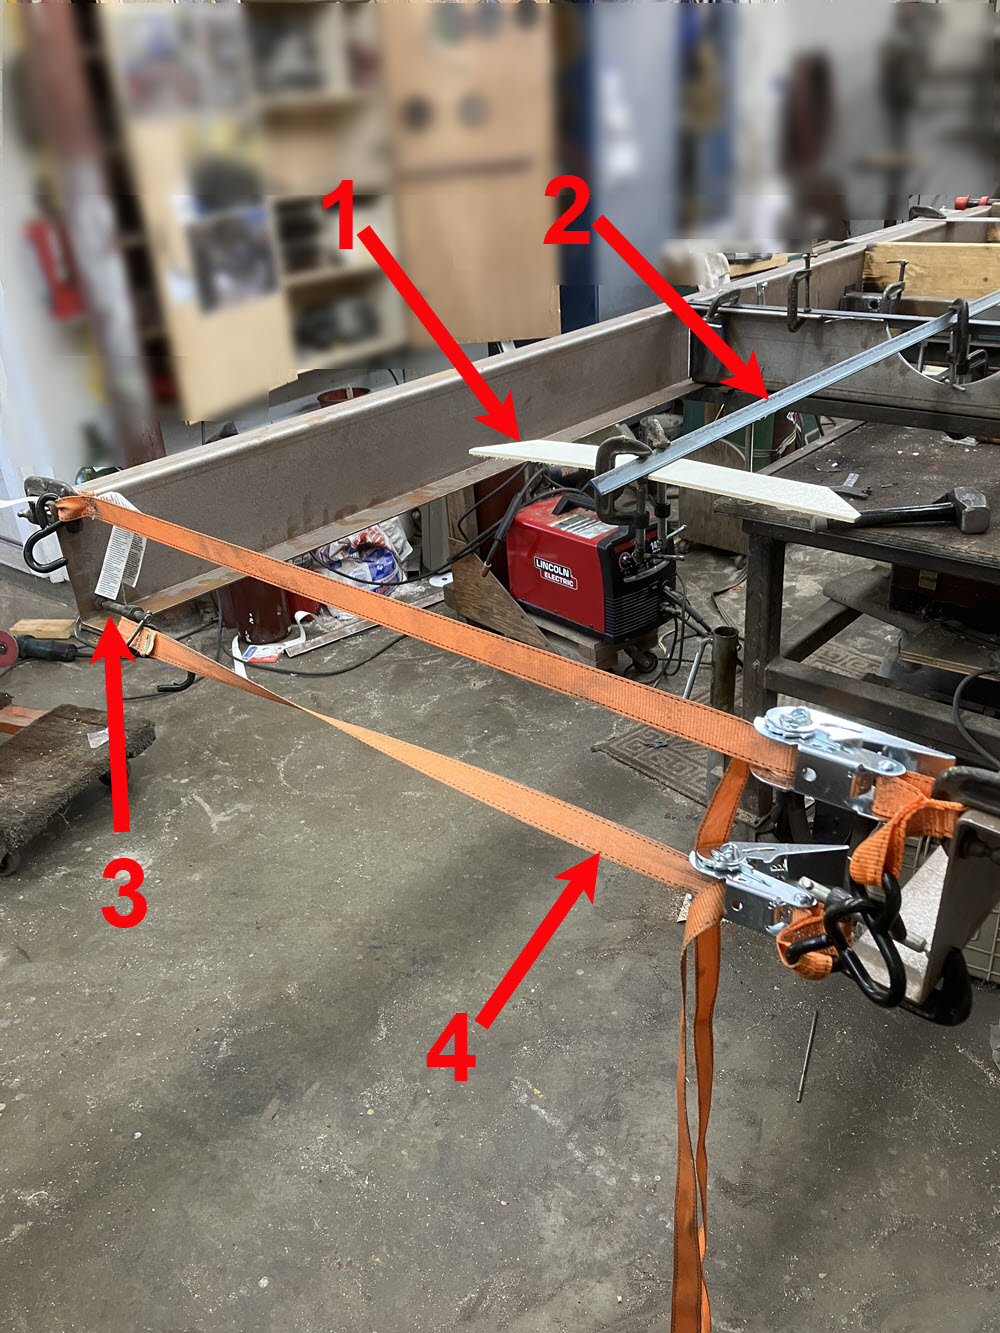
1: Level Rails 2: Measure original for distance Rail End to Hole for Front Spring Bolt. Mark that dimension on the new rails. 3: Install and clamp spacer boards. Loosely place crossmembers between rails. Clamp a framing square at the mark on one rail and line up the opposite rail to its mark. BE FUSSY!!! 4: Locate and clamp crossmember #3 centered on the marks. Locate and clamp crossmembers #2 and #4 (+4 after 1953) relative to the Front Spring Bolt marks. Check dimesions and square again THEN weld the three crossmembers to the rail bottom flange. 5: Keeping everything square, shift the rail/crossmember assembly so that the front crossmember can rest on the angle-iron cross of the leveling fixtue. insert spacers to raise the crossmember slightly above the rail flange. Square and clamp Firmly.
Shaping the Rails
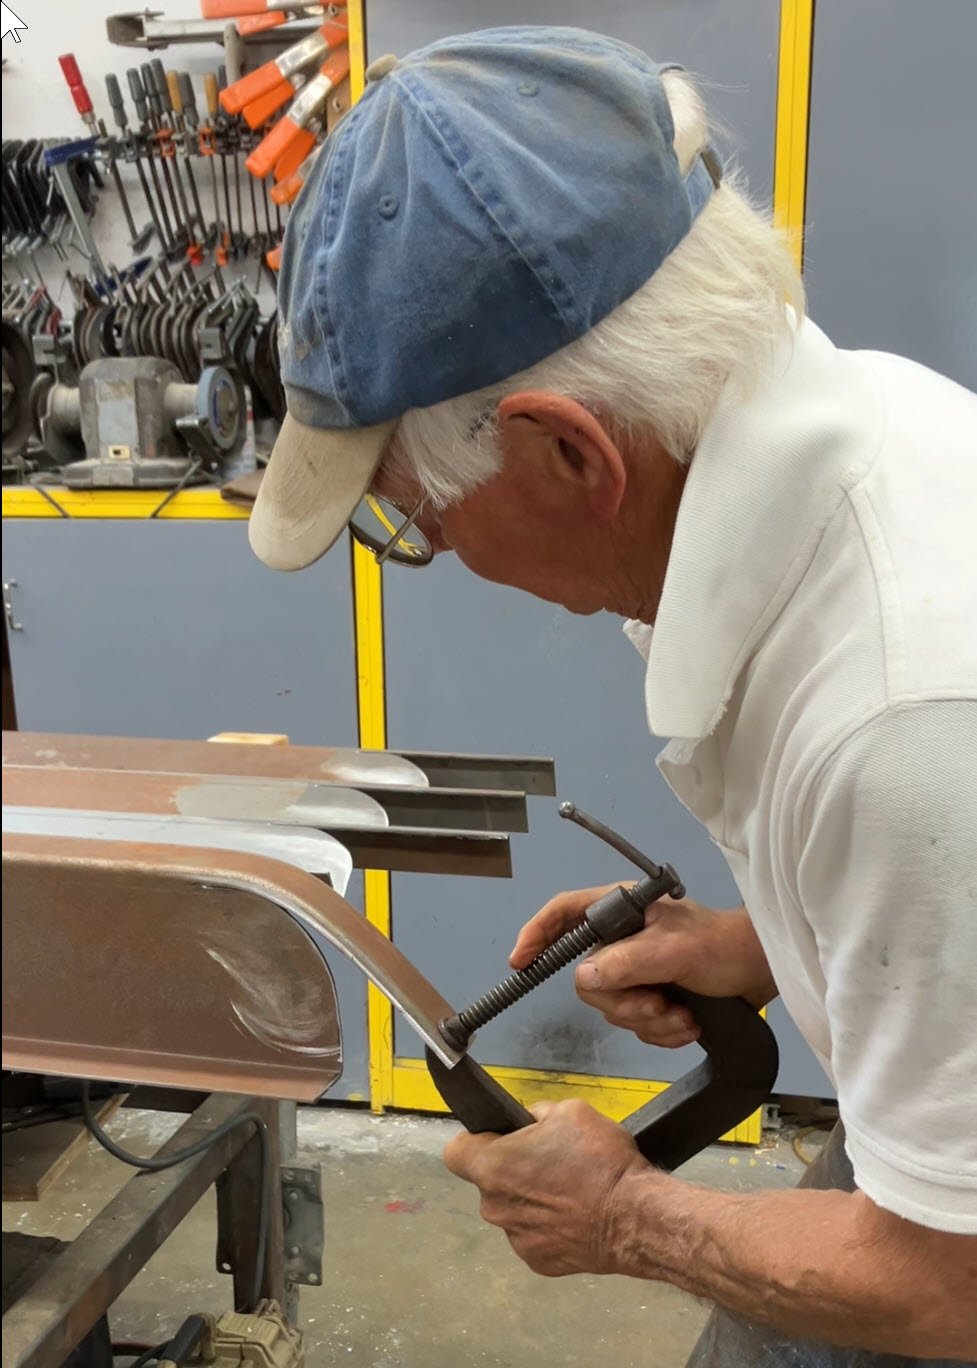
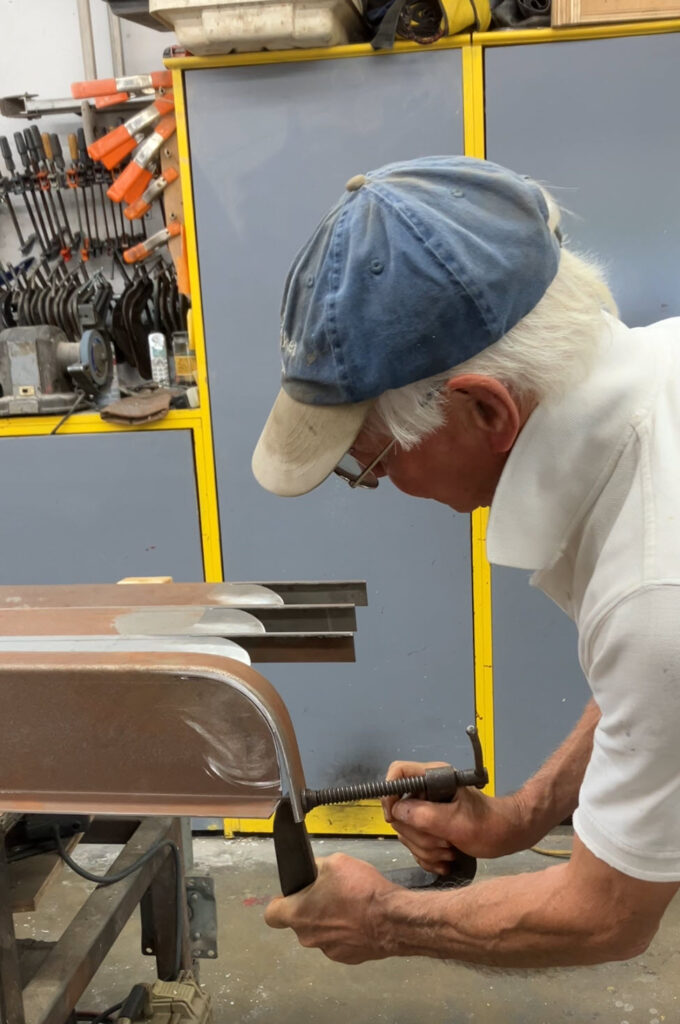
Steel will stretch and it will shrink. Apply pressure when it is red hot it stretches. Hammer it over an anvil while it is red hot and it will shrink. Apply these principles to bend the rails. First have all parts squared and clamped in place.
- Place a piece of angle iron (or similar straight object) on the centerline. 2. clamp a scrap of metal/wood etc. at the correct distance for the front subframe. The scrap is the same width as the front subframe where the chassis will end and is a reference for bending. 3. Place two clamps on the top and bottom of the extreme end of the each rail. 4. Place a ratcheting band-strap between the two top clamps and another between the two lower.
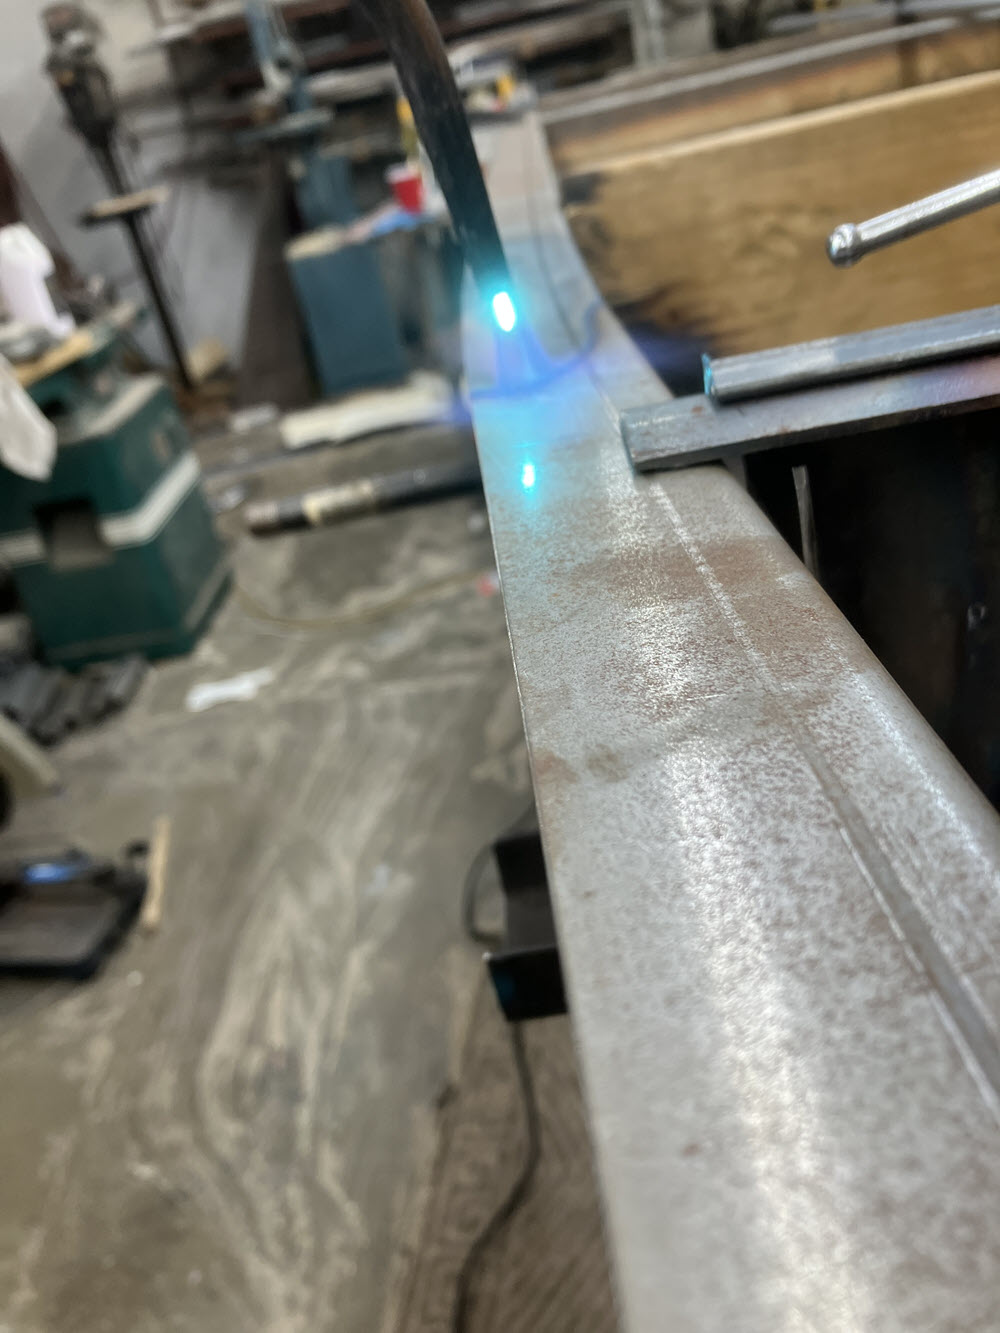
Tighten the band clamps and apply heat to the top flange. Note: the bend begins further back than you epect. Place a straight edge on the side of the original chassis to determine where to begin bending the new rail. The heated top of the rail will start to bend because of the pressure from the band clamps at the front. Work slow alternating between heat ing the top and bottom flange as you proceed forward.
Move the heat to the lower flange.

Heat a triangle, about 1 1/2 at the outer edge to near zero at the inside. When the triangle is red, it may buckle because of the band clamp pressure. If it does not buckle give it a whack with a hammer to bow it up. continue alternating between heating/bending the top flange and heating/whacking/bending triangle on the lower flange. The objective is a FAIR consitant bend with no flats or angles.