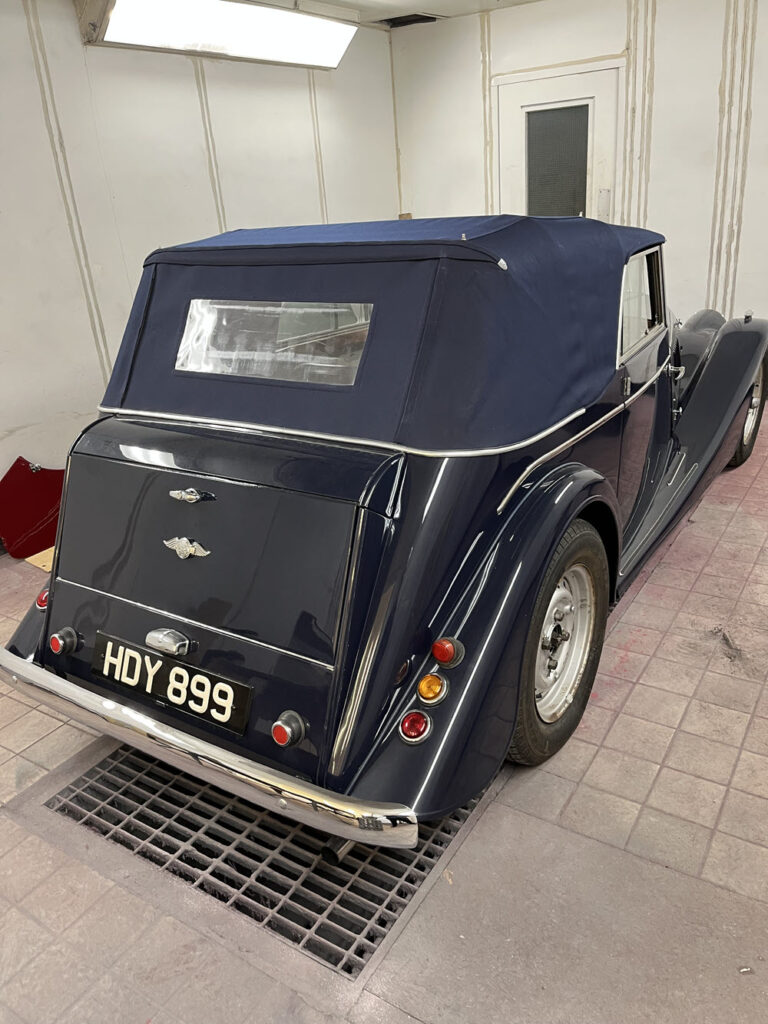
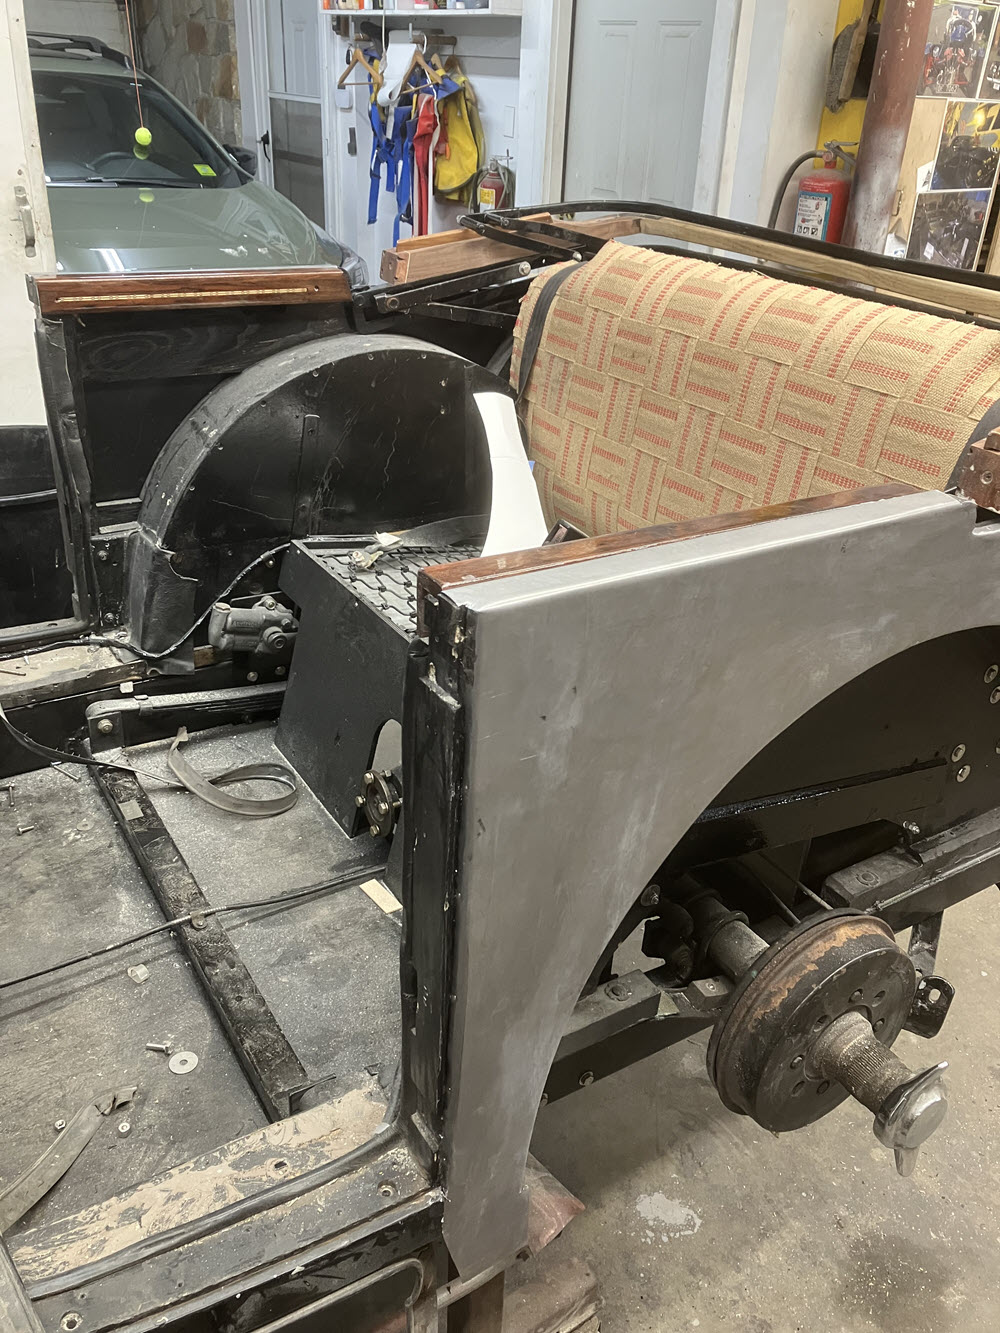
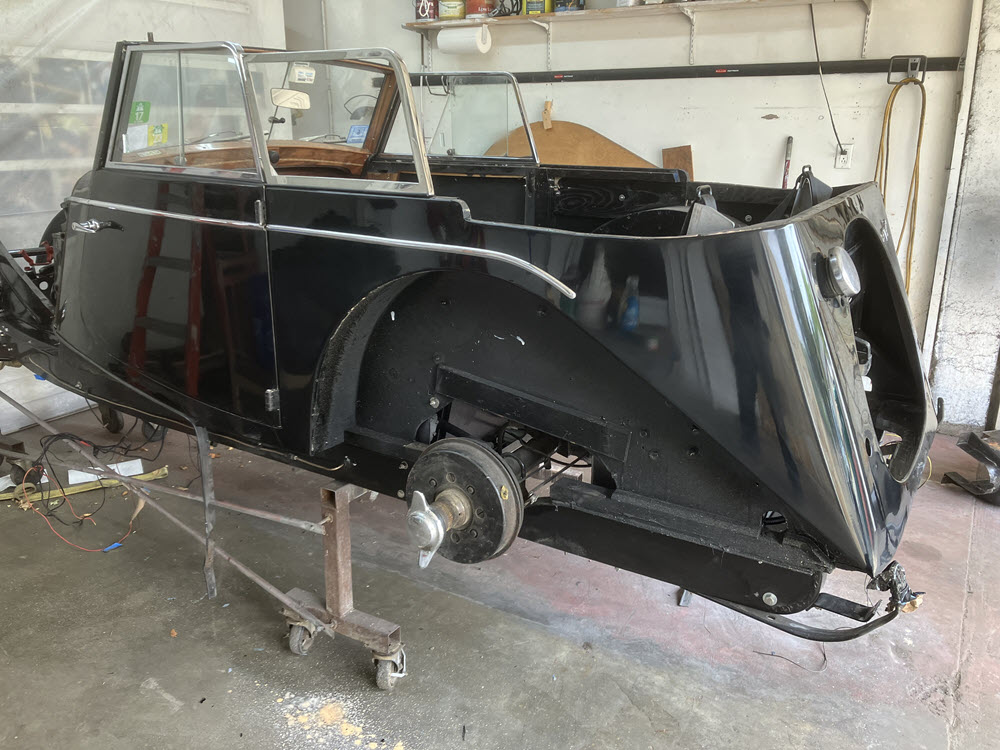
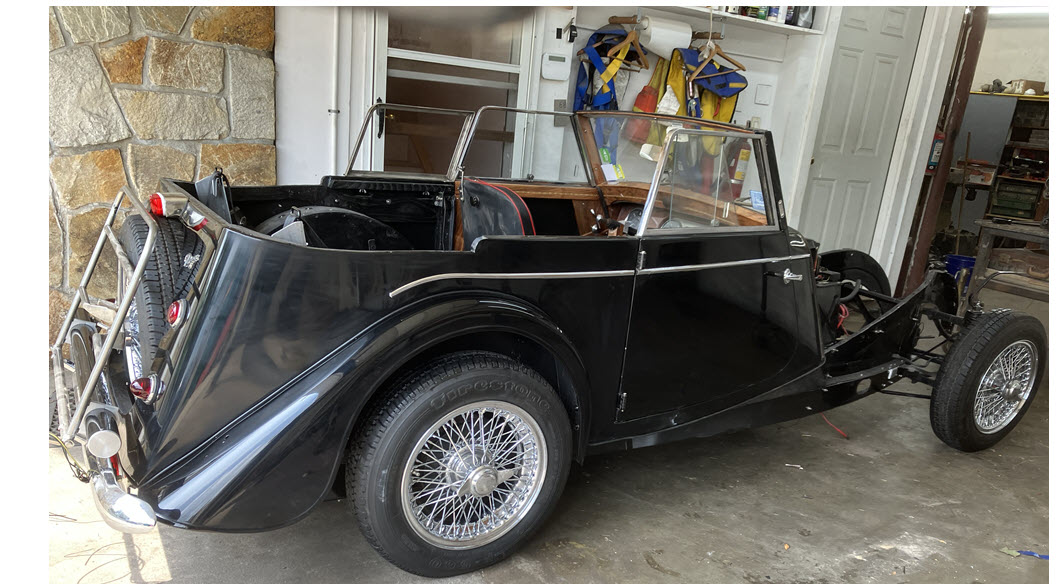
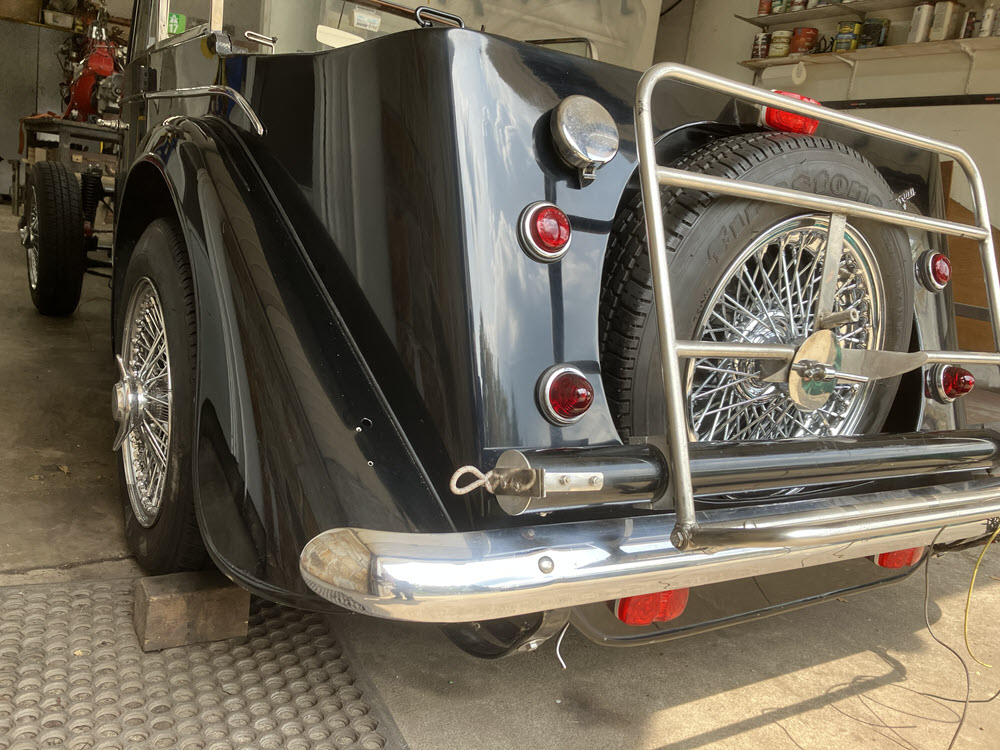
After eighteen years (it’s now 2026, we acquired BENE in 2008) and after many miles touring Bene deserves a major refresh. In addition to the usual, the plan is to convert it to a four seat DHC.
Current Status: 28 July 2026
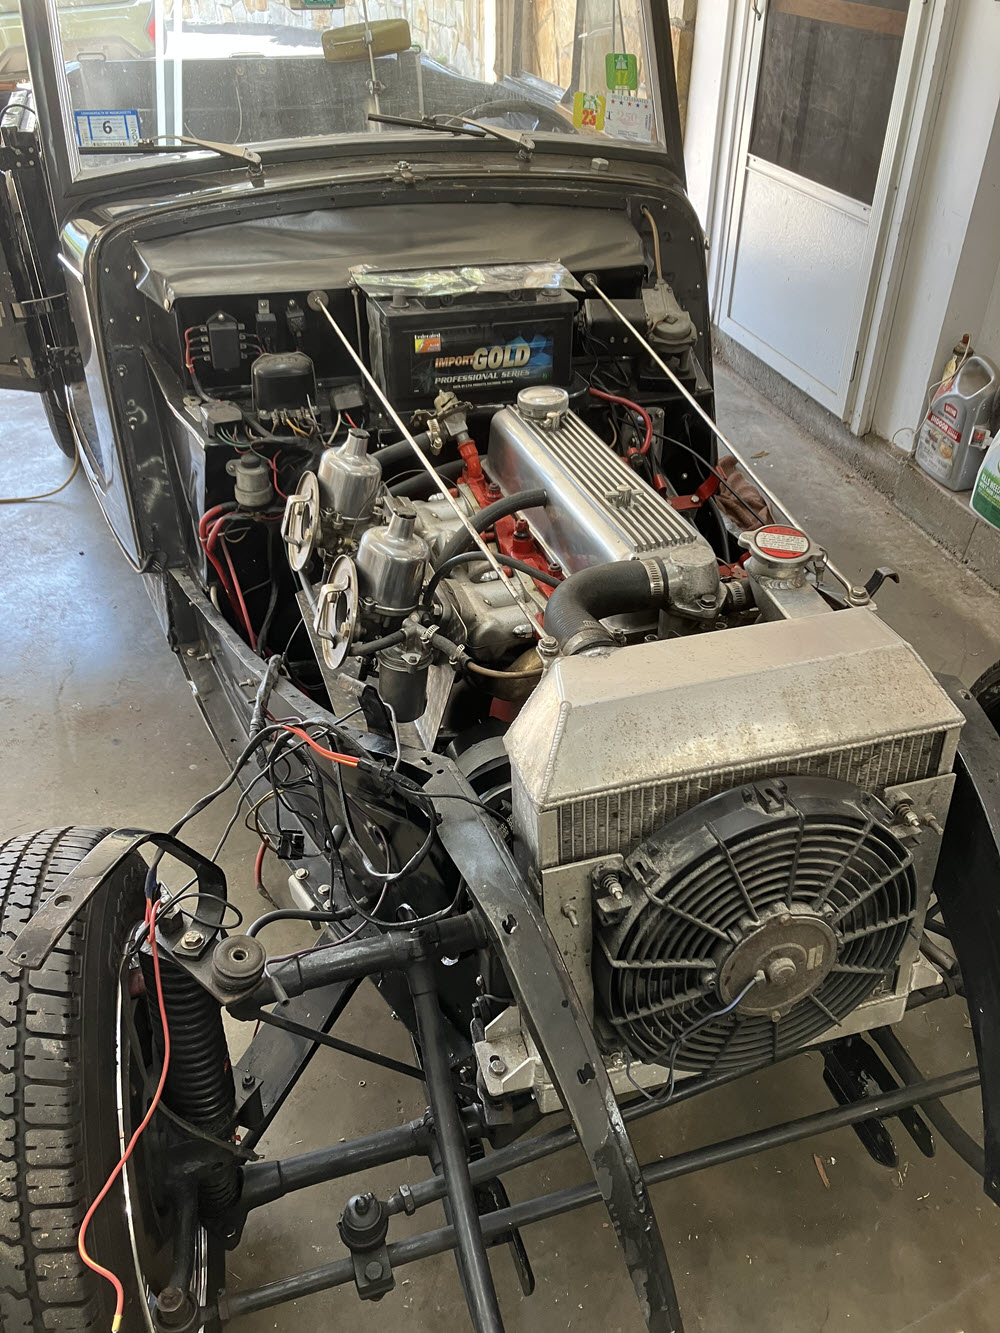
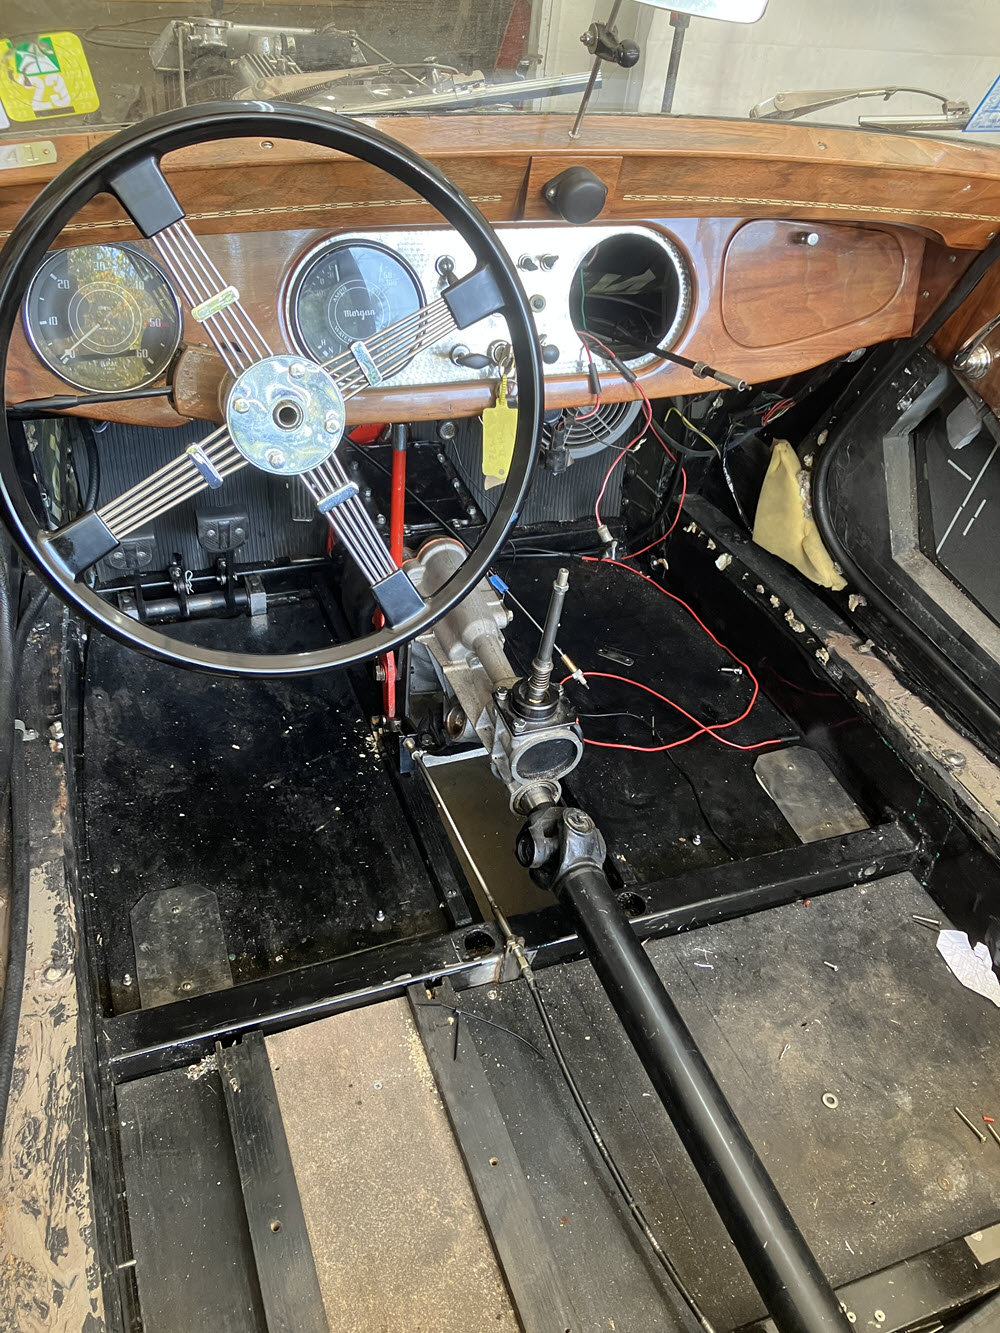
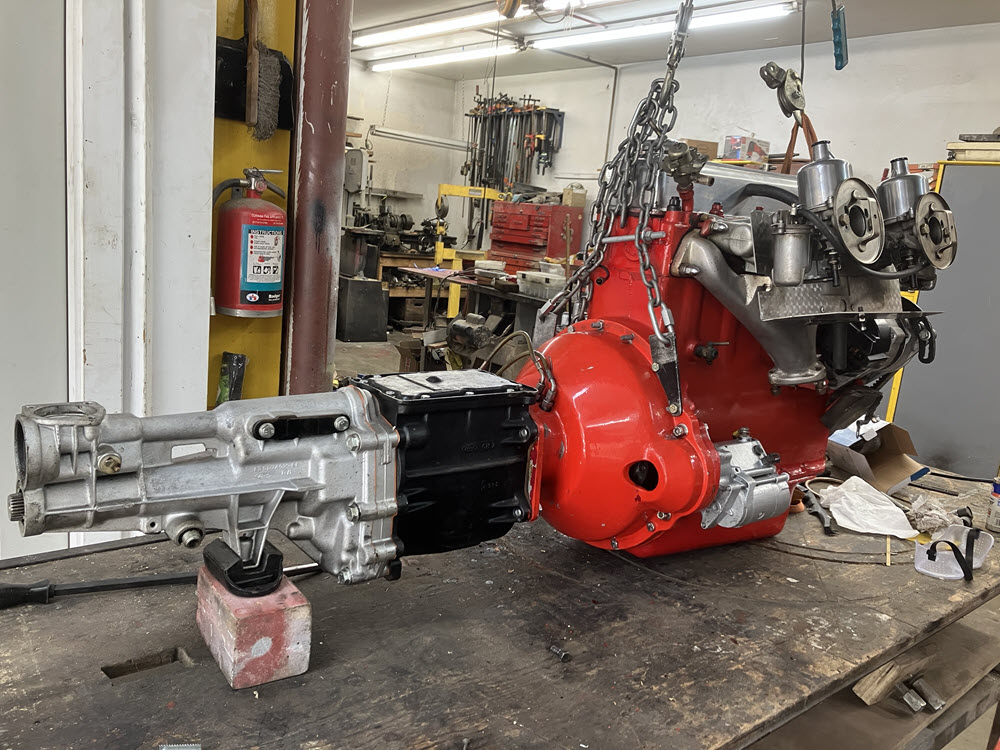
Engine/gearbox, radiator battery and other stuff installedDriveshaft, handbrake etc. installed Brakes/Throwout Bled,
More or Less Chronilogical Images of Project
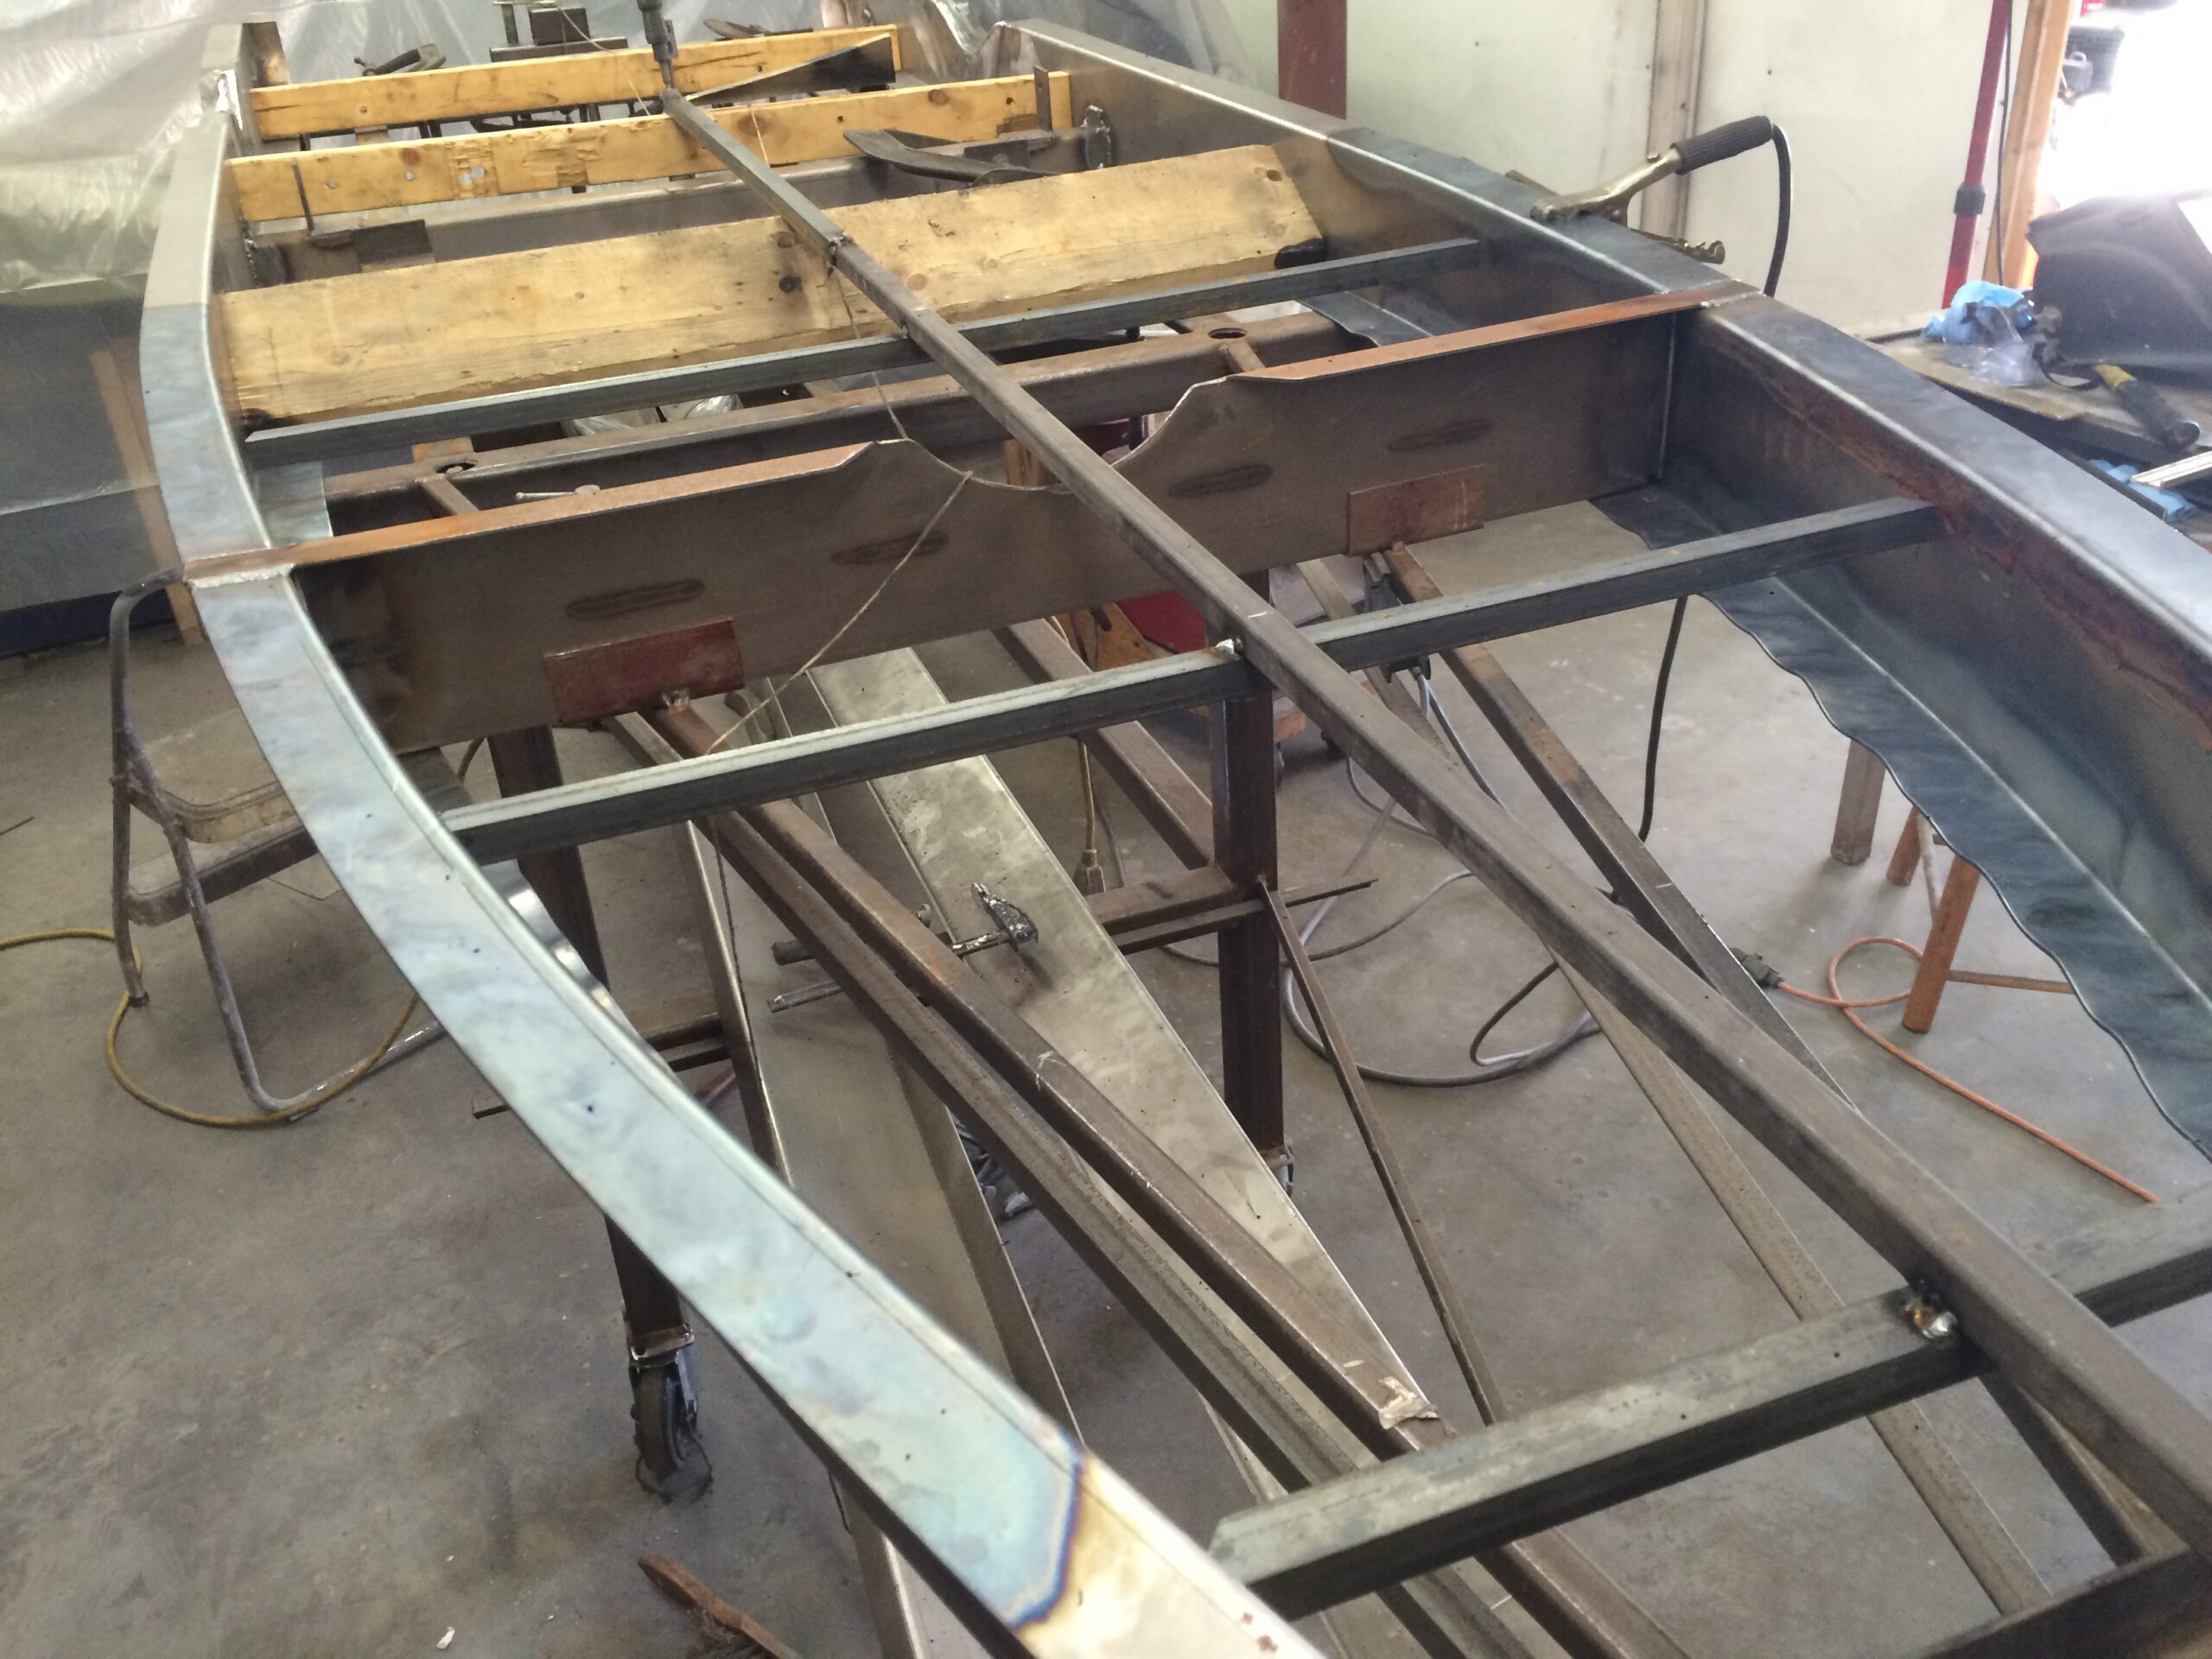
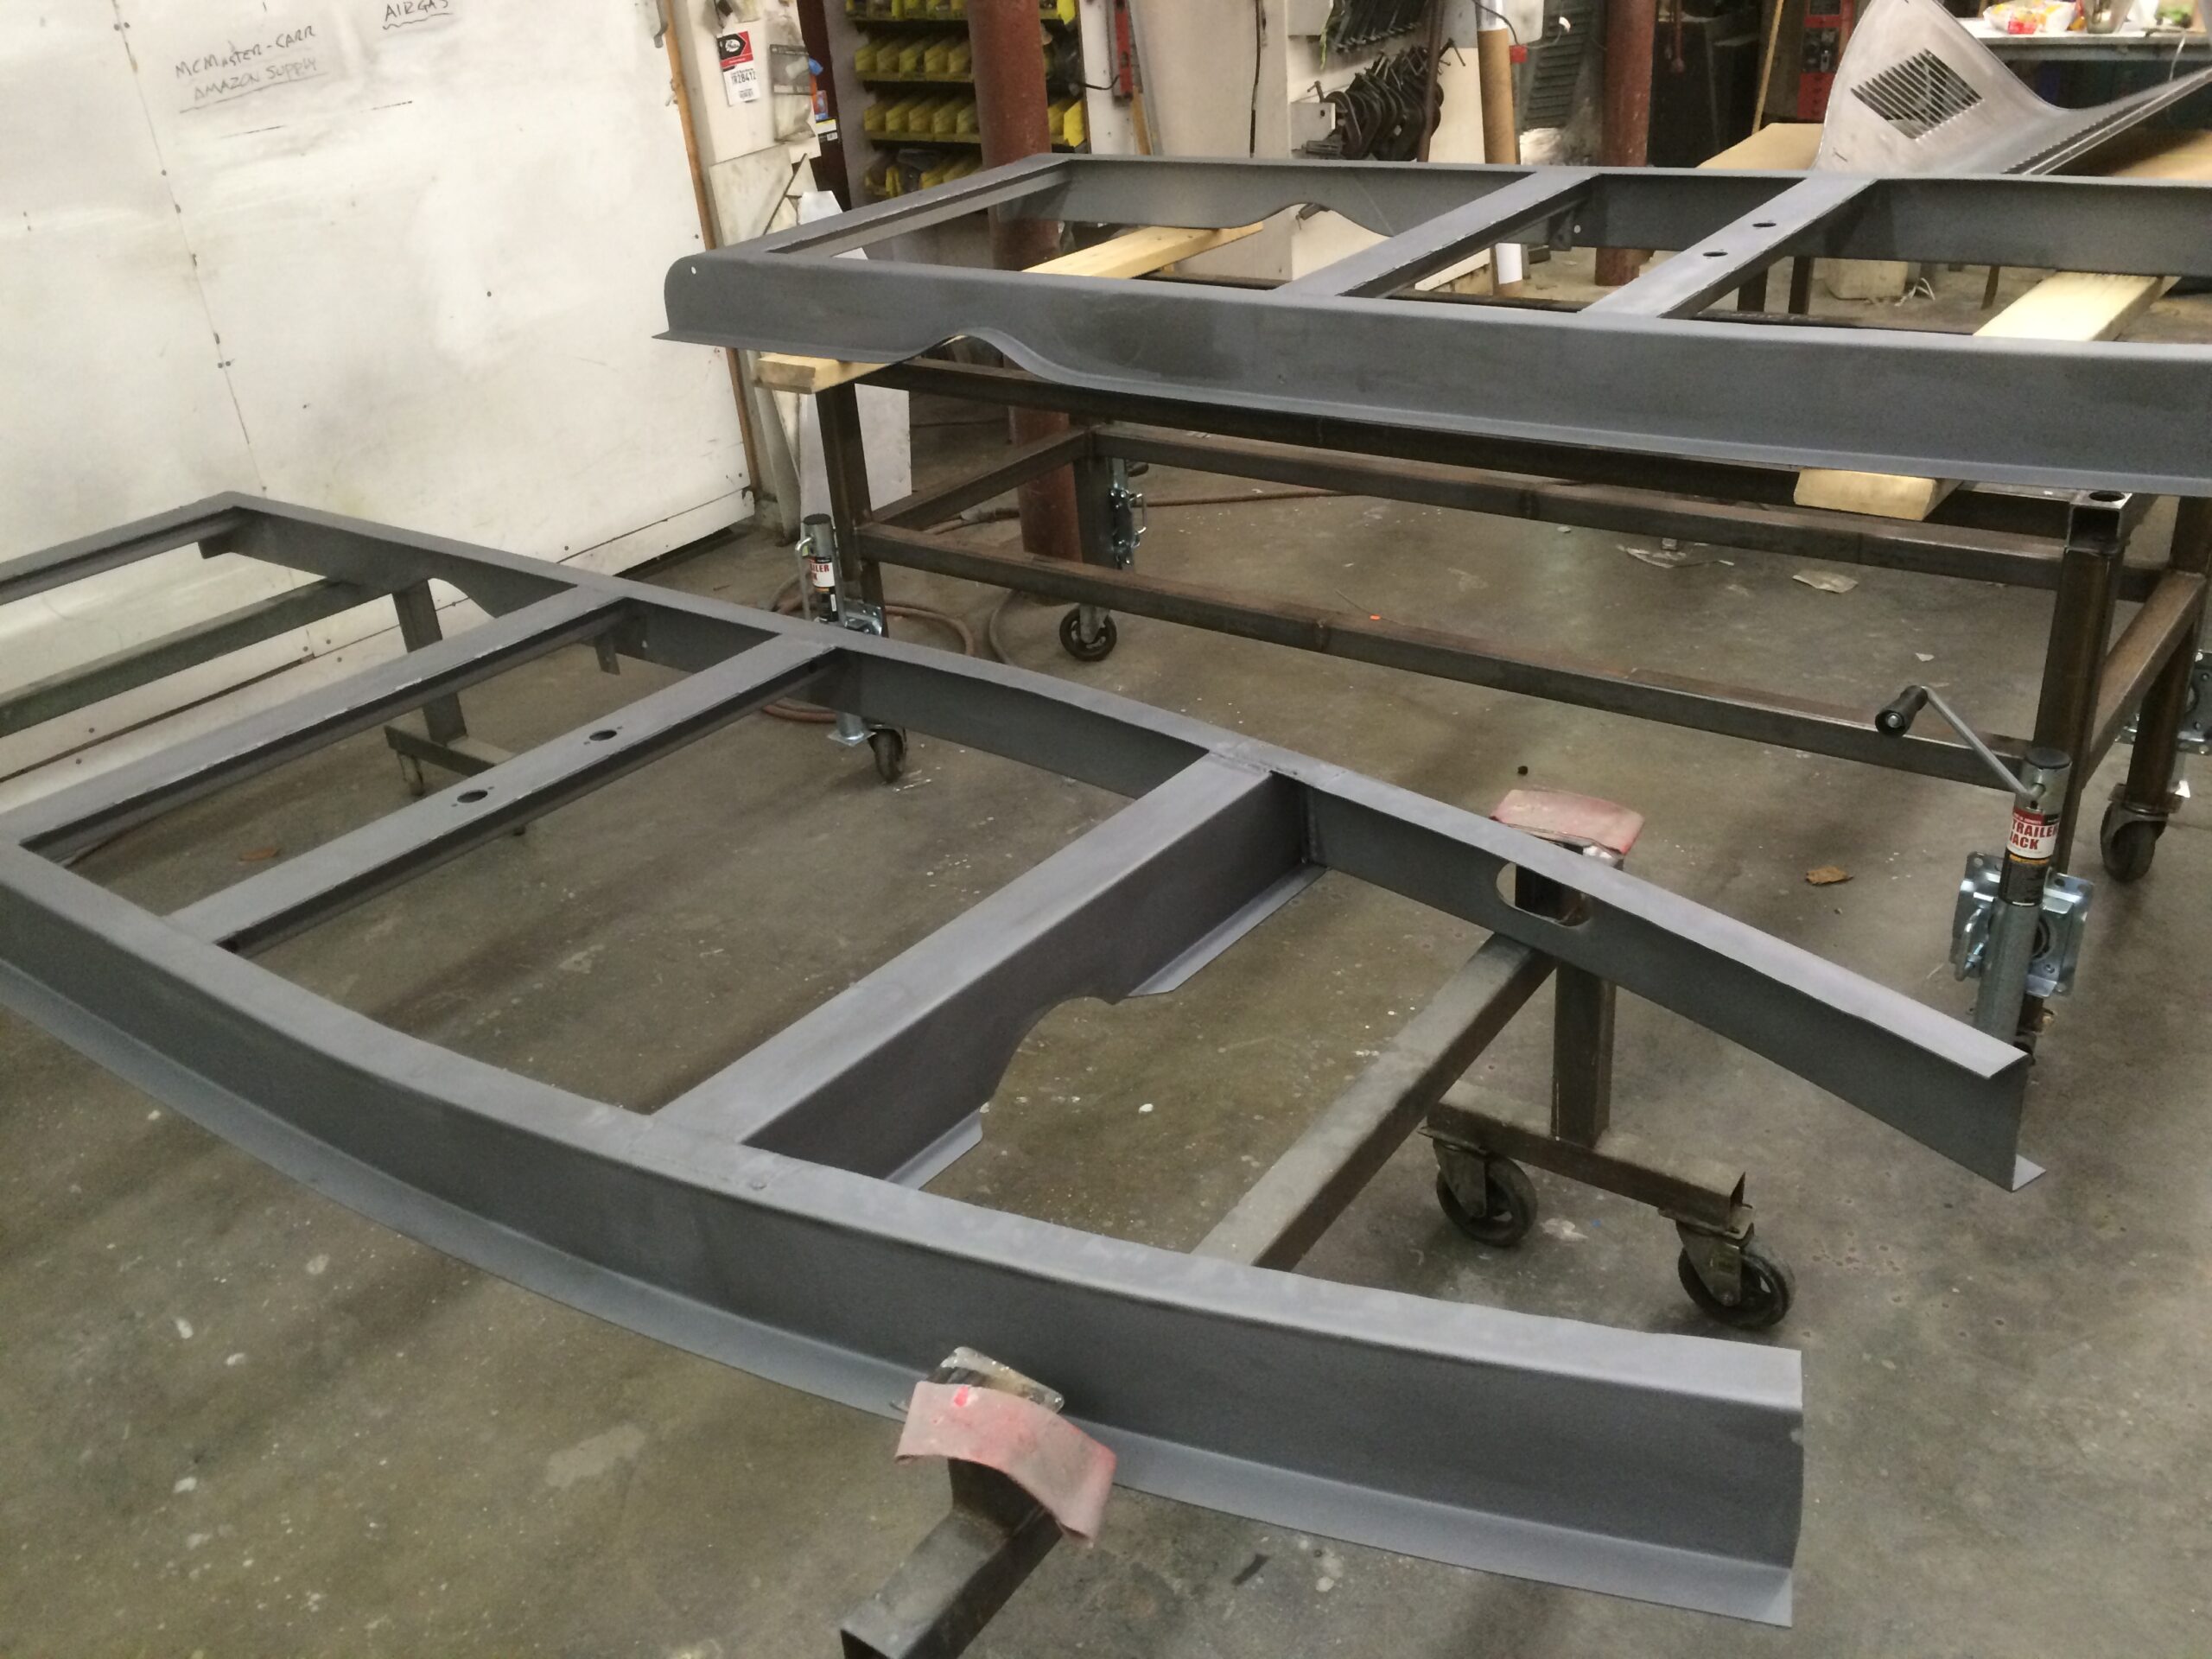
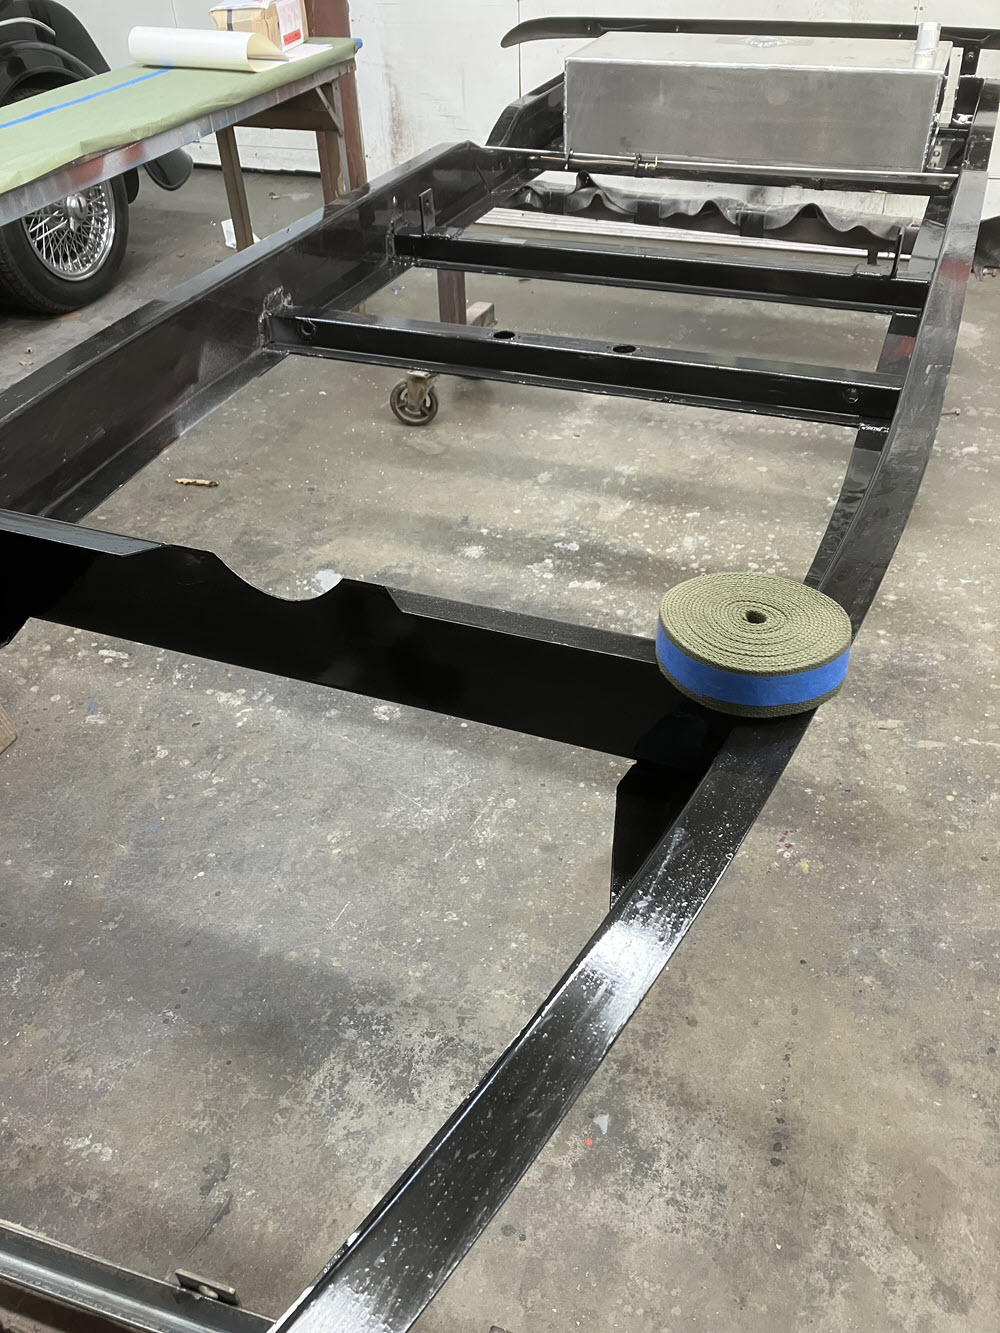
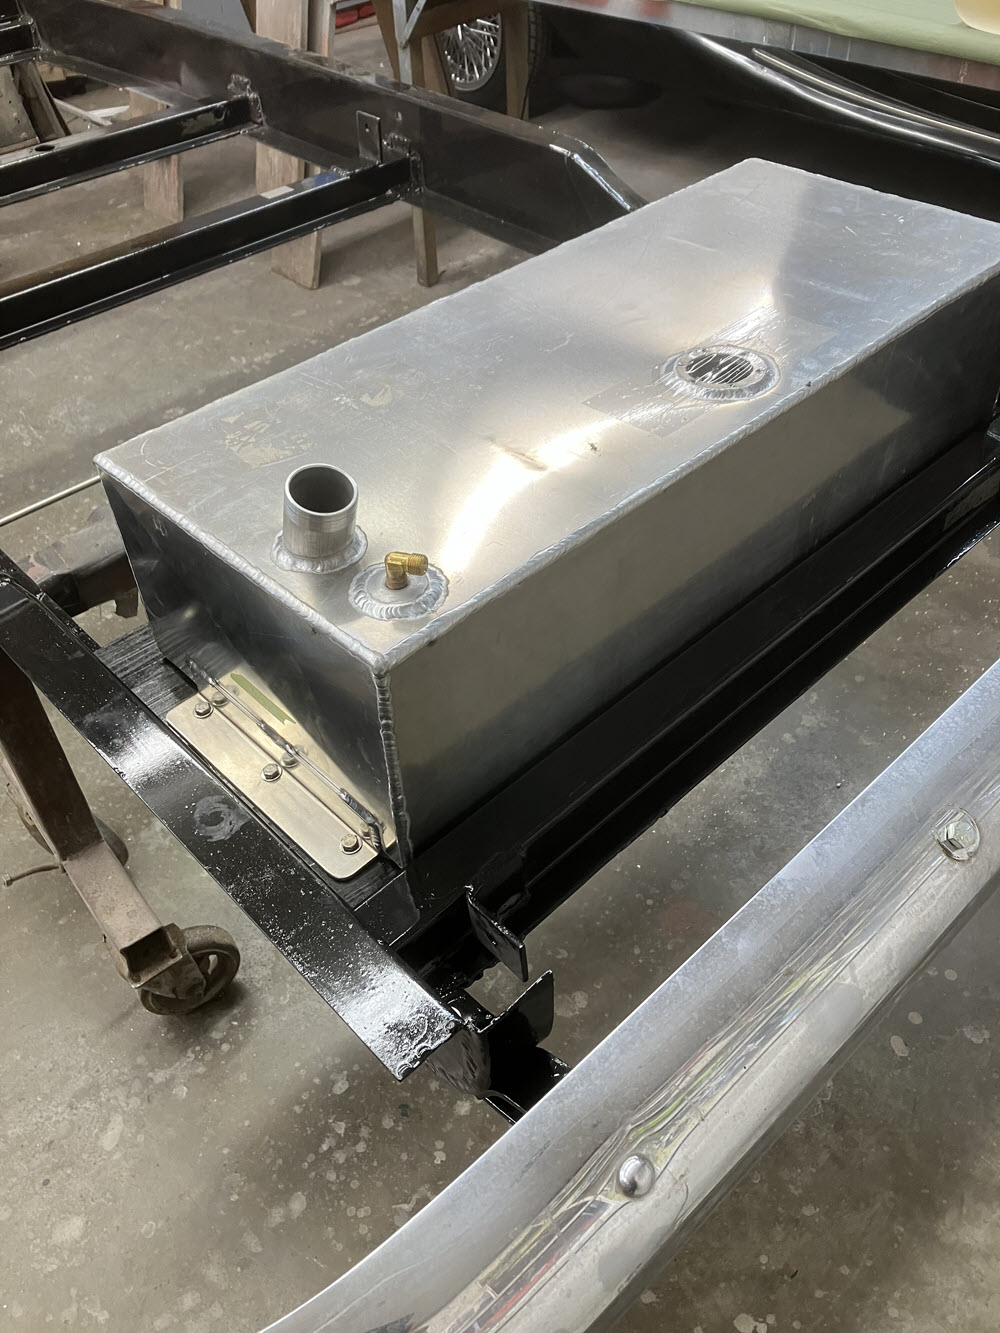
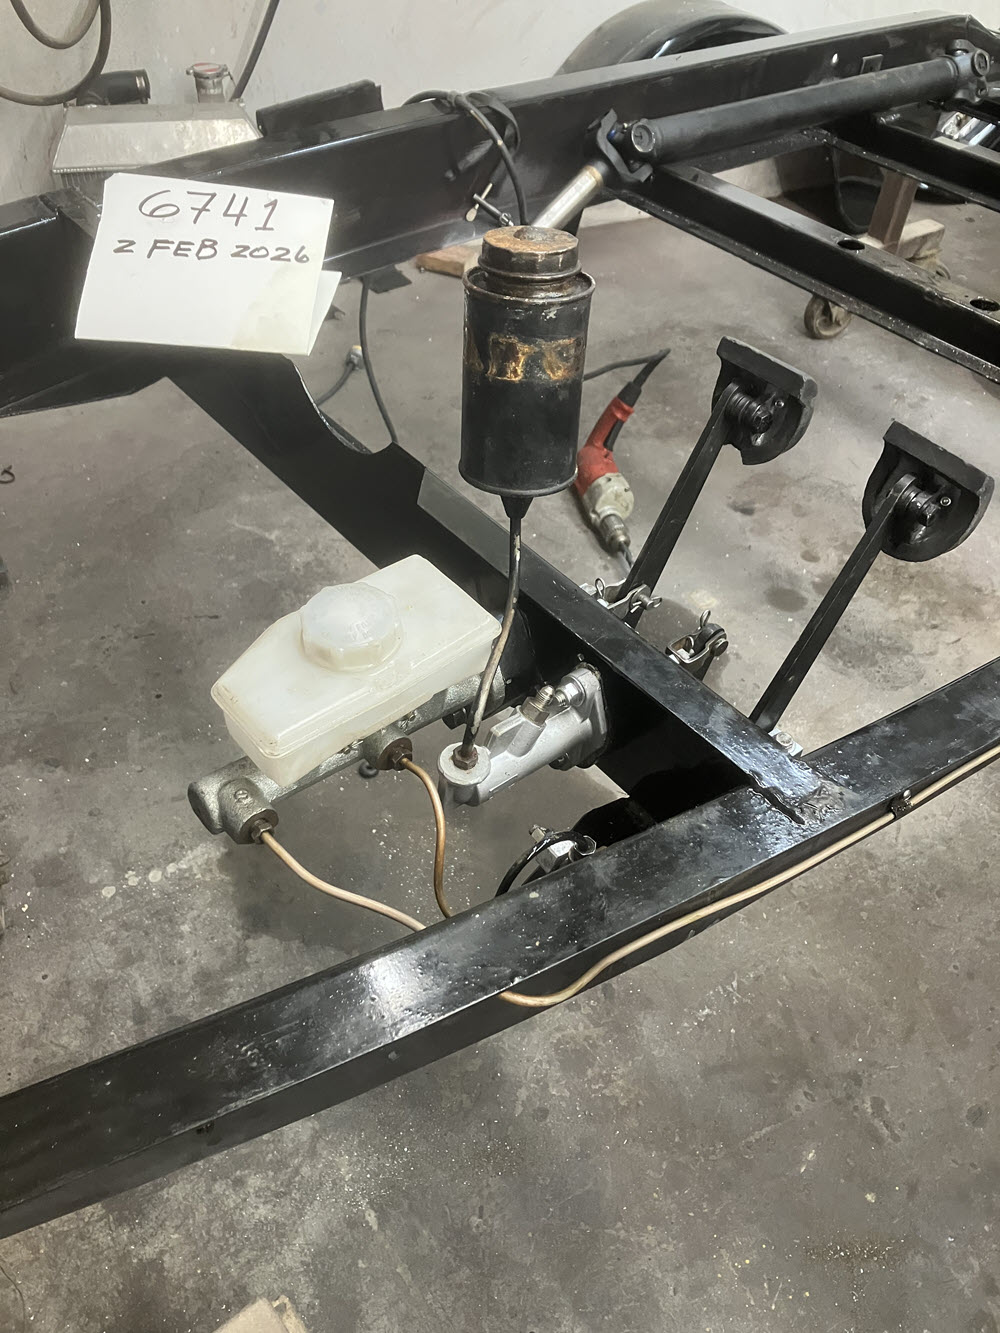
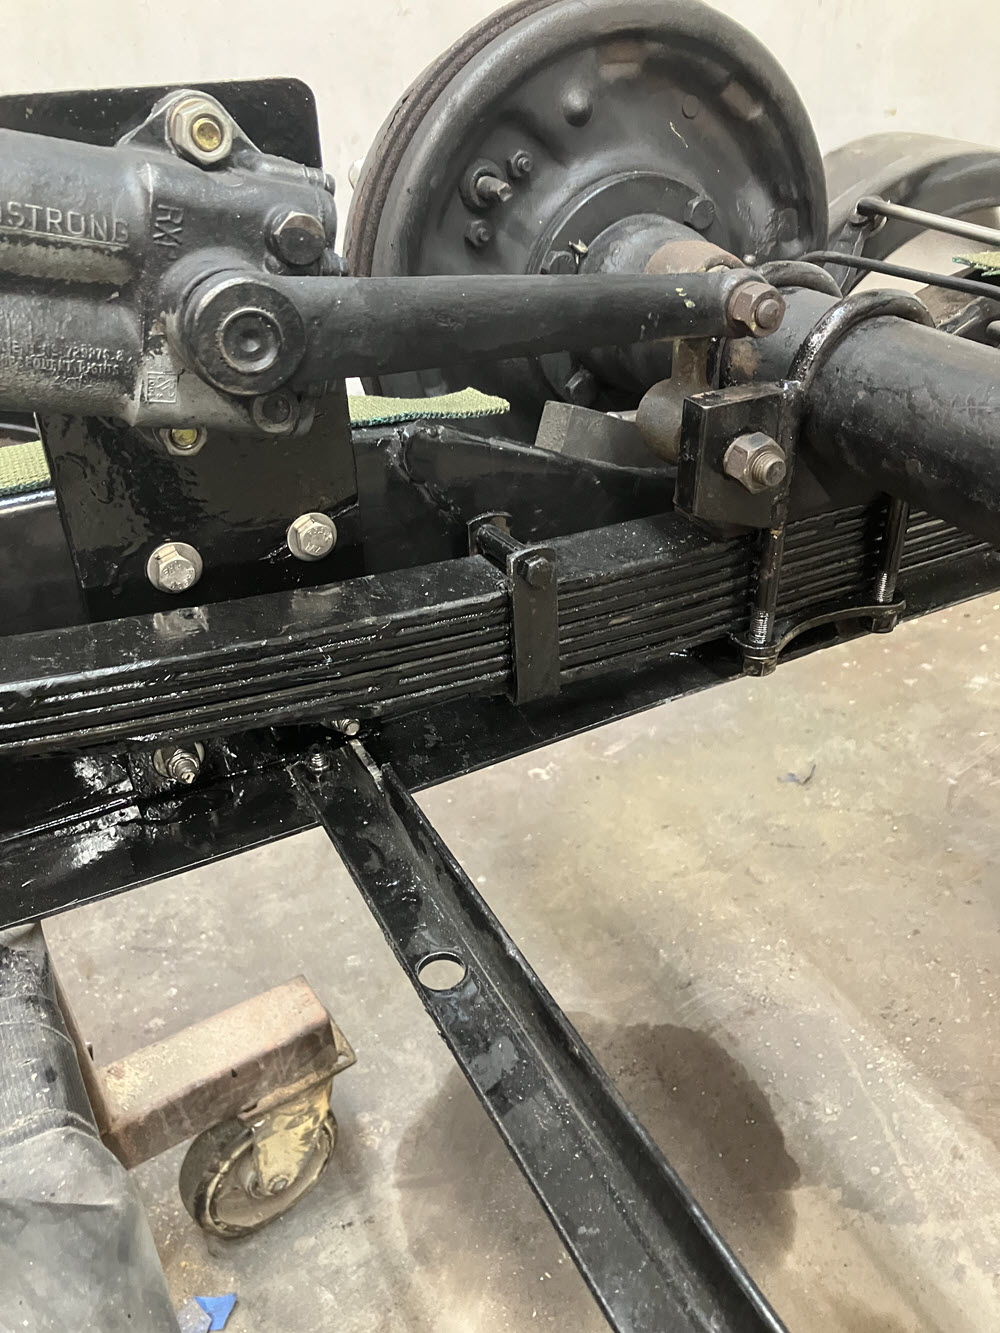
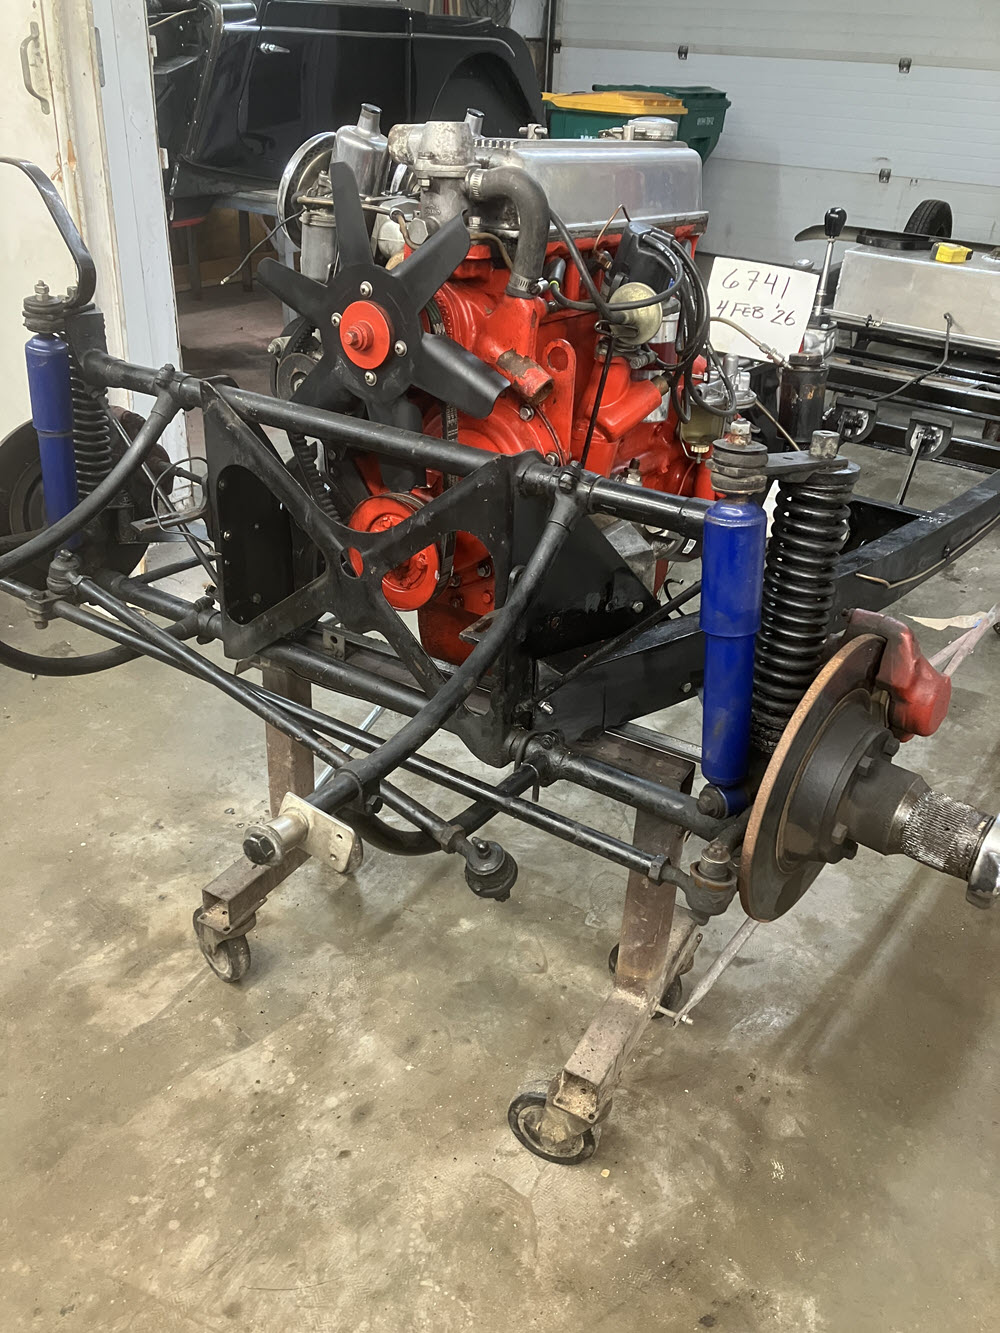
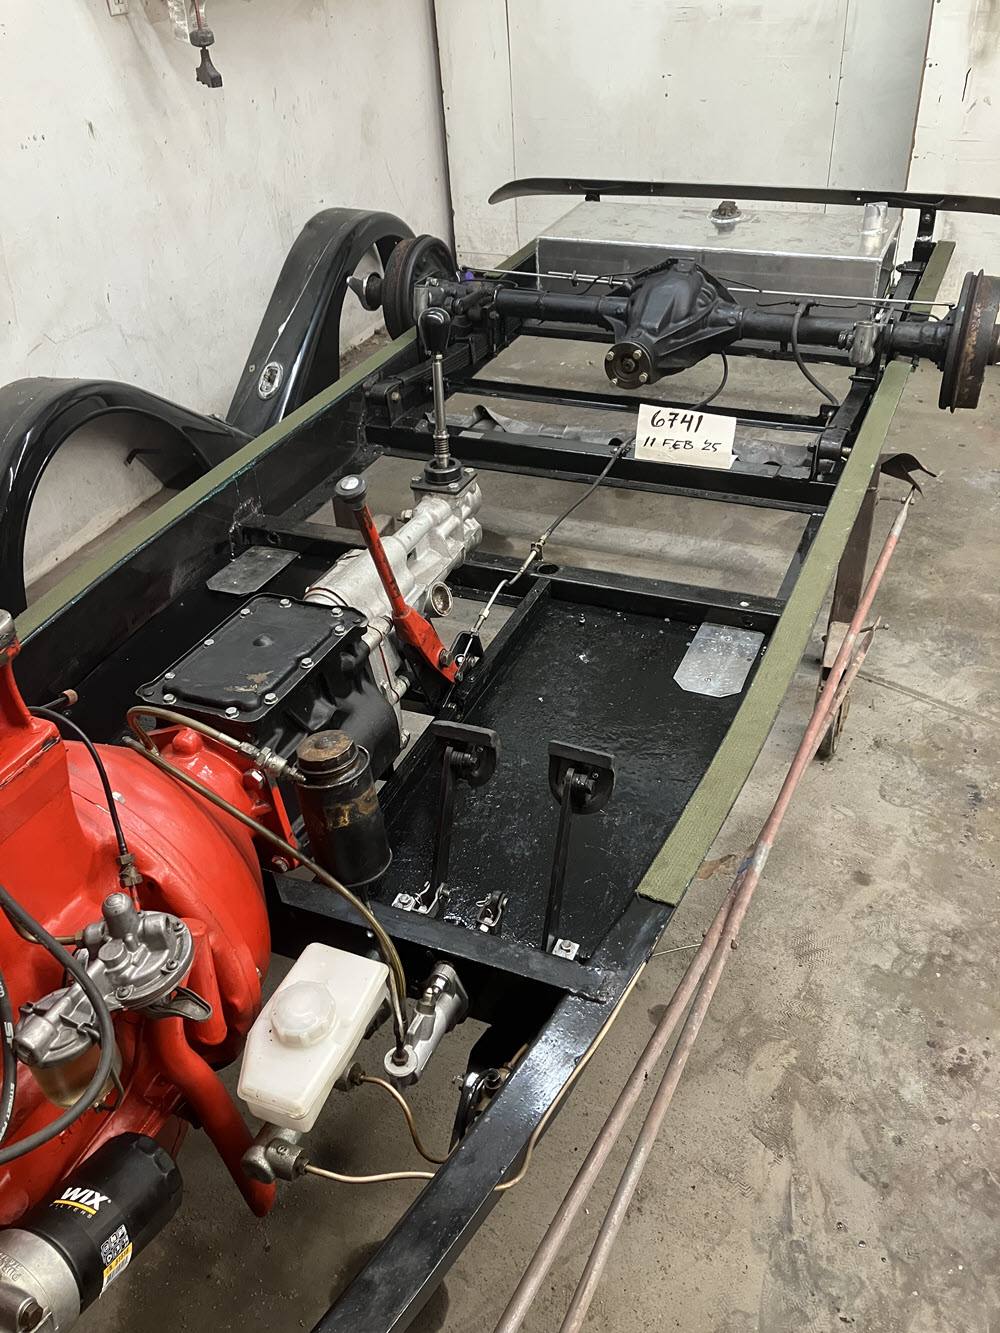
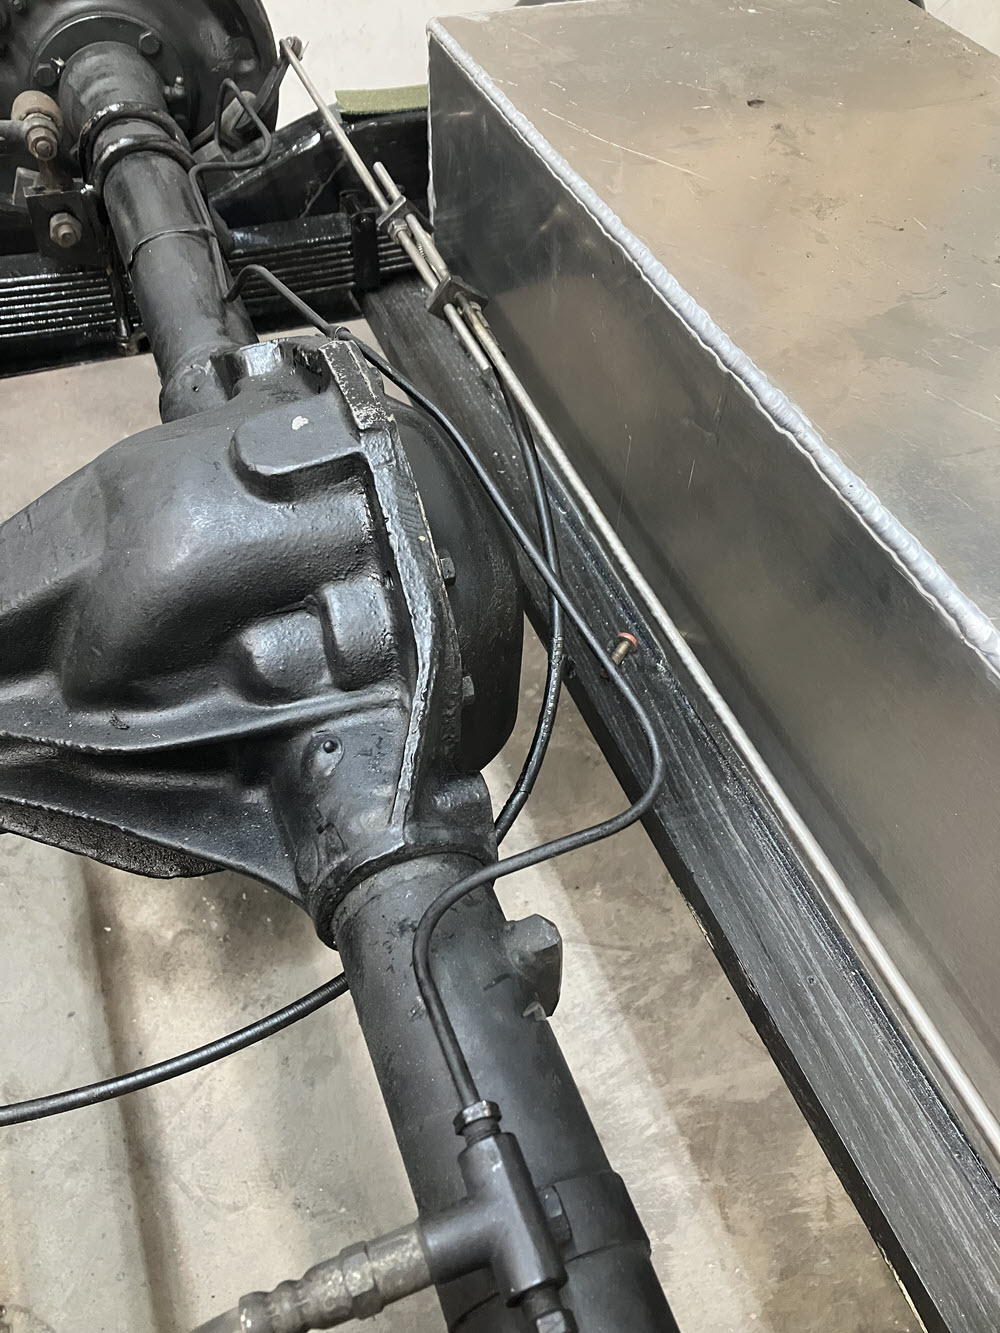
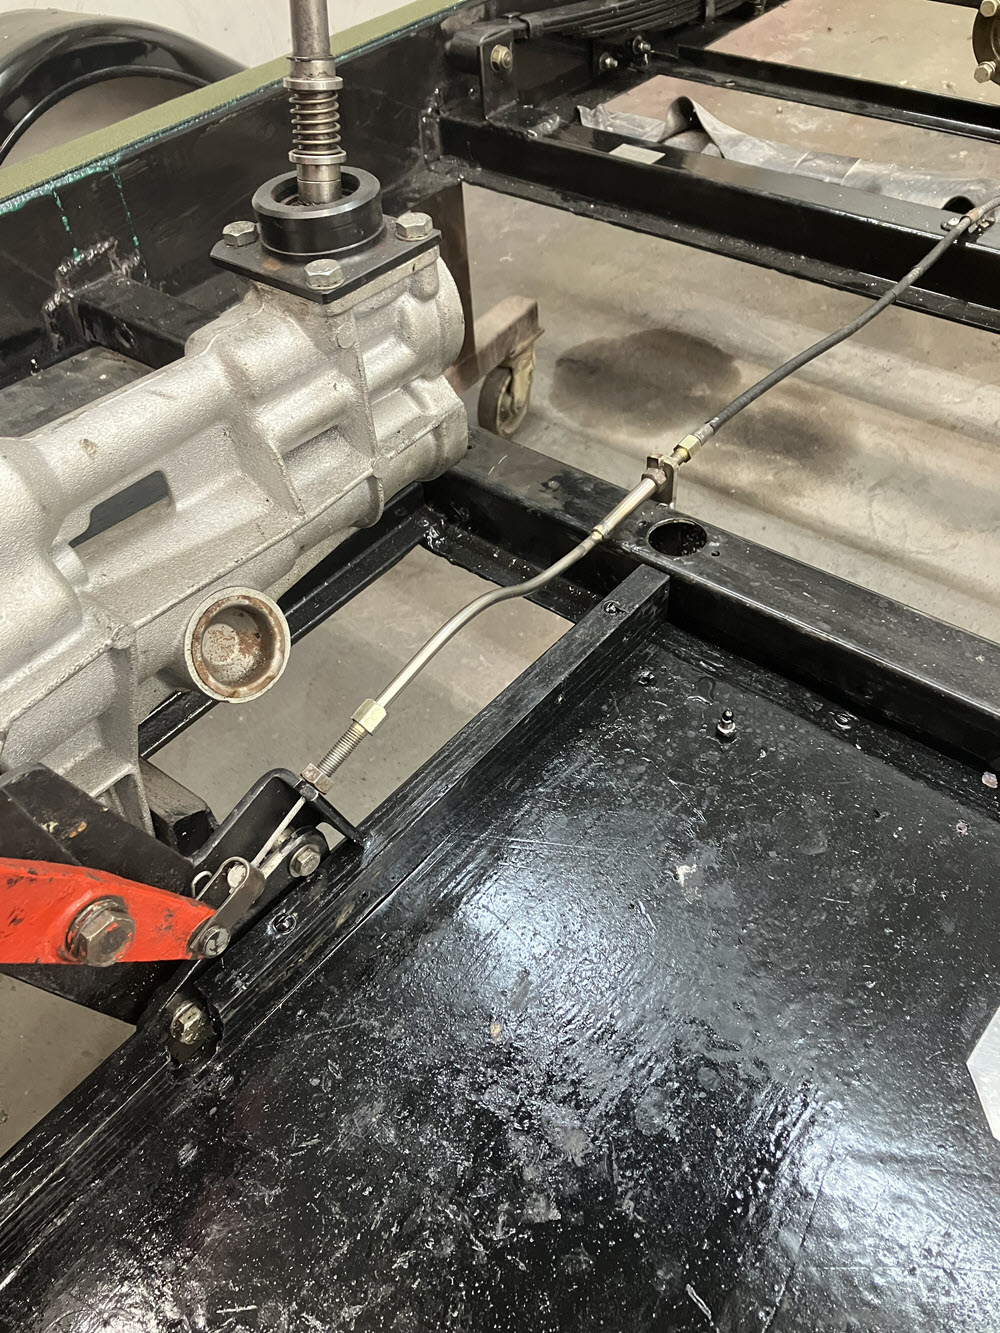
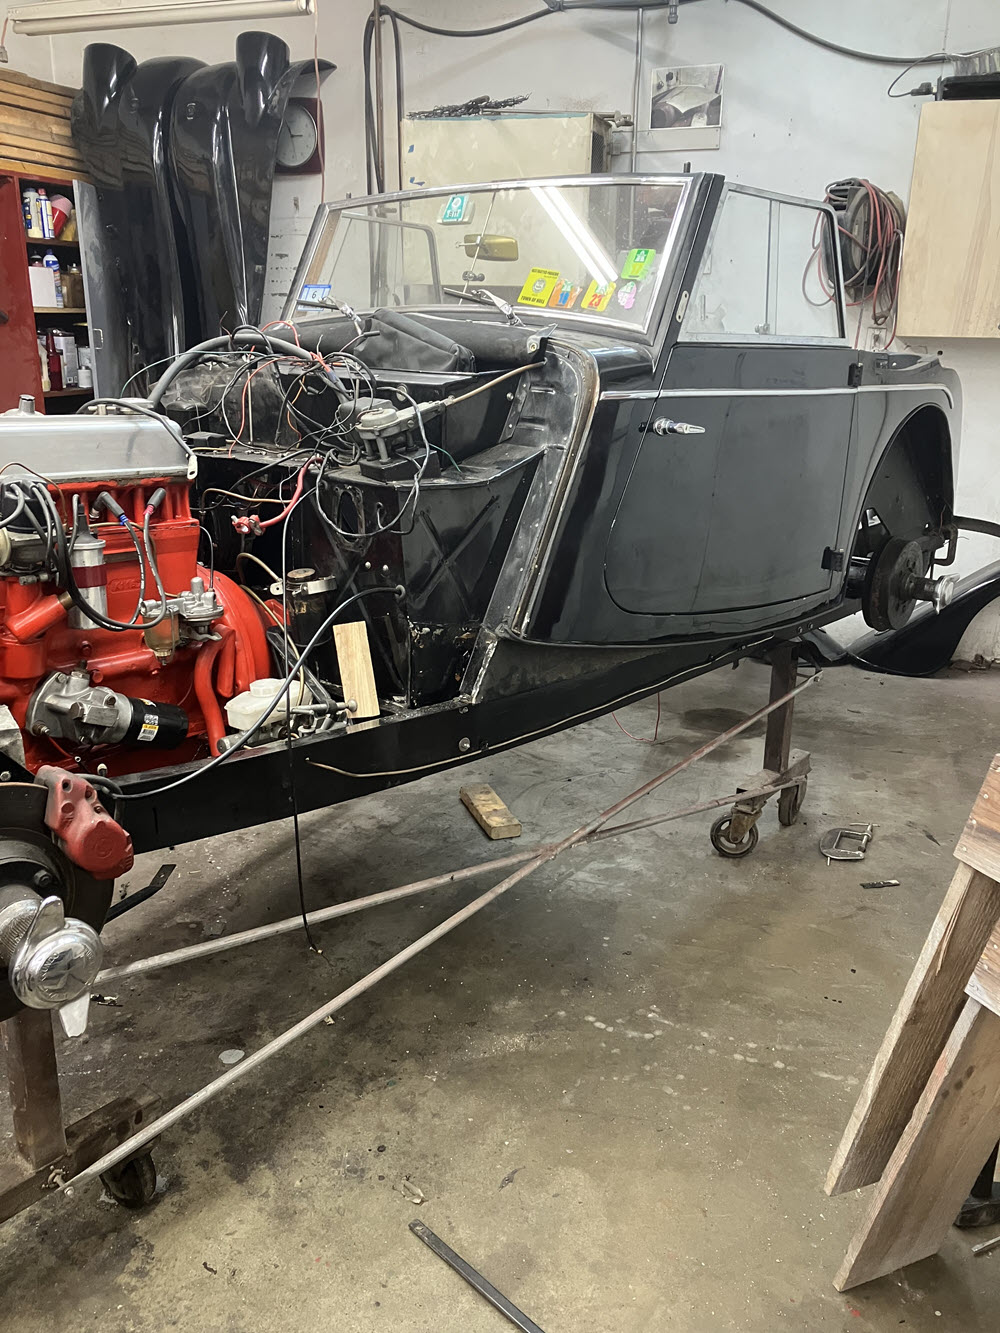
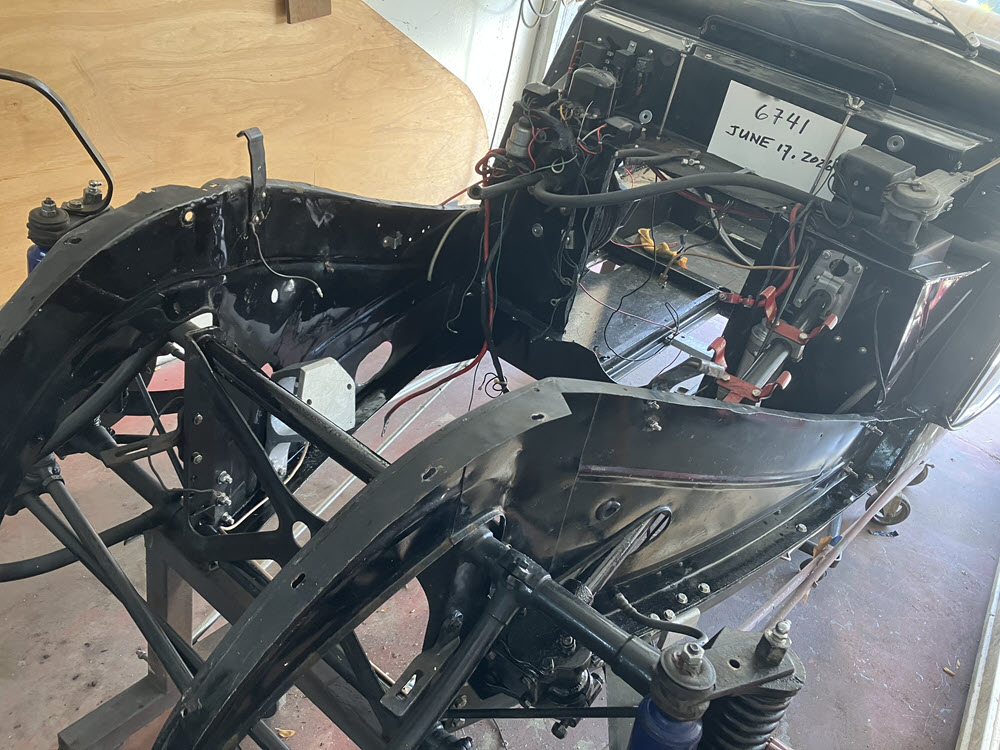
New chassis in workNew chassis in workNew Chassis finishedNew LOW alumium gas tank on new ash platformpedal set and brake/clutch cylinders installedrear springs with additonal leaf added. Also new U-bolts.Front End and Engine fitted to new chassisChassis ready for bodyHandbrake modification (for more info see: Options for the Rear Handbrake in this website.)Handbrake modification completeAnd today the body was assembled to the new chassis………… ta da!
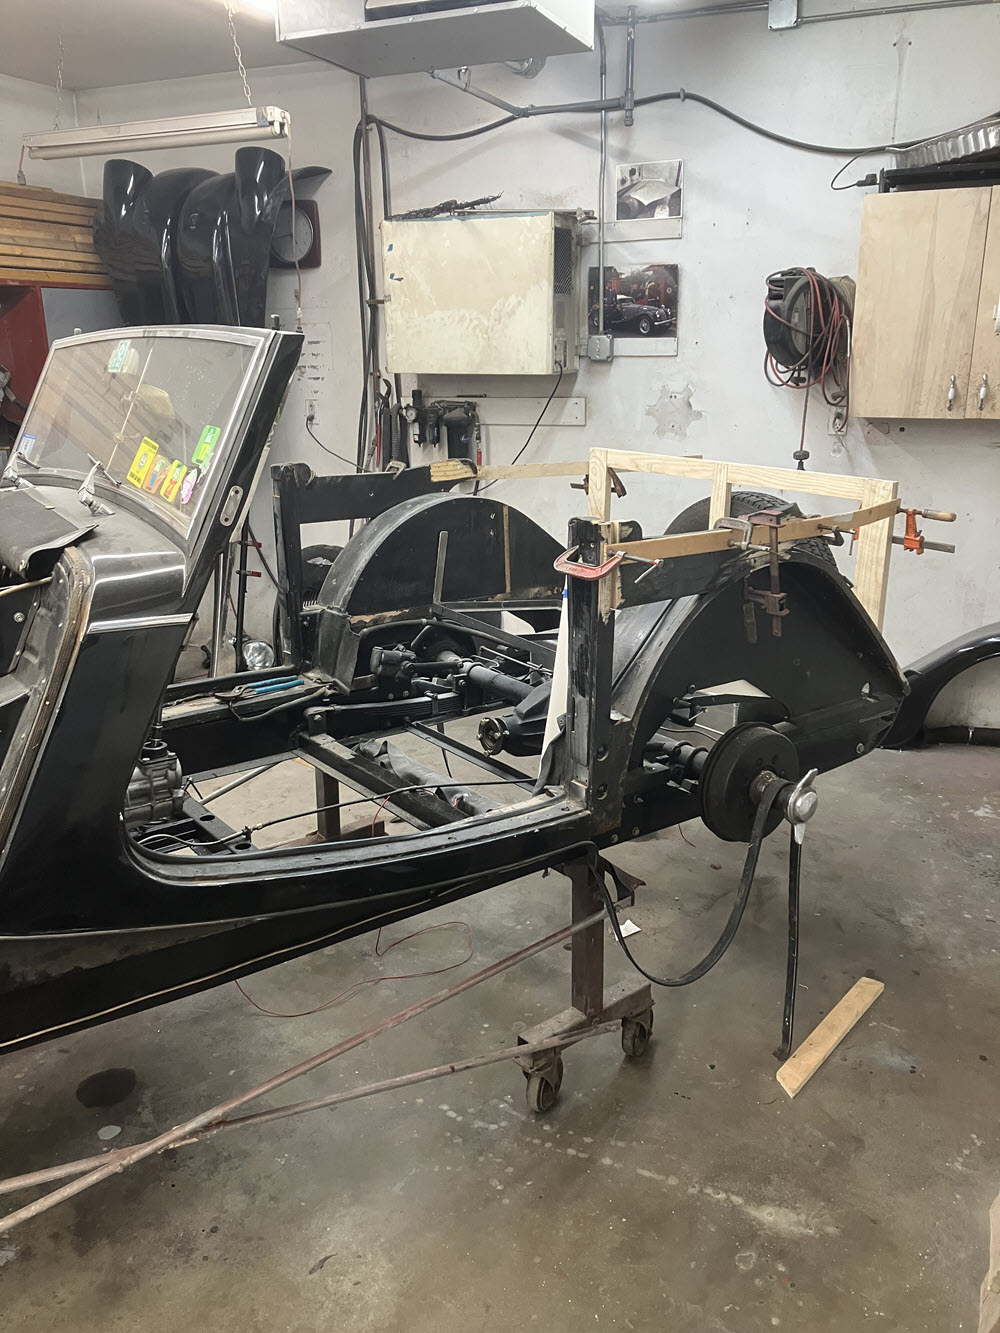
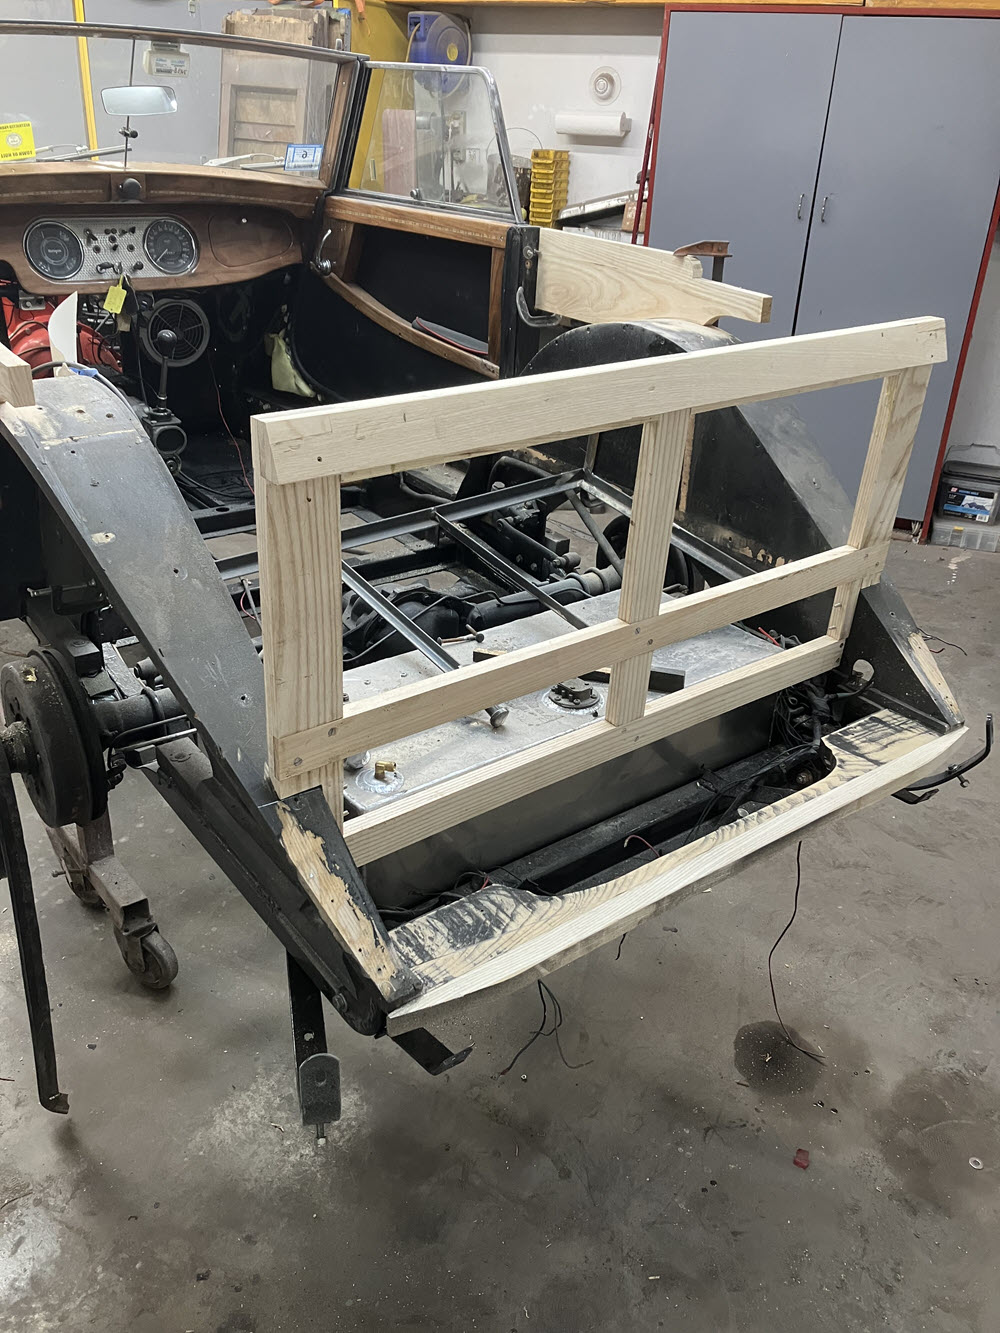
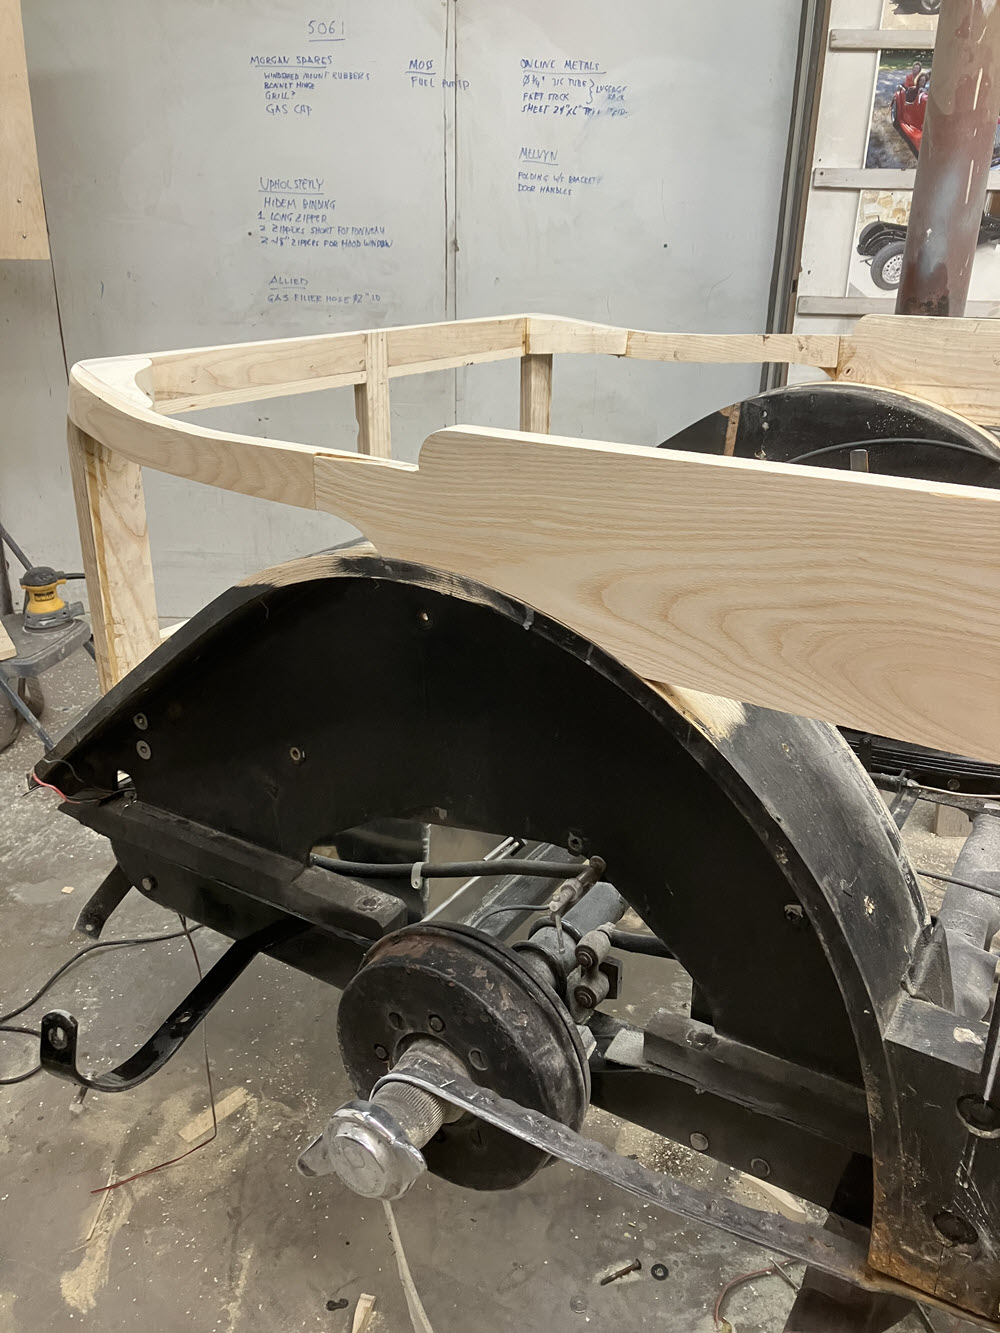
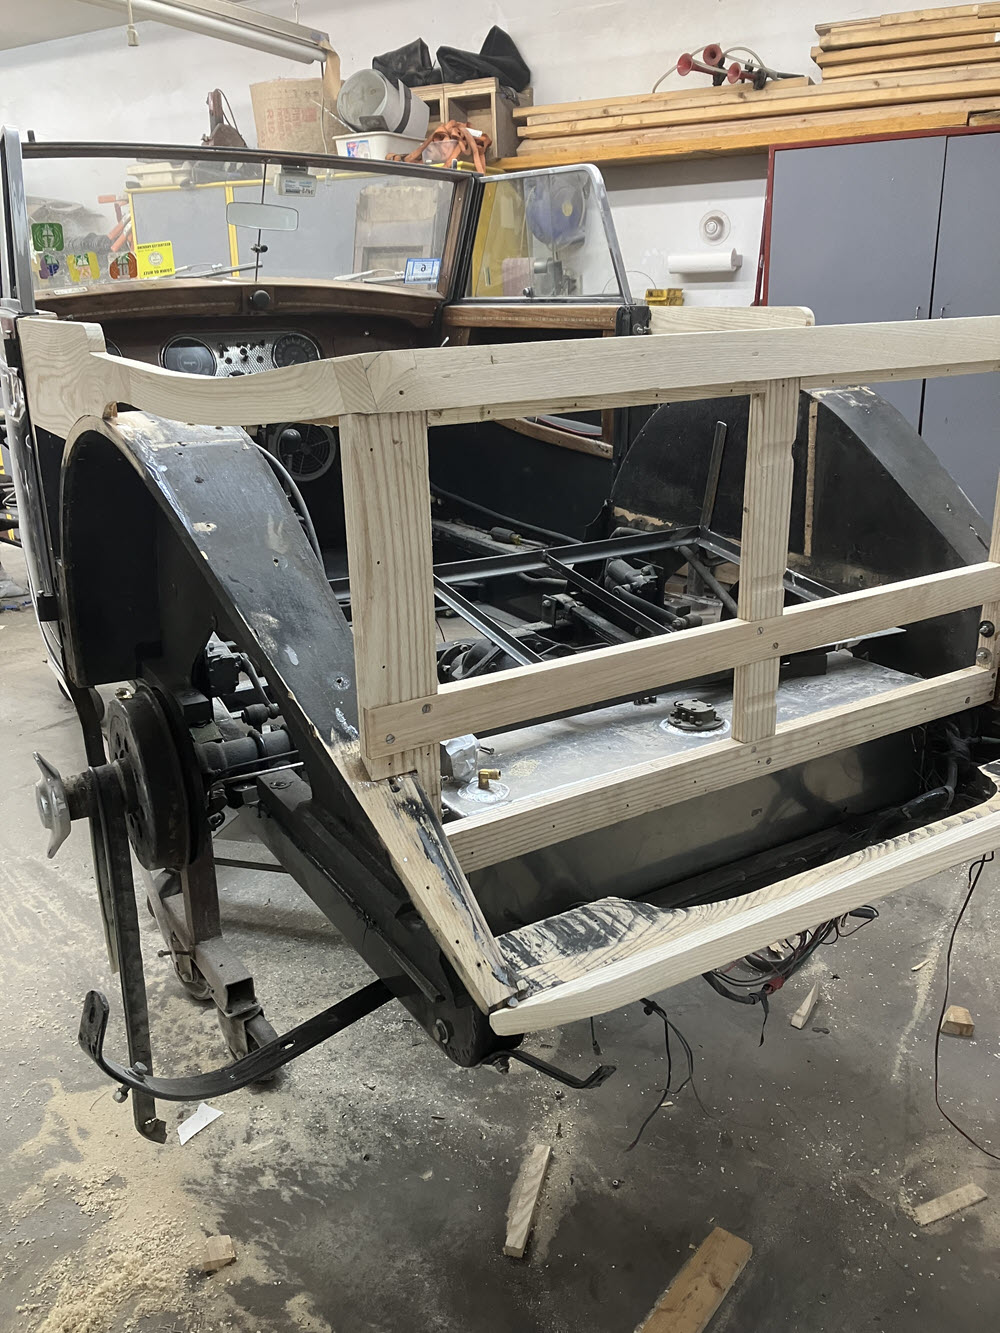
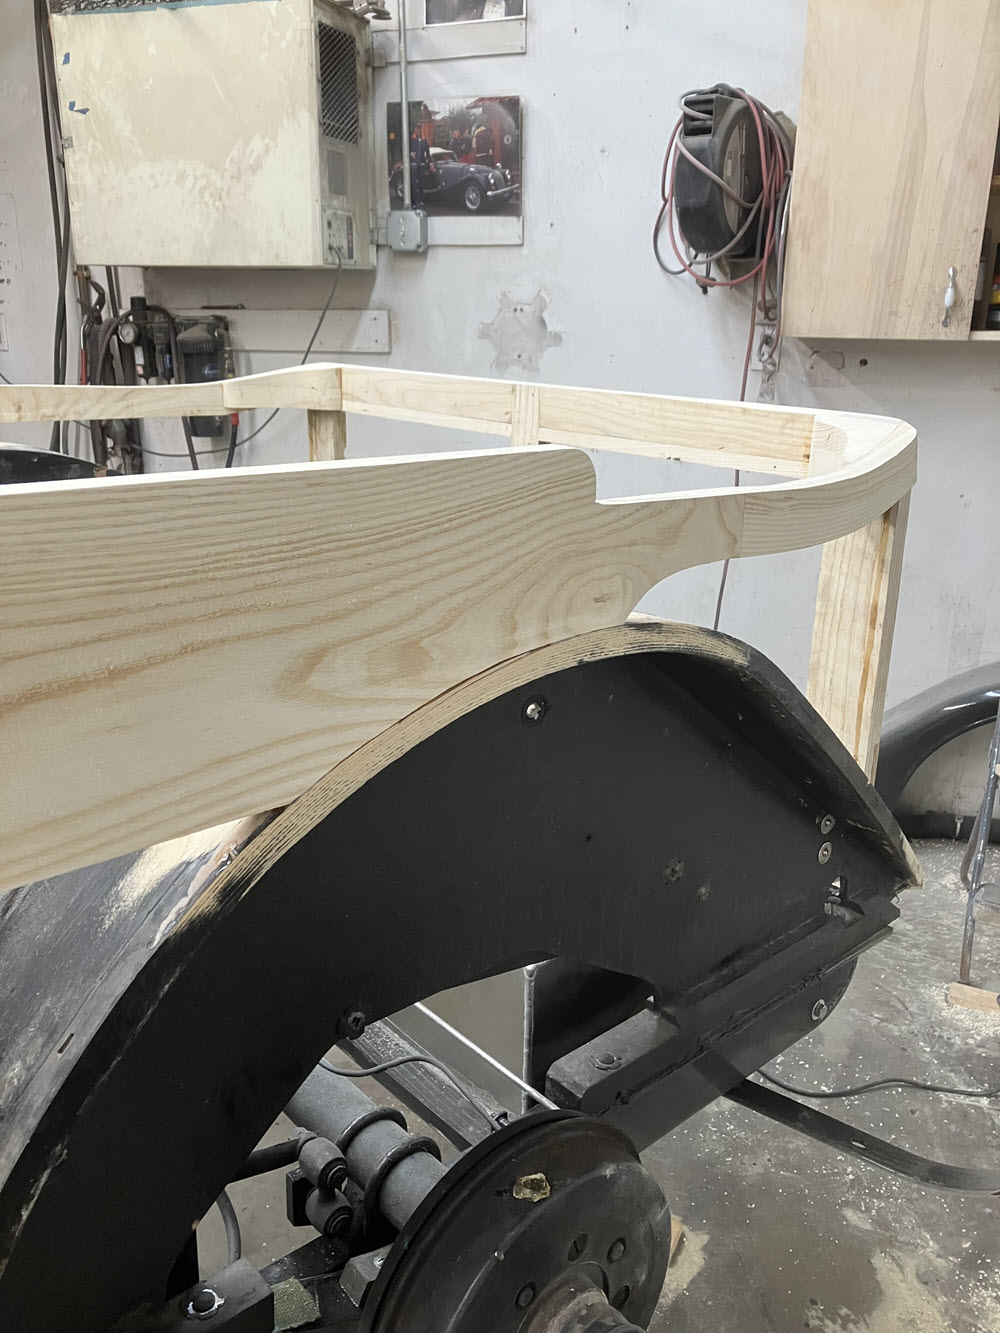
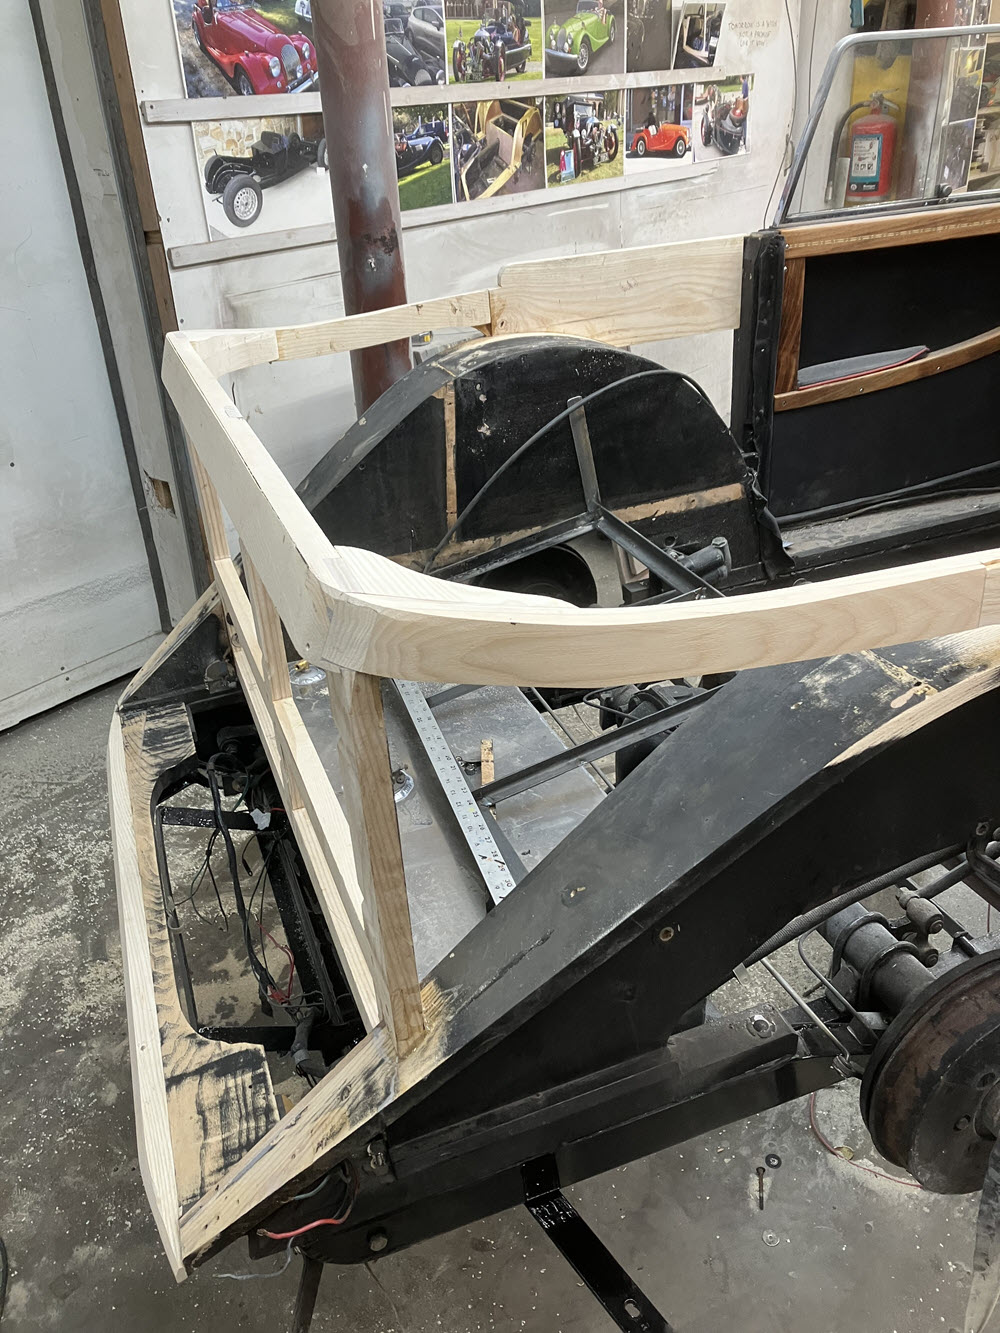
Begin the framework for the Four Seat configuration
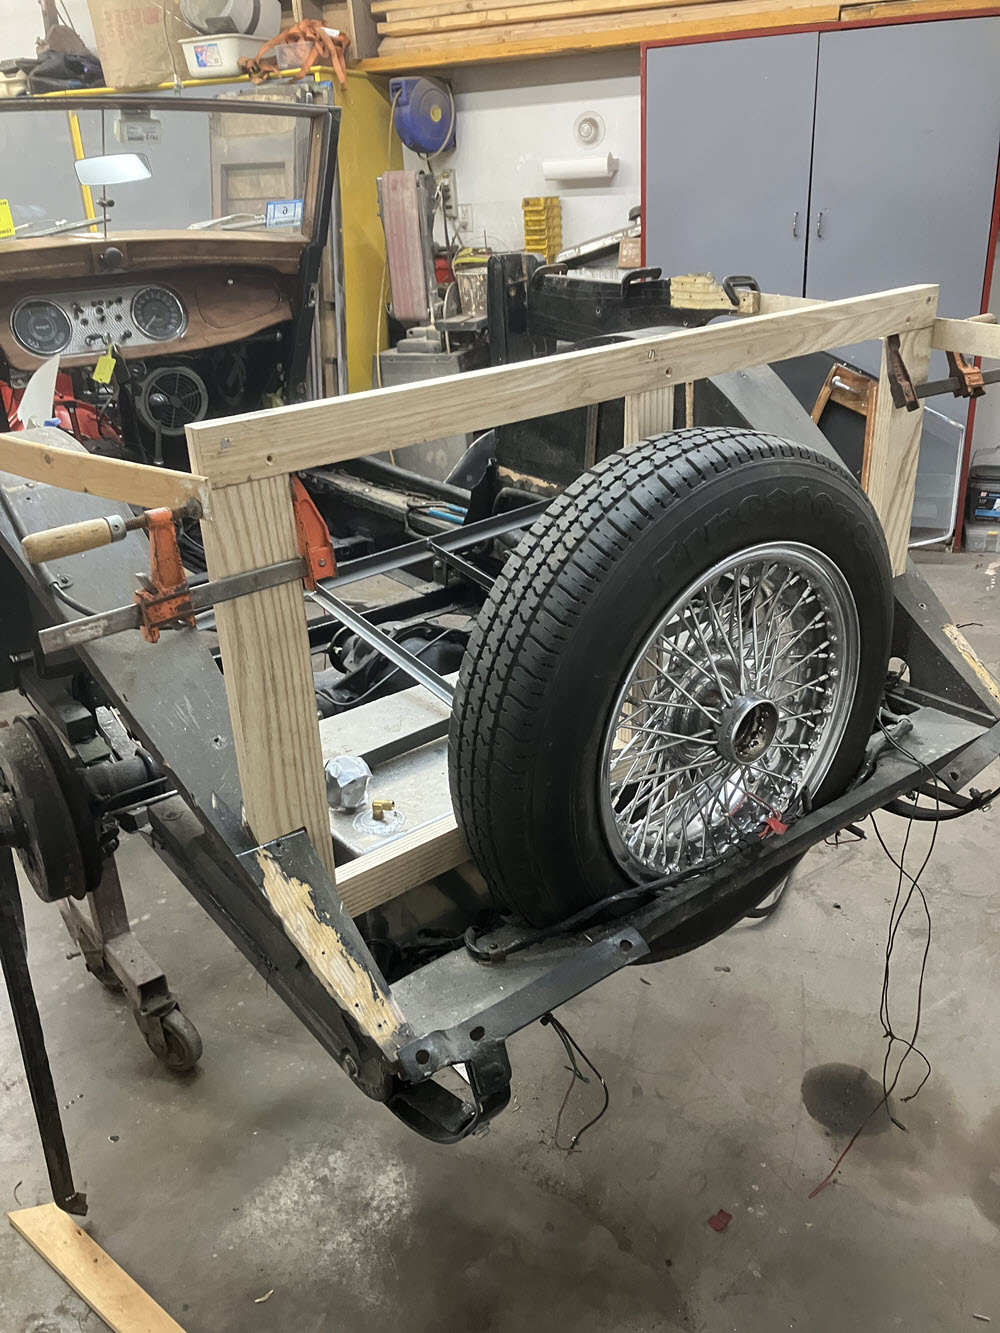
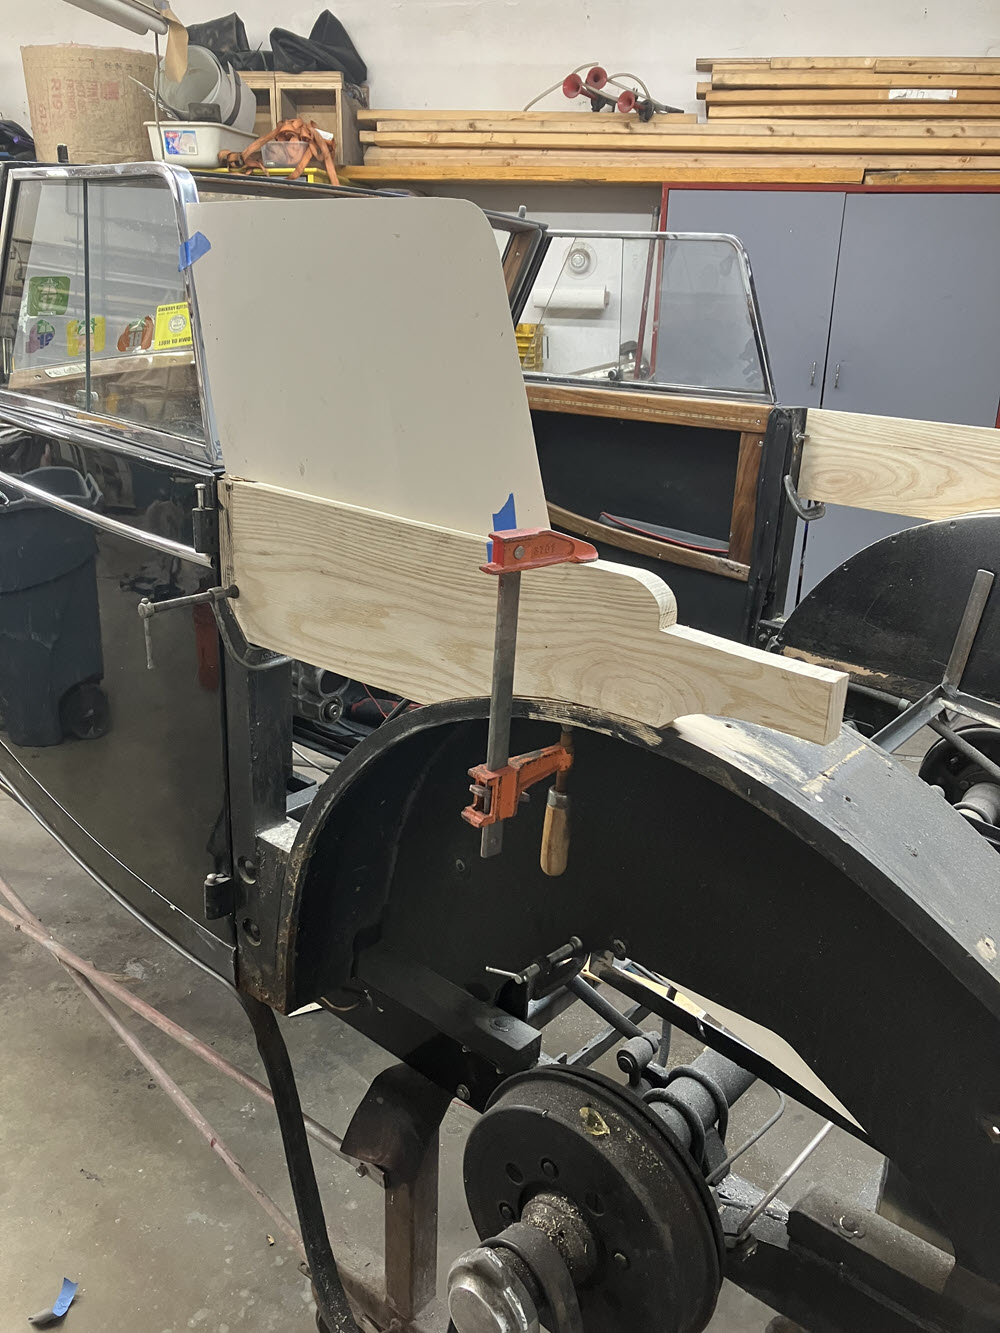
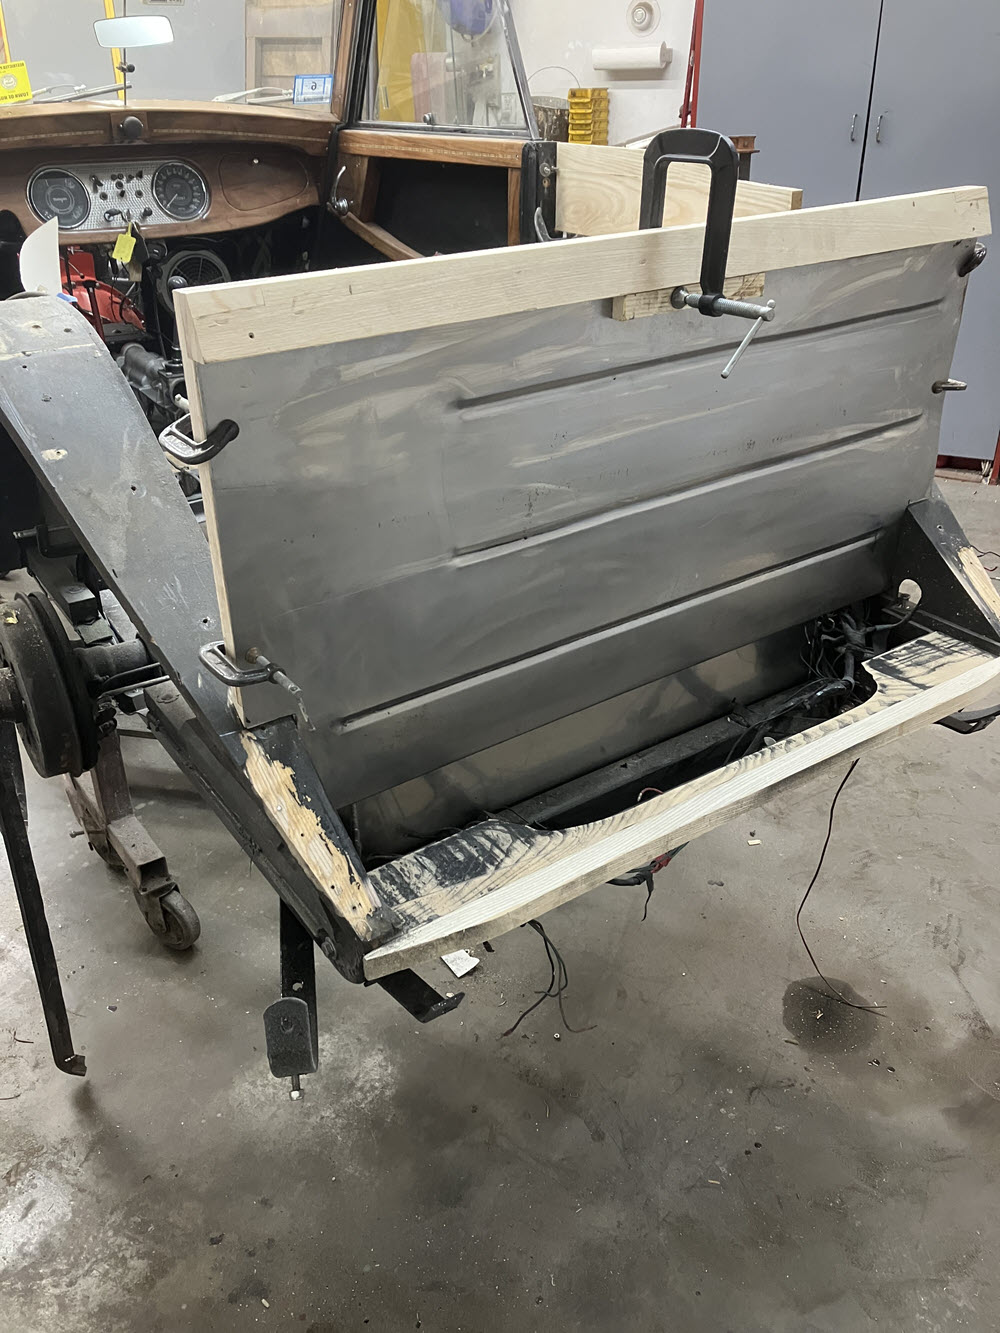
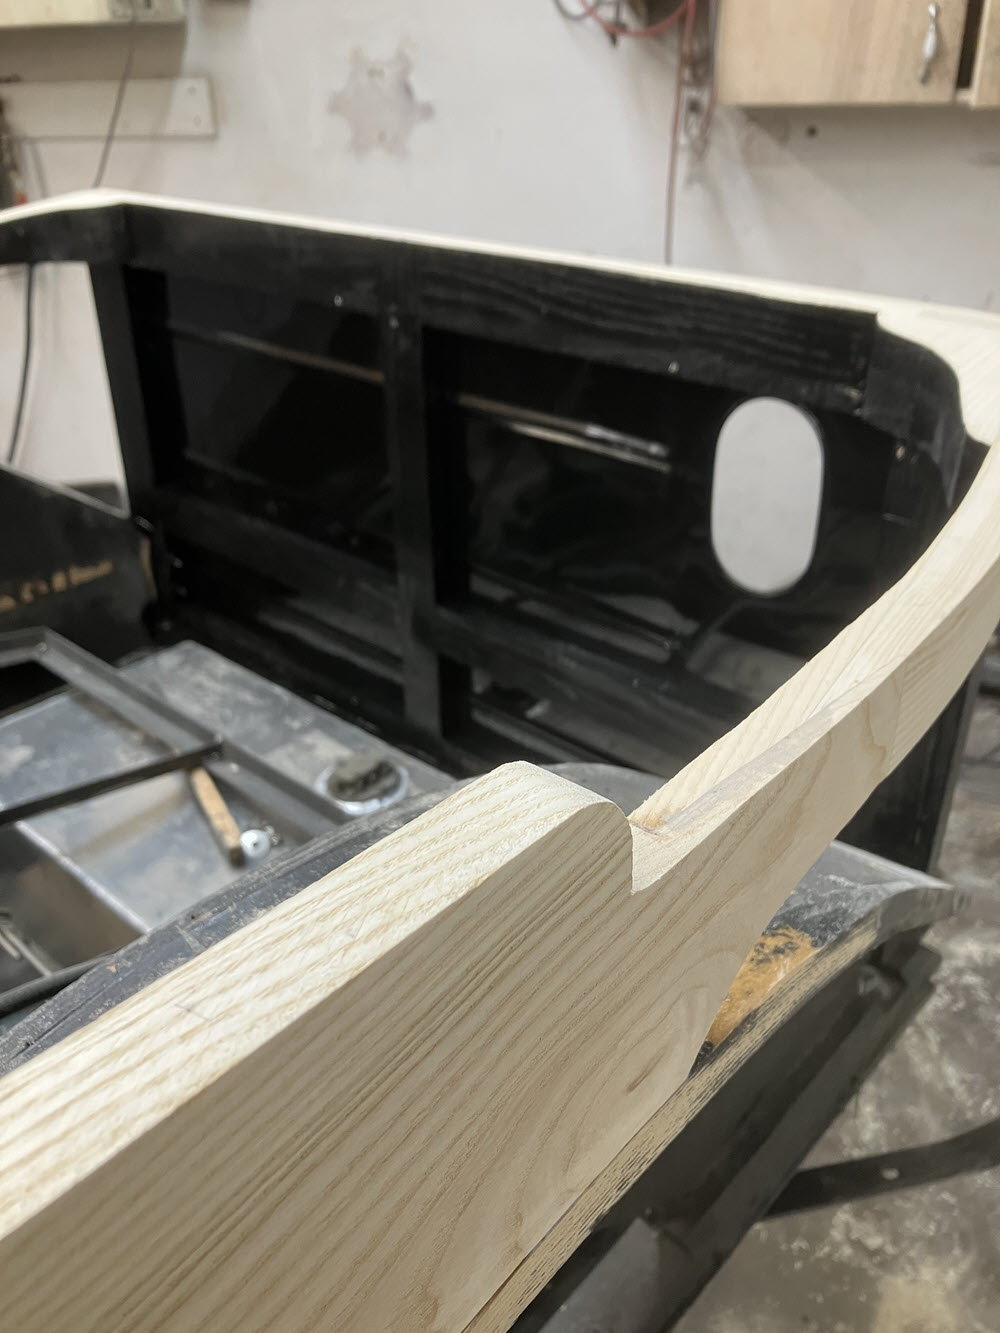
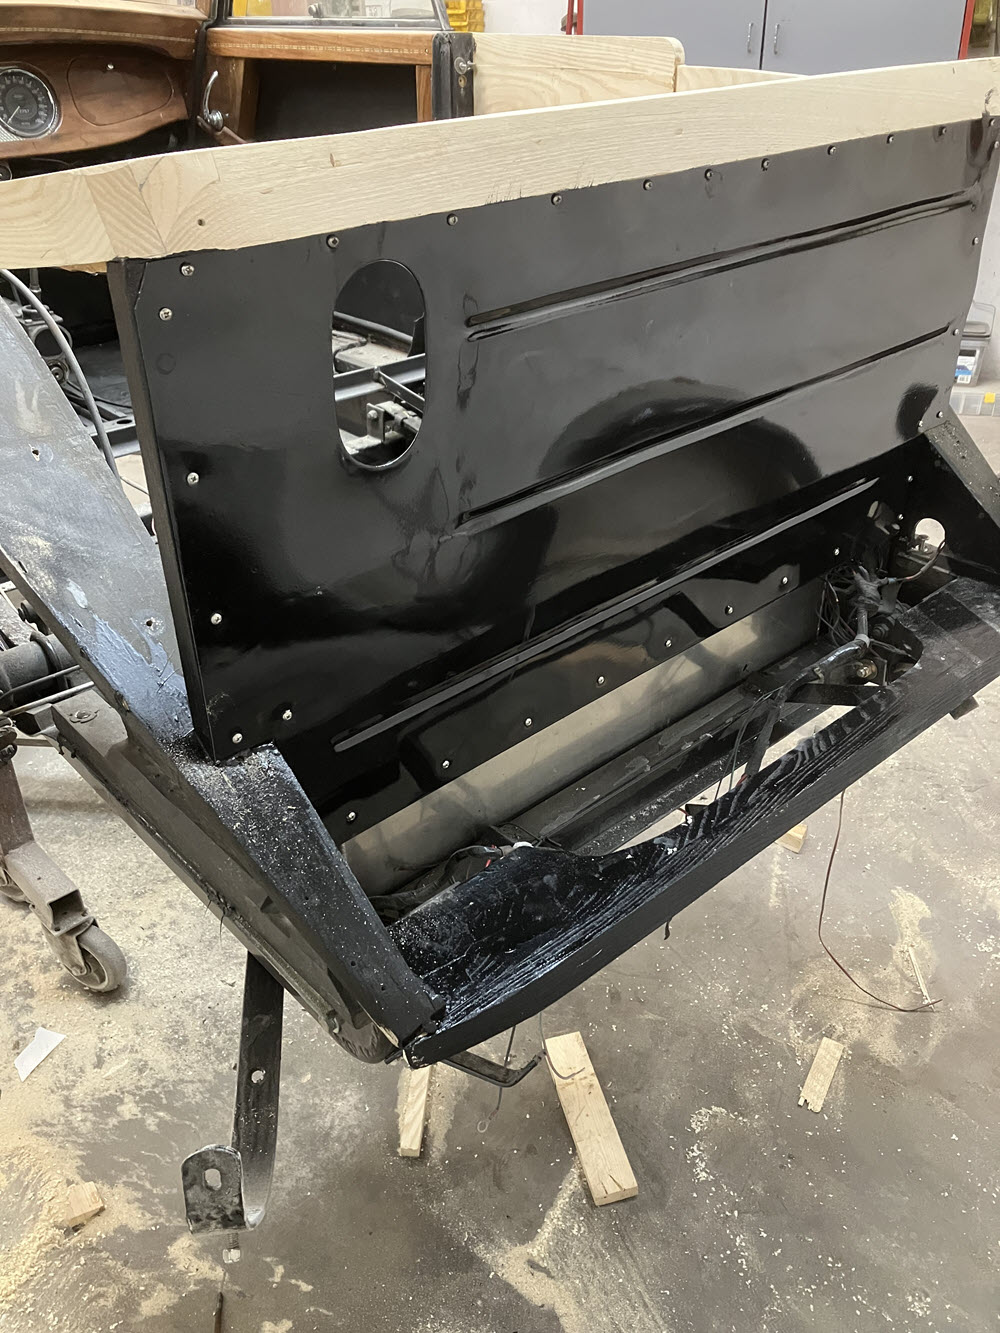
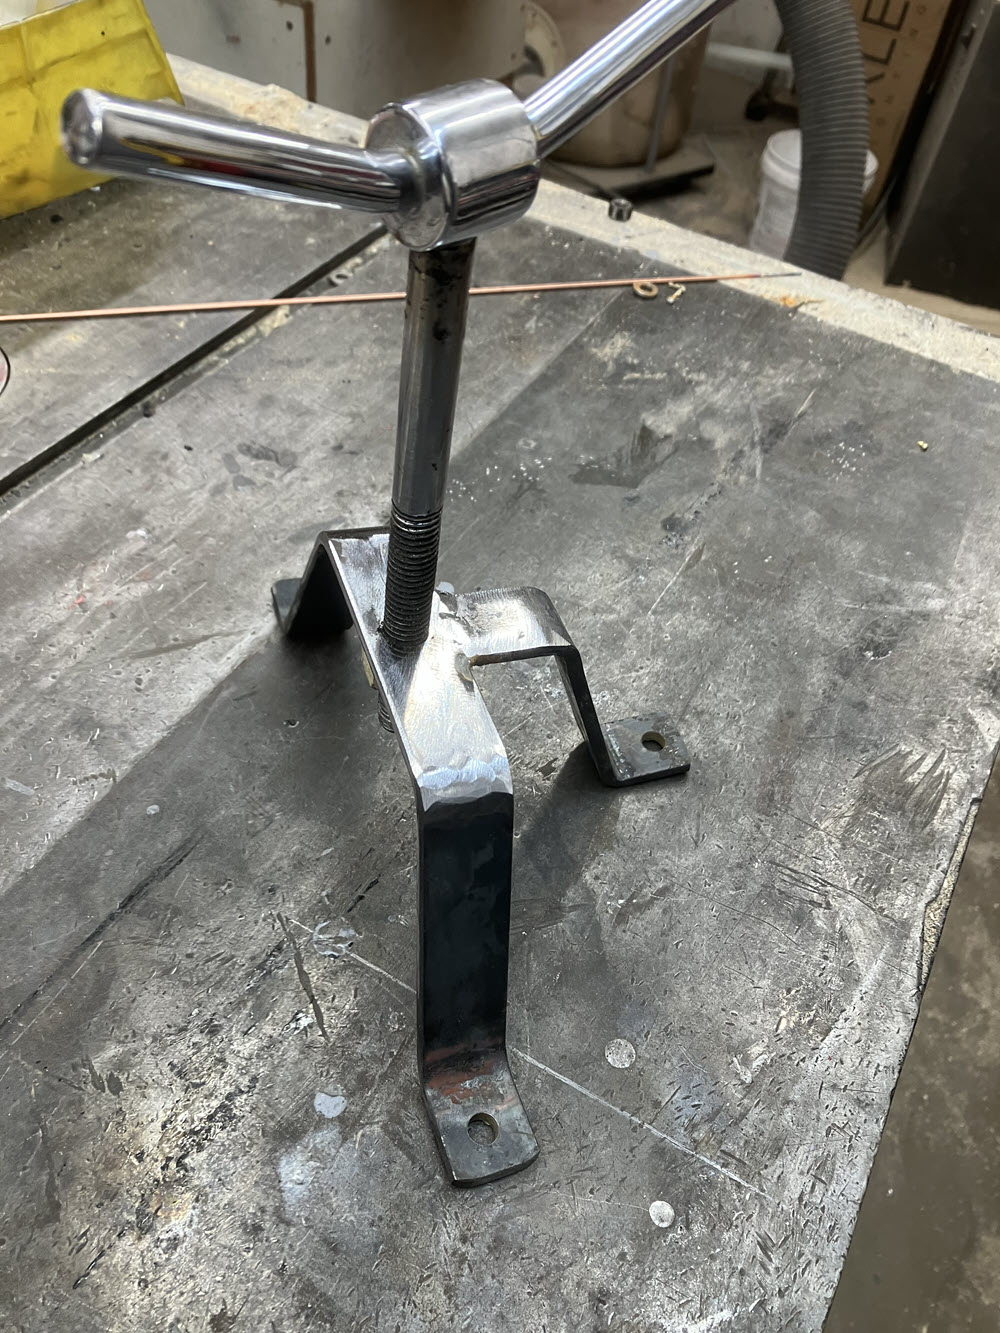
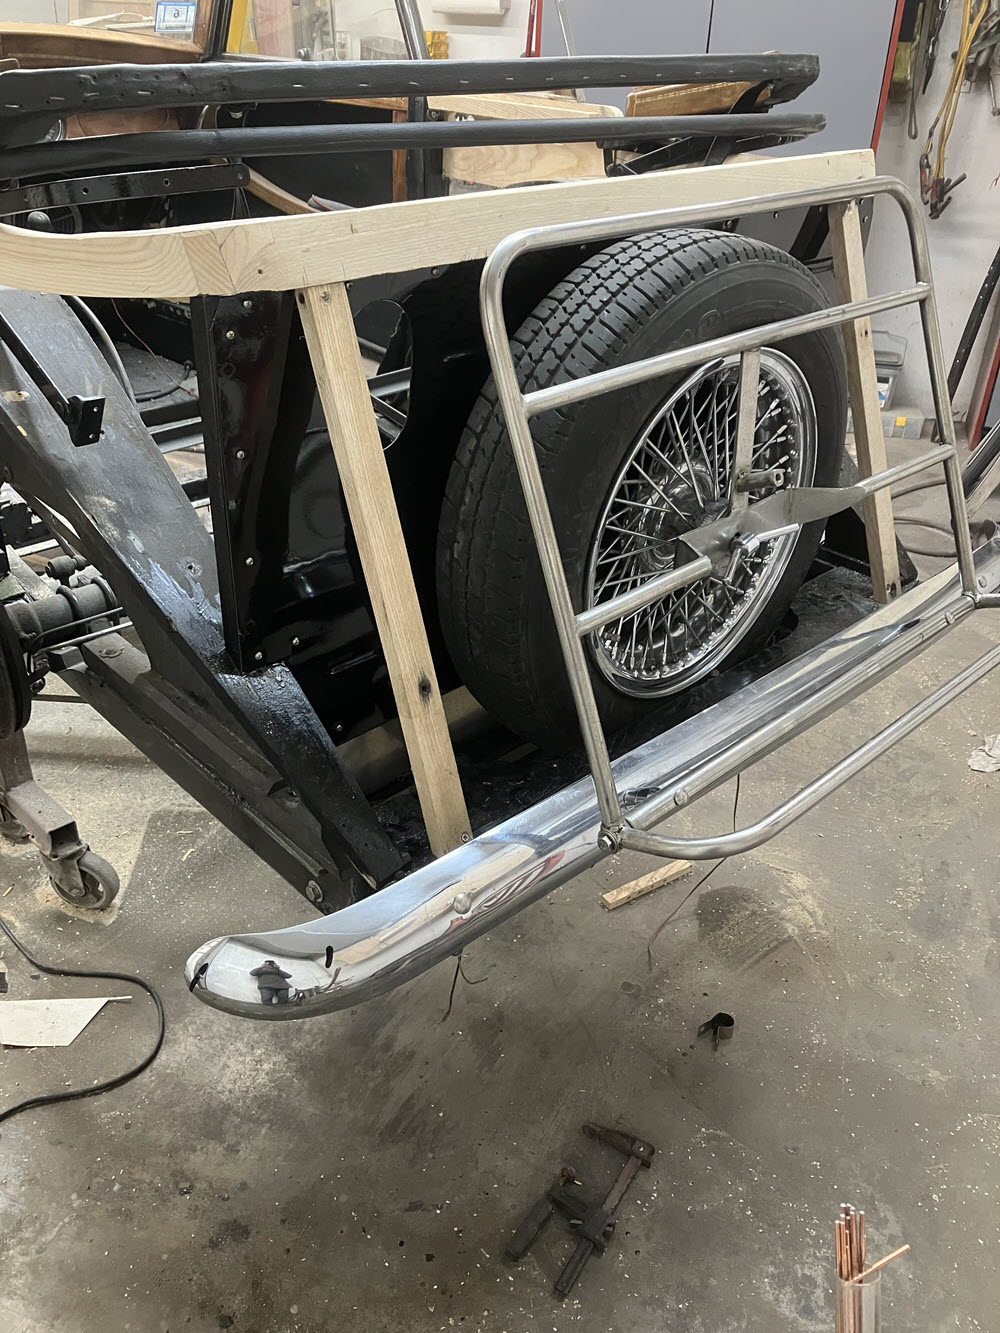
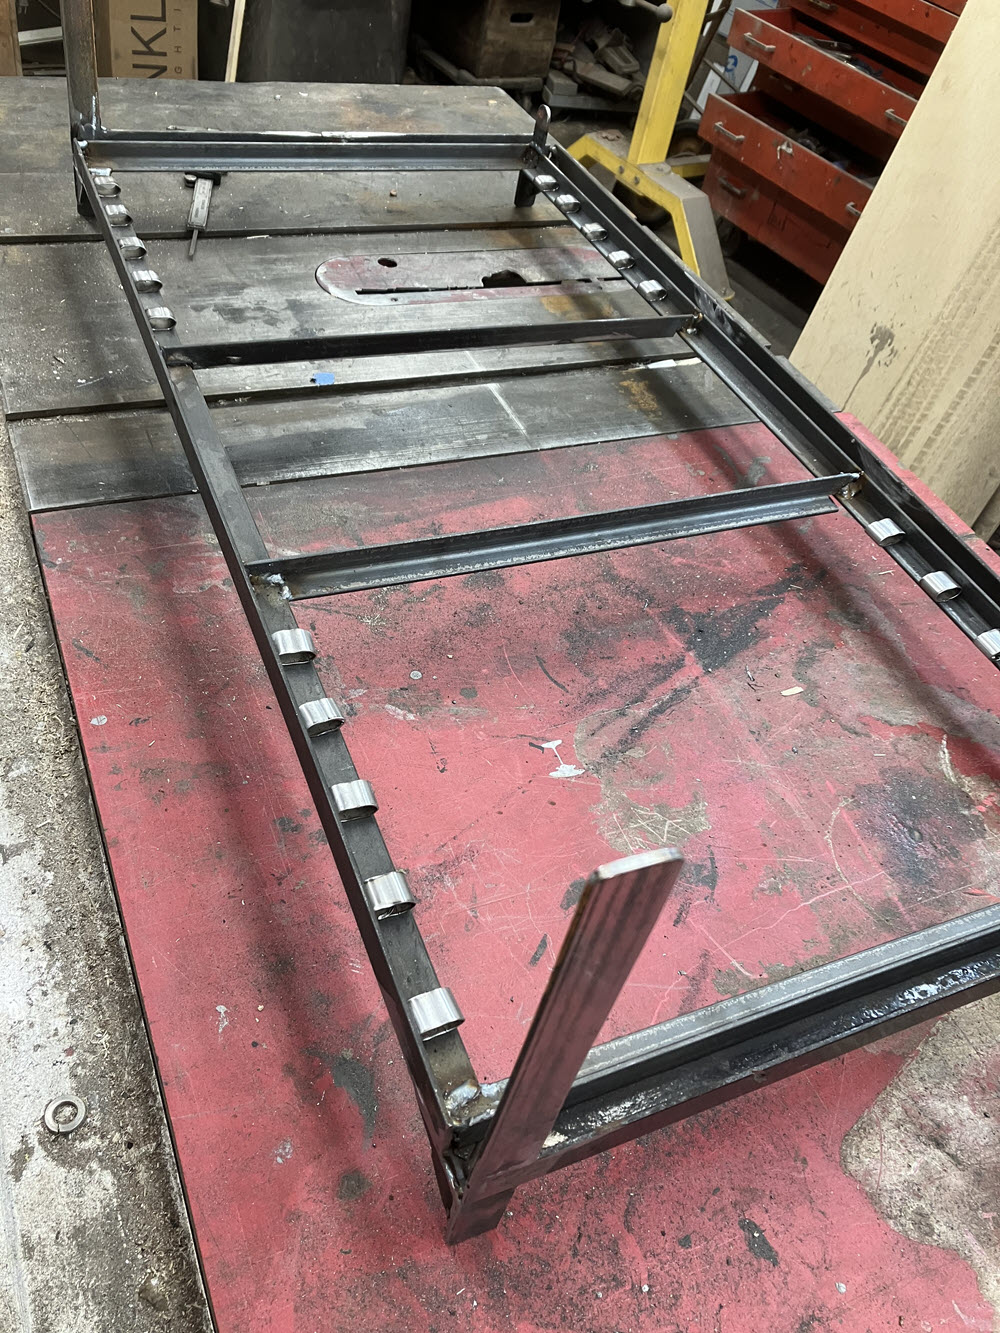
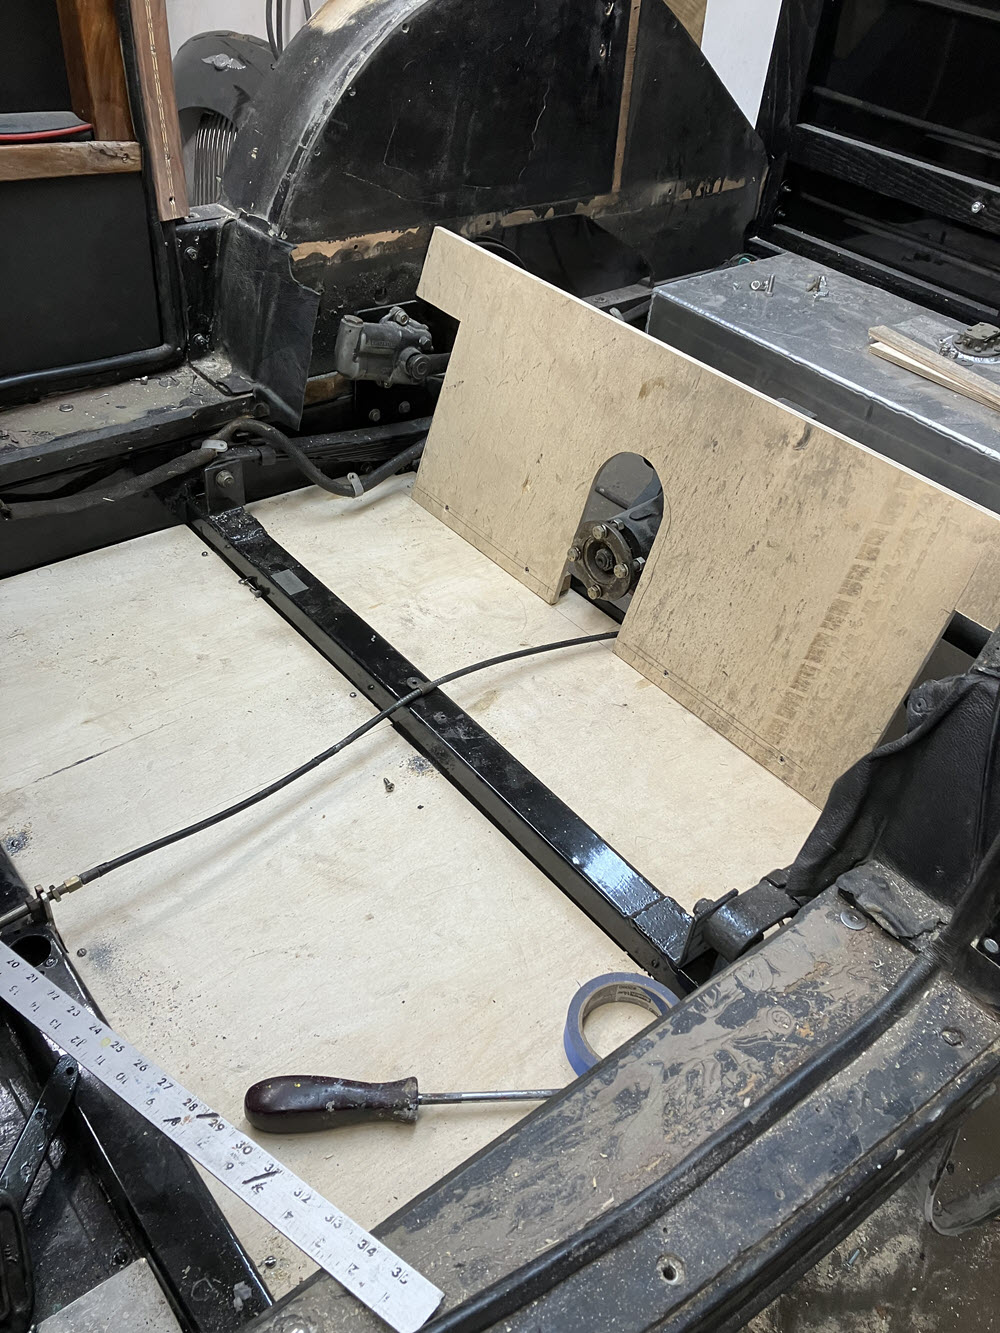
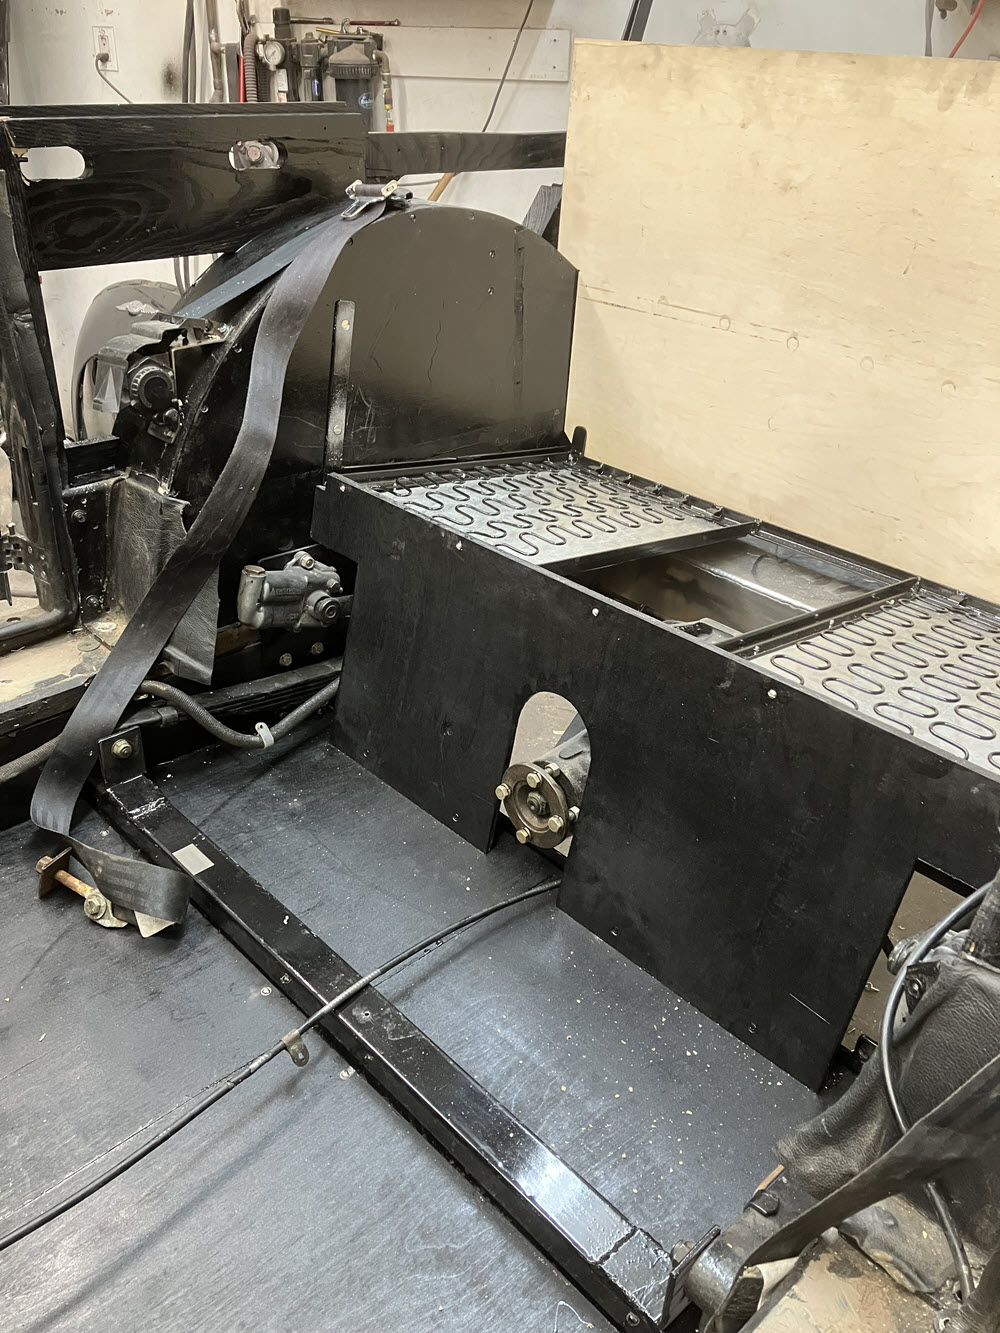
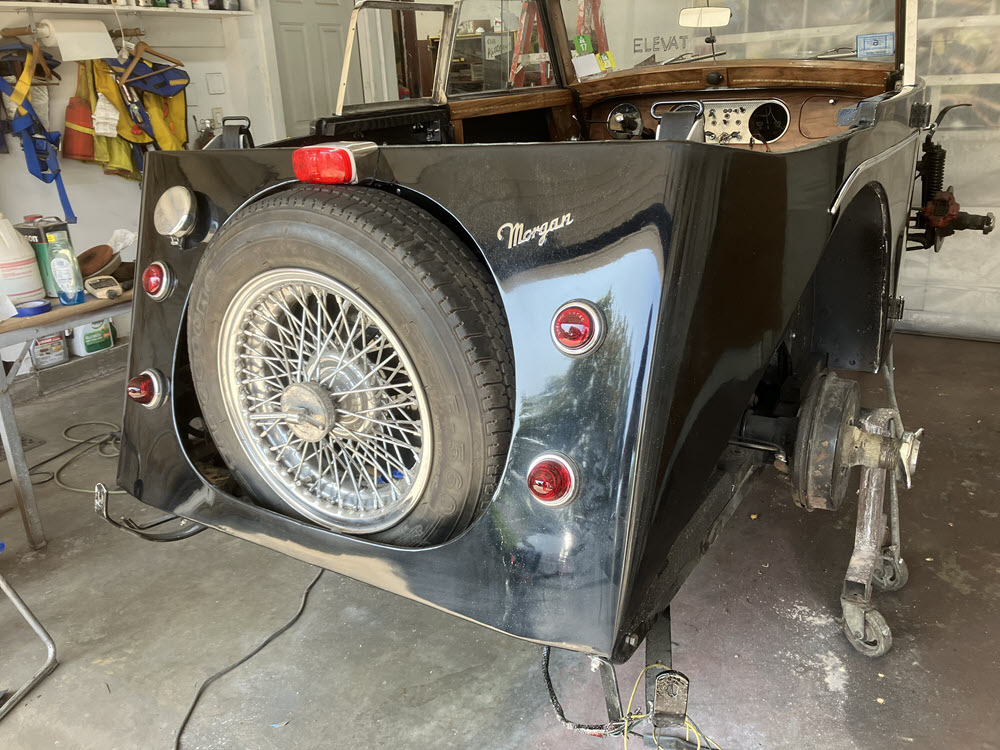
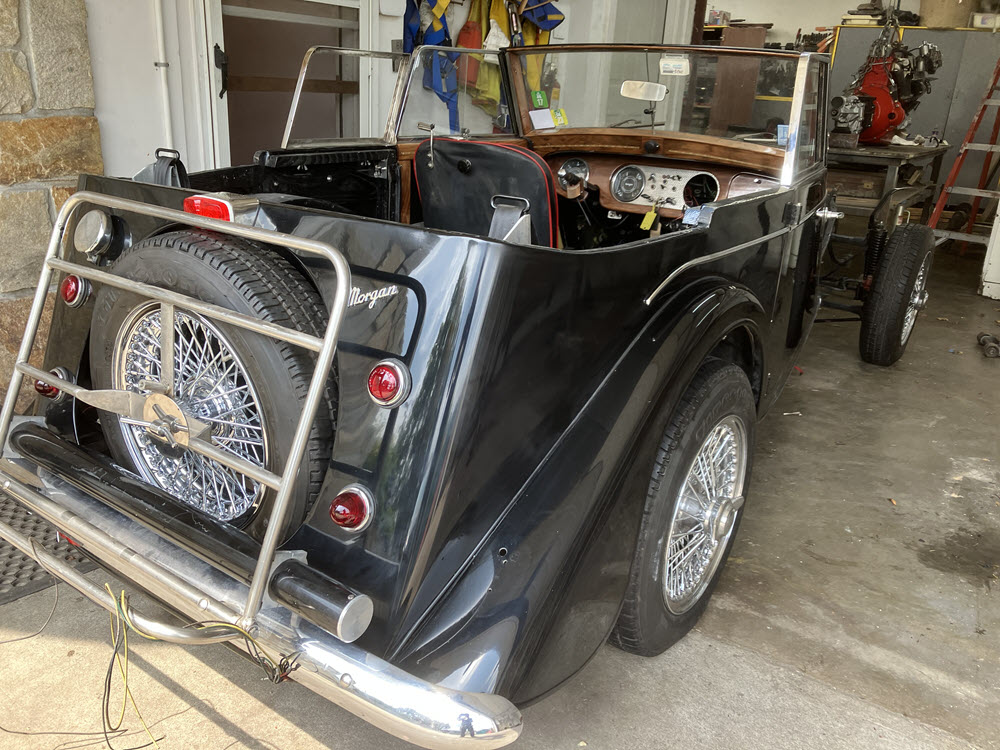
initial layout and fitting of rear bulkheadinitial layout and fitting of rear bulkheadSide Wood fitted. pattern for rear/side window in placerear bulkhead completerear sheet metal in workBasic wood framing completeRear Panel InstalledFabricate spare wheel support bracketSpare Wheel and Luggage Rack fitted
Side Windows
the four seat DHCs built by the factory did not have rear side windows. Melvyn Rutter’s example is shown here. Also note that the spare wheel is covered.
Very pretty ideed, but it’s not what I want…
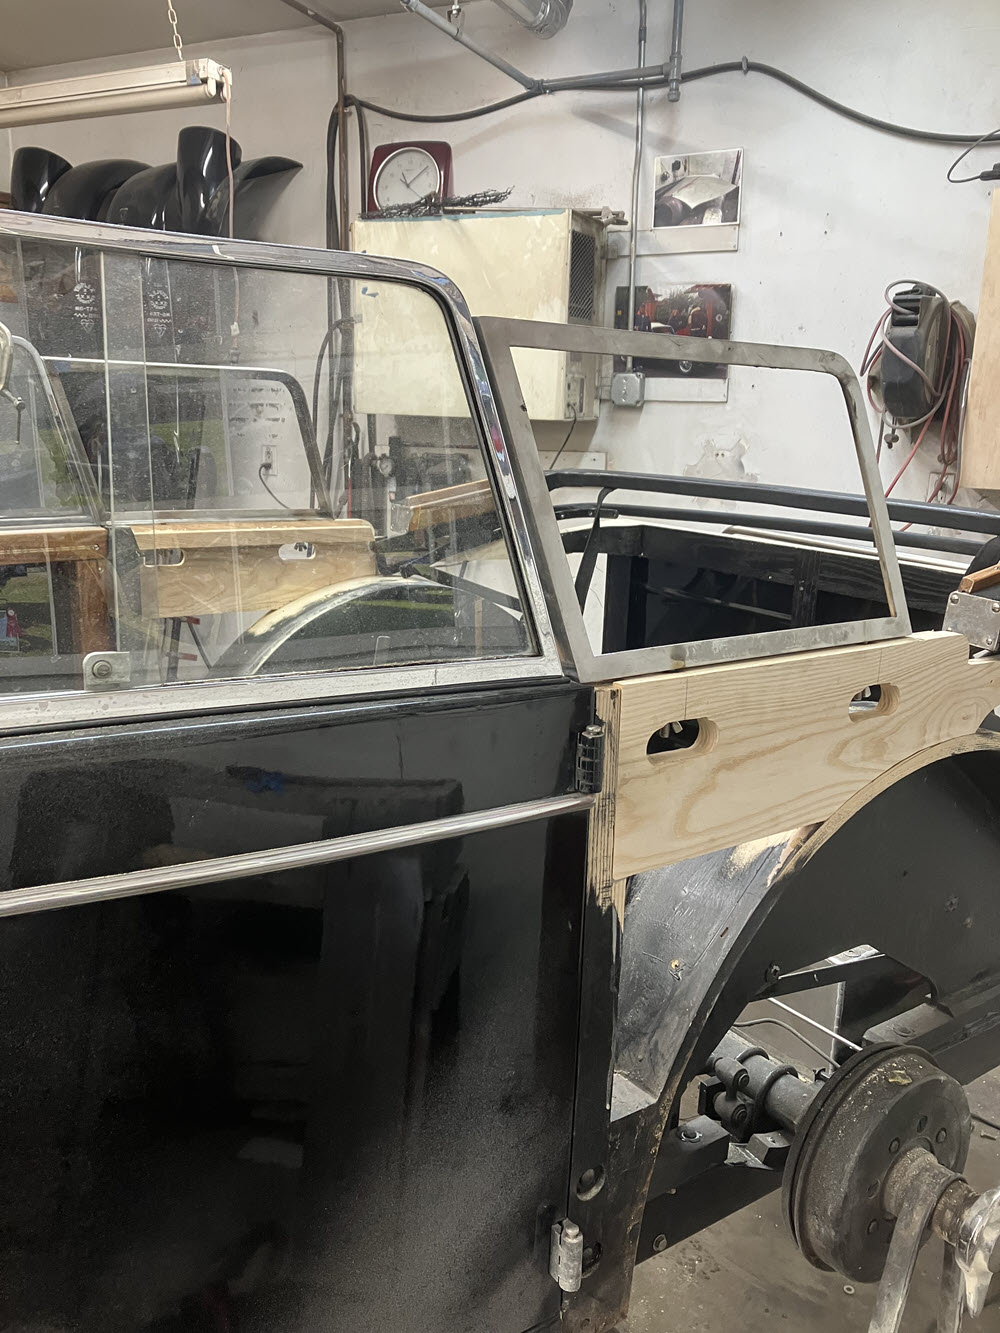
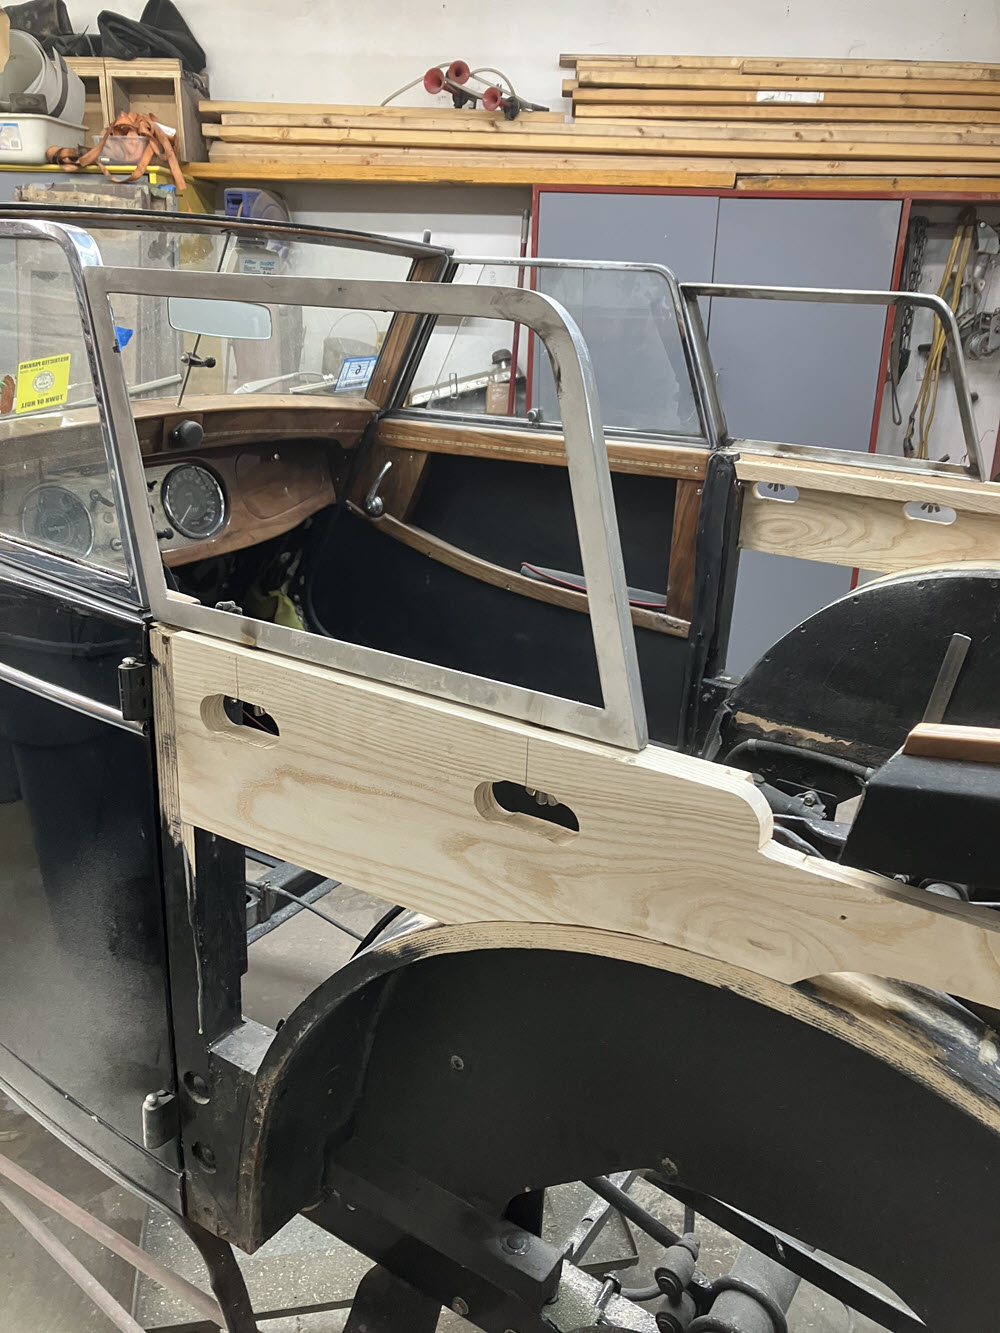
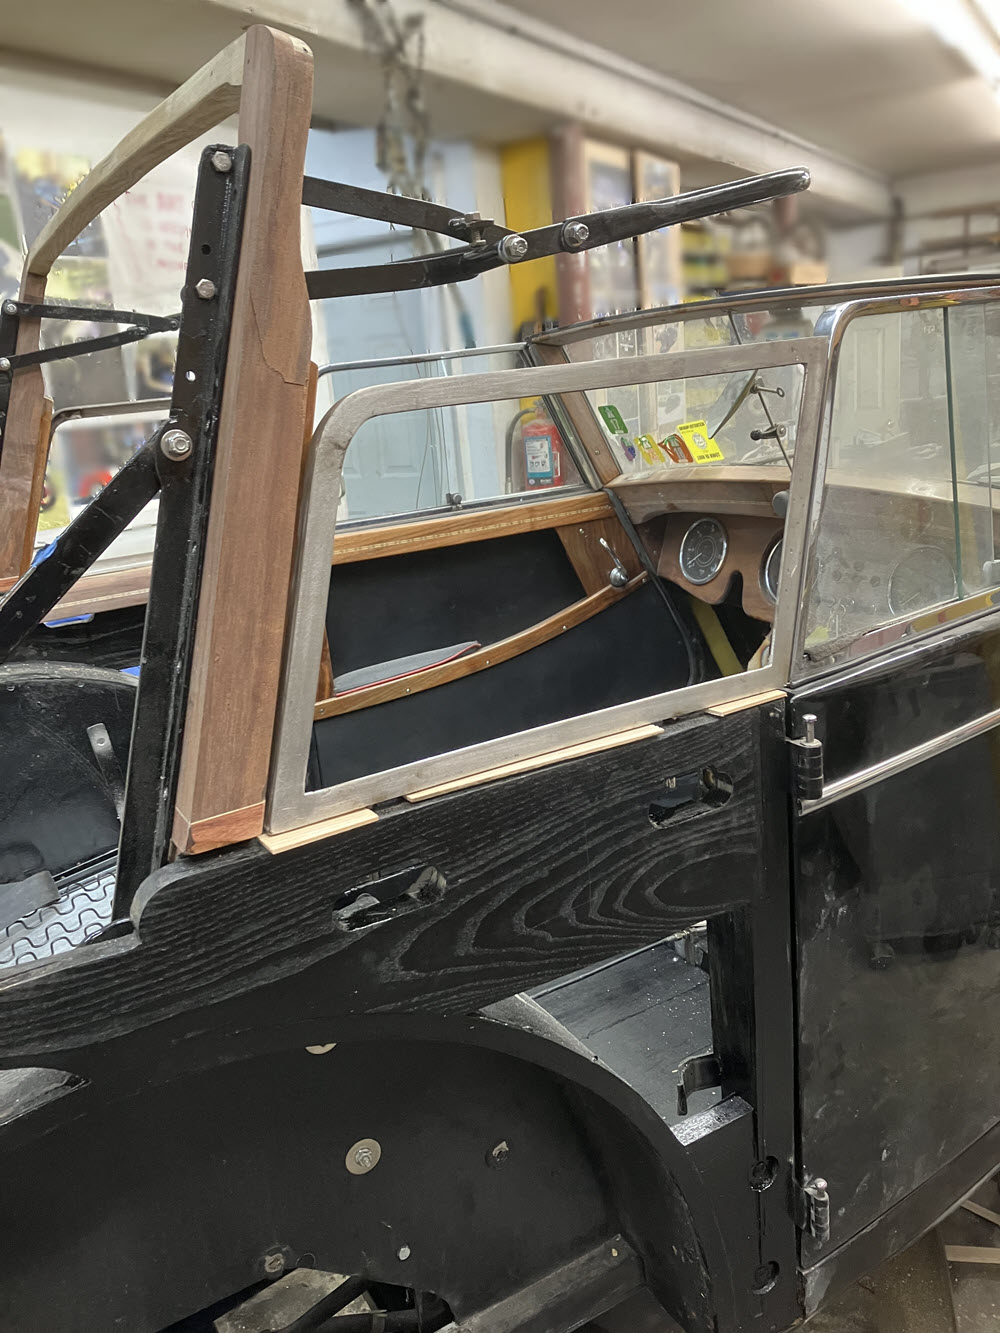
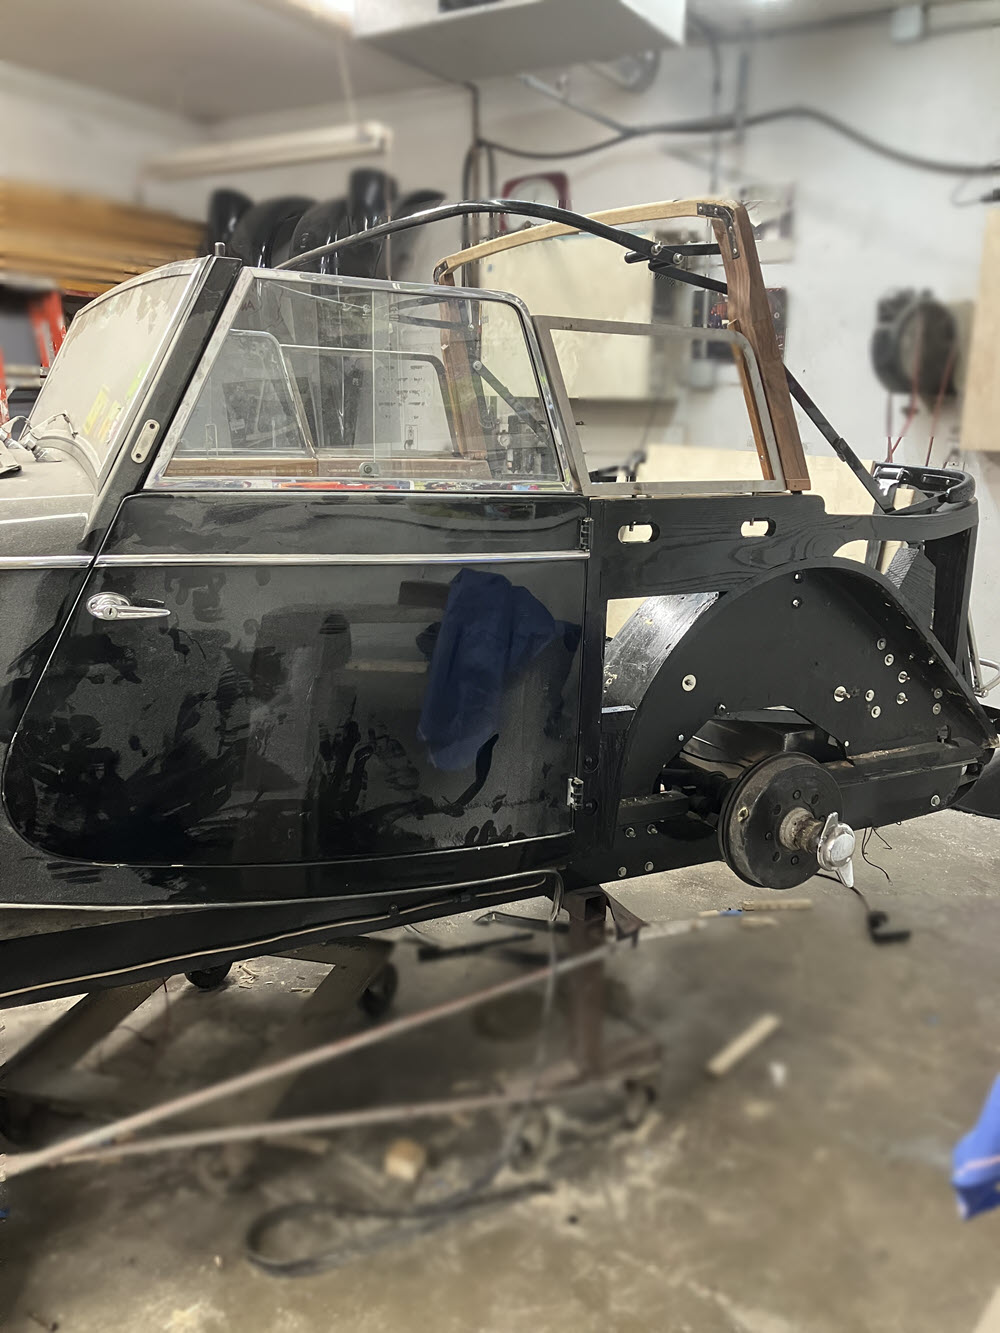
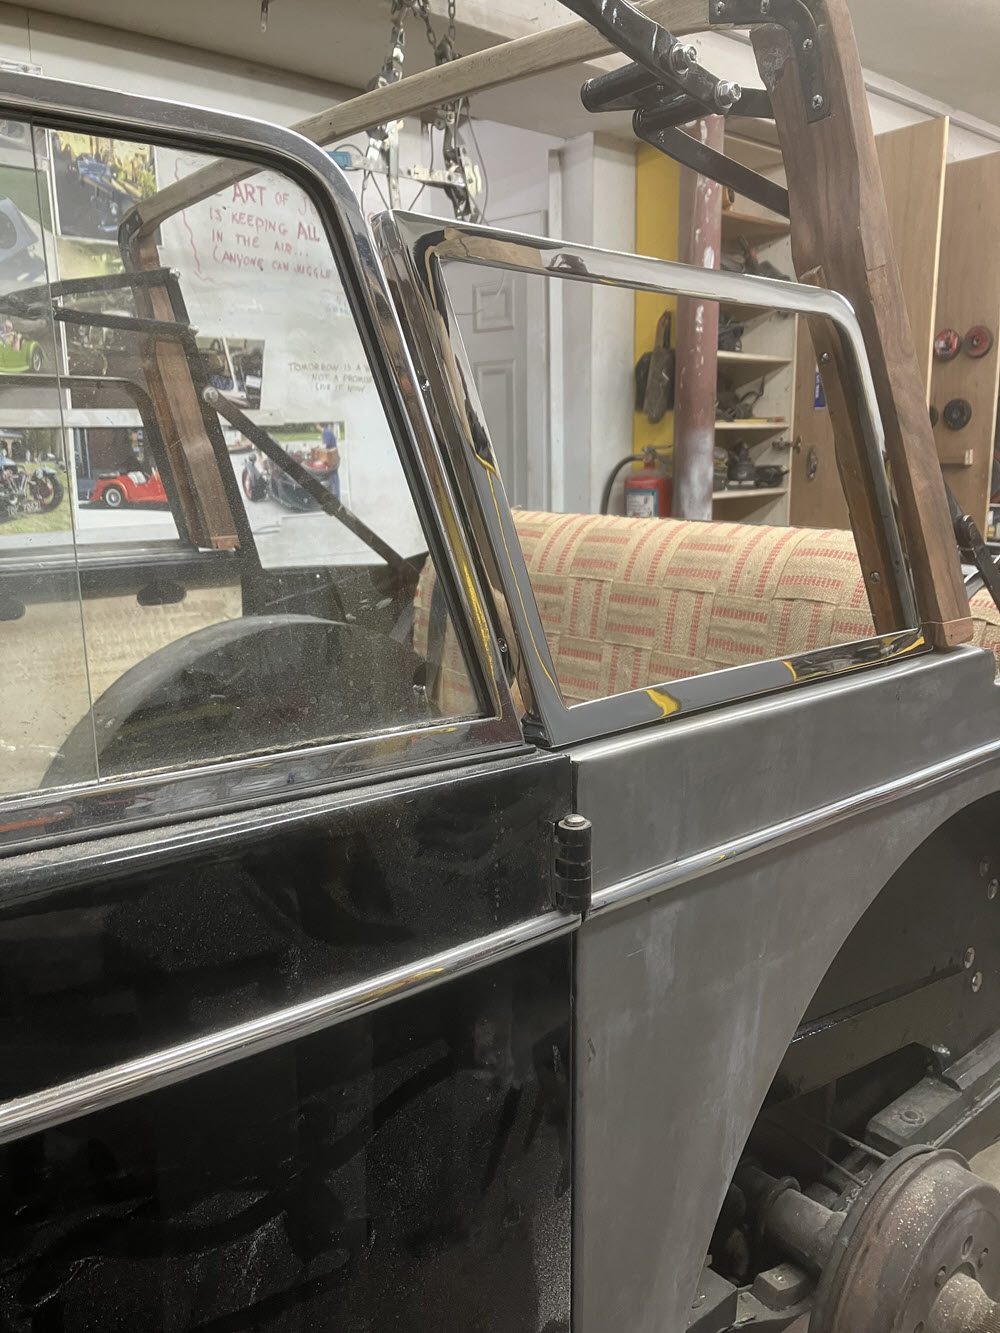
I’m rebuilding BENE because we USE it so personal preferences take priority over “originality”. After all, there are plenty of Morgan lawn sculptures already out there. The rear side windows I’m planning will always stay in place just like the door mounted windows. We drive hood down unless it is raining straight down. Having the side windows in place will provide a bit more wind protection for those longer jaunts (Rome to Brugge for example) that we occasionally do and will make the back seat more habitable those rare times when it will be occupied. Also; Kathi needs the luggage rack for when we travel (the shoes, you know).
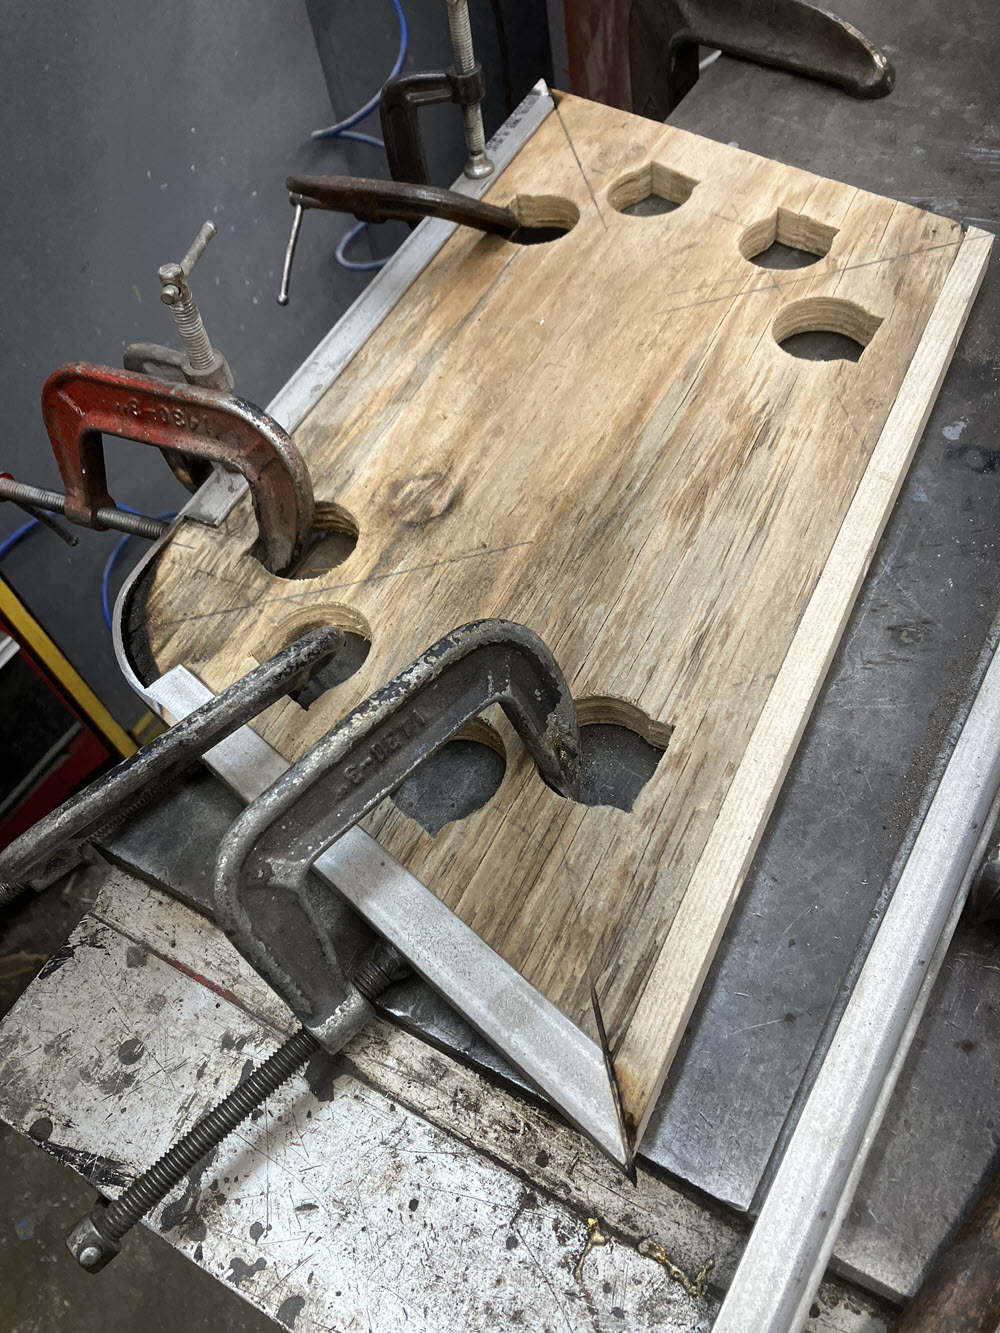
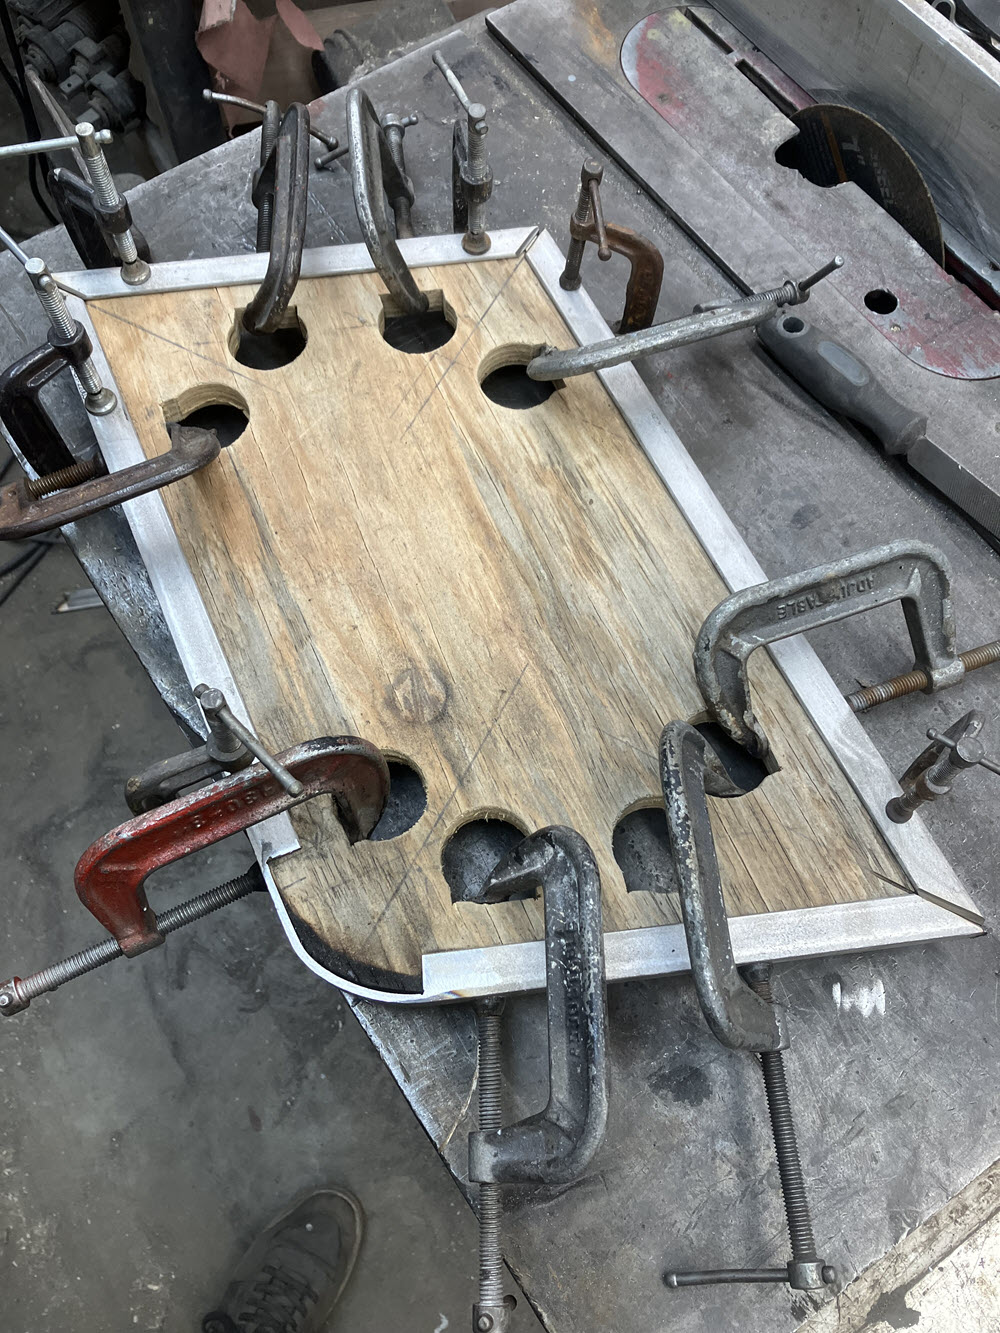
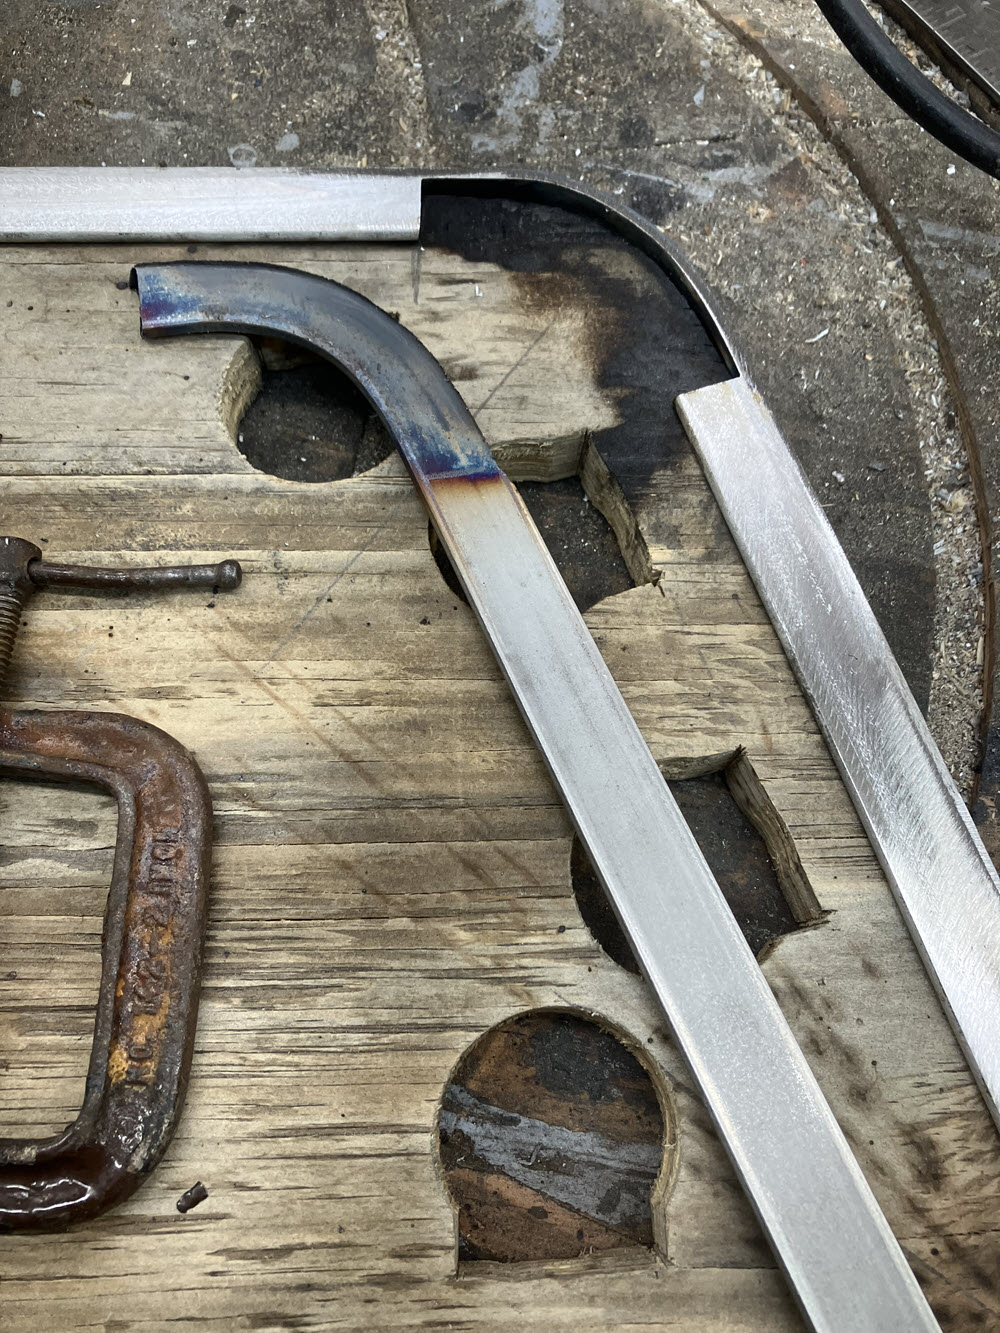
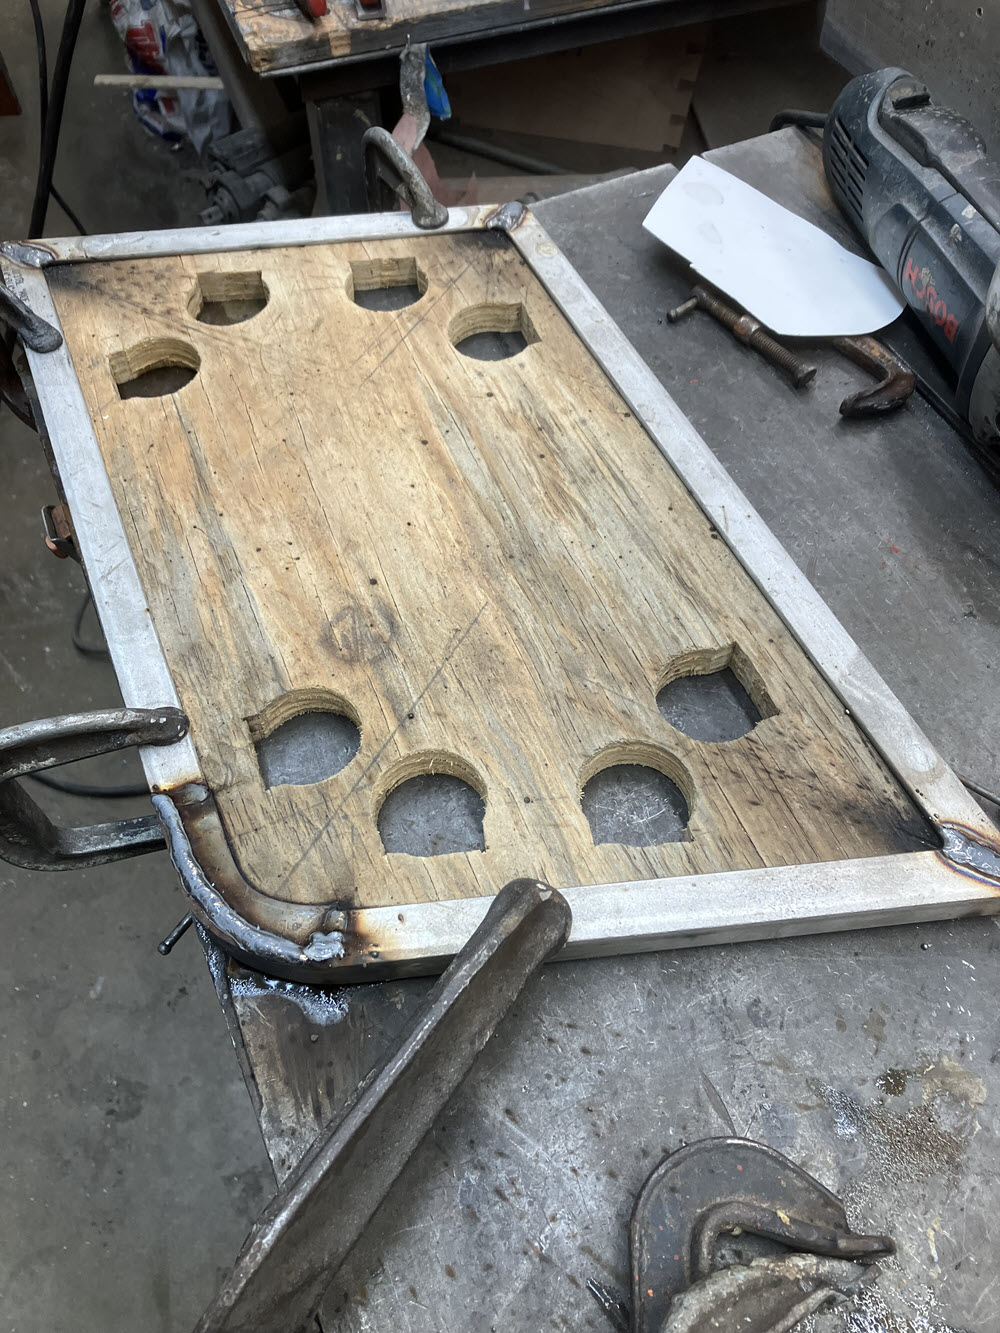
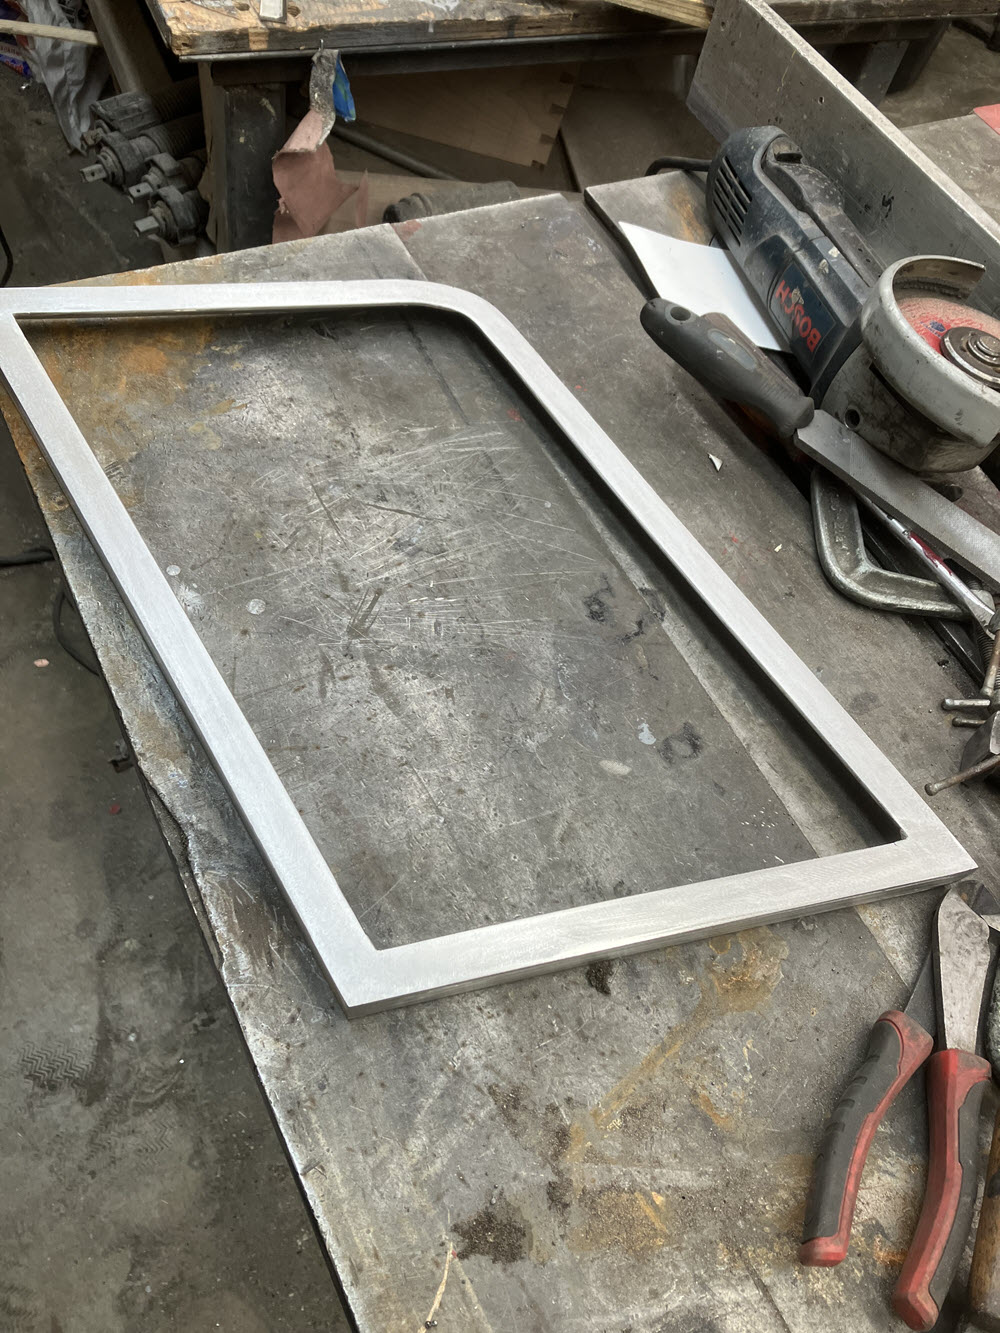
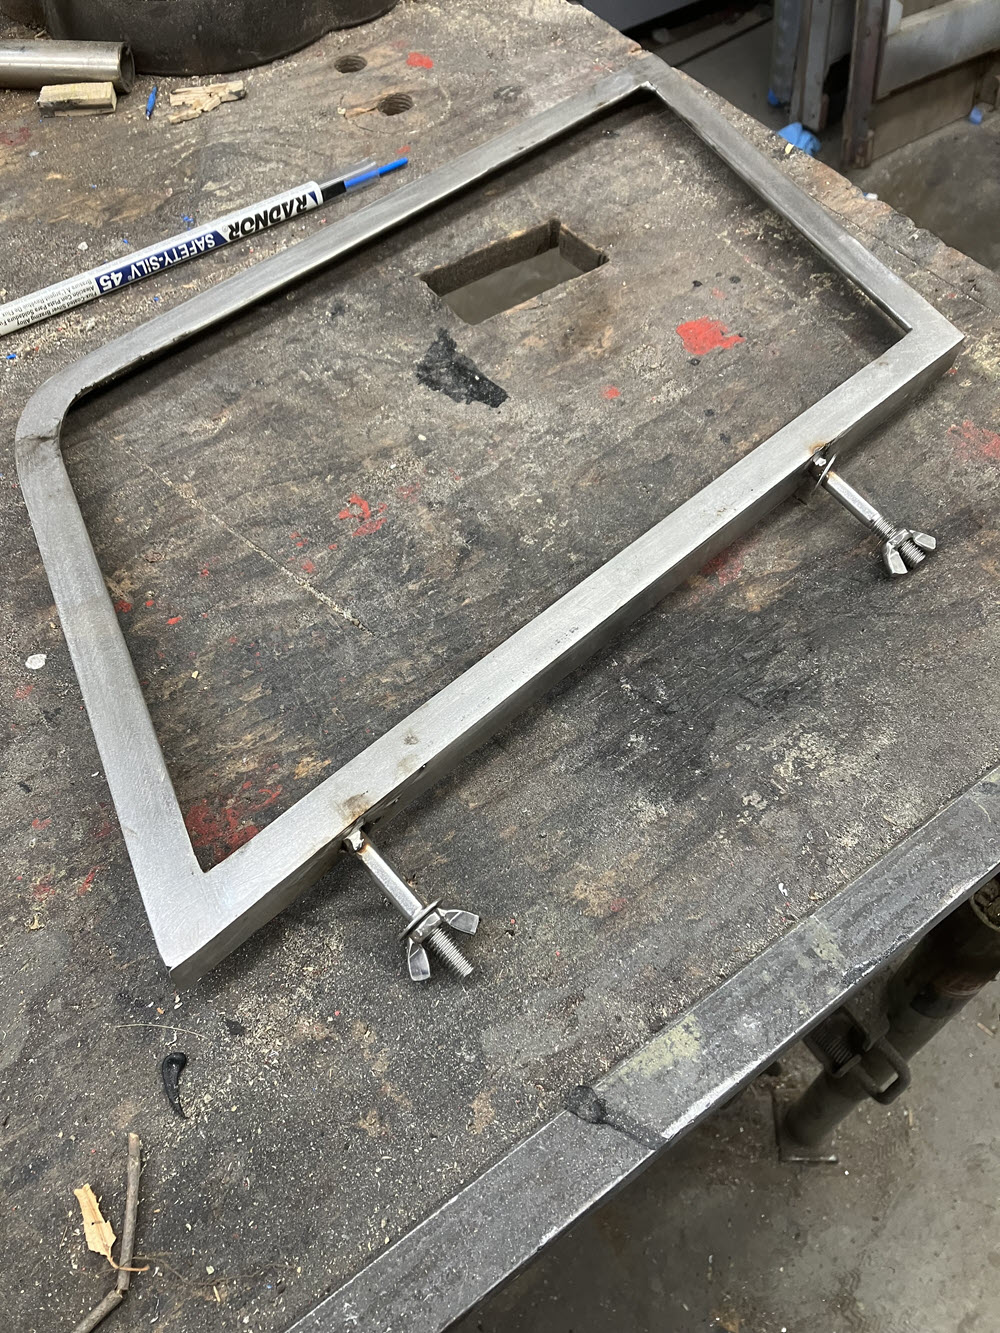
forming top piece of 316 stainless steel around patterncut and fit bottom and front pieces filler piece heat formed from flat stockfiller piece added, all joints weldedwelds ground flushmounting studs weldedwindow frames mountedWidow frames mountedside windows with top frame upside windows with top frame upSide Window Frames Chrome Plated
Top/Hood Bows
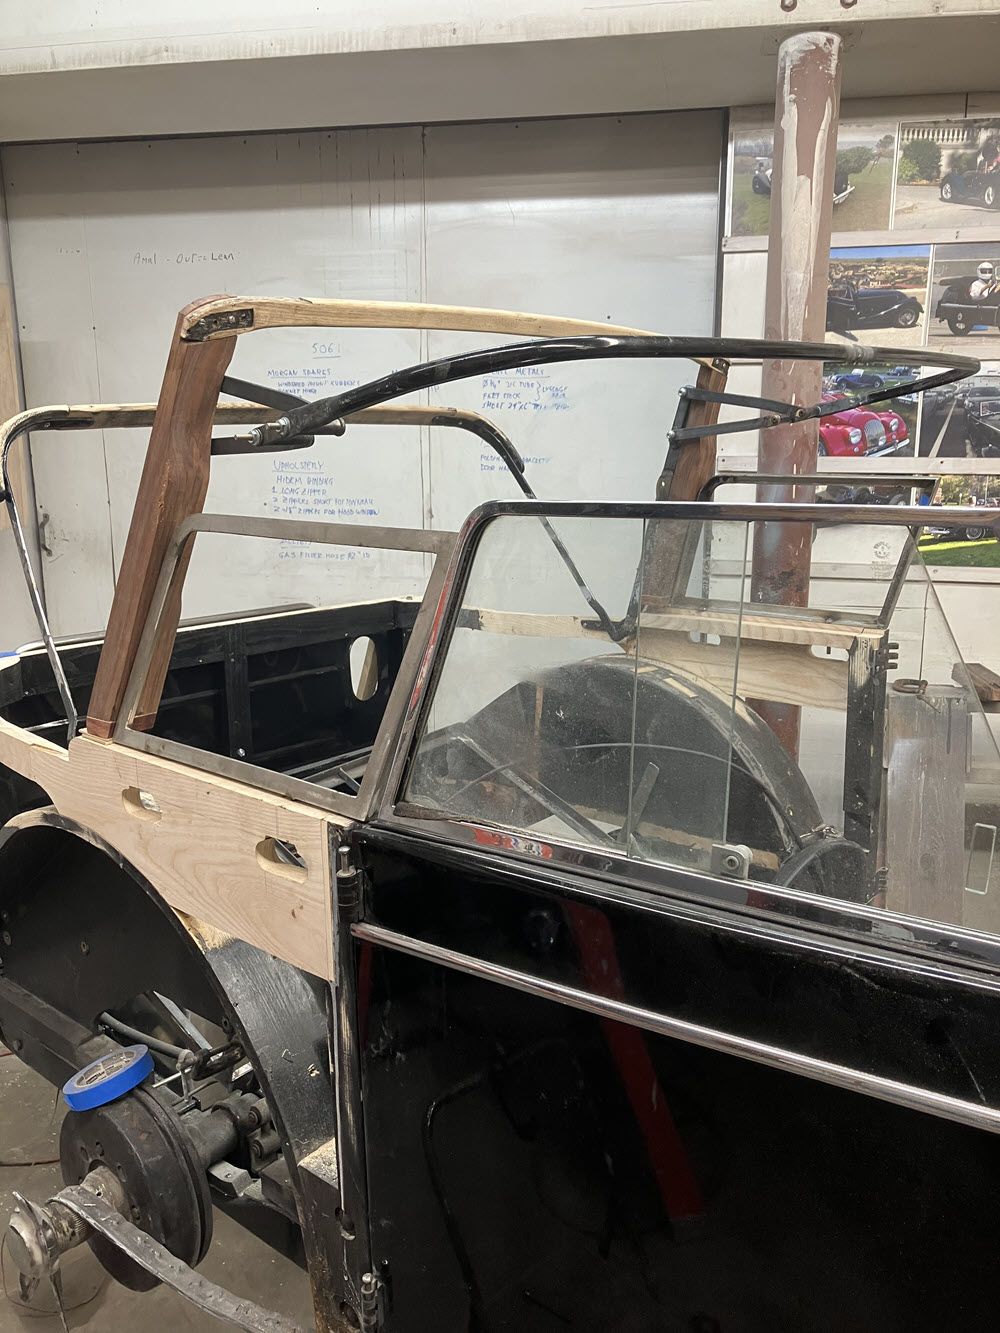
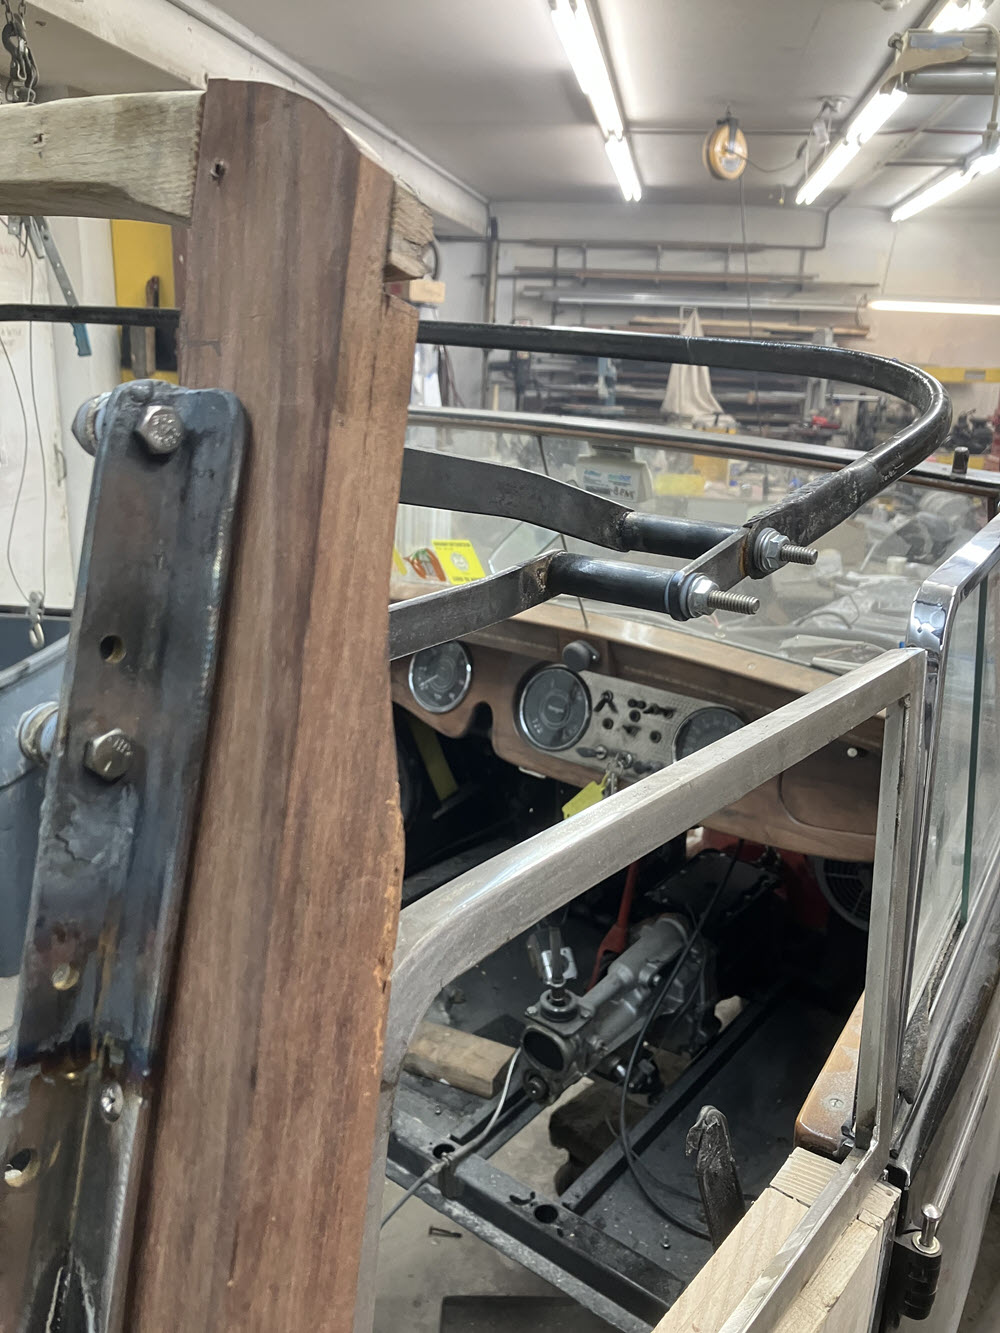
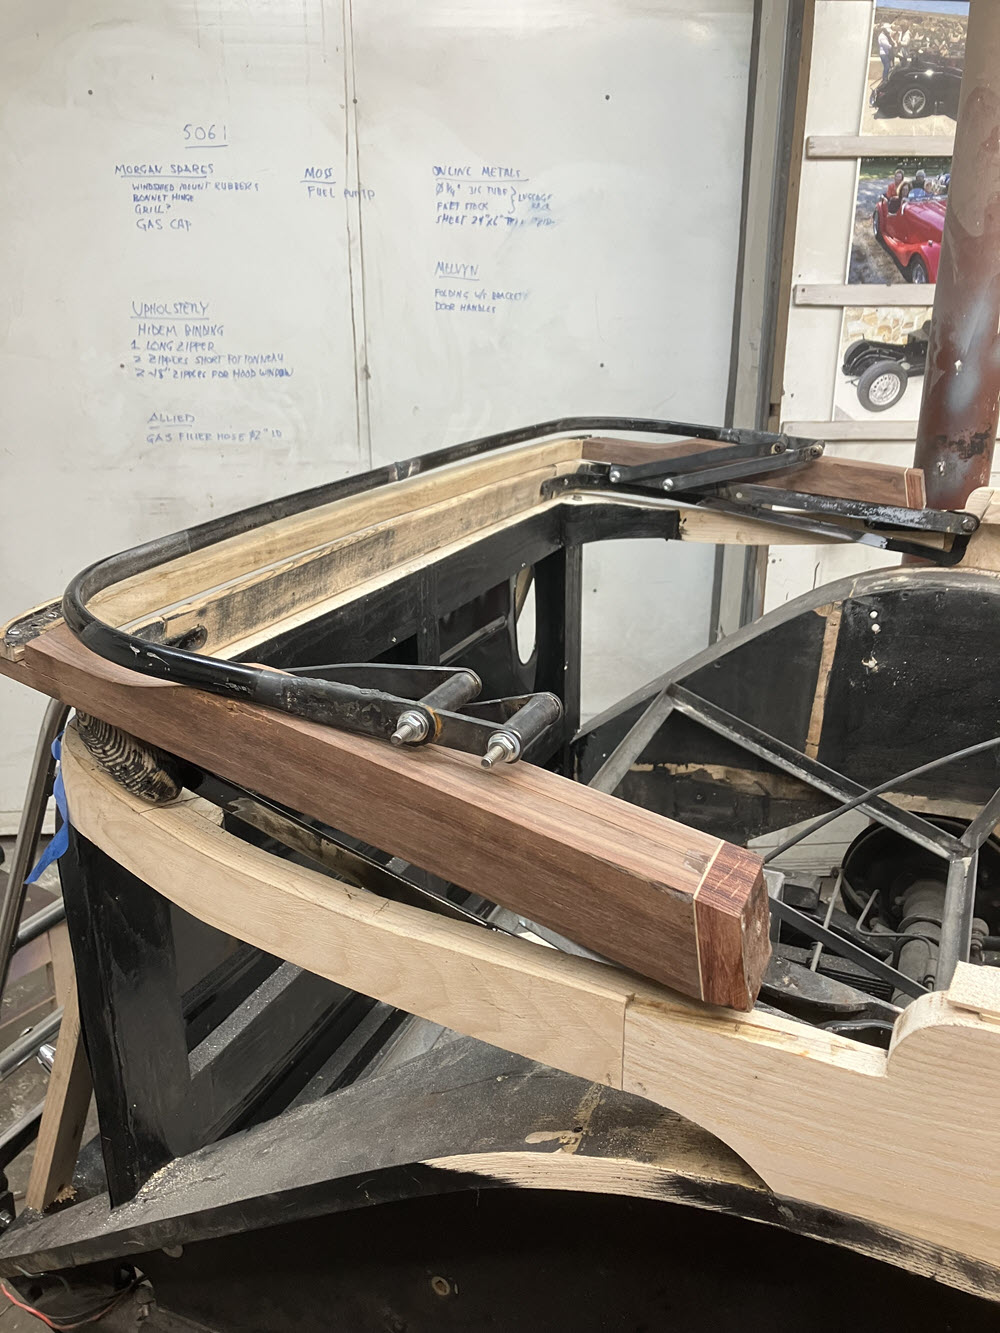
Probably the most difficult design task in this conversion is the layout of the top/hood mechanism. It has to be a hybrid of the two seat DHC and the four seat roadster designs. For initial design of the linkage I made a CAD file; it’s easier to move electrons around on a screen than to cut and weld metal.
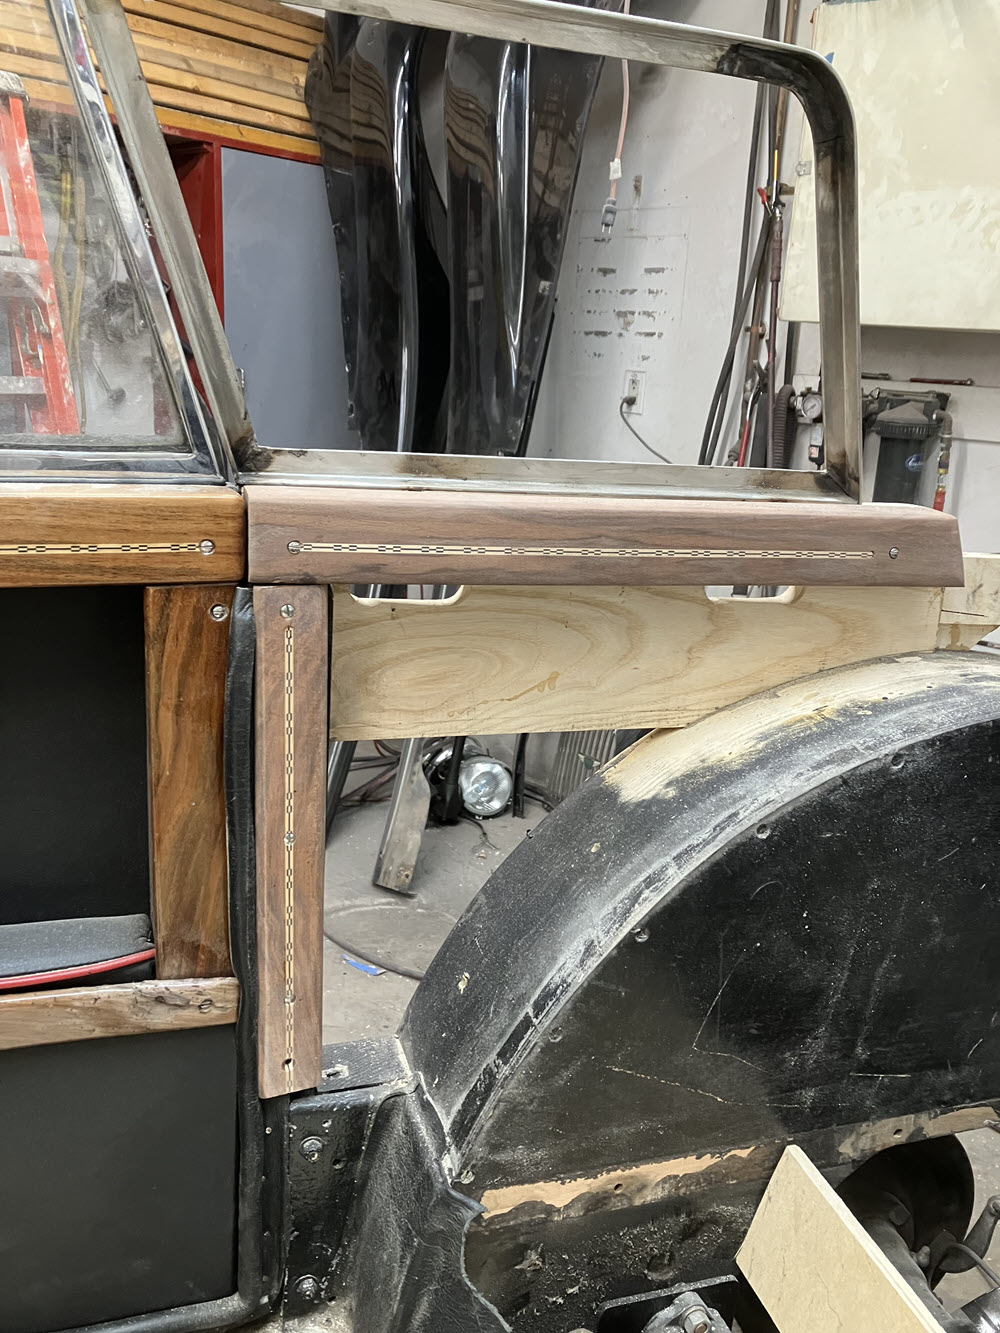
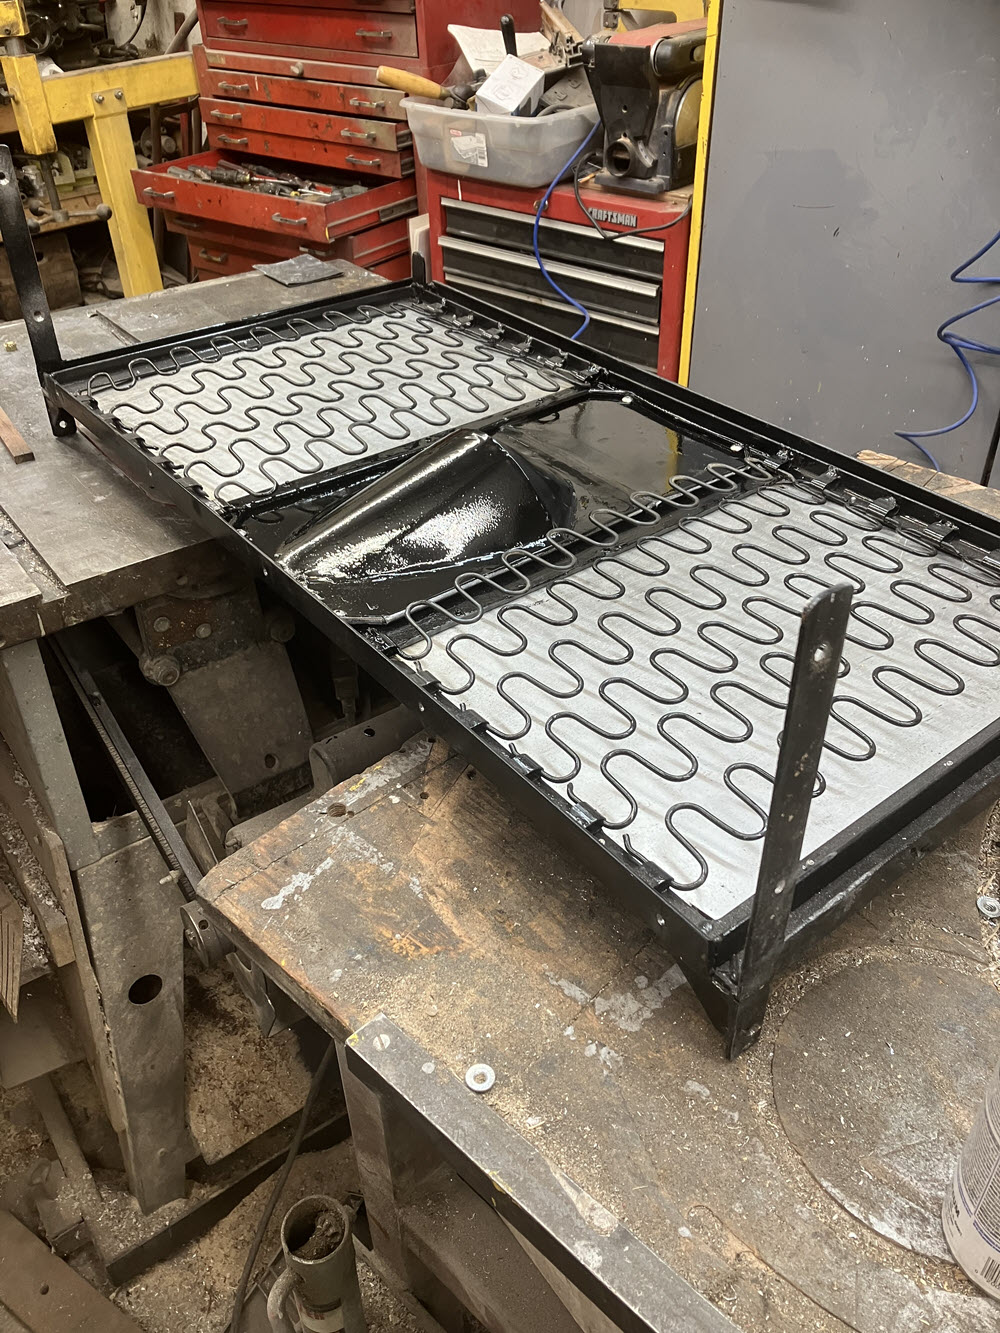
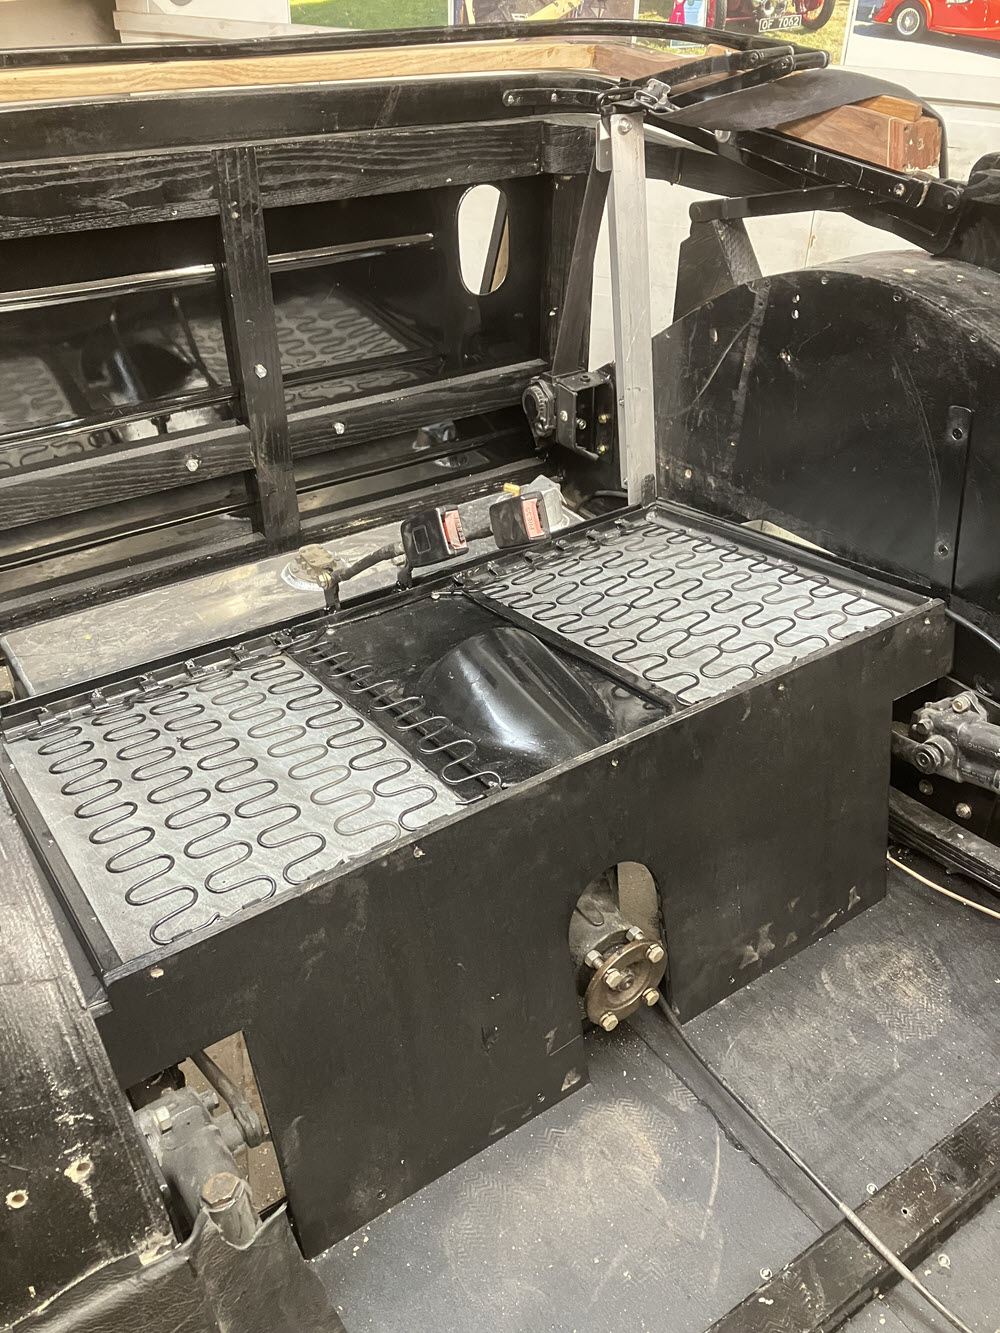
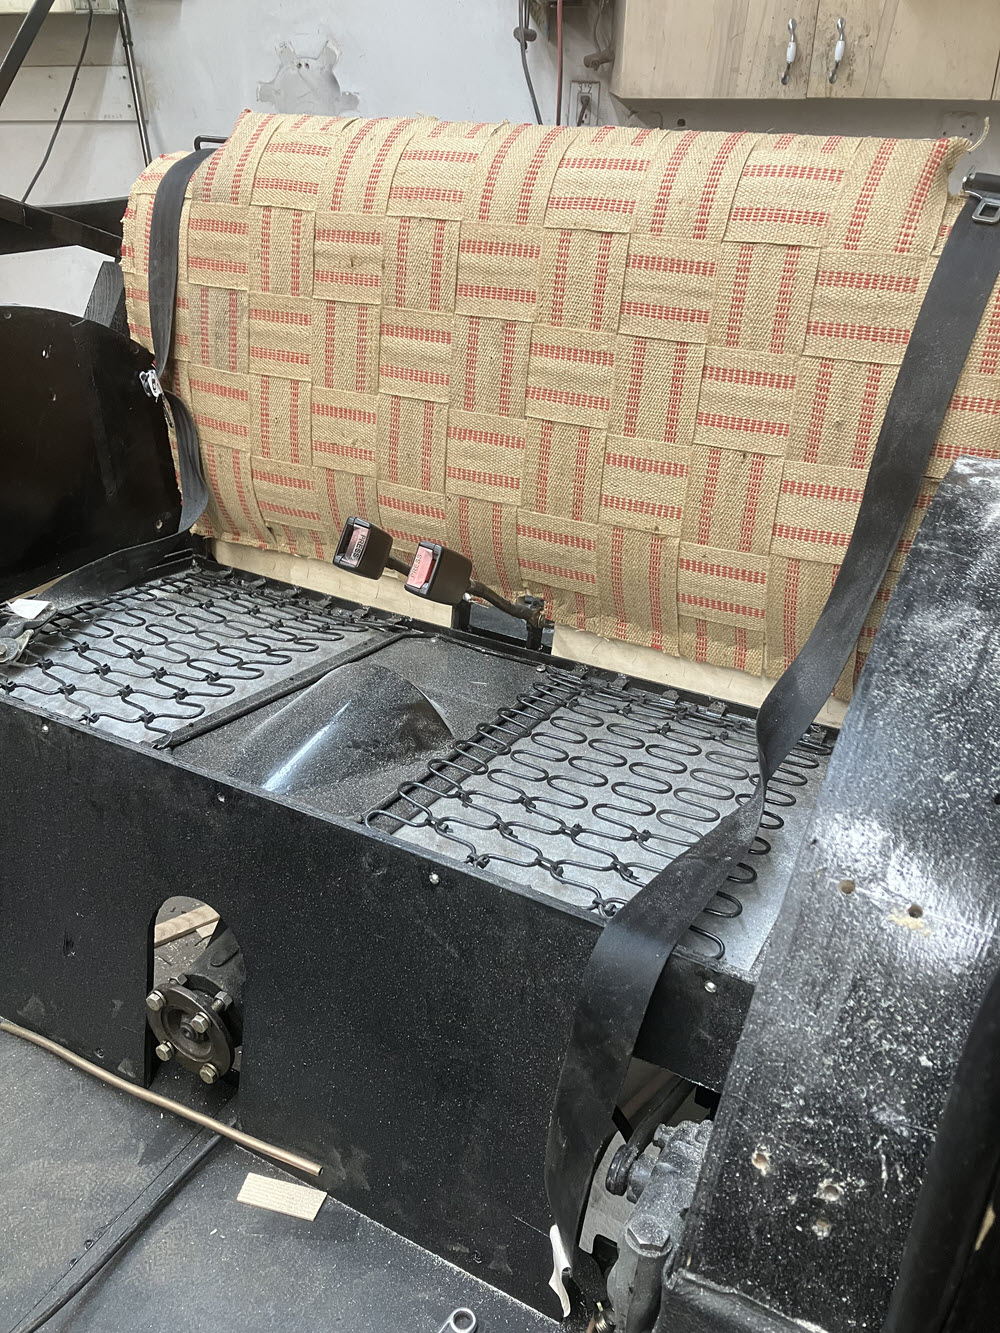
top bows in workbows opennestedrear seat bottom frame in workcontinuing the inlayed walnut trim to the rear seat areanew rear floors removable center section addedrear seat bottom frame installedseatback padded
Seat Belts
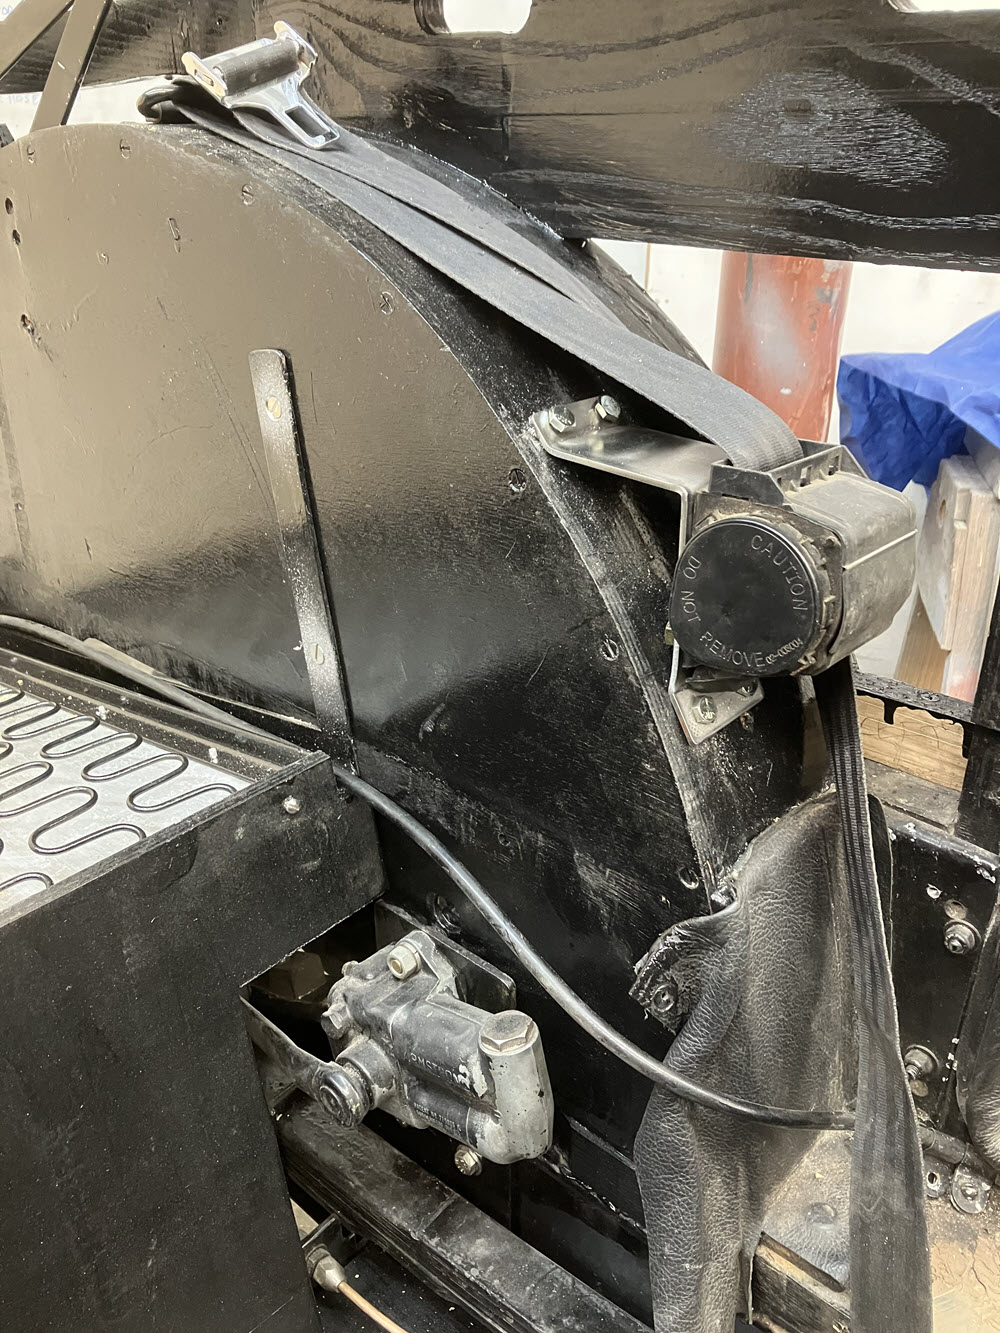
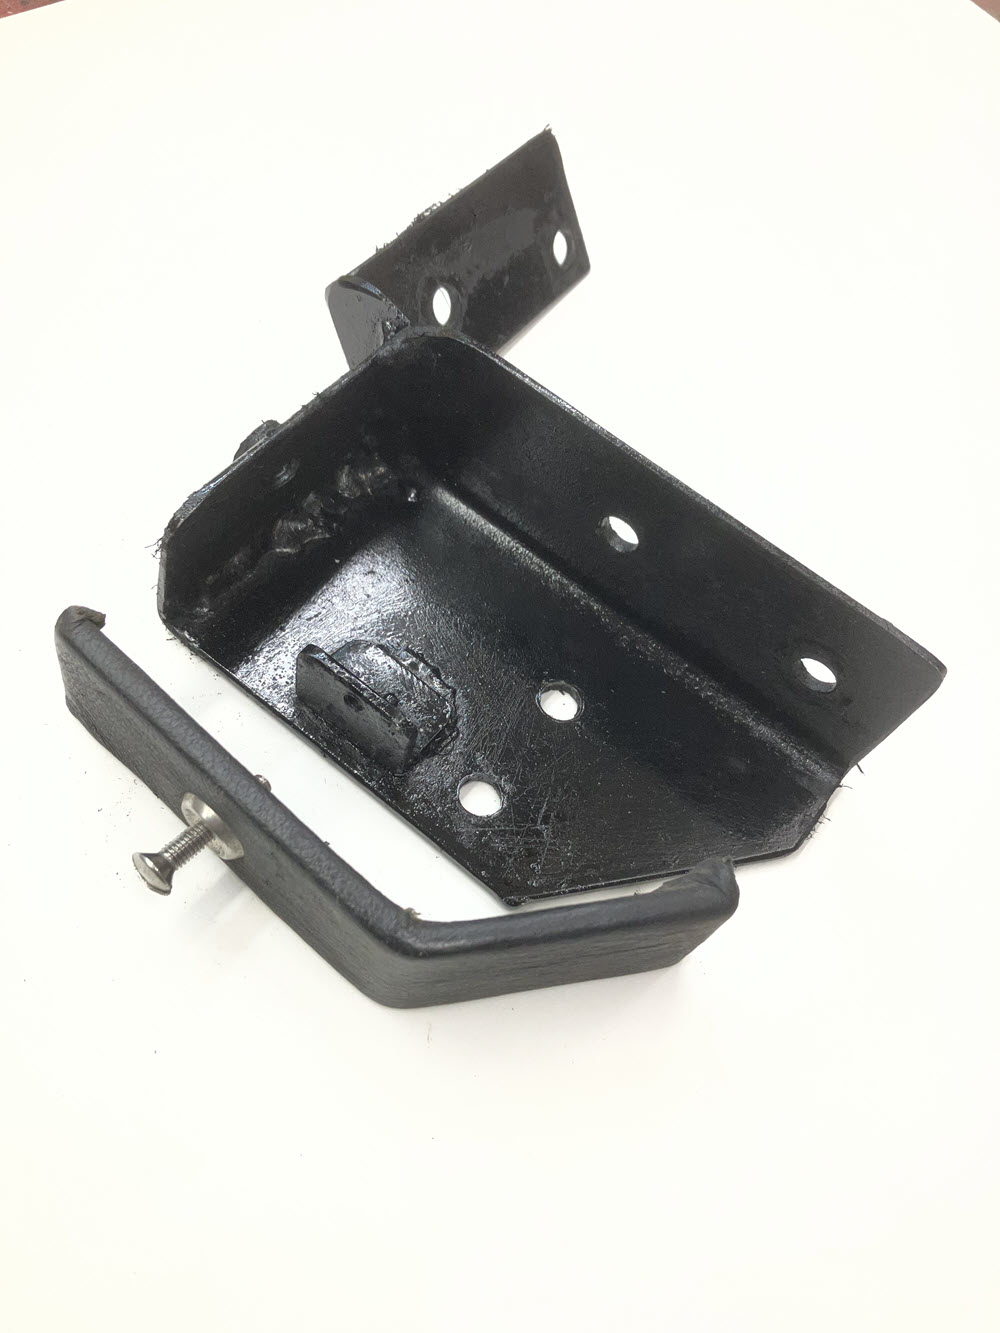
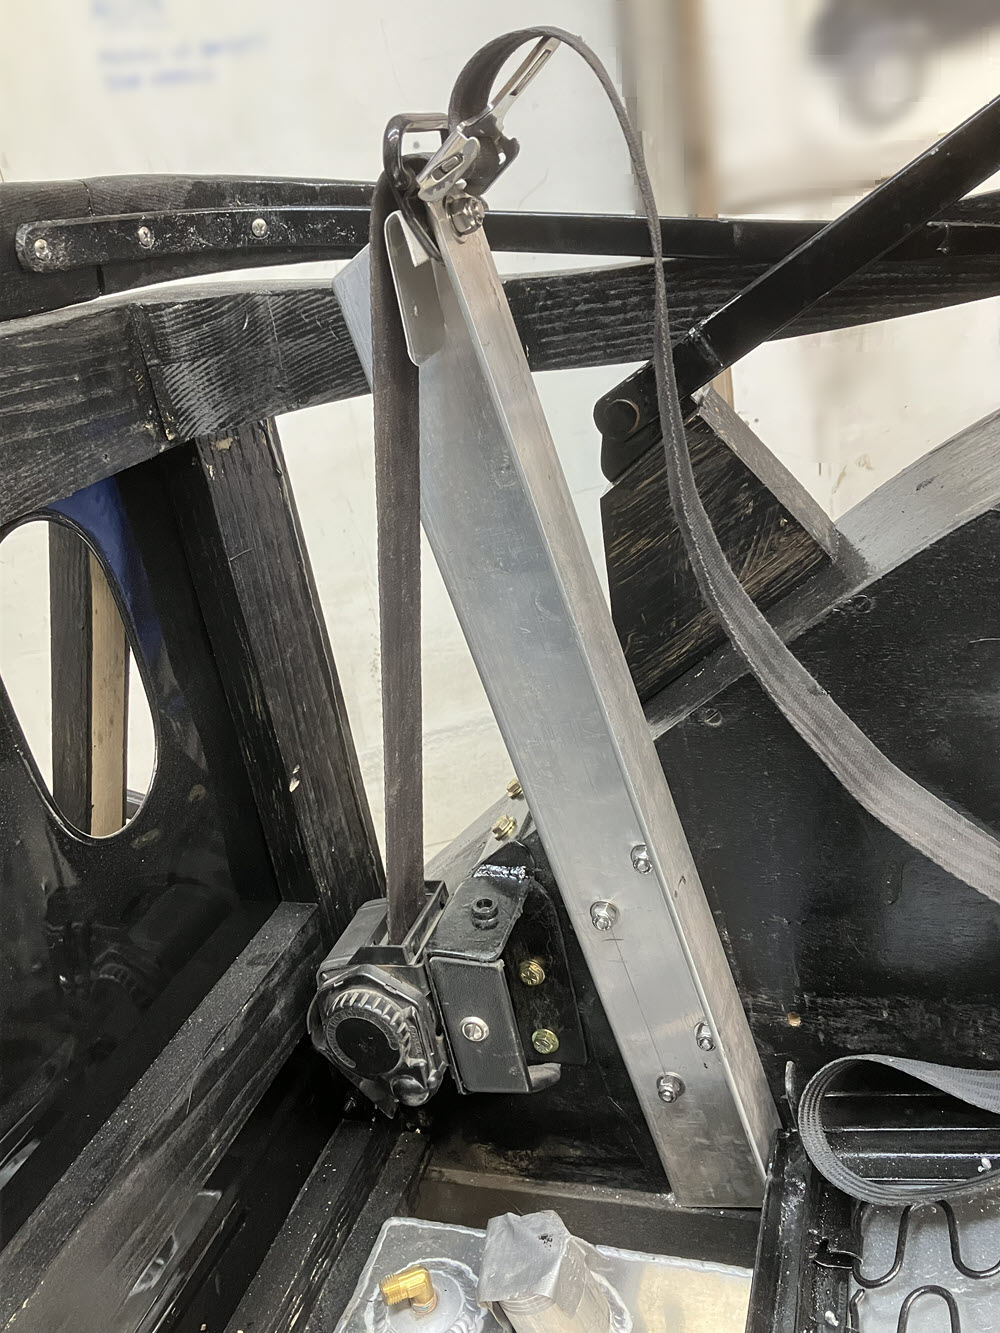
Front Seat Belt retractor on new bracket Front Seat Belt retractor on new bracketBracket for Rear Seat Shoulder Harness Belt RetractorRear Seat Shoulder Harness Installed
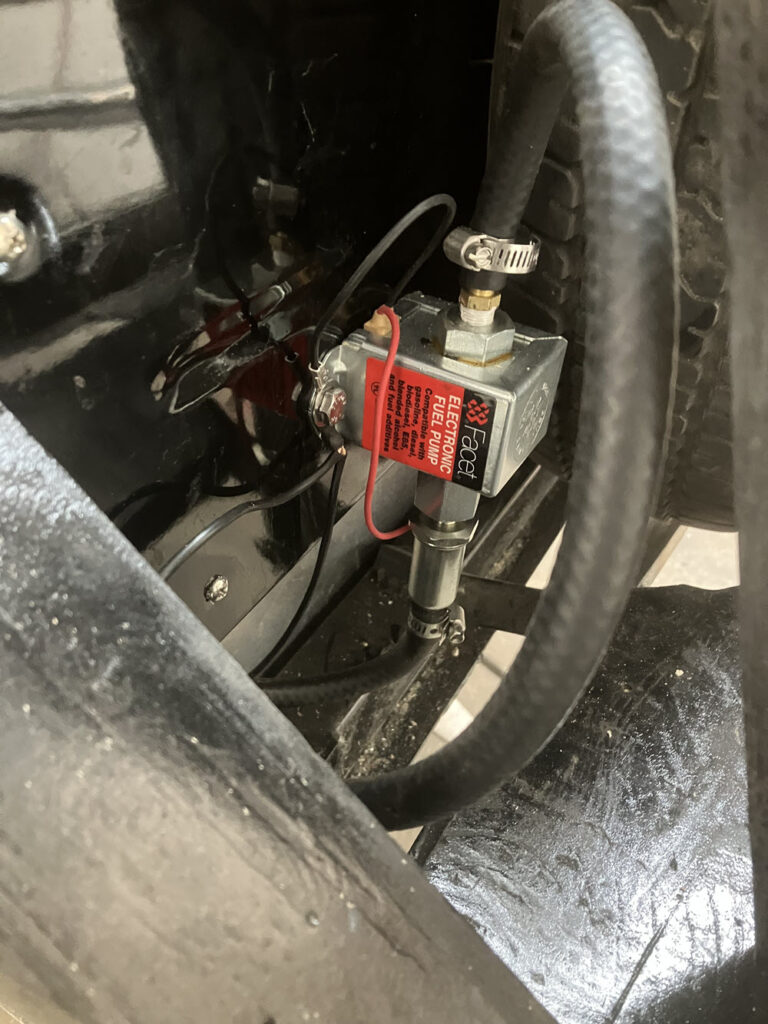
New supplemental Facet fuel pump added.
Sheet Metal
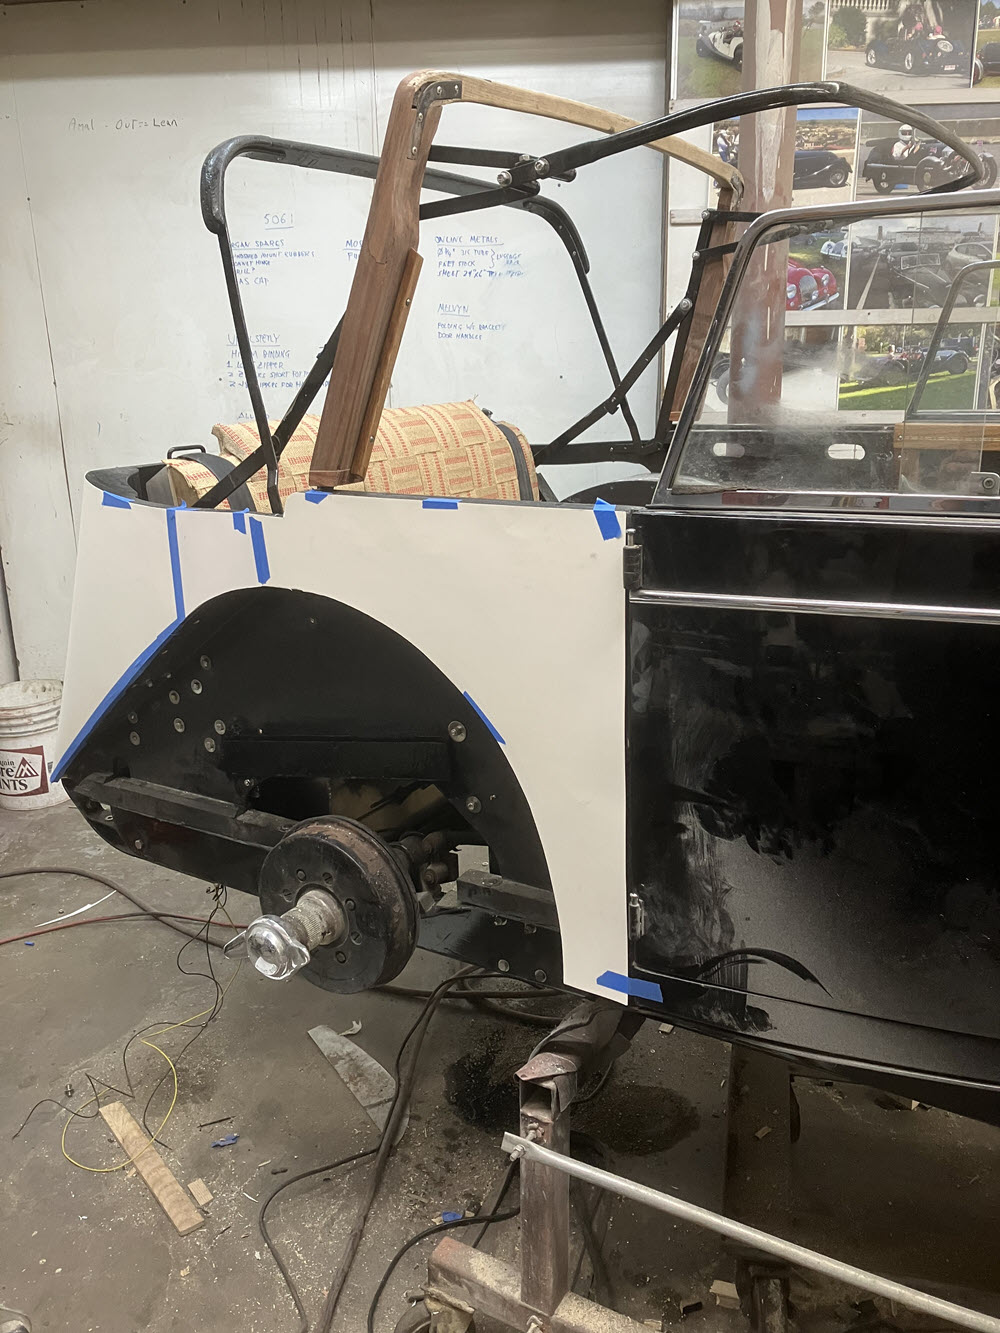
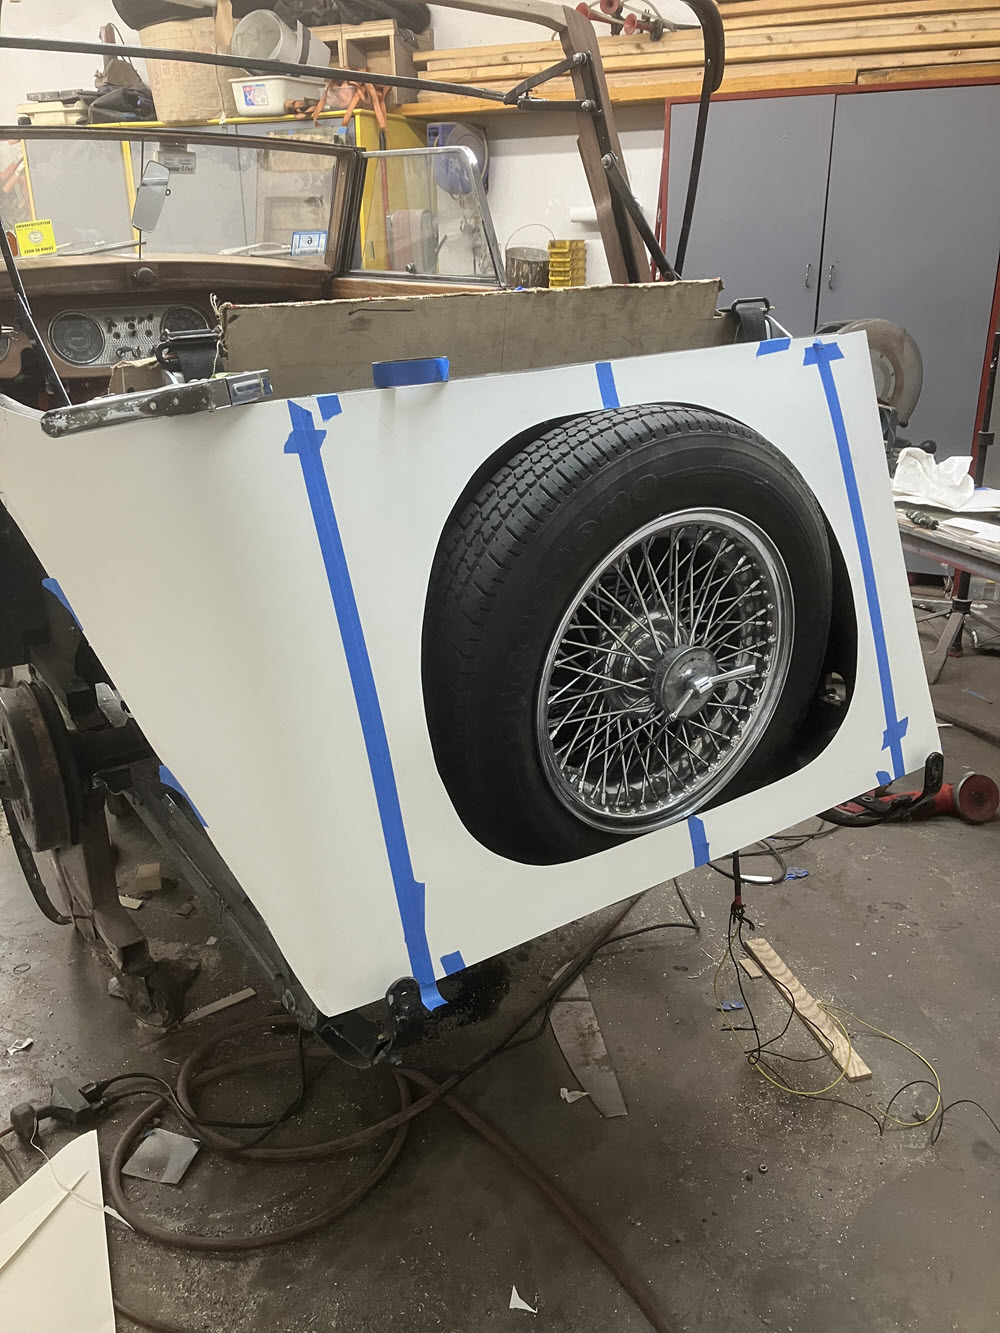
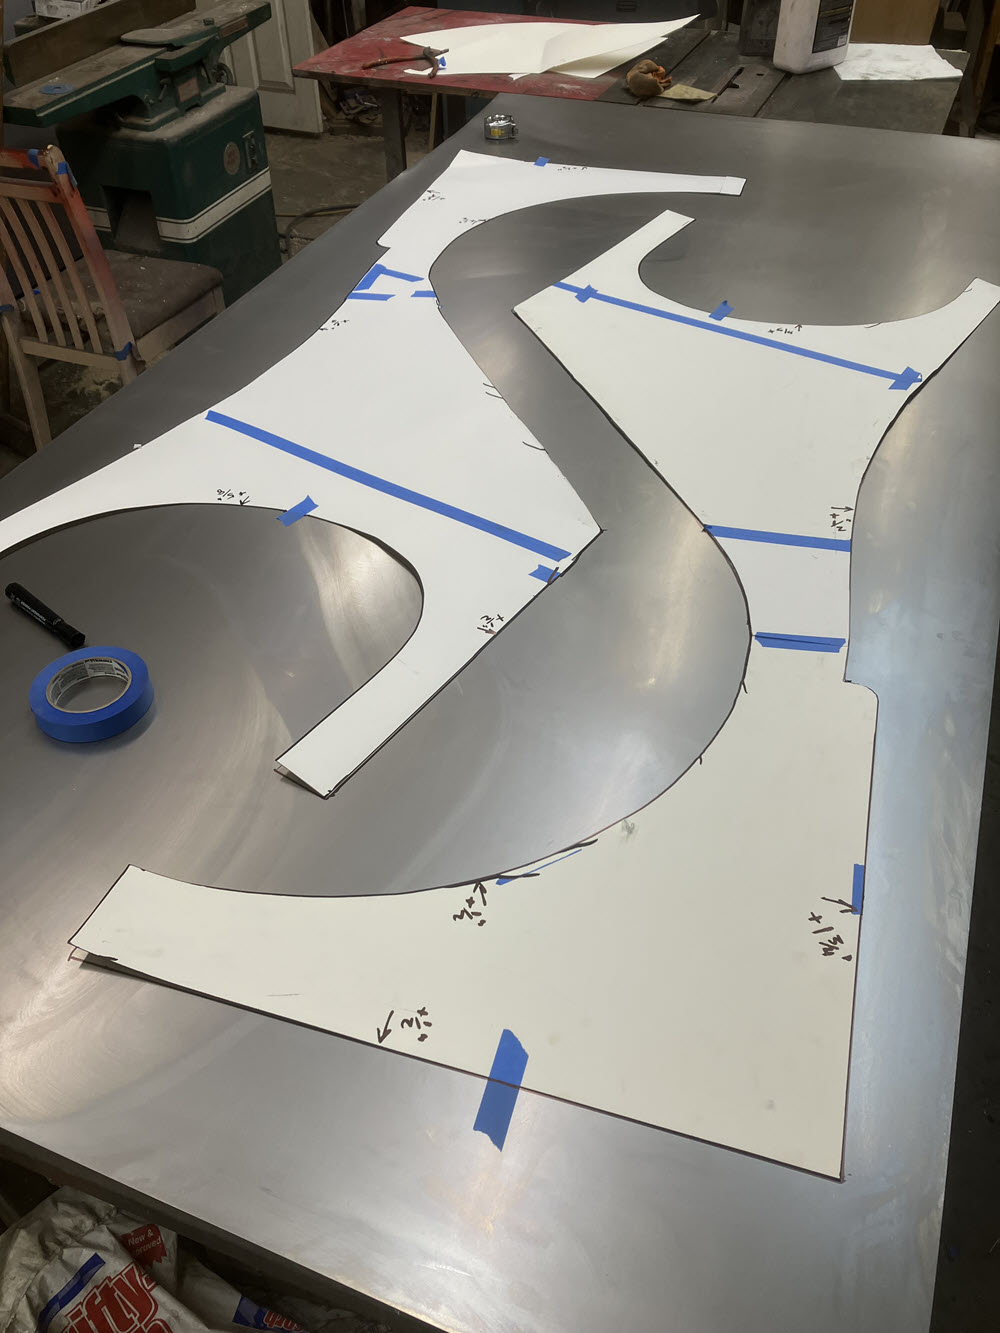
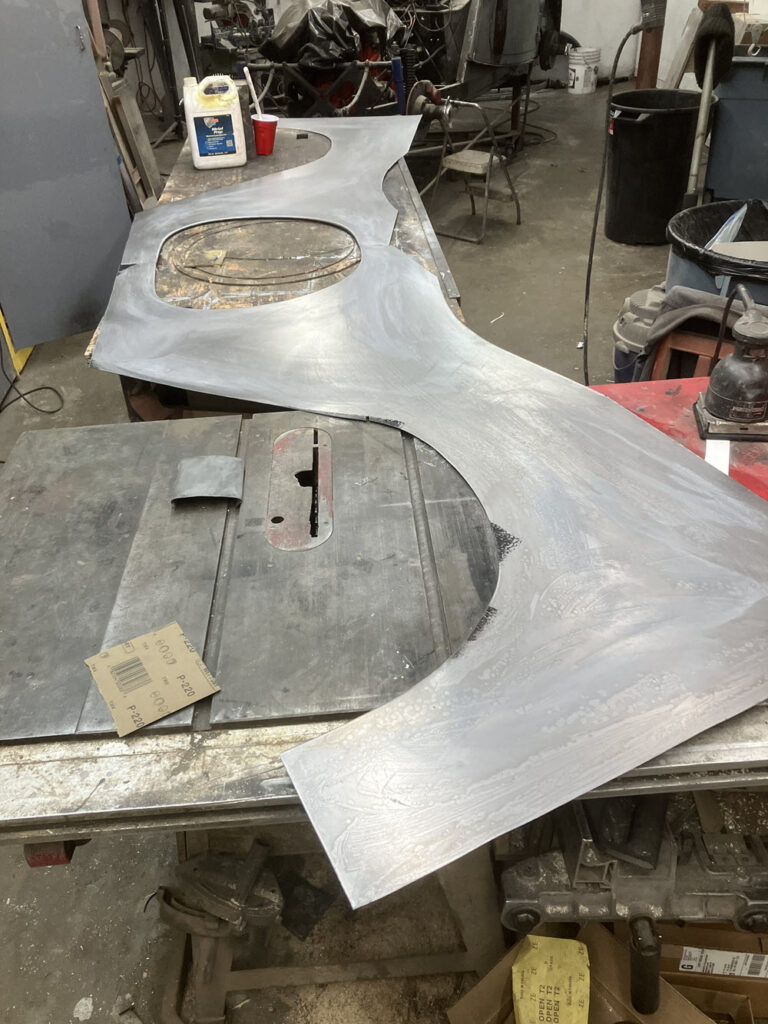
Patterns in WorkPatterns in WorkLayout on Steel
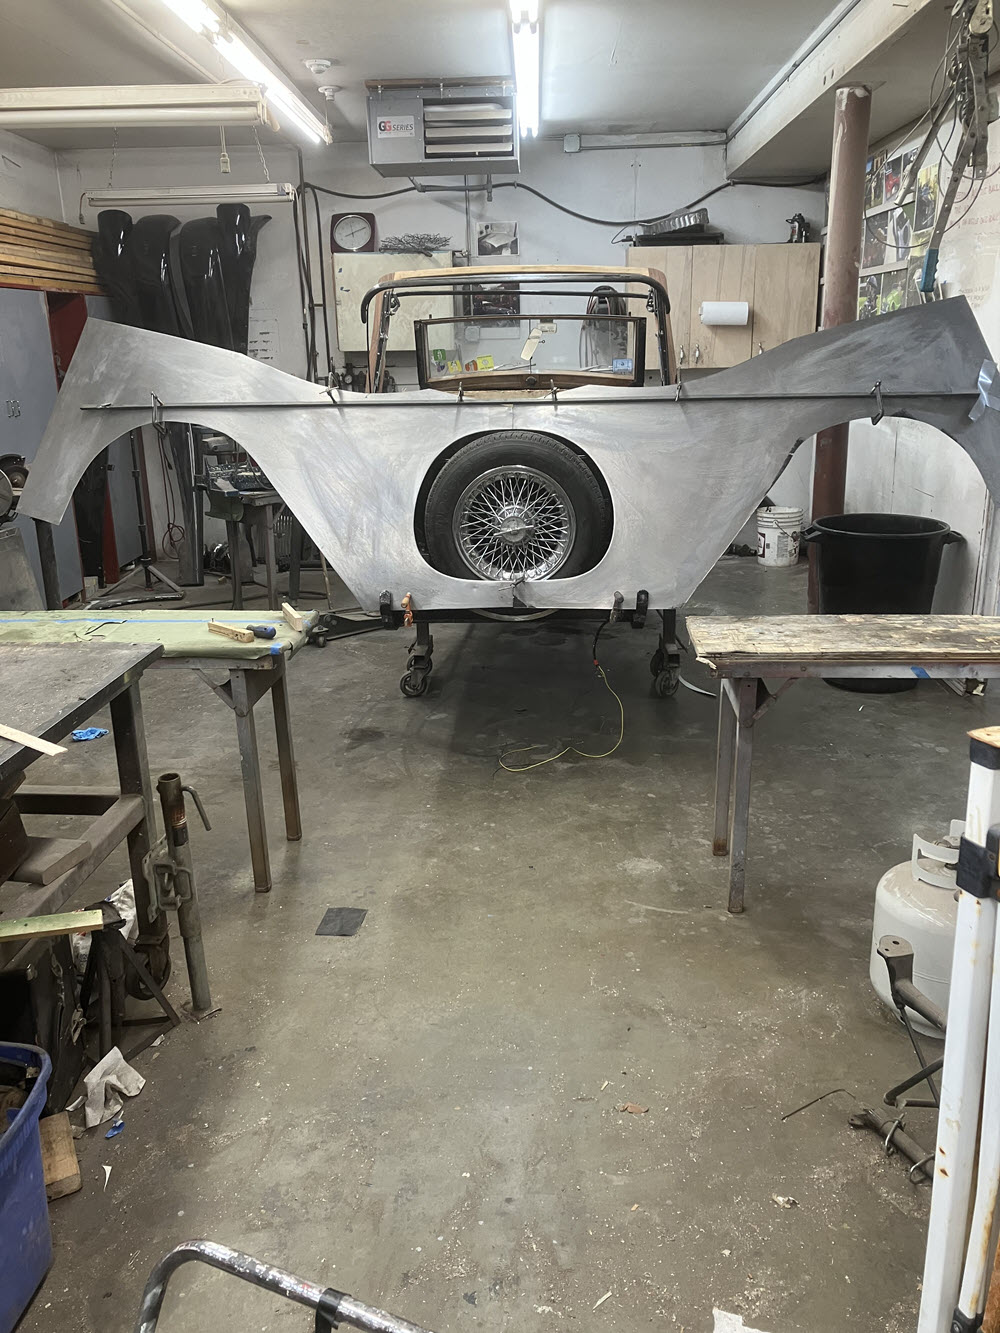
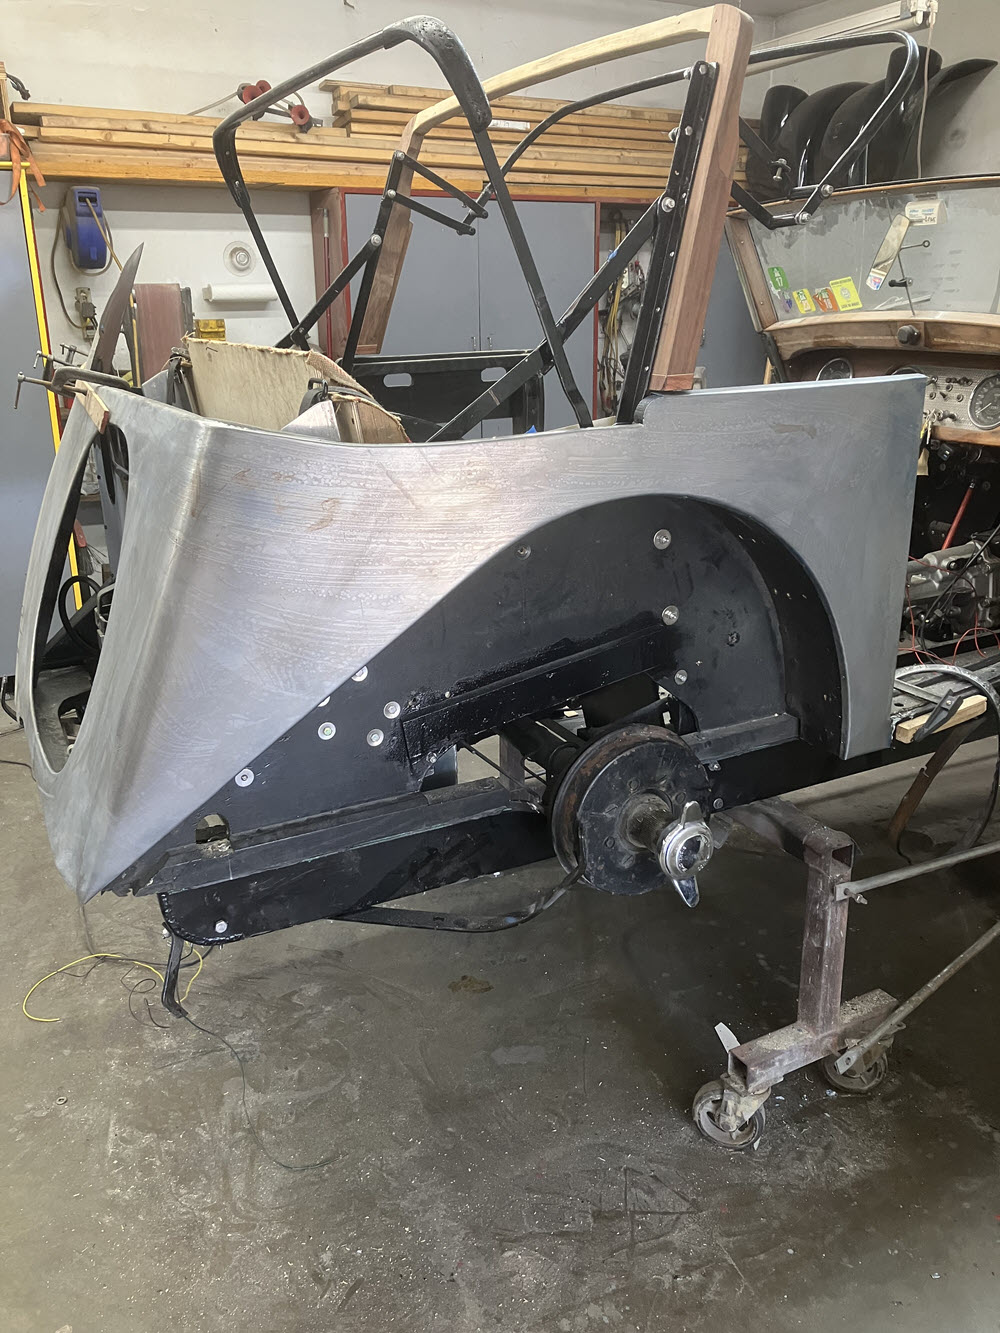
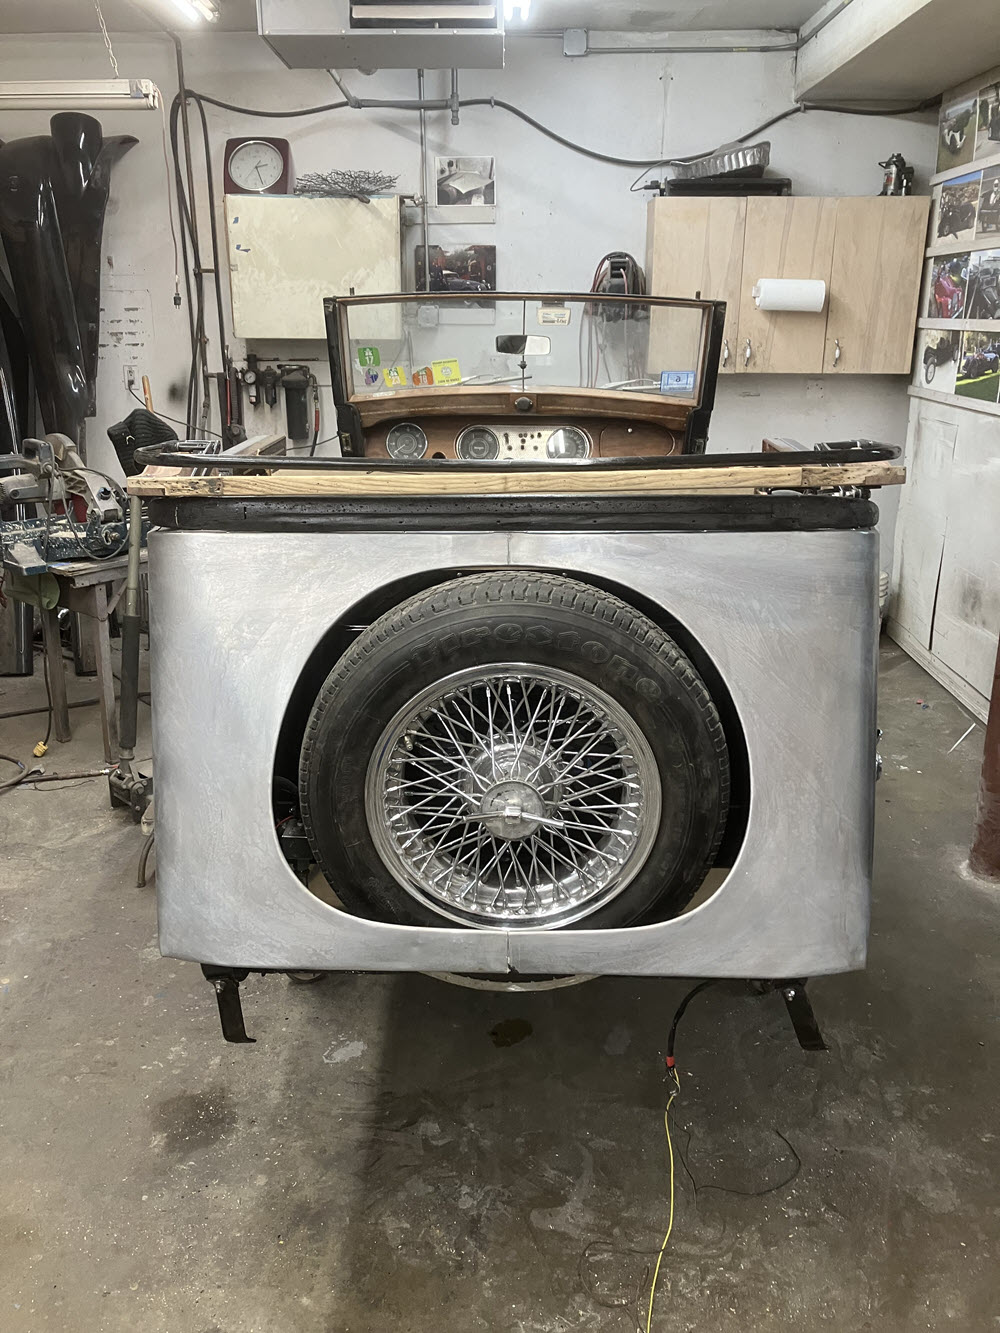
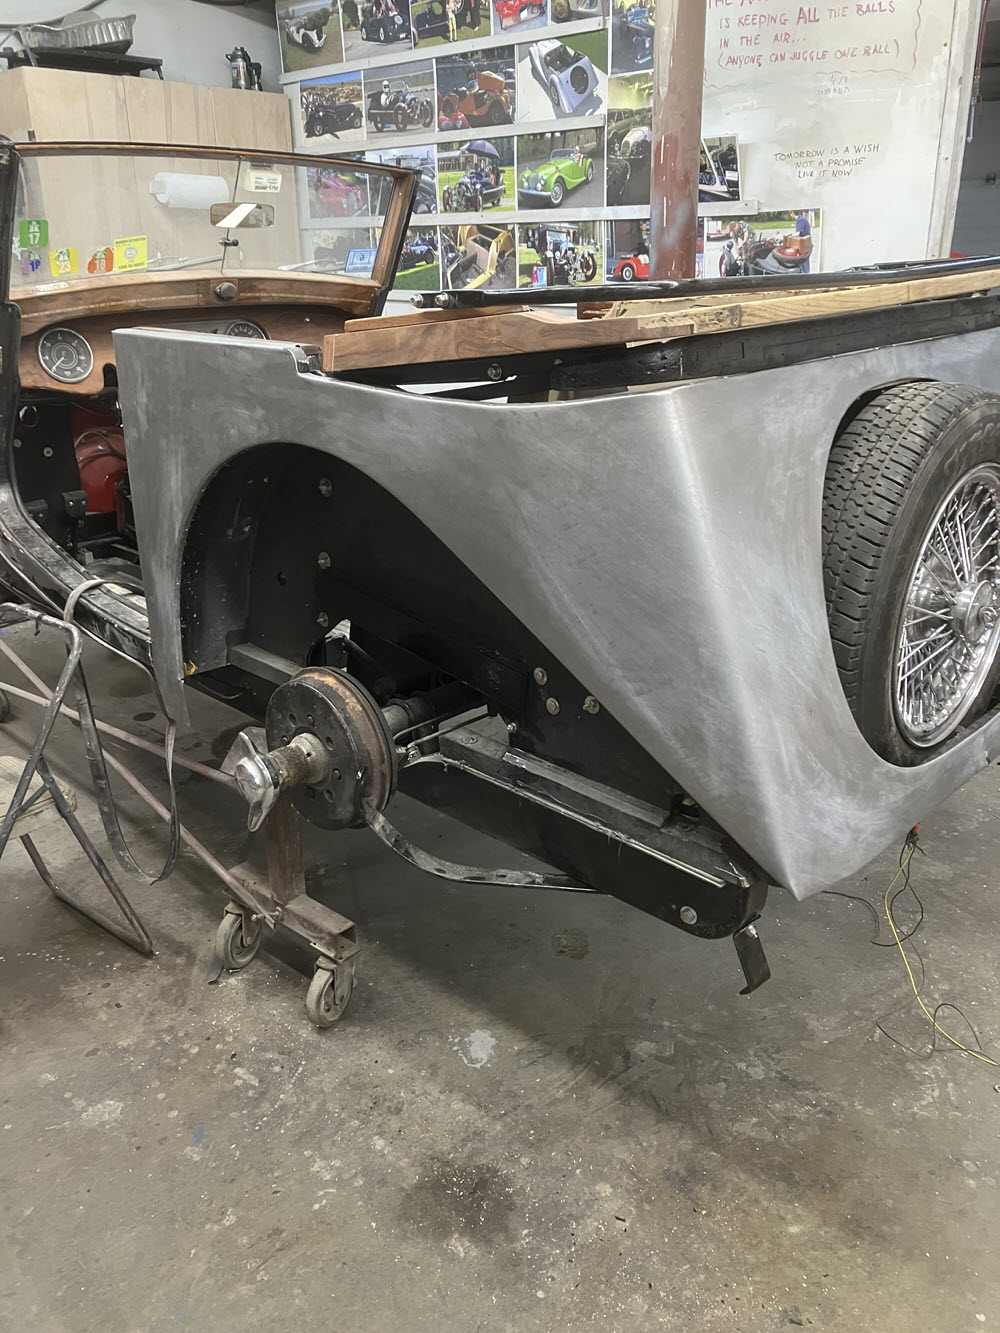
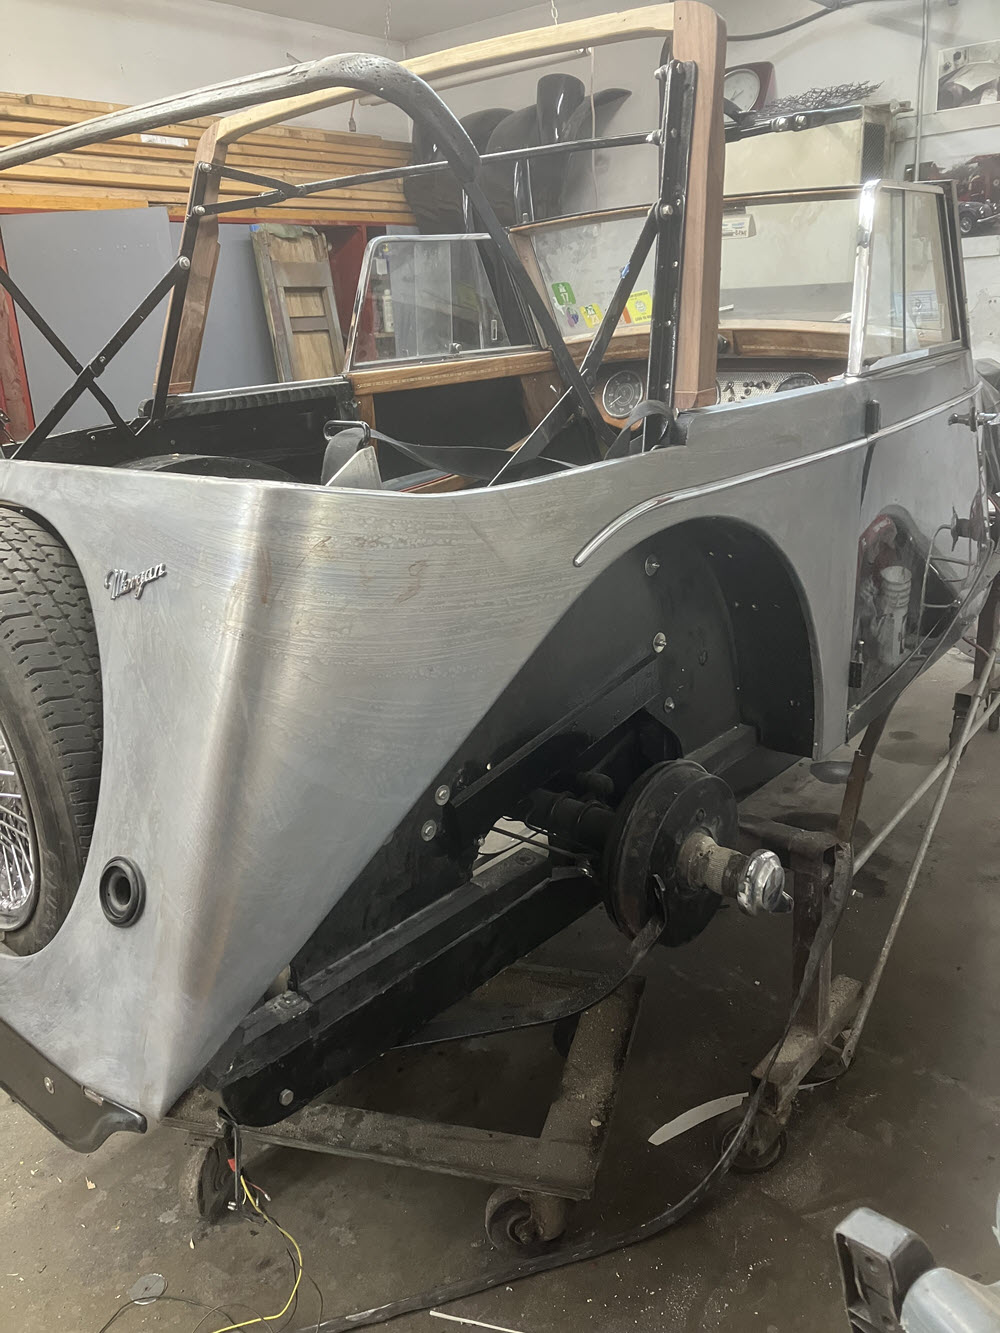
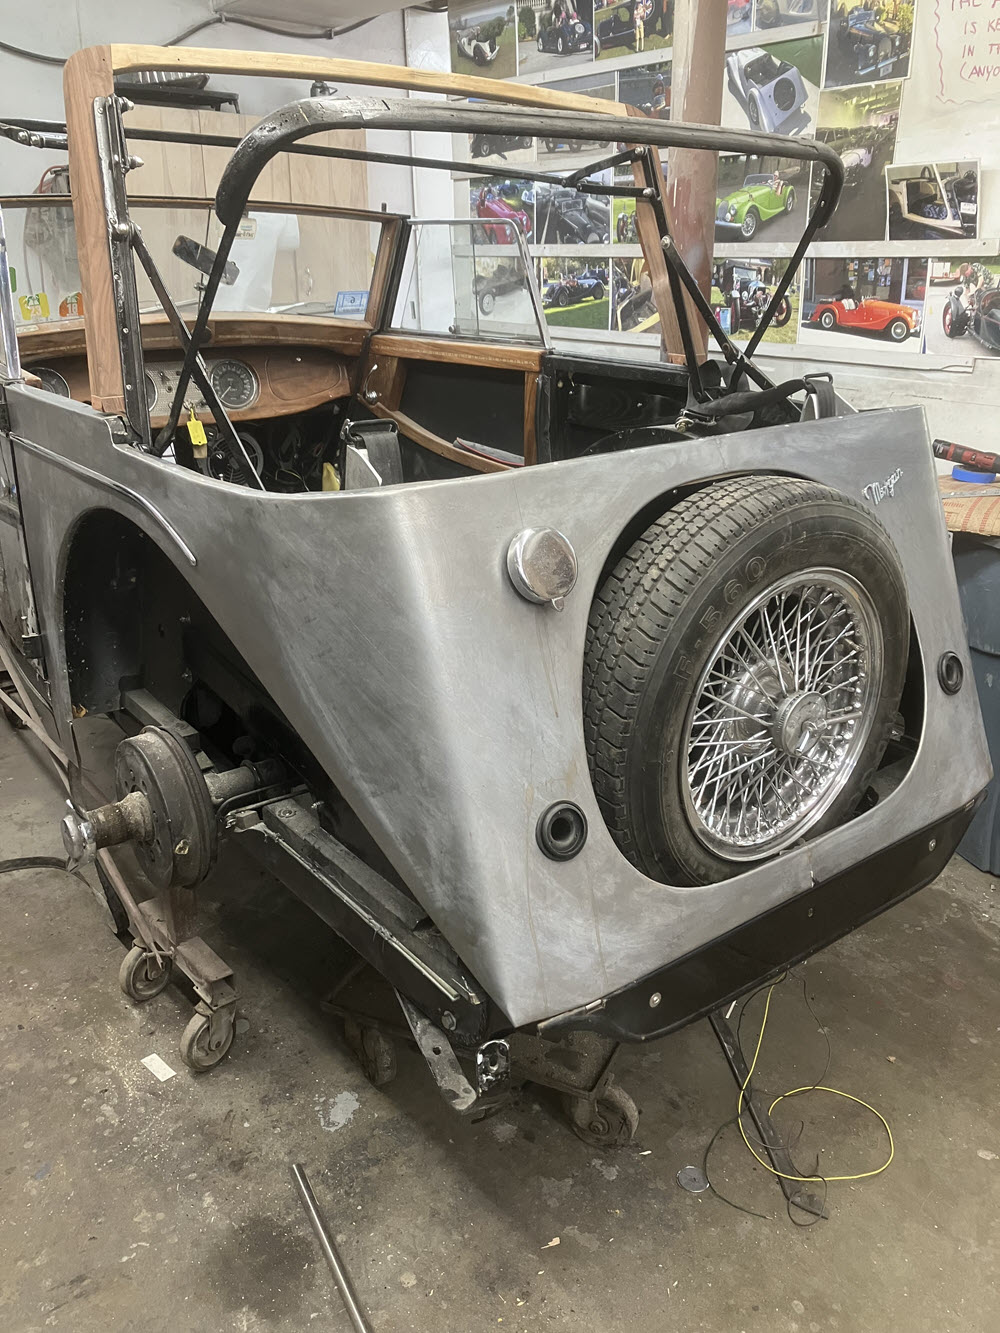
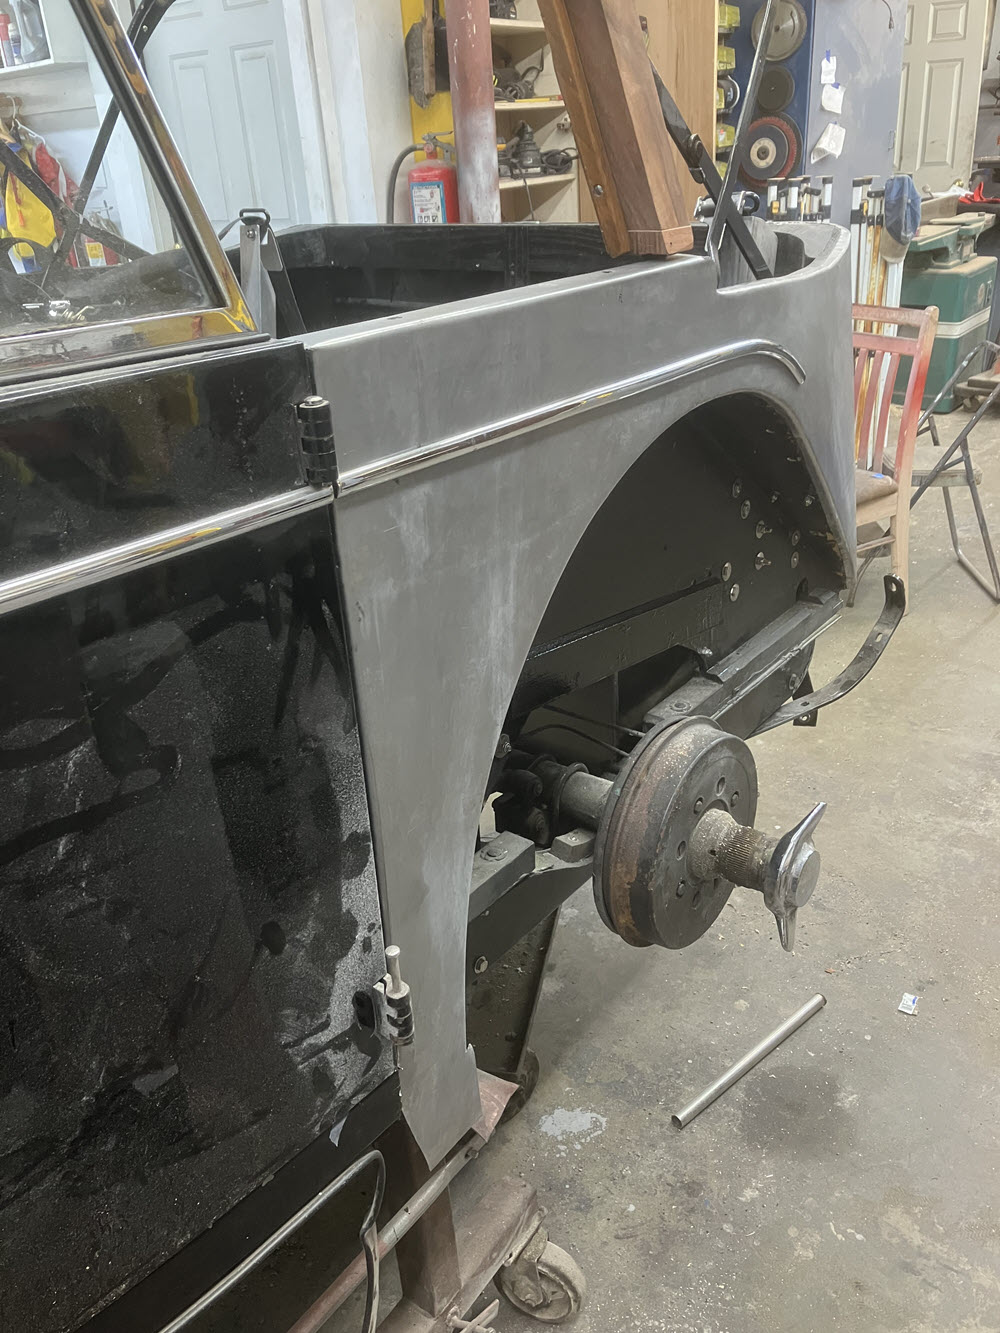
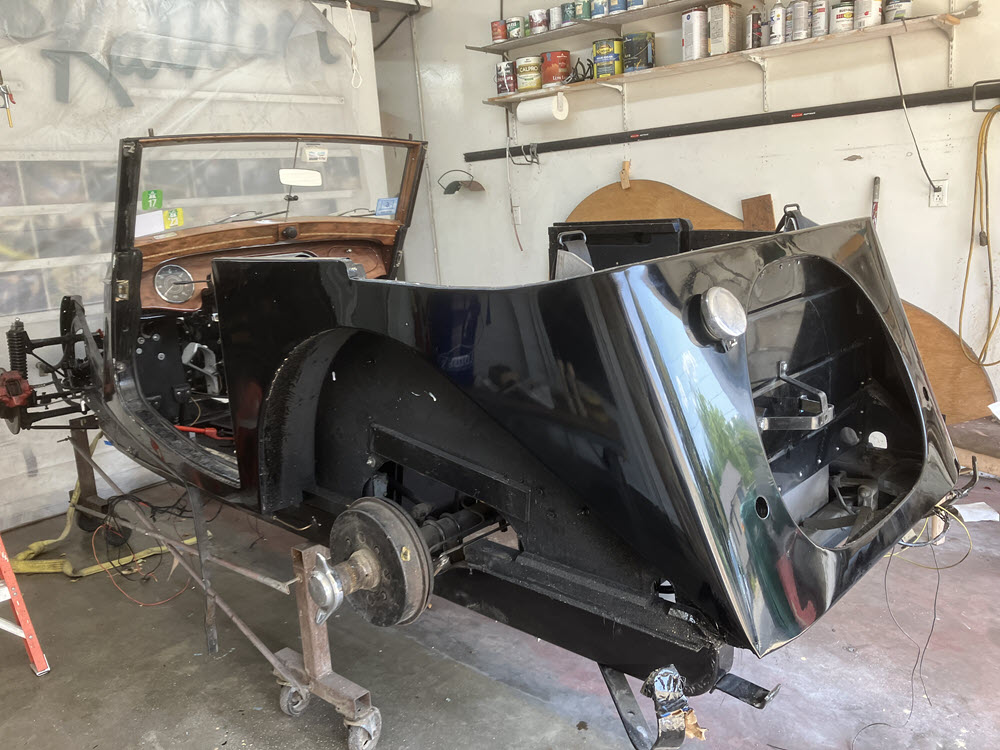
The factory four seat DHCs had an enclosure over the spare. One reason for that was probably the challenge of making a single piece of sheet metal from the wire opening around the spare, wrapped around the wheel arch and hemmed into the recess at the door jamb. It is about 6′ with fussy fits at both ends. So why not make an already difficult job really HARD? l chose to join the left and right panels, add the wire form opening for the spare and hang the 12′ panel in one shot. Hmmmm……… good luck.
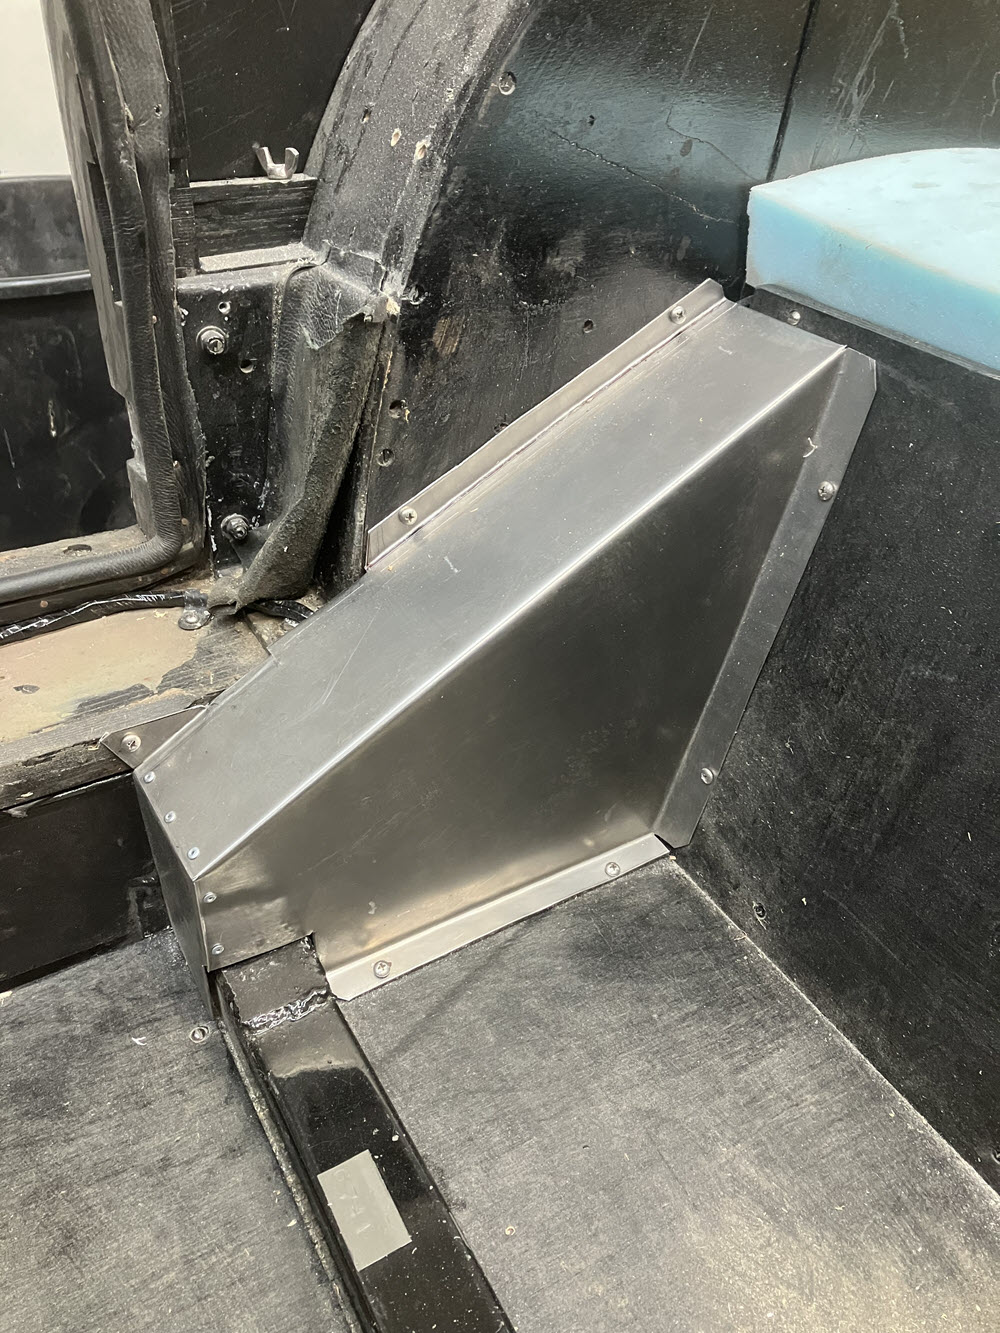
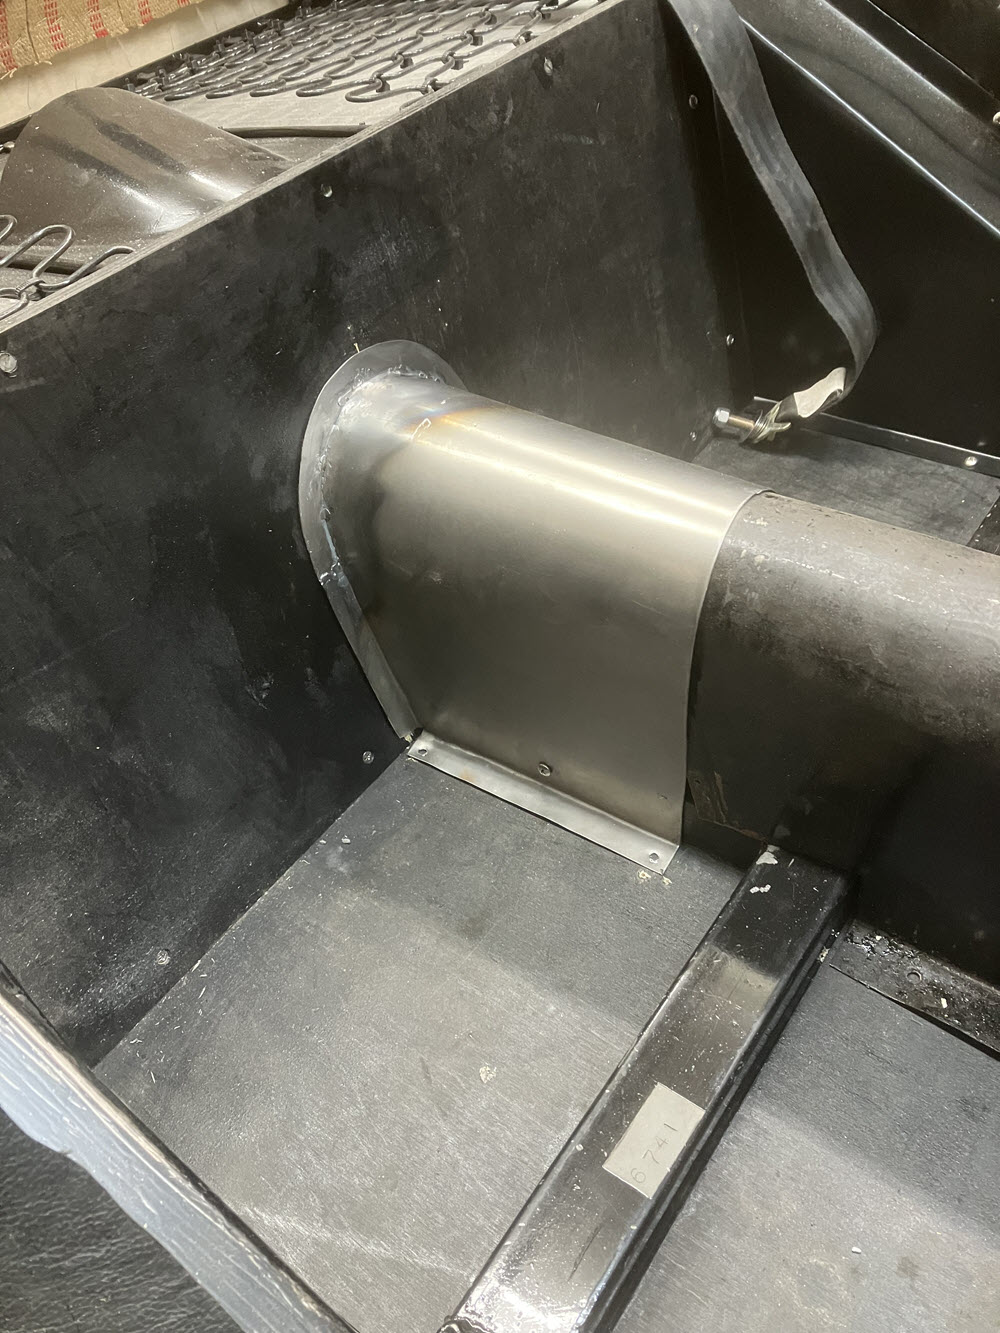
first stepRight Side FinishedLeft Side FinishedFinished panel detail right spring cover finishedMorgan Script and Right Chrome StripGas Filler Cap and Bullet Lights Fitted Left Chrome Strippainted and ready to start re-assemblyThe last sheet metel part unique to the 4 seat configuration: driveshaft tunnel extensionready for engine
A Little Annoyance
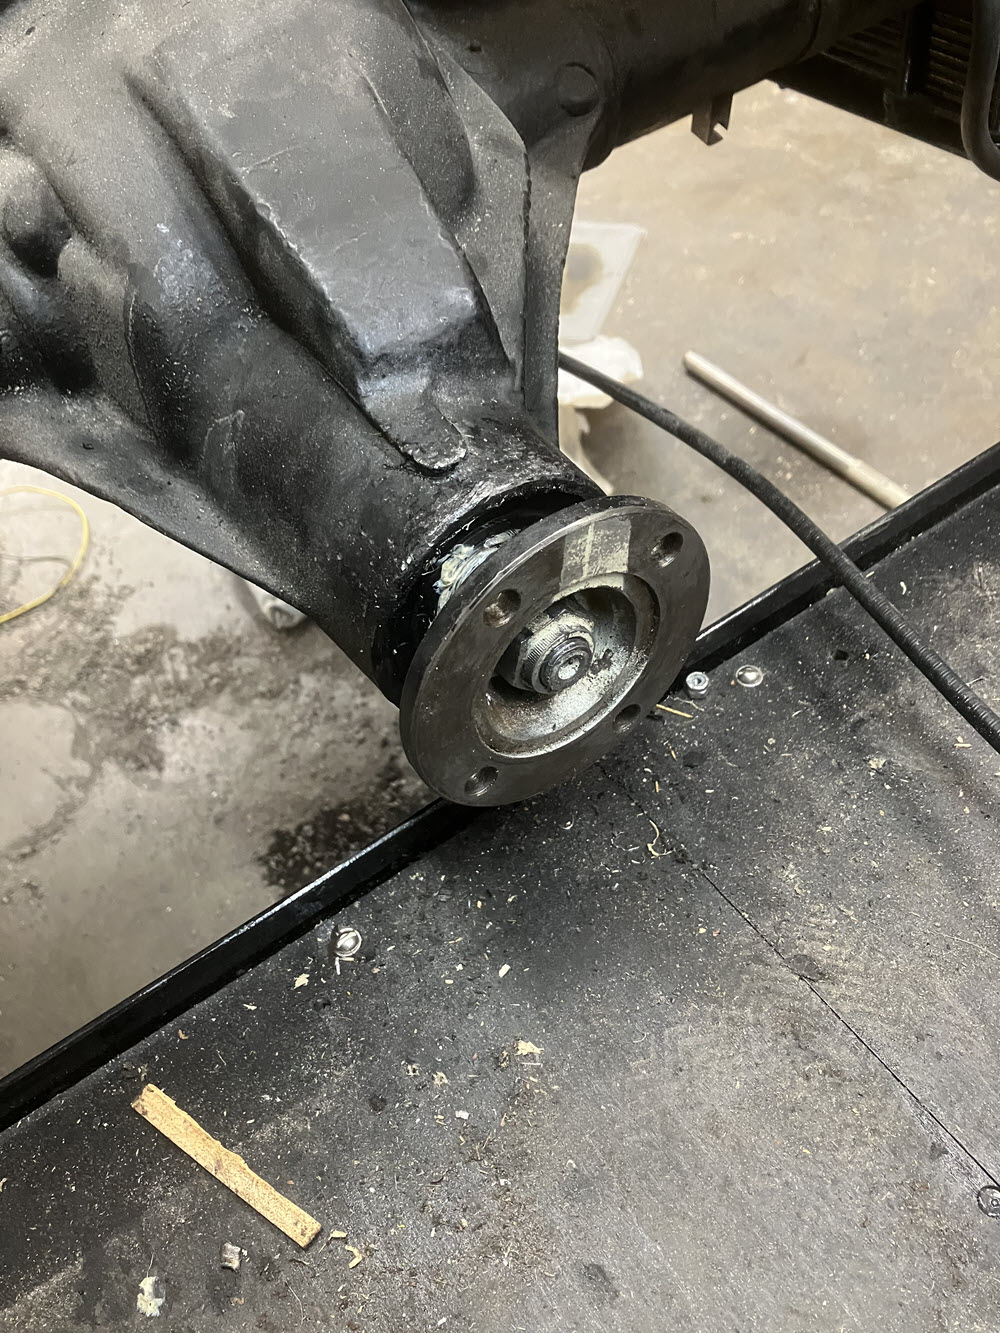
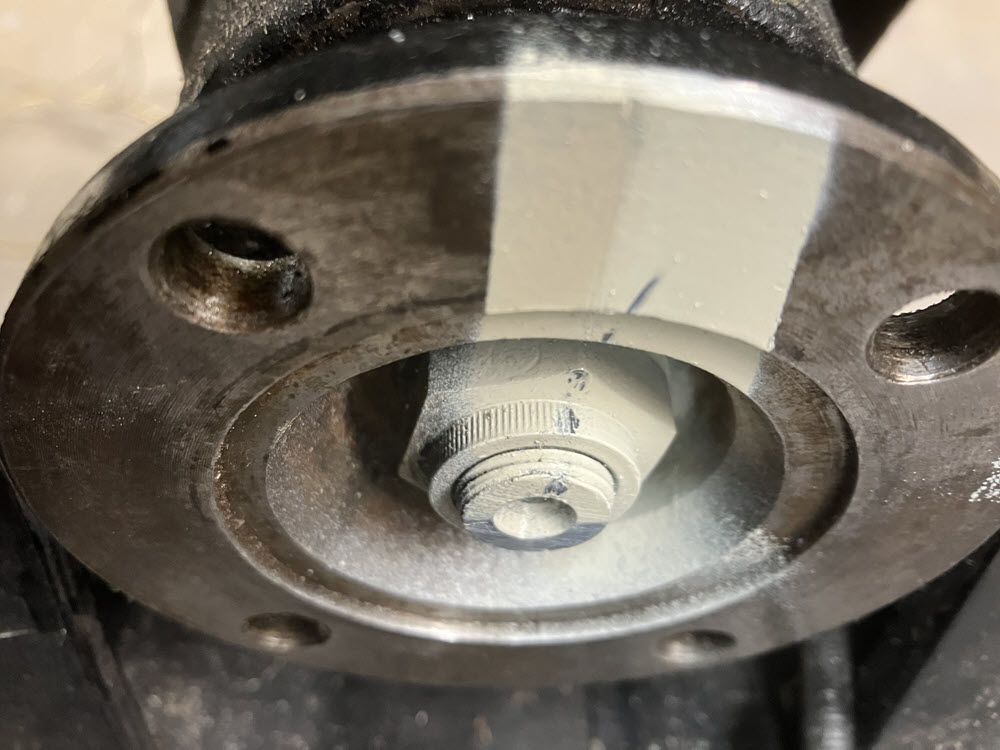
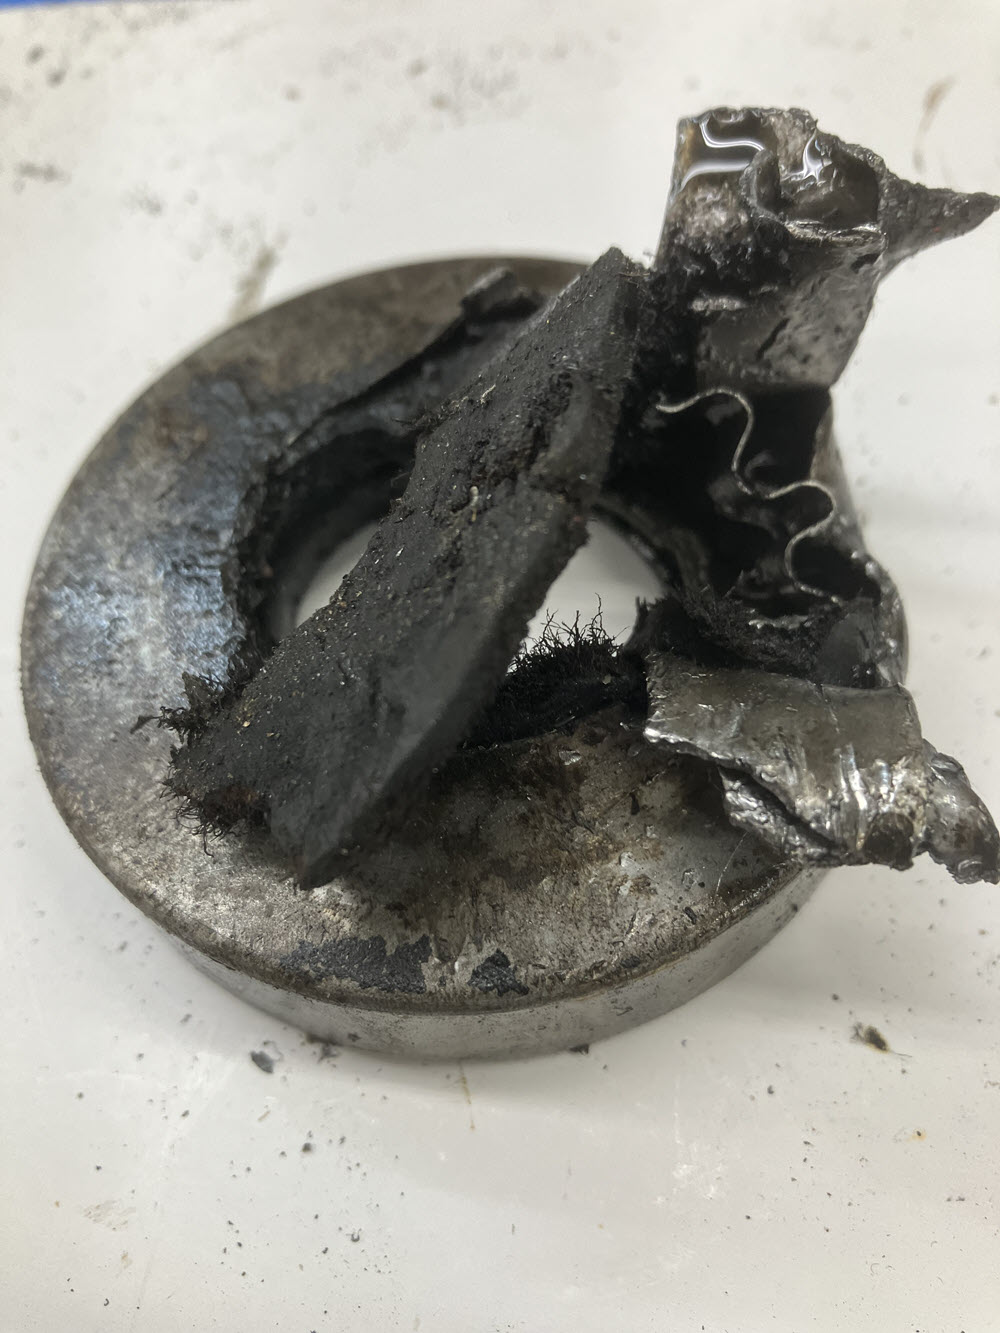
It was only after the differential was installed in the new chassis and the body mounted that the differential pinion seal decided to leak. Normally I would send this job out to be done but… rather than taking everything apart again I bought a new seal from Morgan Spares and did it myself. What a pain!
Done! New seal installed after about 6 hours of struggleSet-up prior to removing pinion nut (cut off box end wrench with a 4′ pipe extensionthe original seal did not come out gracefully
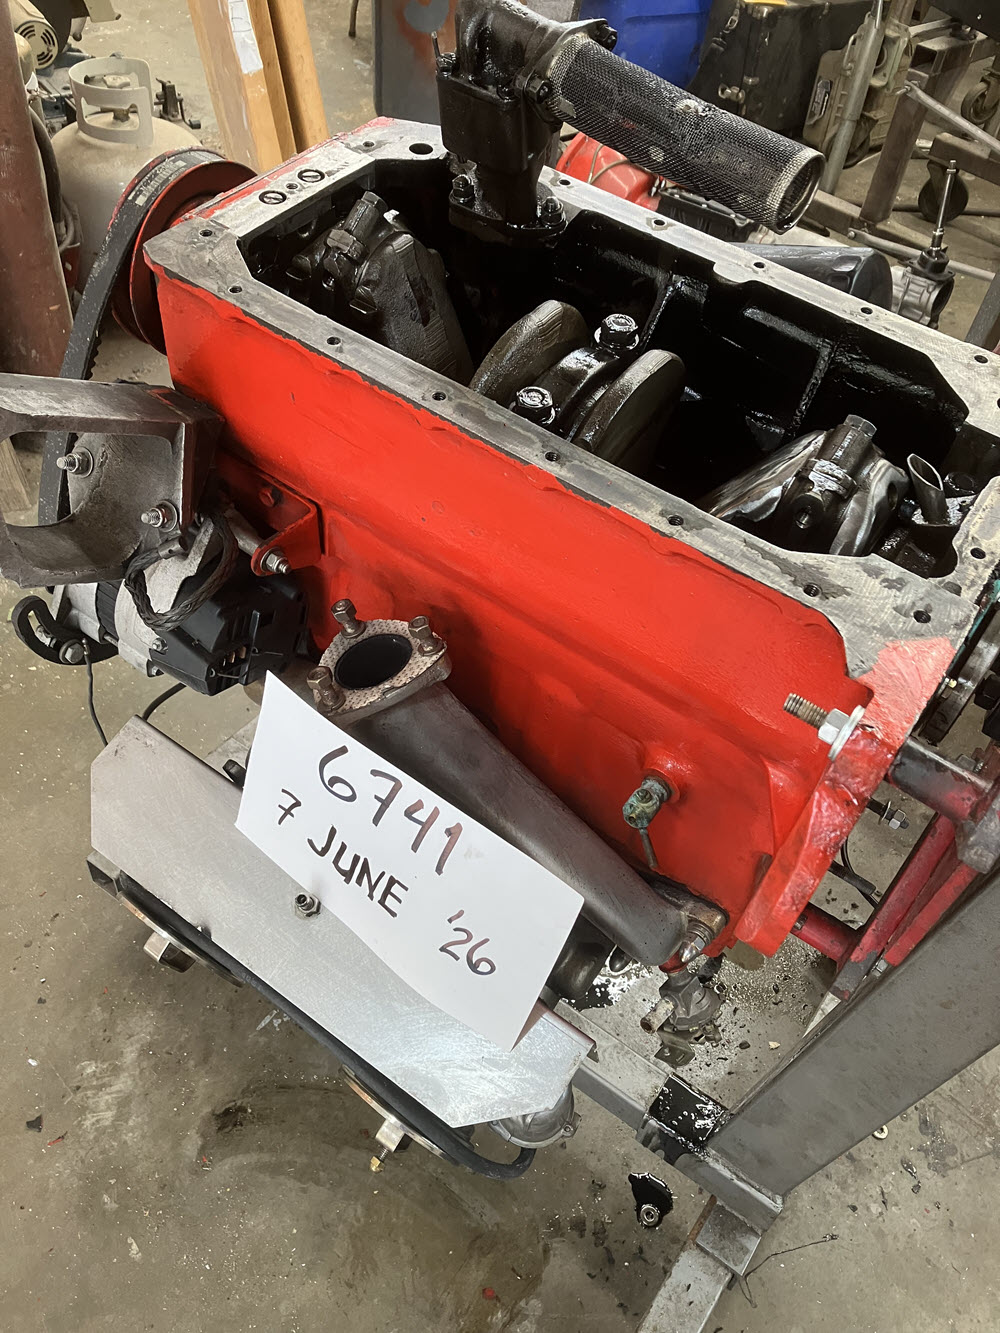
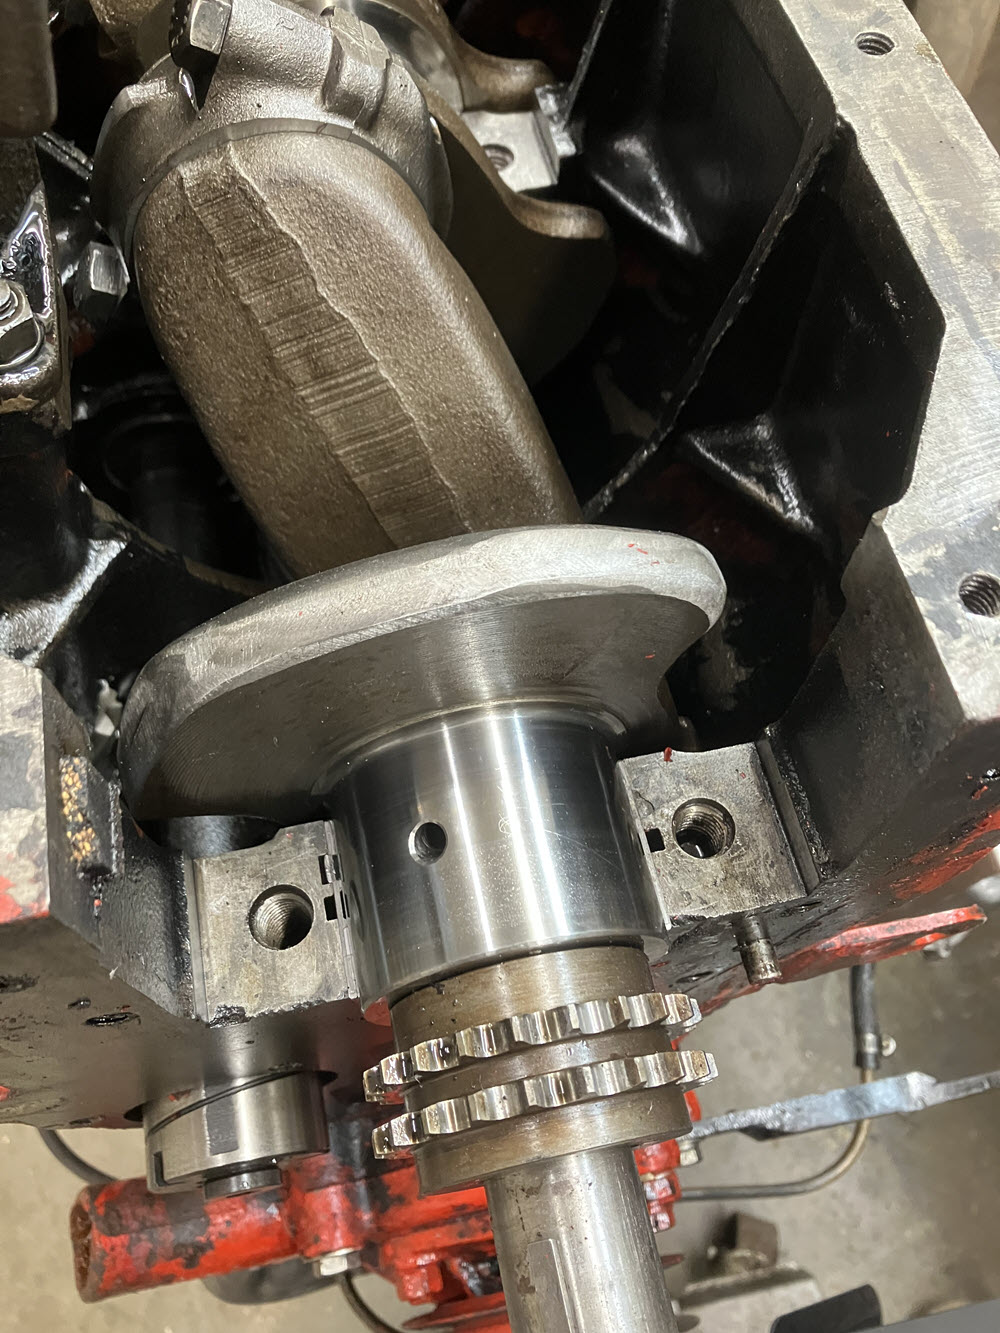
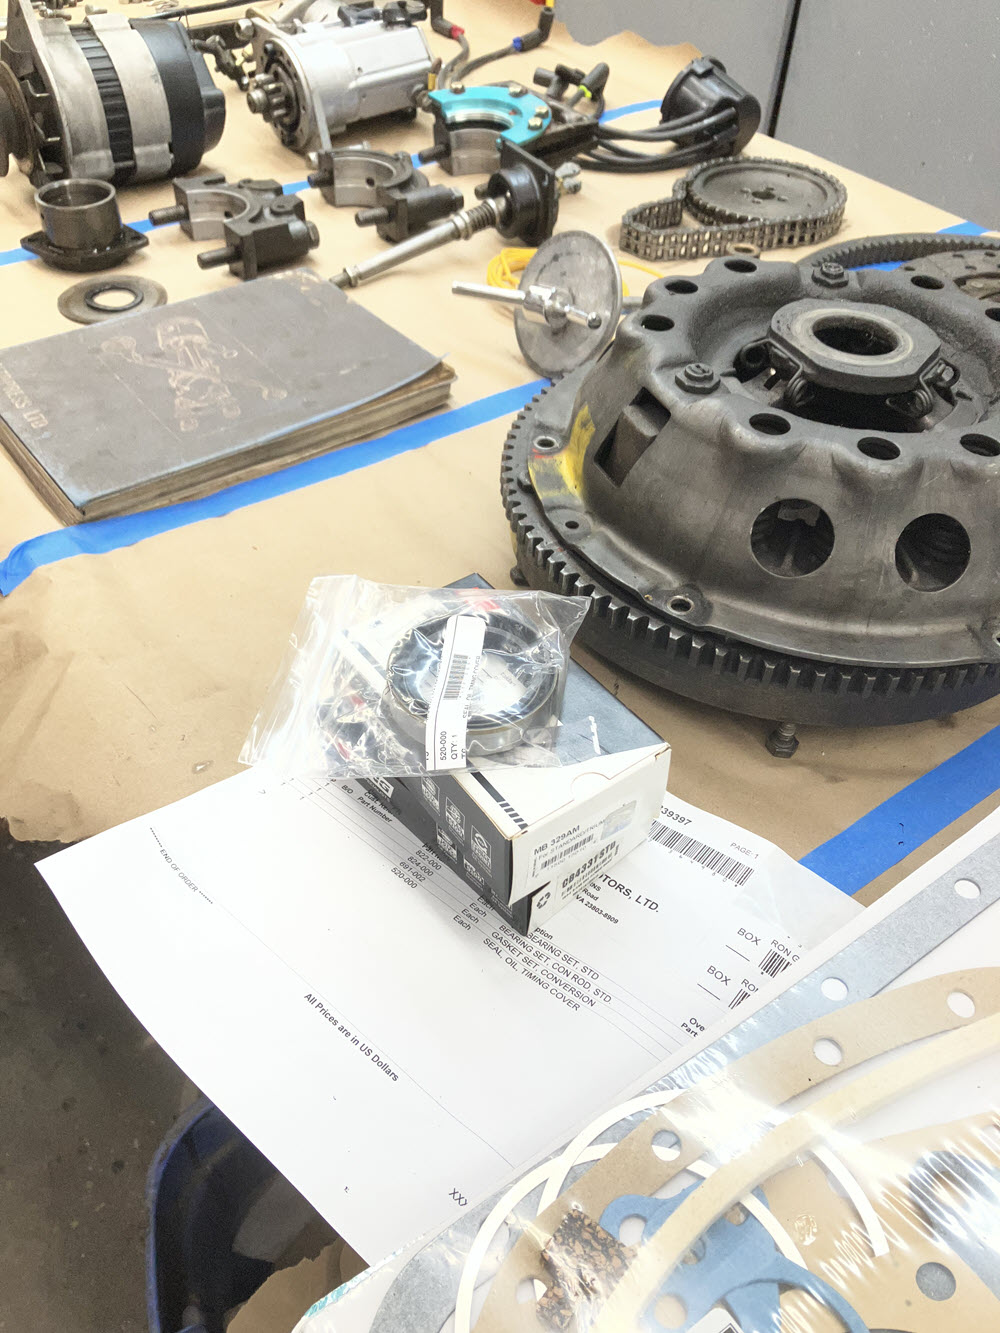
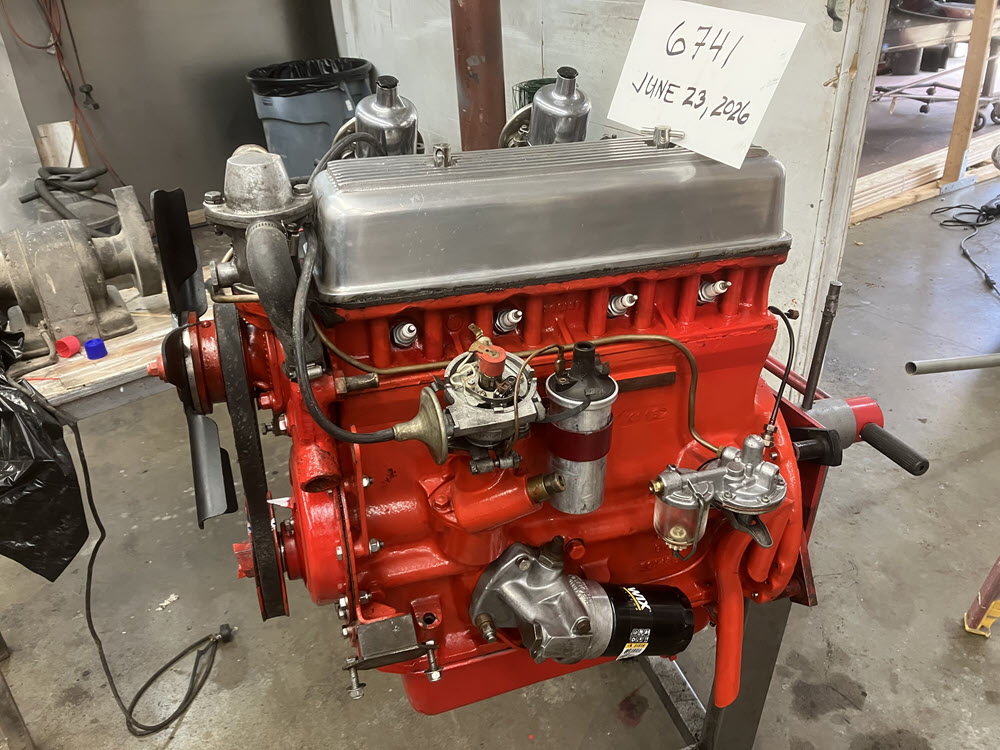
Engine (a little more annoyance) complete bottom-end refresh
Ready to begin:journals look perfect! crank was previously balanced and polished. Still STD diameterNew bearings, gaskets, front seal and updated rear sealBottom end refresh complete, ready to install
Assembly
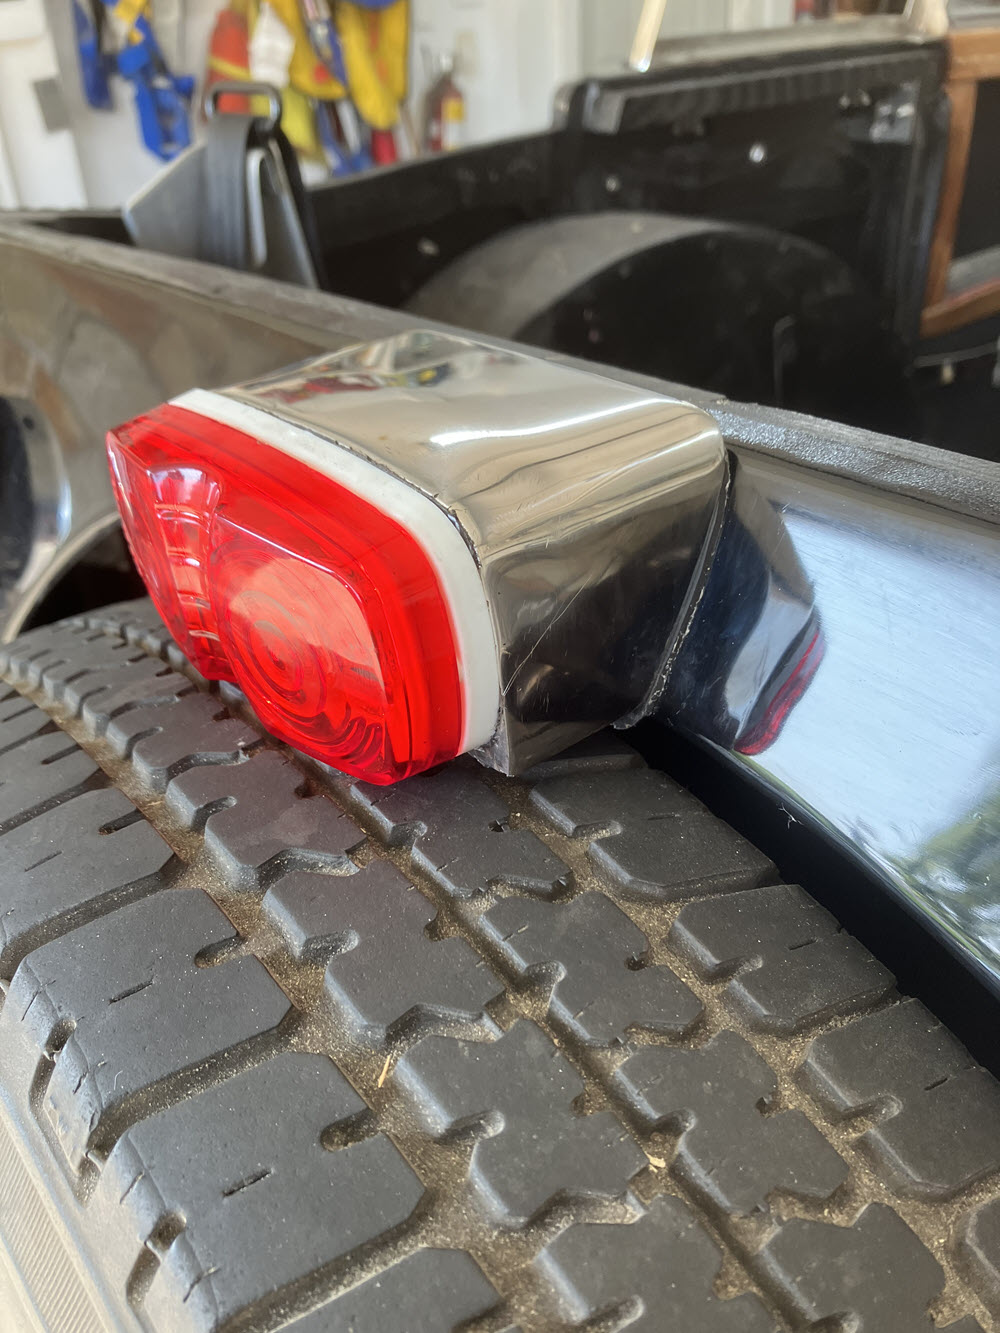
Doors and Trim Fittededstainless steel light housing fabricated and fittedrear lighting fittedEngine/gearbox, radiator battery and other stuff installedDriveshaft, handbrake etc. installed Brakes/Throwout Bled,